
Youth-Friendly RPG Resources for Young Players Guide
Updated on: 2025-12-29
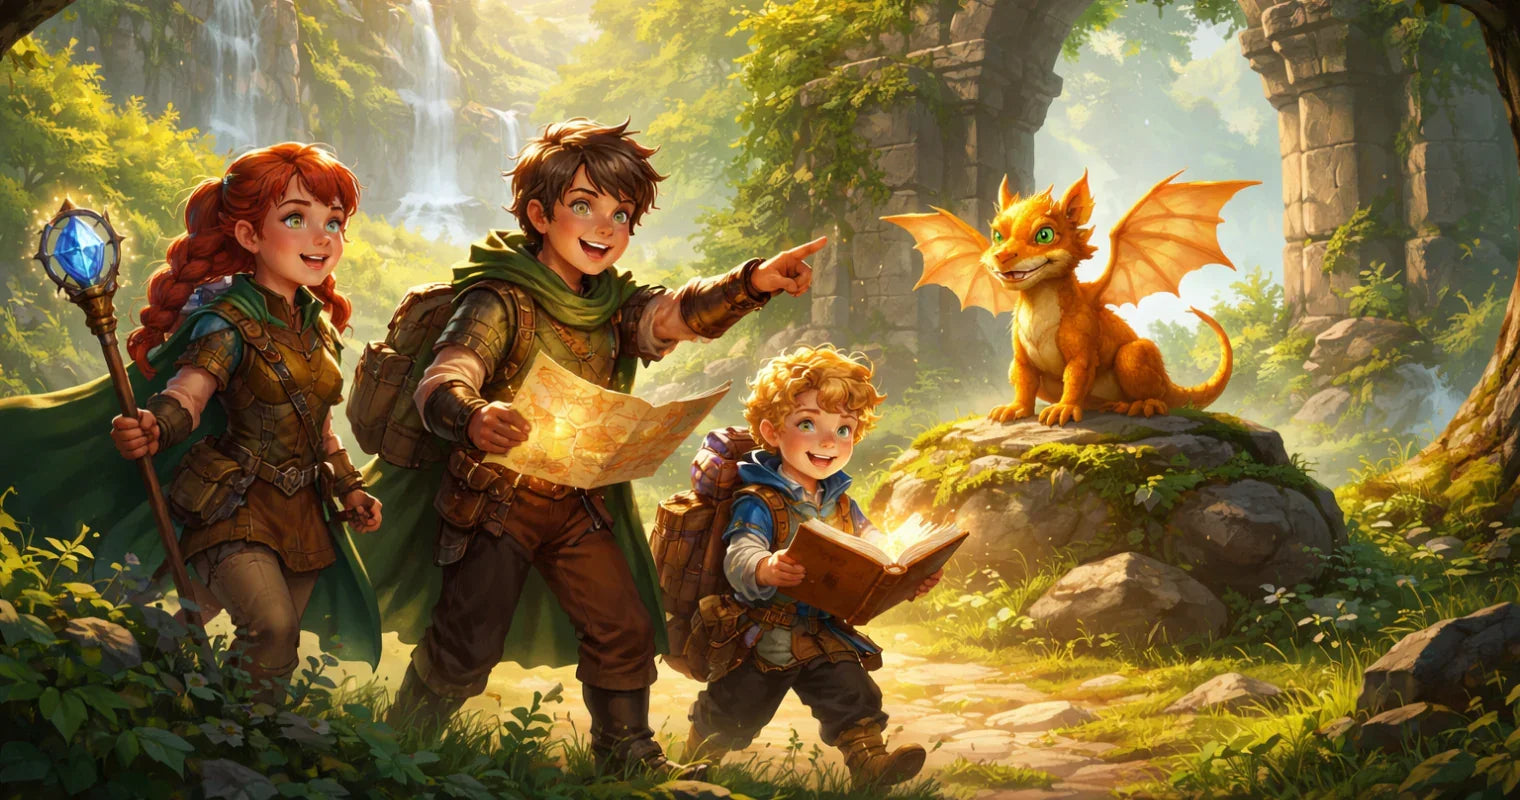
Curating youth-friendly role-playing resources doesn’t have to be stressful. This guide shares practical tips, simple steps, and ready-to-use ideas so you can run fun, age-appropriate tabletop sessions with confidence. You’ll learn how to set expectations, choose gentle themes, and use tools that keep play safe and inclusive. Whether you’re a parent, teacher, or new game leader, you’ll find adaptable strategies that make your sessions run smoothly—and keep players smiling.
- Essential Tips for youth-friendly role-playing resources
- Detailed Step-by-Step Process
- Summary & Takeaway
If you’ve ever wondered how to run tabletop adventures for kids and teens without overwhelming anyone, you’re in the right place. Below, you’ll find a friendly framework that balances creativity with structure. We’ll focus on safety, clear communication, and simple tools that help new players shine. Think short sessions, bright props, and a spirit of “learn by playing.” You’ll also find links to useful accessories that make rolling, tracking, and storytelling easier for everyone at the table.
Essential Tips for youth-friendly role-playing resources
- Start small and keep it bright. Begin with short, 60–90 minute sessions. Use cheerful themes, low-stress stakes, and clear goals so new players feel confident and excited to return.
- Use a Session Zero. Spend 10–15 minutes up front to set expectations, explain table rules, and agree on what’s in-bounds for your story. Encourage players to share what they find fun.
- Lean on simple mechanics. Favor streamlined rules, pre-filled character sheets, and easy checks. Limit the math, and celebrate descriptive play over number crunching.
- Keep encounters low-risk. Swap “defeat the monster” for “help the creature get home.” Puzzles, teamwork, and exploration keep tension fun without fear or frustration.
- Offer choices, not trick questions. Present 2–3 clear options and reward creative thinking. Kids thrive when they see their ideas change the world.
- Build gentle pacing. Alternate quiet scenes with action beats. Sprinkle in cliffhangers, but never leave a character stuck or powerless for long.
- Normalize safety tools. Encourage “pause,” “rewind,” and “fast-forward” language so anyone can check in or step past content they don’t love—no explanations required.
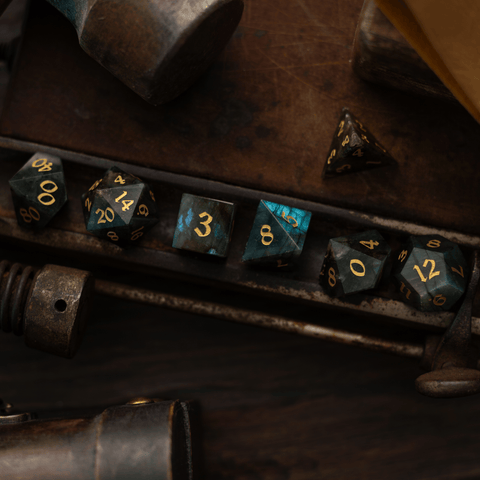
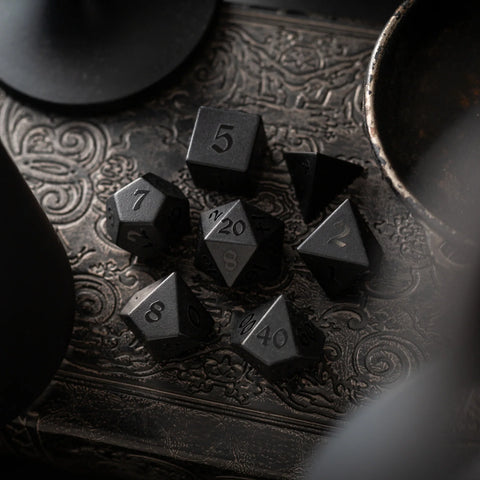
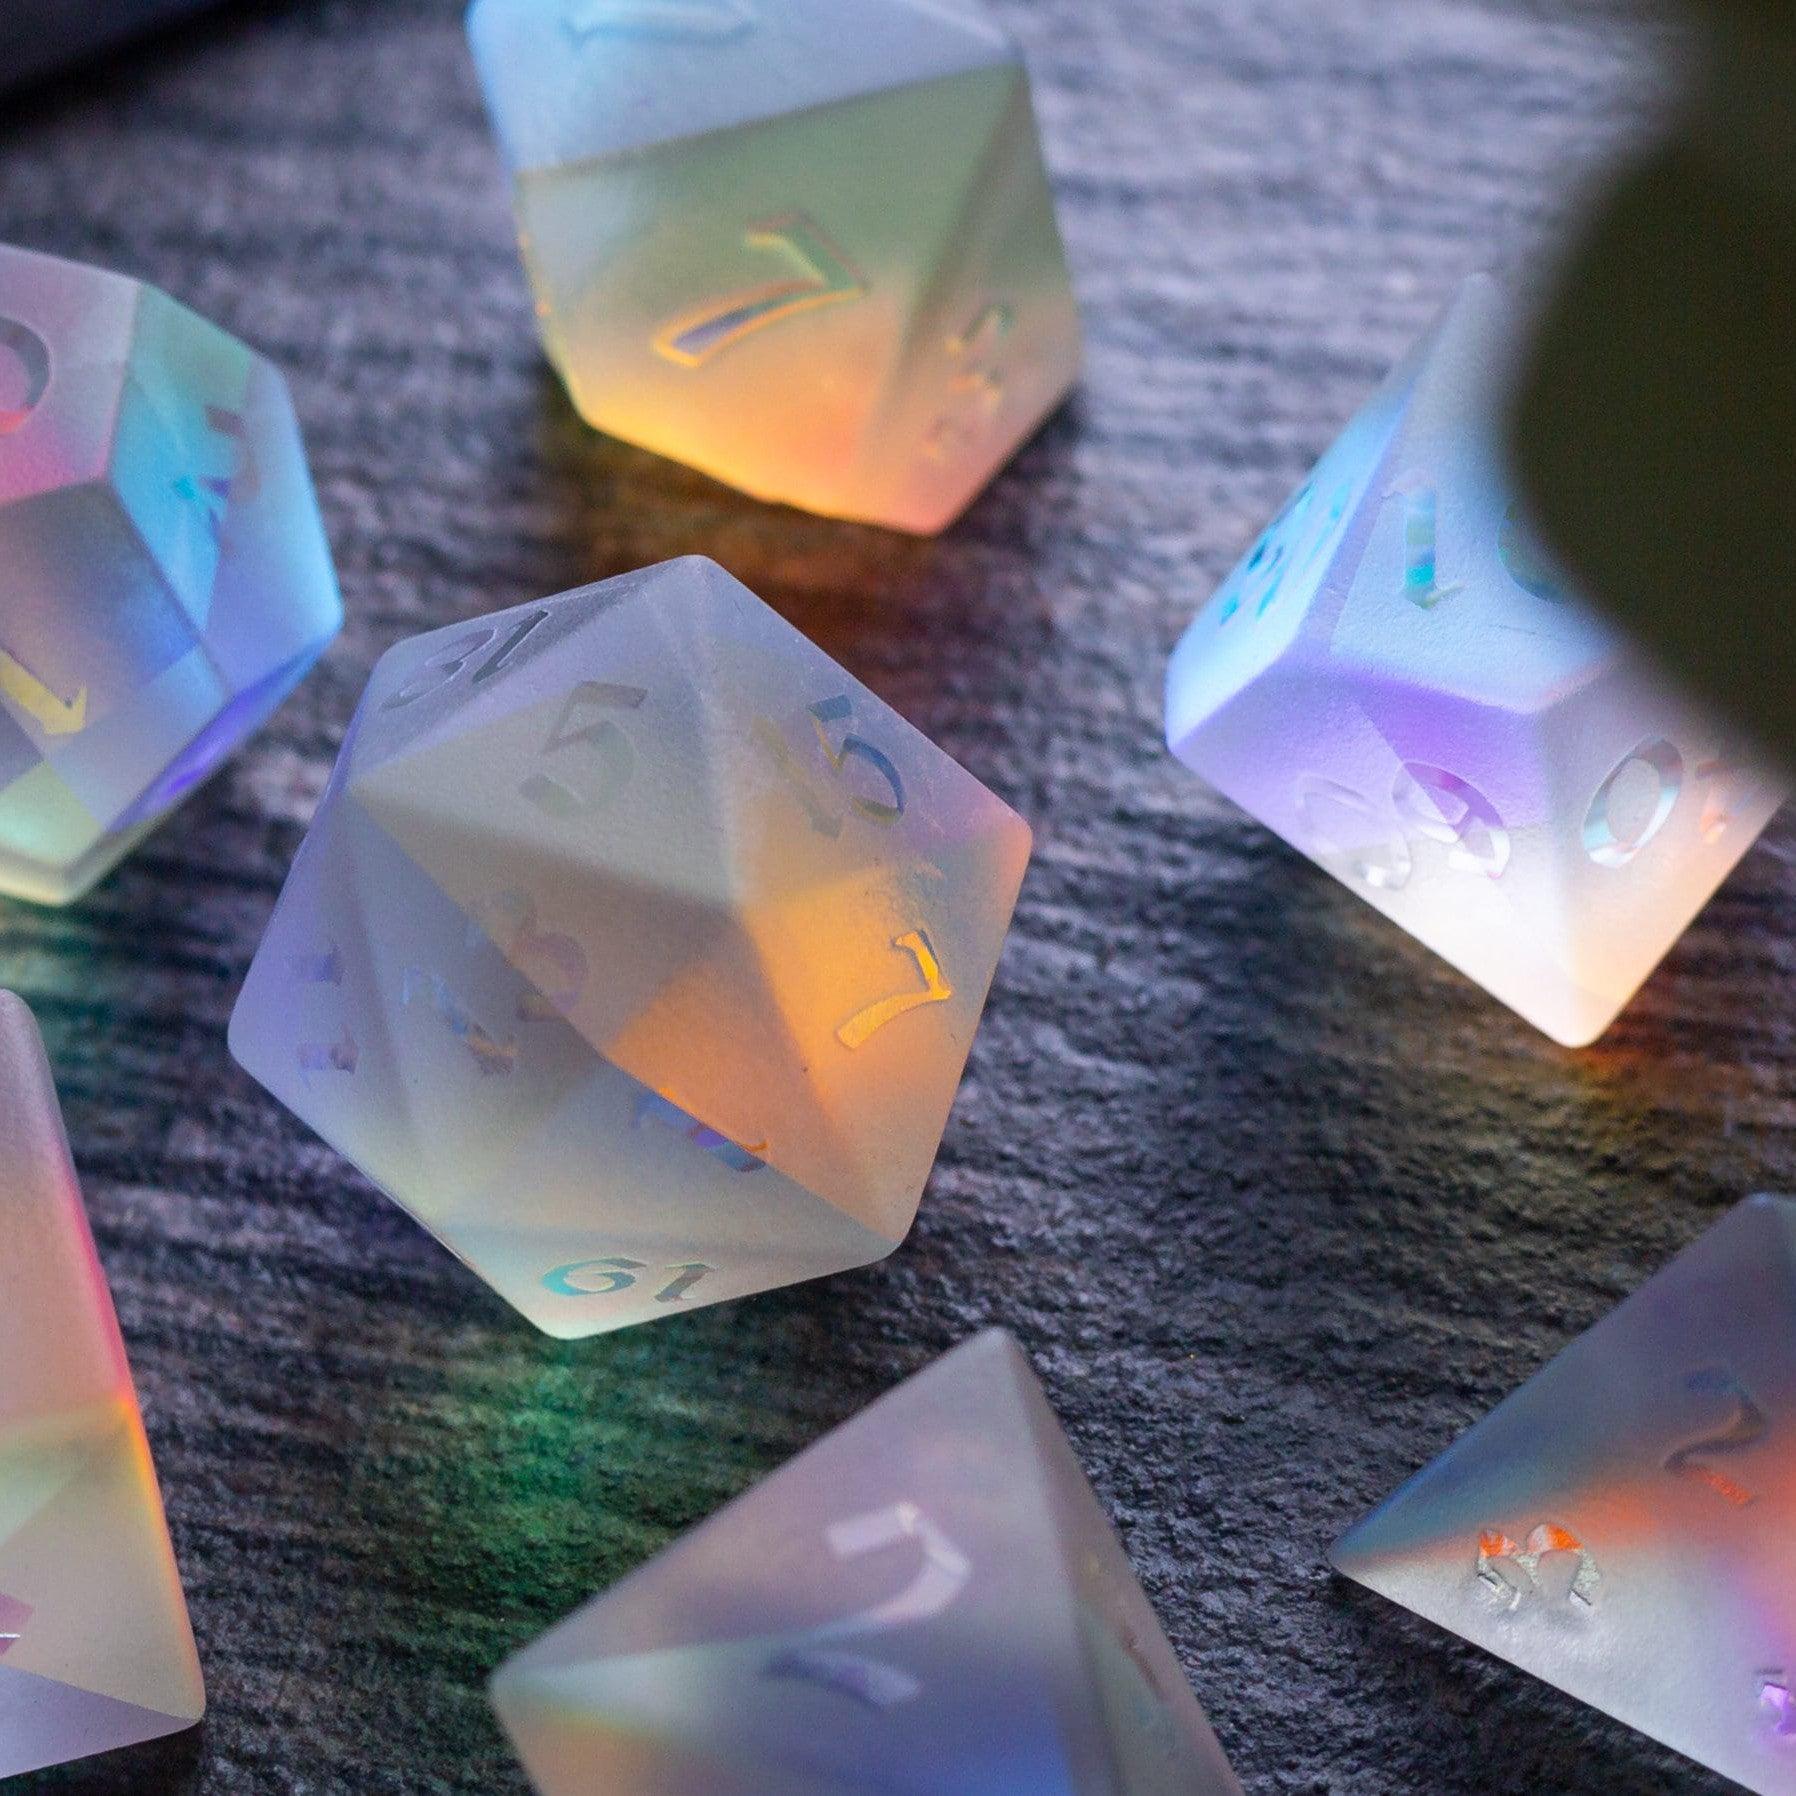
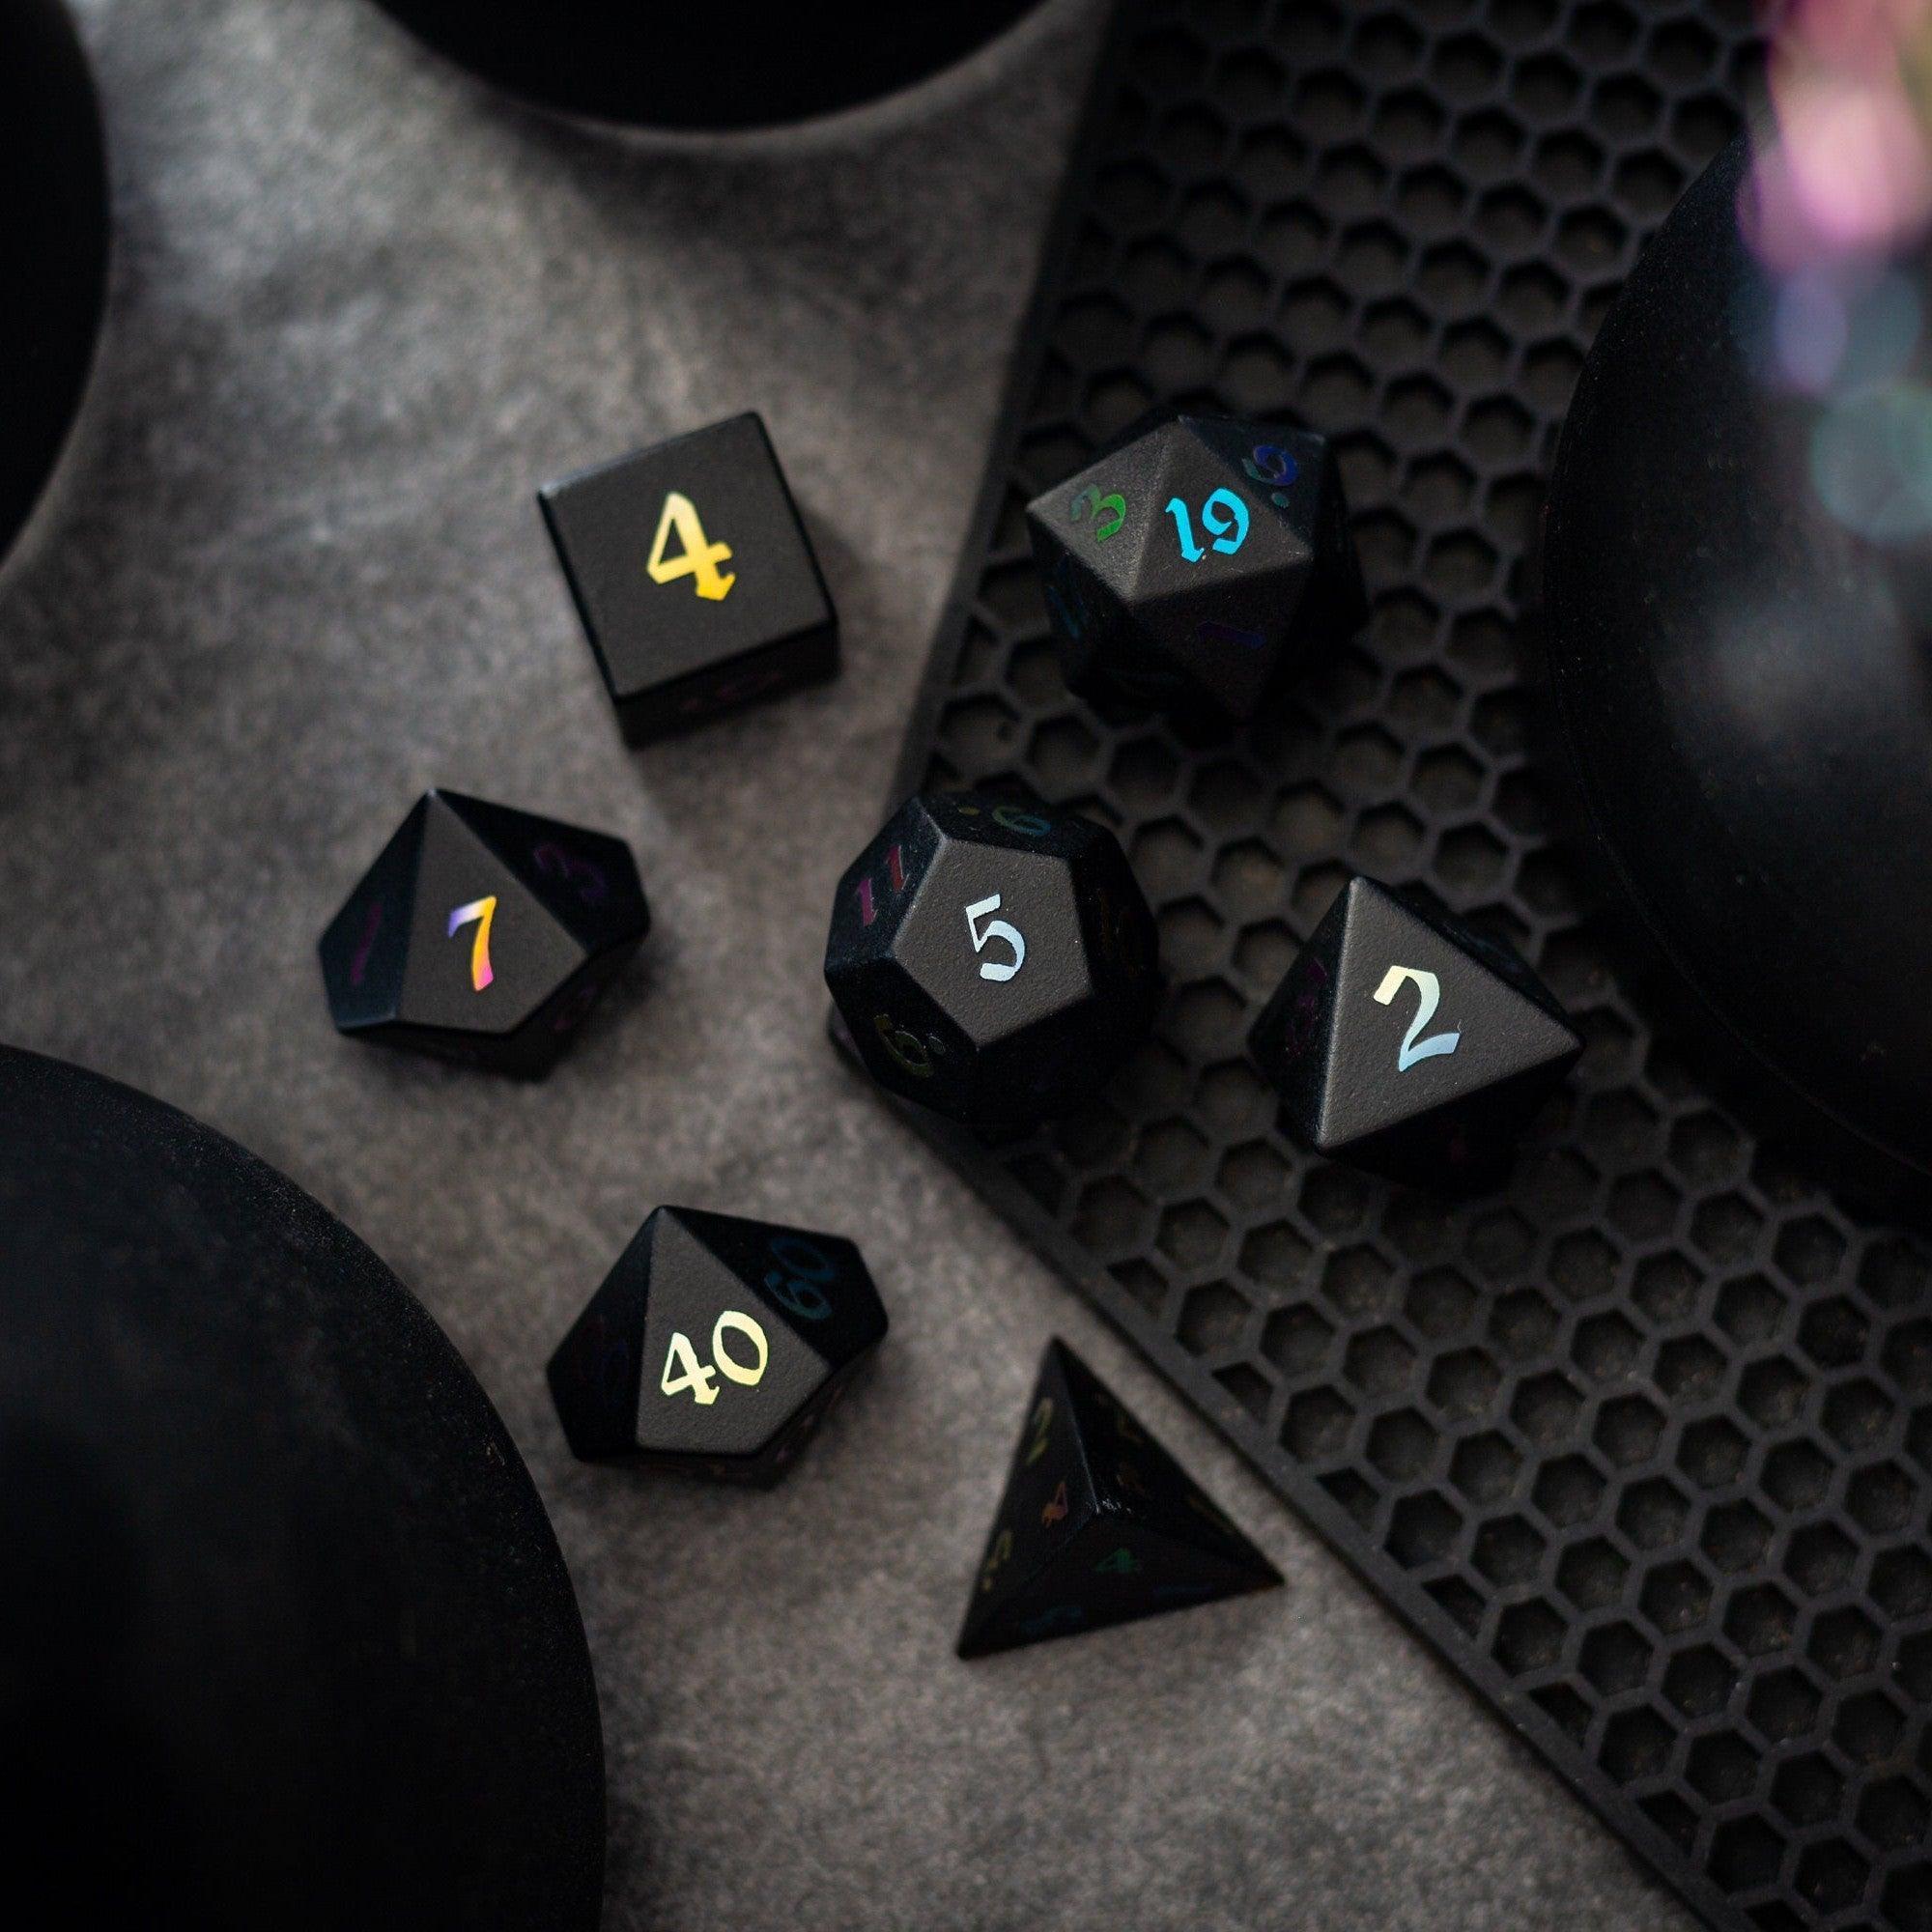
- Use tactile aids. Dice towers, tokens, and colorful sets make turns feel special and minimize table chaos. Consider a dice tower to keep rolls fair and visible.
- Celebrate wins loudly. High-fives for clever ideas, stickers for teamwork, and spotlight moments help shy players open up.
- End with reflection. Ask, “What was your favorite moment?” and “What should we do next time?” This builds ownership and guides your planning.
Detailed Step-by-Step Process
- Step 1: Define your theme and tone. Pick a cozy or whimsical setting. “Rescue a lost pet,” “deliver a festival banner,” or “find the bakery’s missing recipe” are great starter hooks.
- Step 2: Set clear ground rules. Explain turn-taking, how to ask for help, and how to say “pause.” Keep a short rule card visible. Model the behavior you want to see.
- Step 3: Prepare simple character sheets. Provide 4–6 premade characters with friendly art and one-liner abilities (“I’m great at climbing,” “I calm animals”). Leave a blank slot for a personal quirk.
- Step 4: Keep mechanics consistent. Use one core resolution method. For example: “Roll a die. 10+ = success, 6–9 = success with a twist, 1–5 = try another approach.” Simplicity builds confidence.
- Step 5: Script a three-beat adventure. Beat A: Introduce a problem and friendly NPC. Beat B: Present a choice or puzzle. Beat C: Reward resolution and show how the town changes.
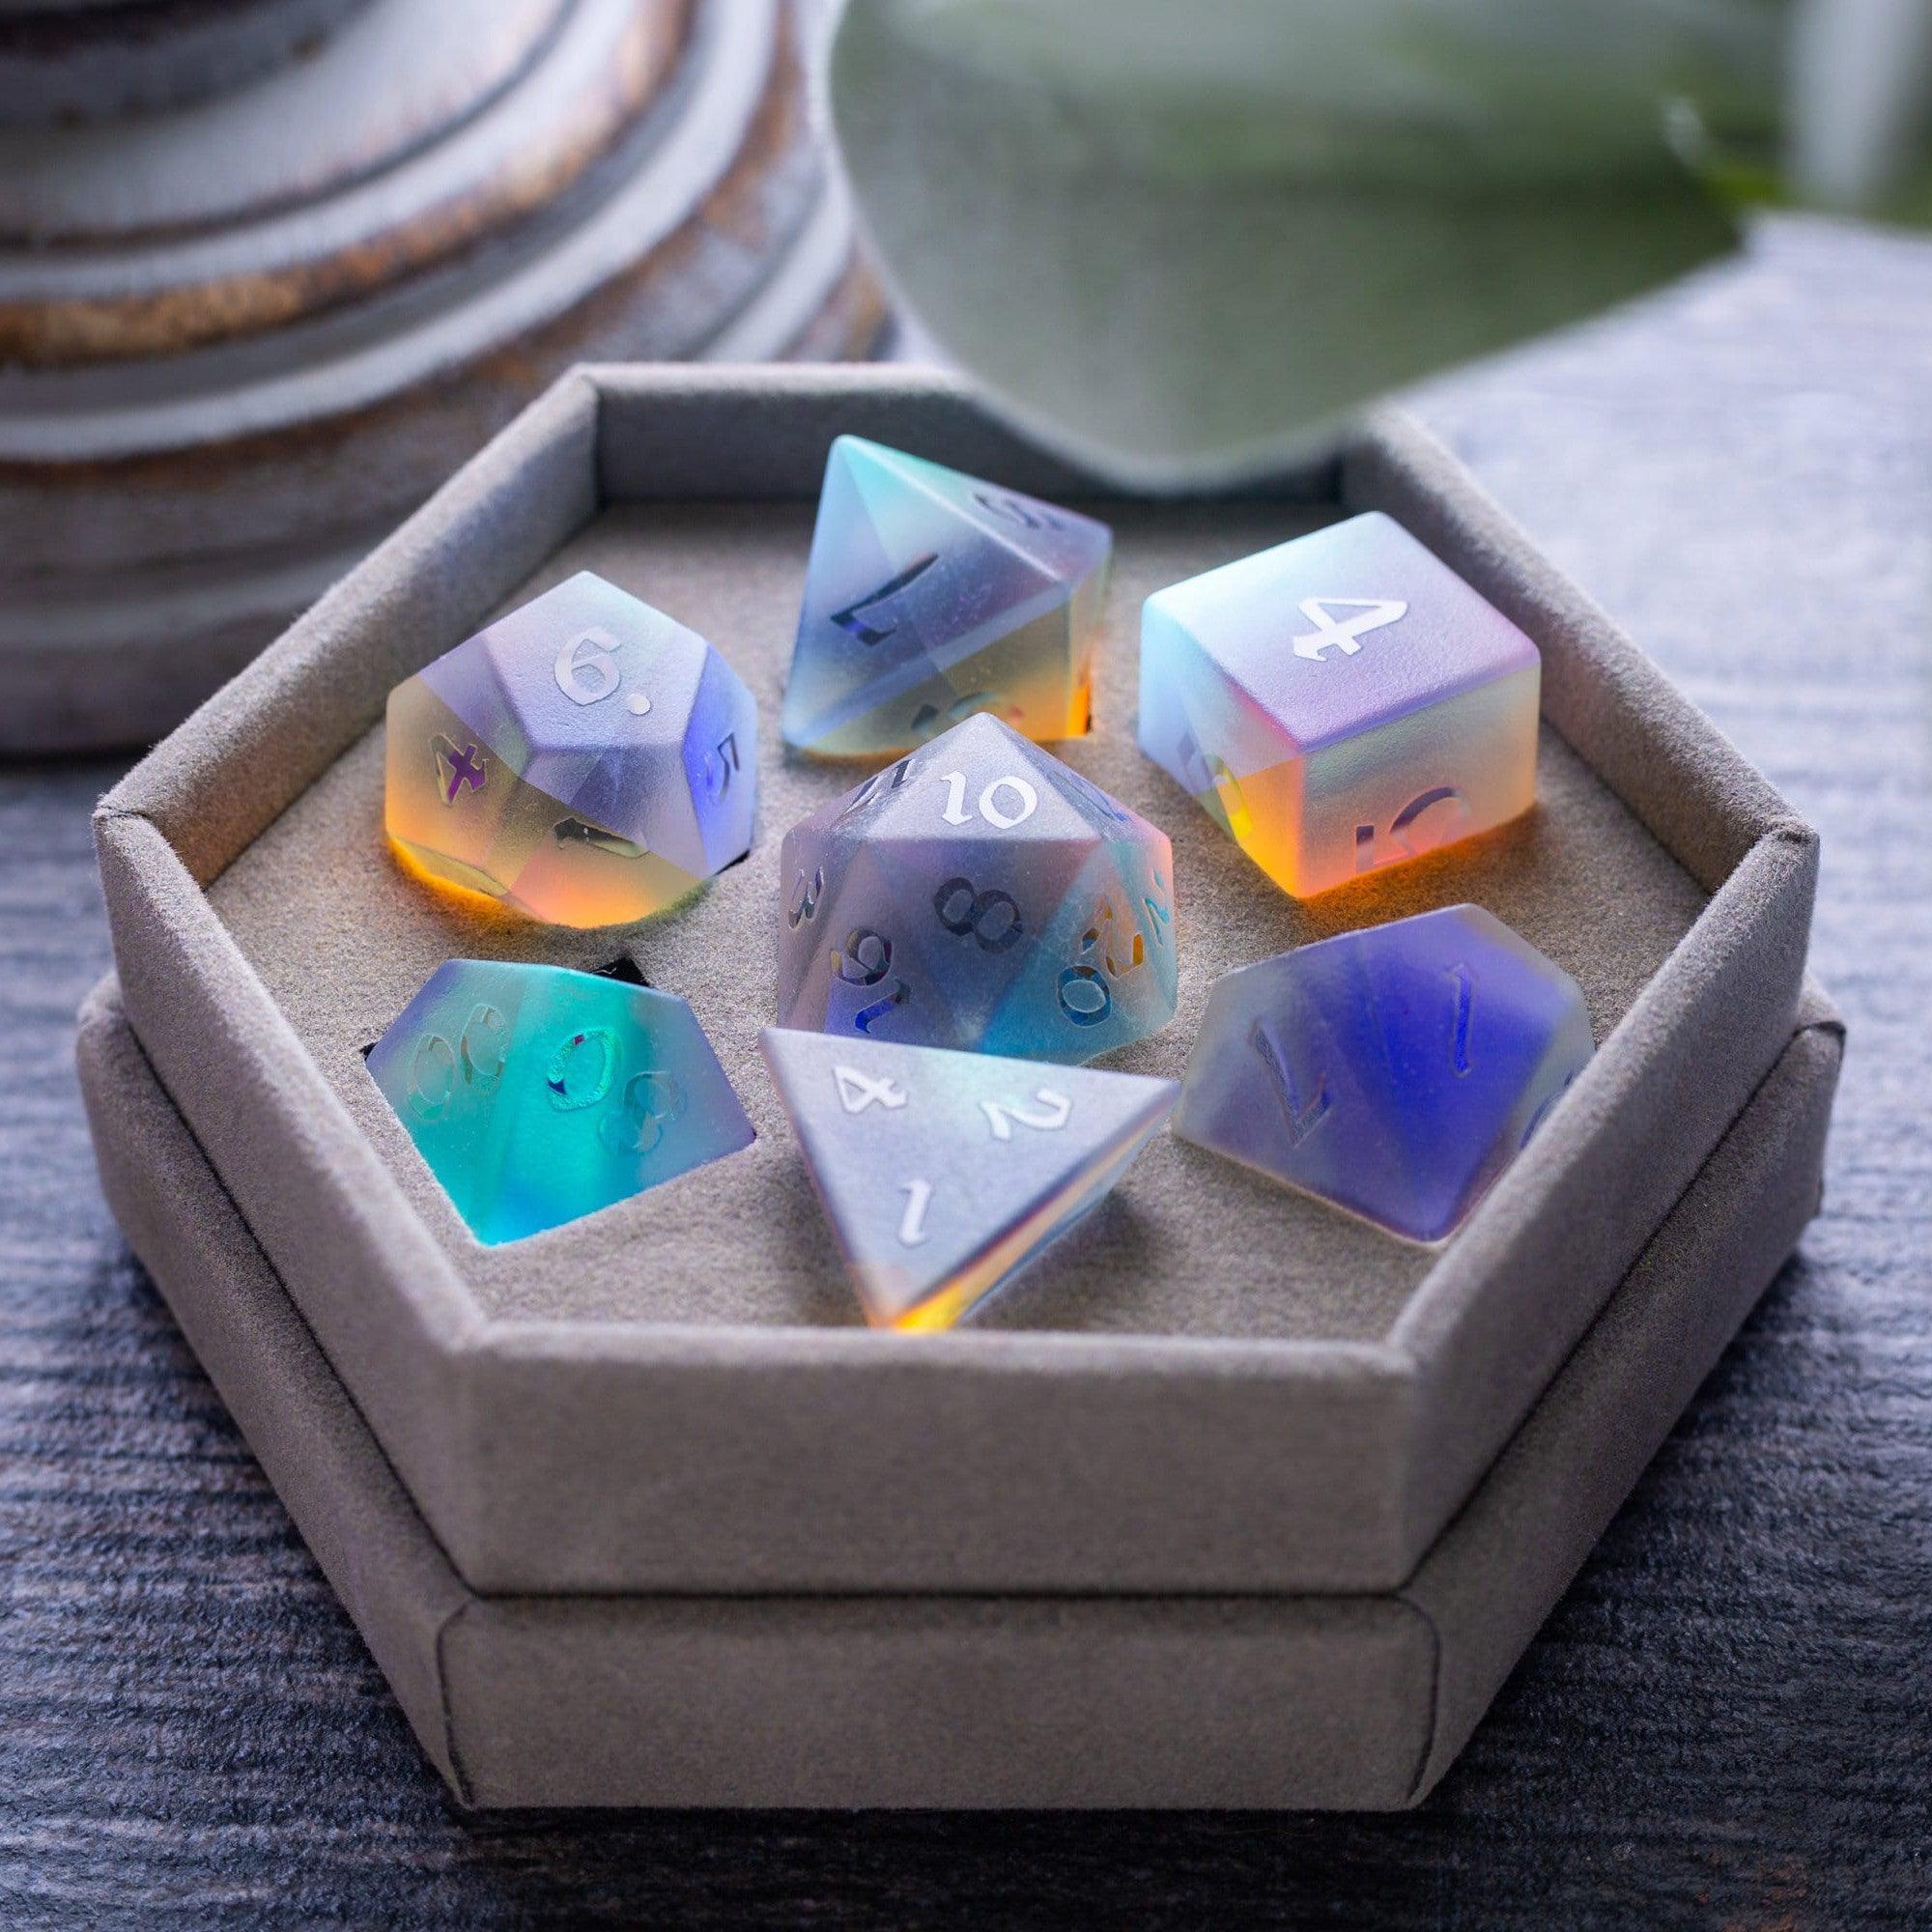
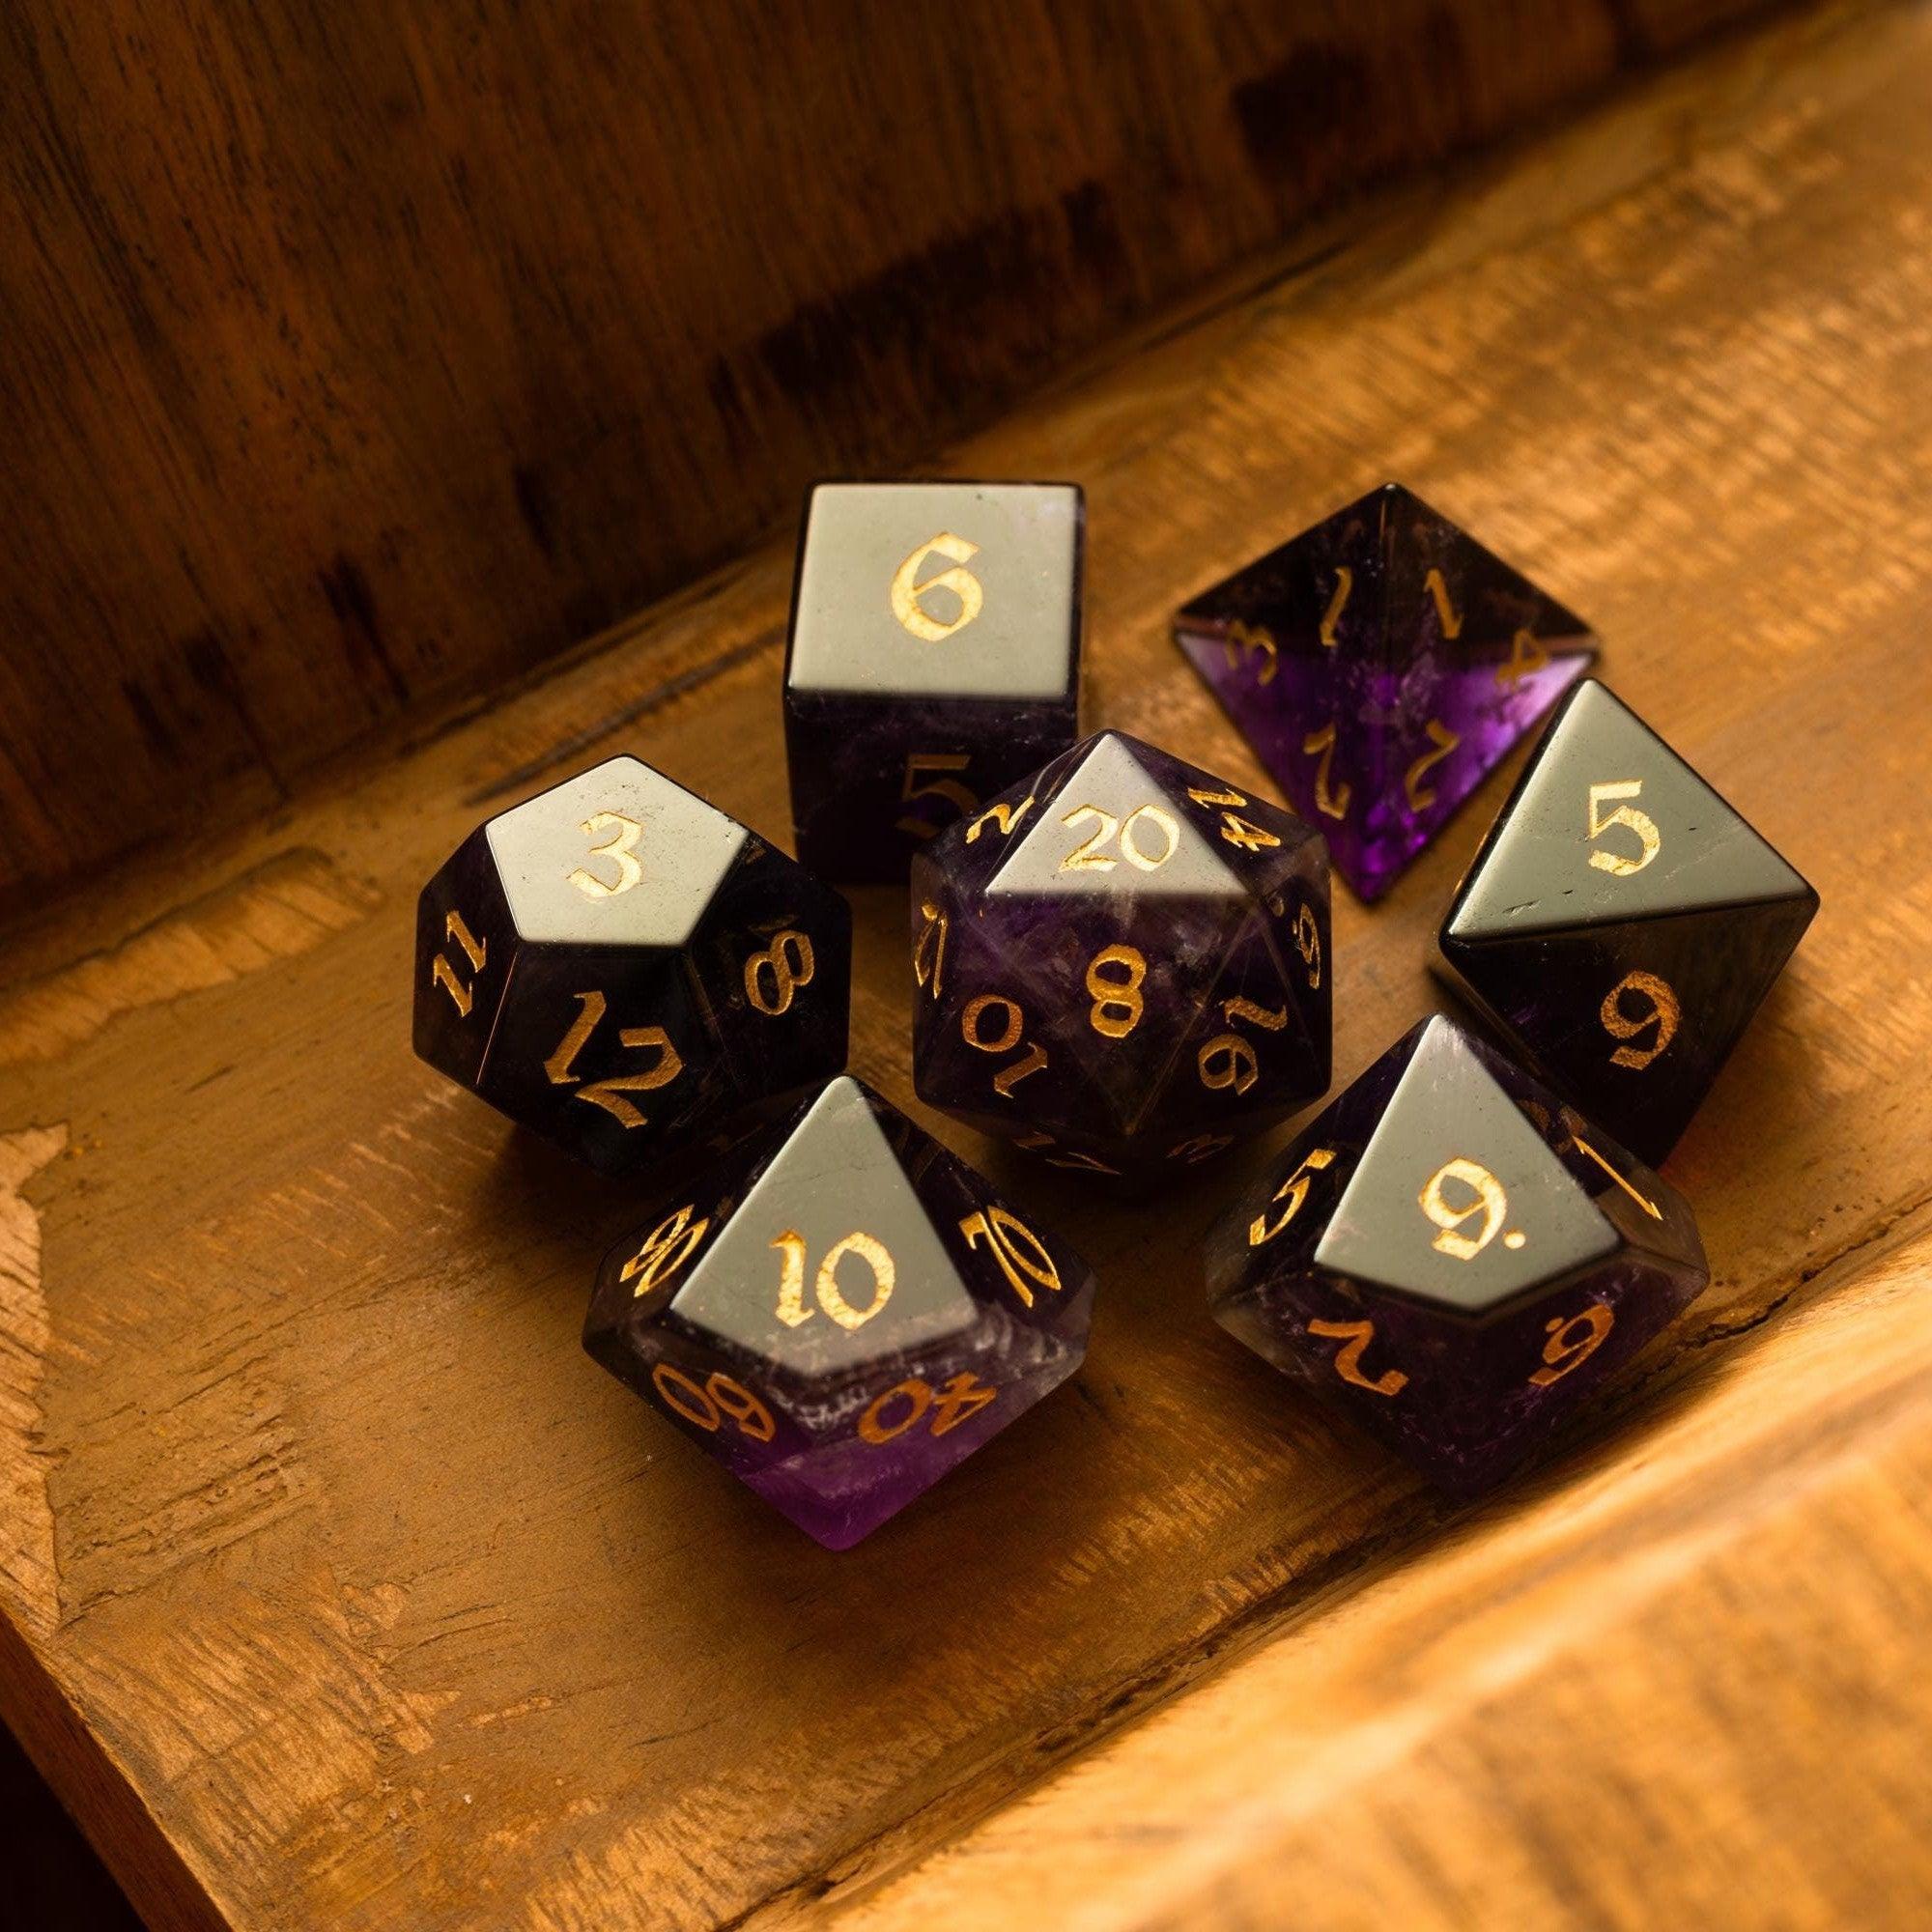
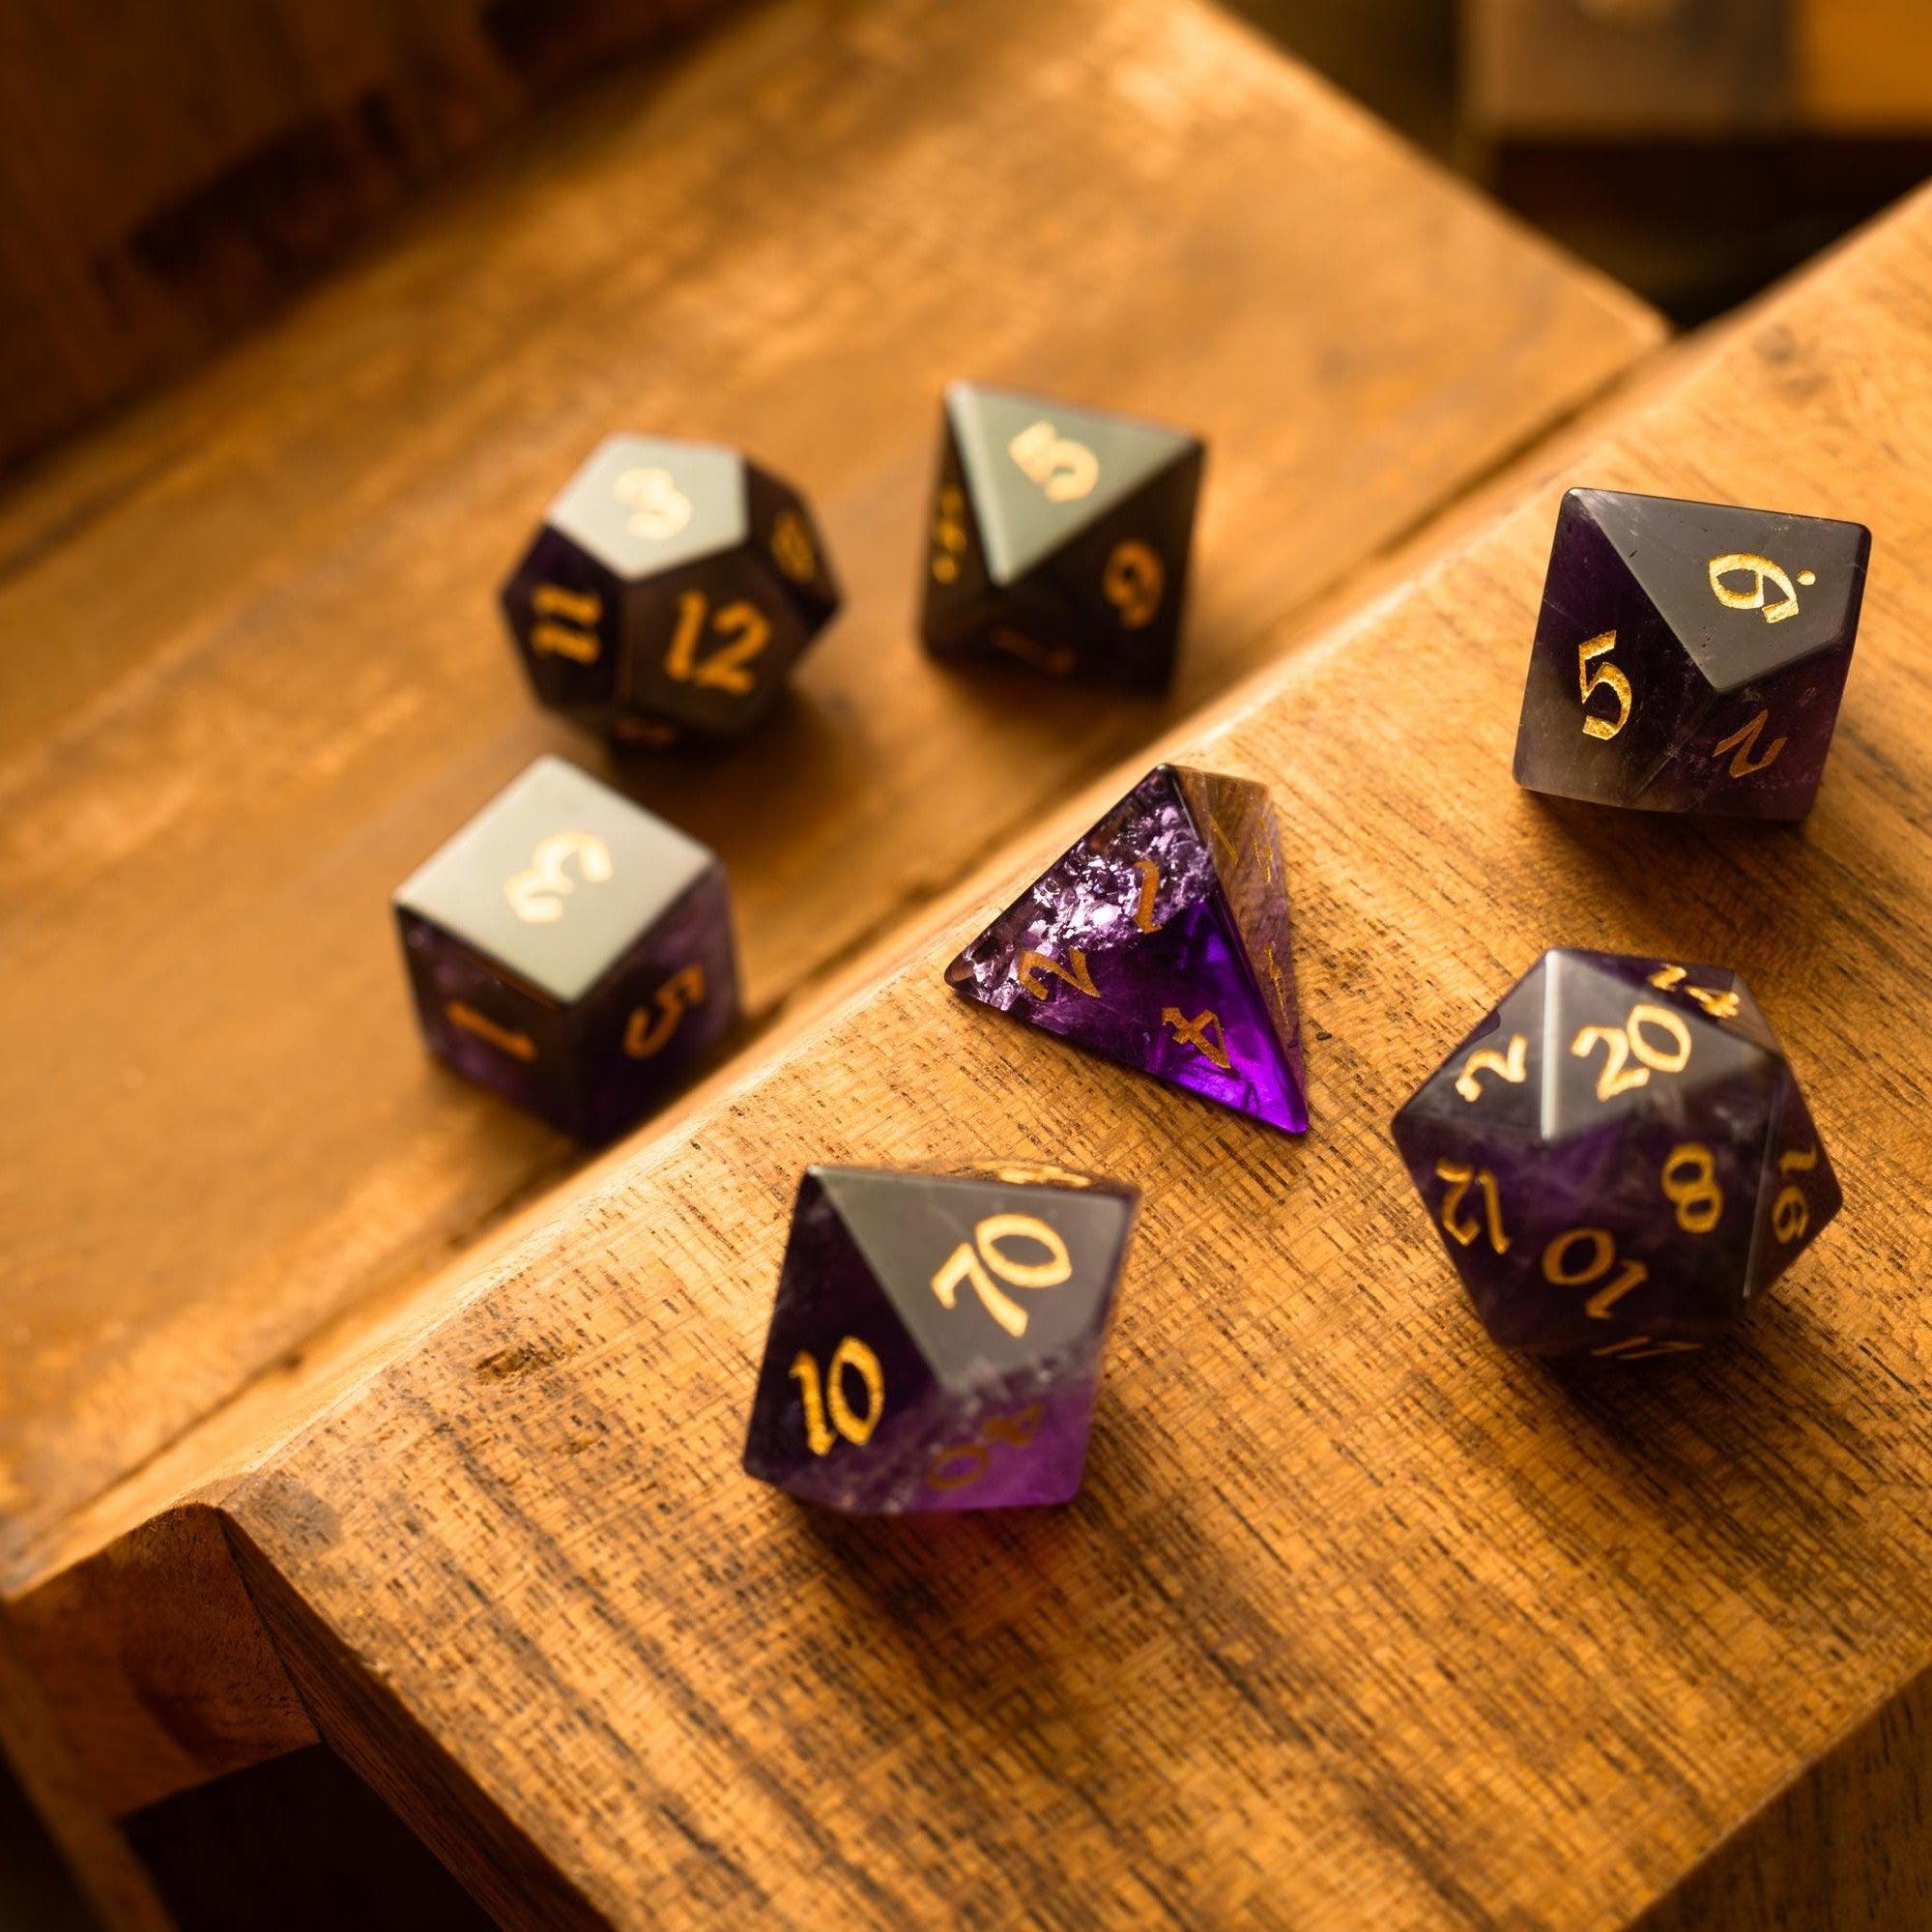
- Step 6: Add tactile fun. Color-coded tokens for health and energy help visual learners. A steady rolling surface and a Mystic Violet set can make turns feel special.
- Step 7: Calibrate difficulty in real time. If the table struggles, offer a hint or reduce target numbers. If they breeze through, add a friendly complication, like a clock ticking down to sunset.
- Step 8: Encourage teamwork. Prompt group moves: “Who wants to help?” Reward assists with advantage or a reroll token. Make every player’s contribution visible.
- Step 9: Spotlight every player. Rotate who gets the next big choice. Let quieter players roll for group checks or narrate how success looks.
- Step 10: Wrap with a mini-epilogue. Give each character a closing scene. Offer a souvenir—a sticker, a token, or a note from an NPC—that ties into the story.
- Step 11: Debrief and plan. Ask two questions: “What was most fun?” and “What would you change next time?” Note answers and tailor your next session around them.
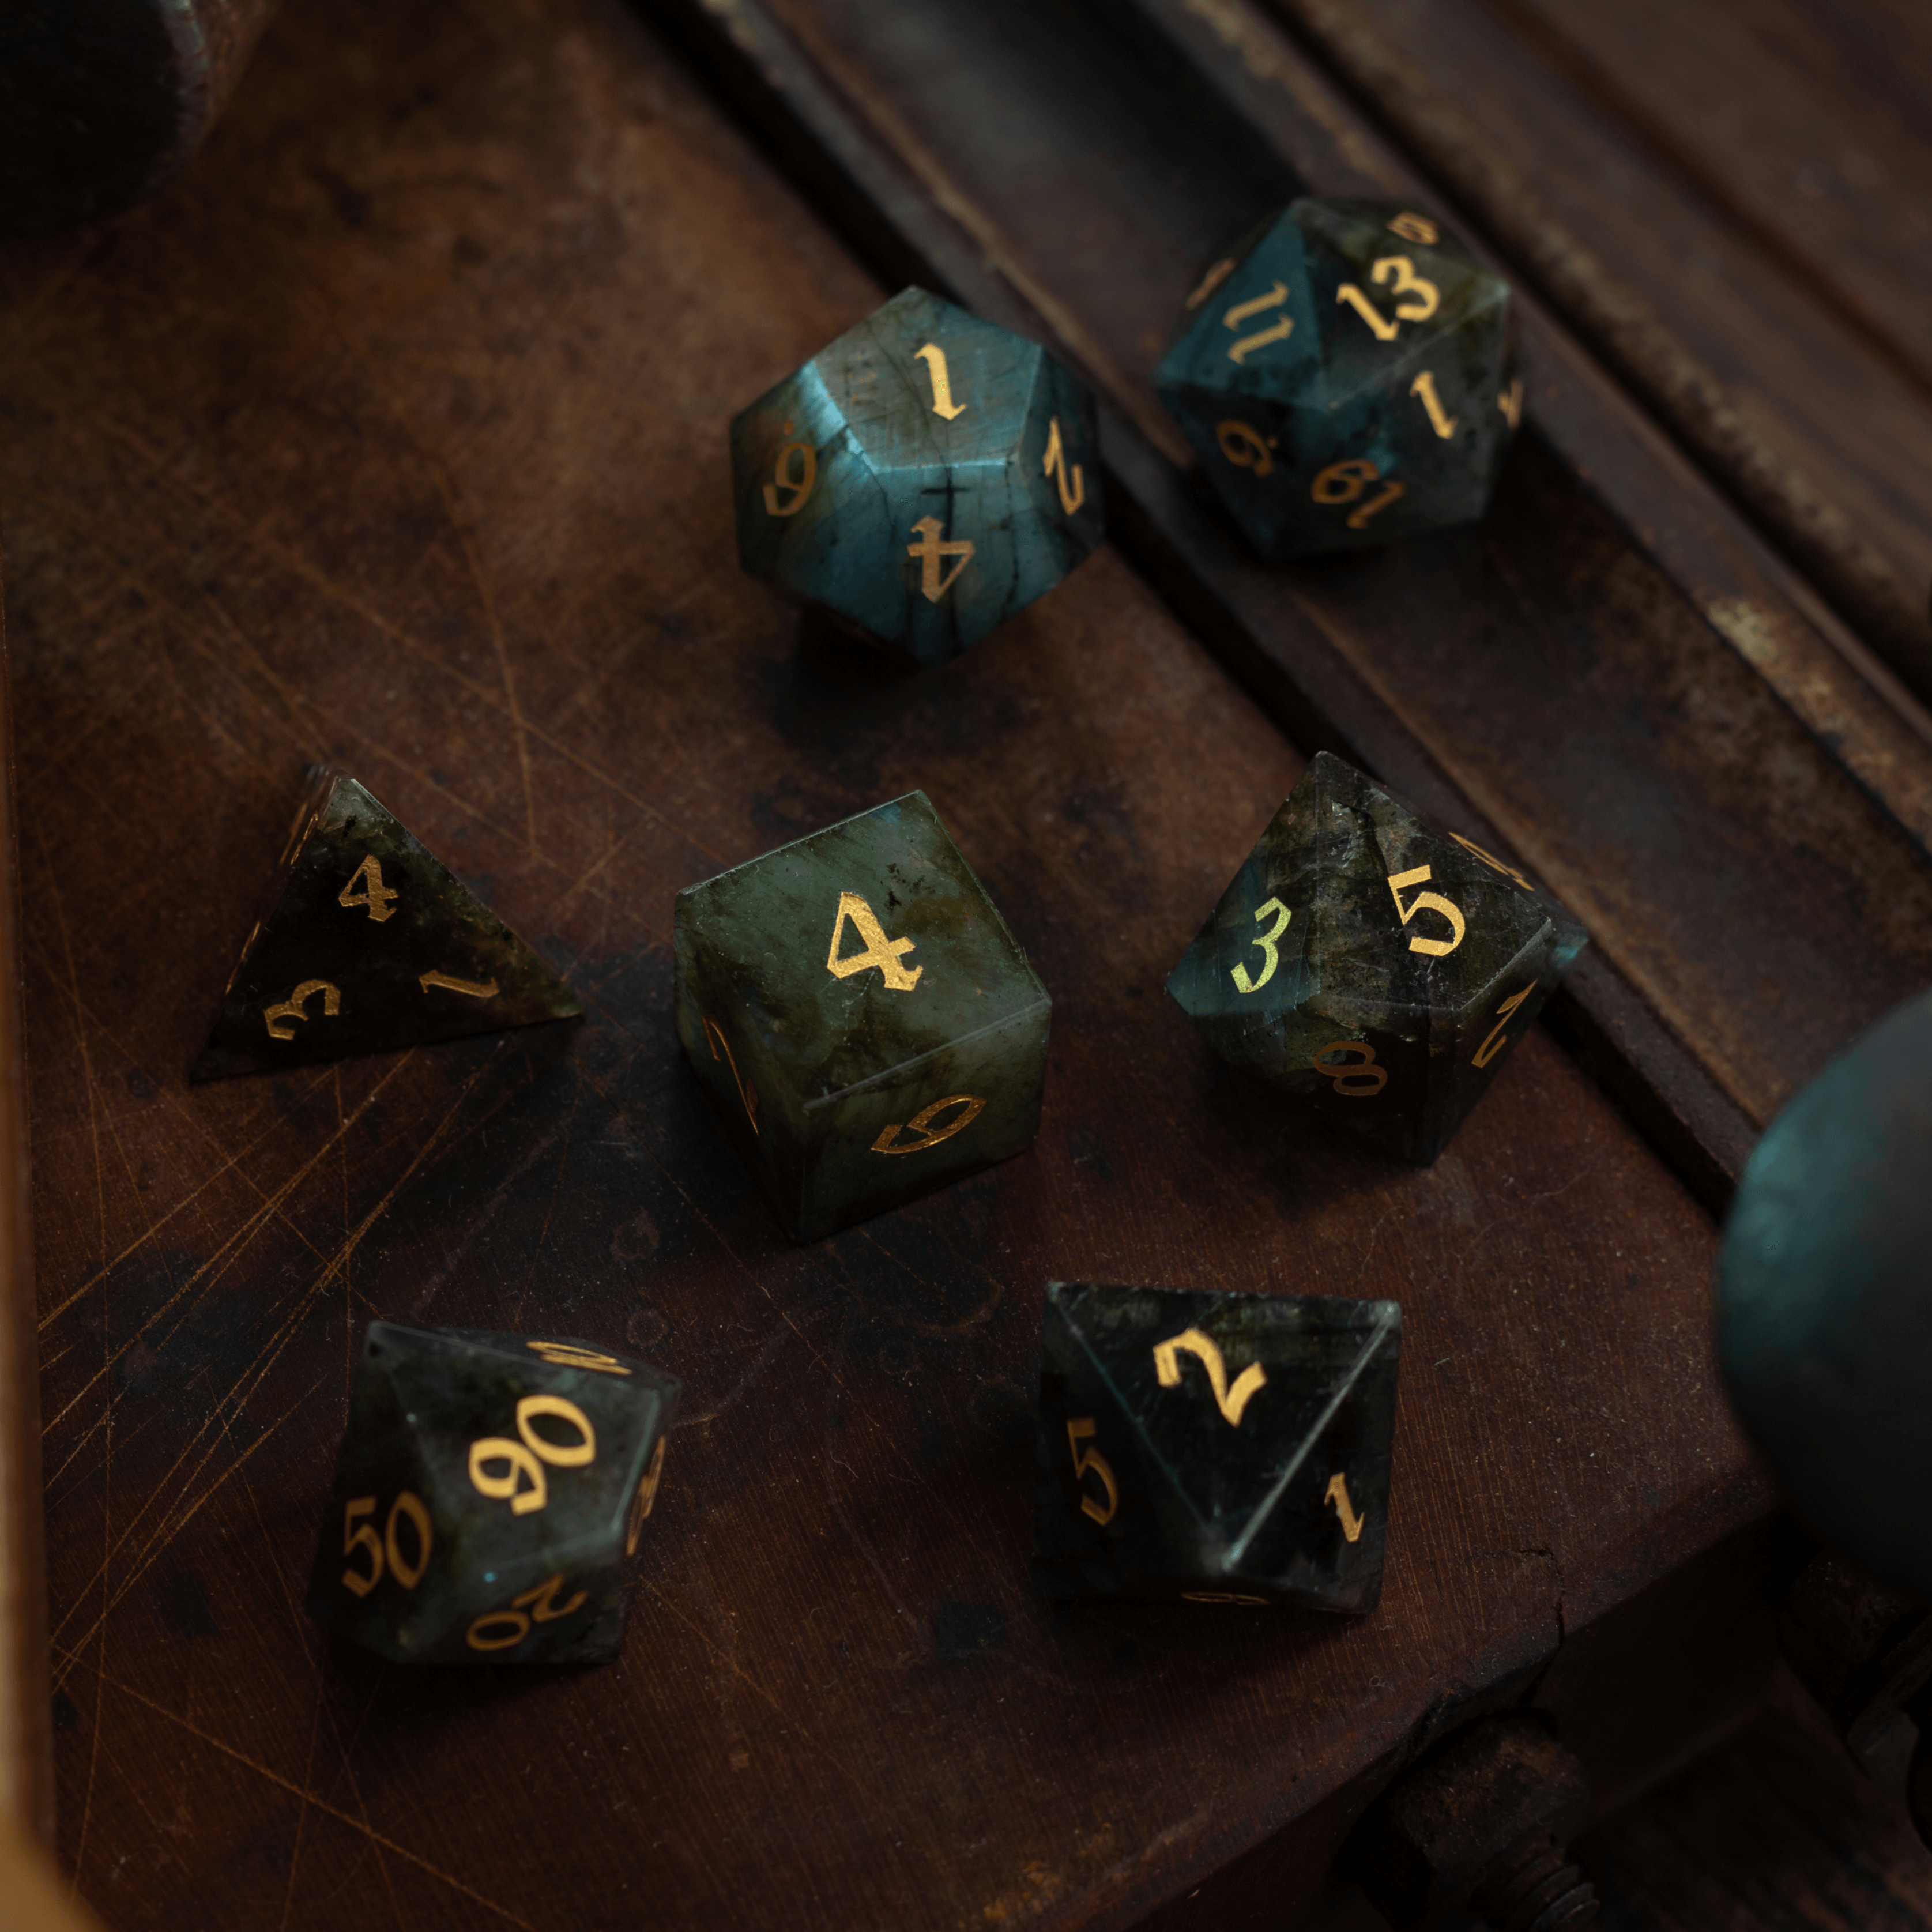
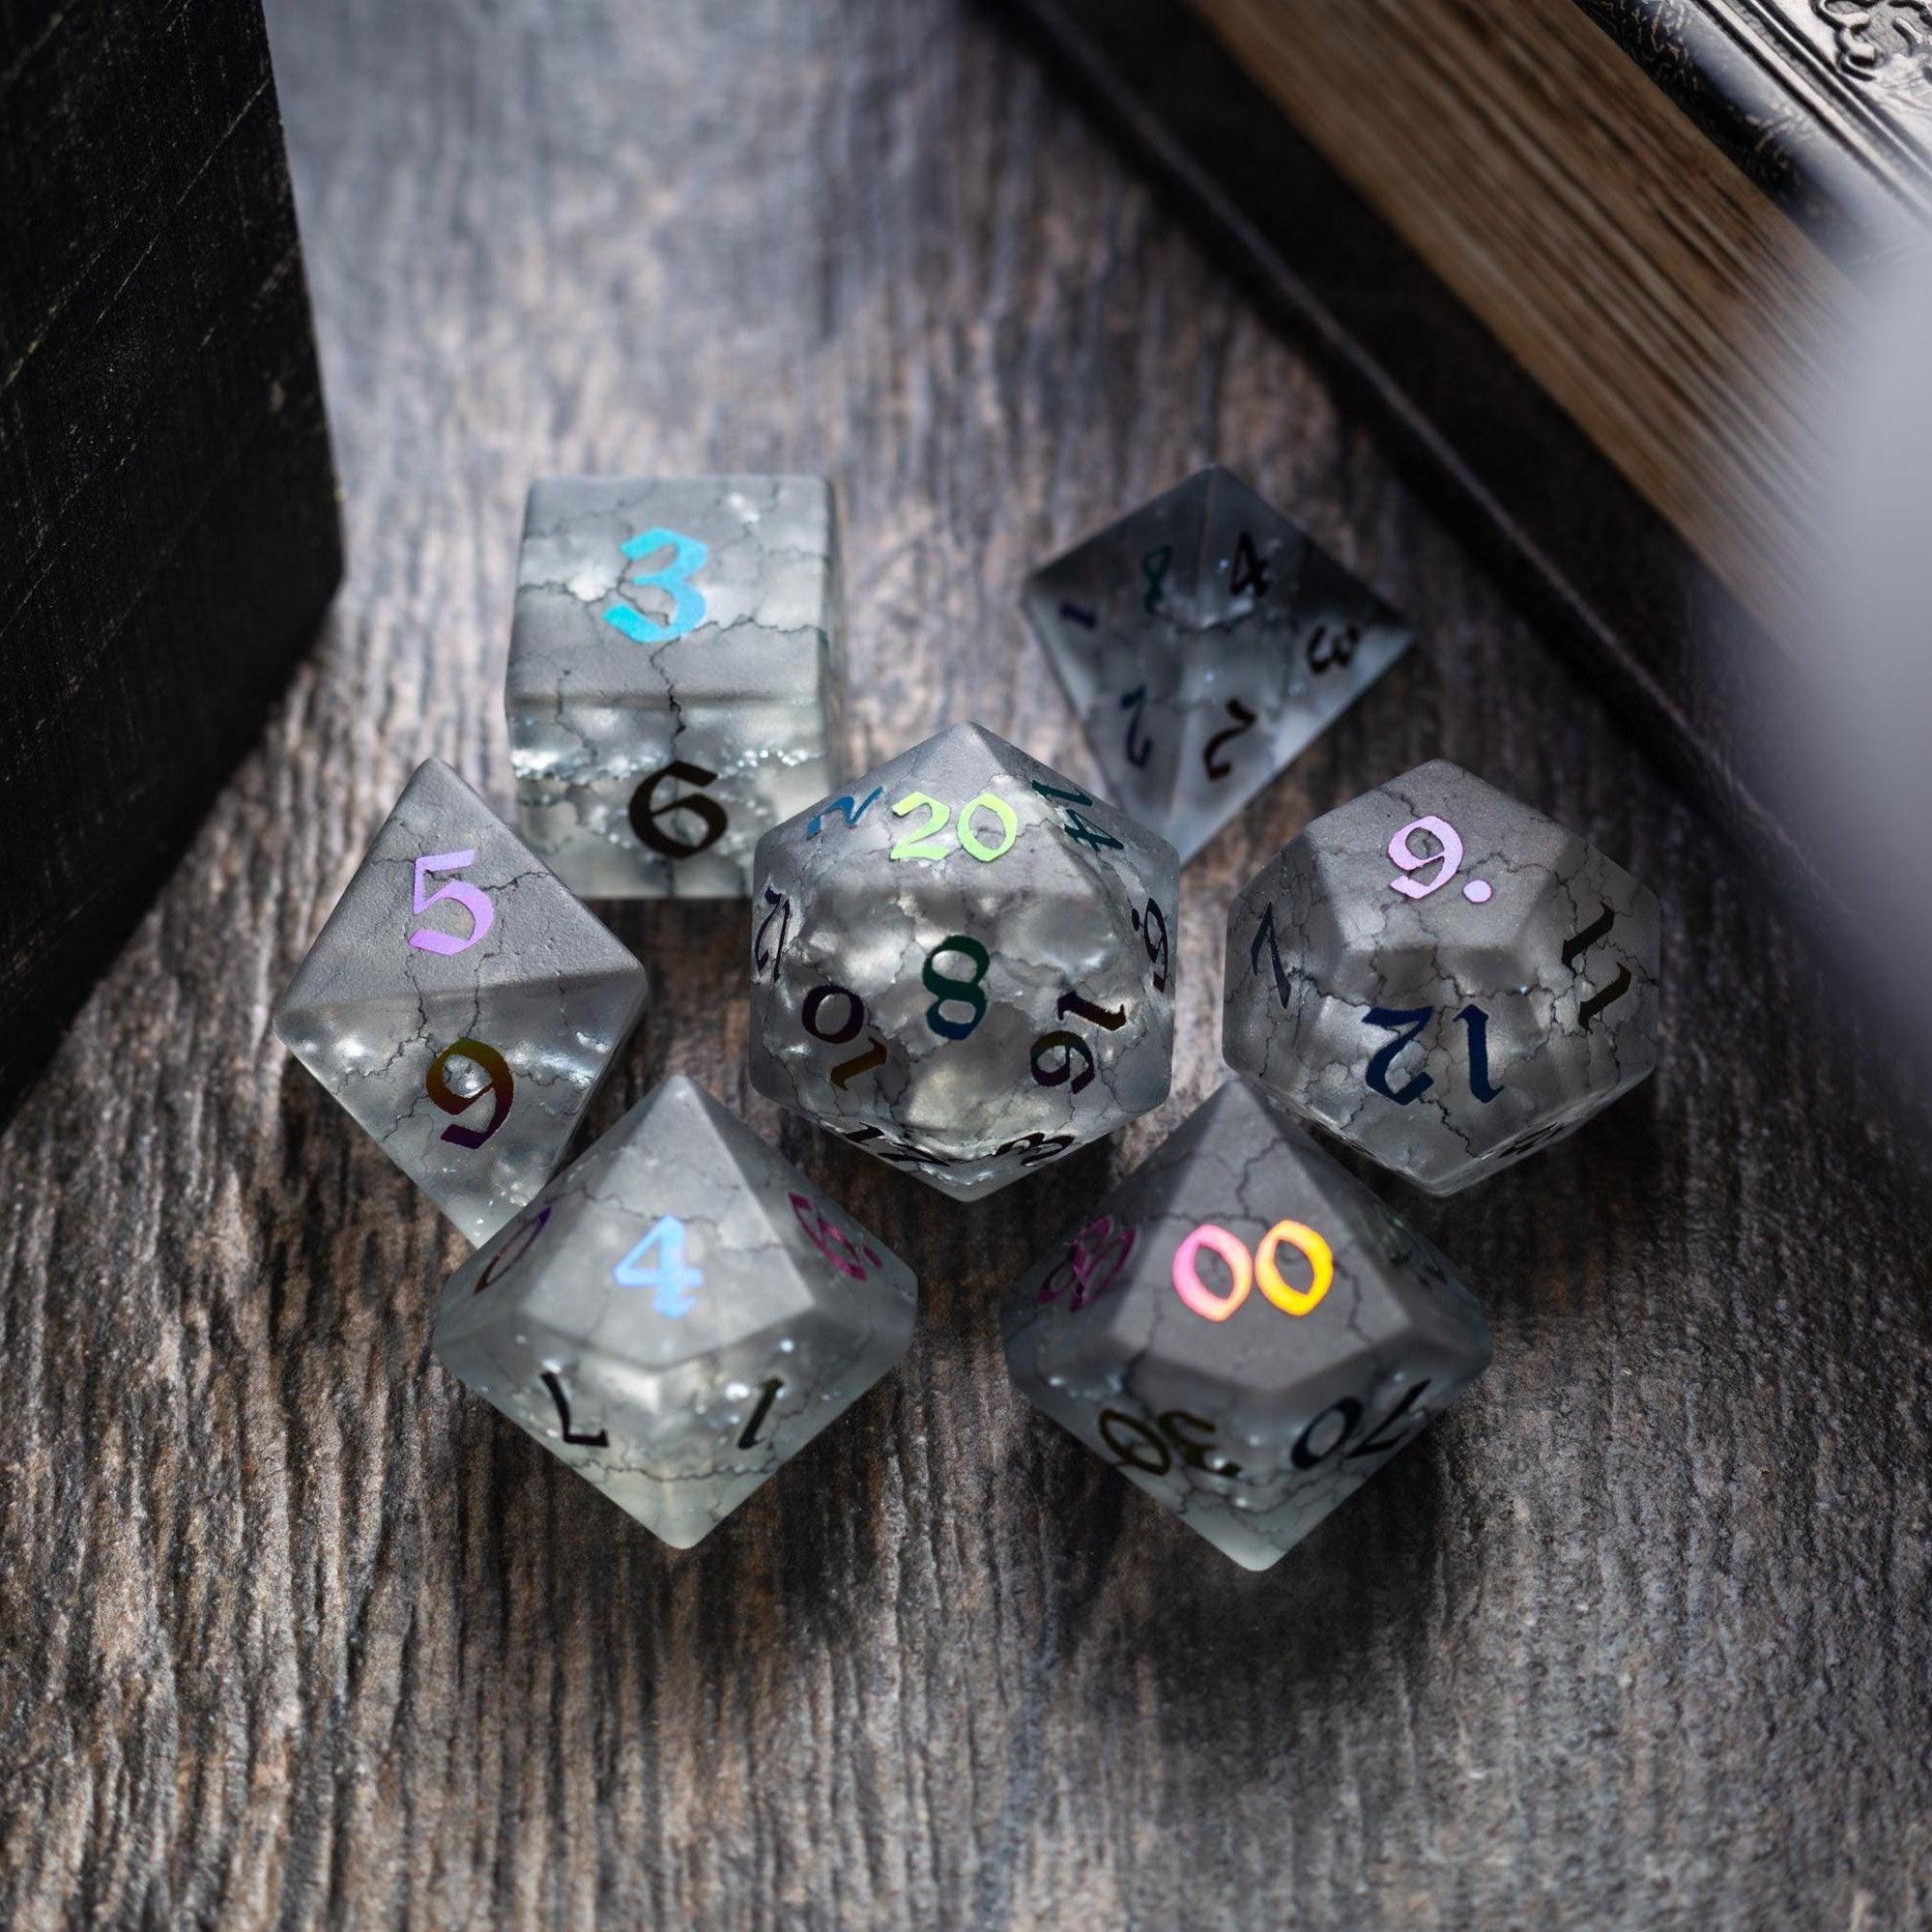
- Step 12: Keep your toolkit tidy. Use a small box for premade sheets, tokens, and spare dice. Consider a durable set from the gemstone dice collection for longevity and easy visibility.
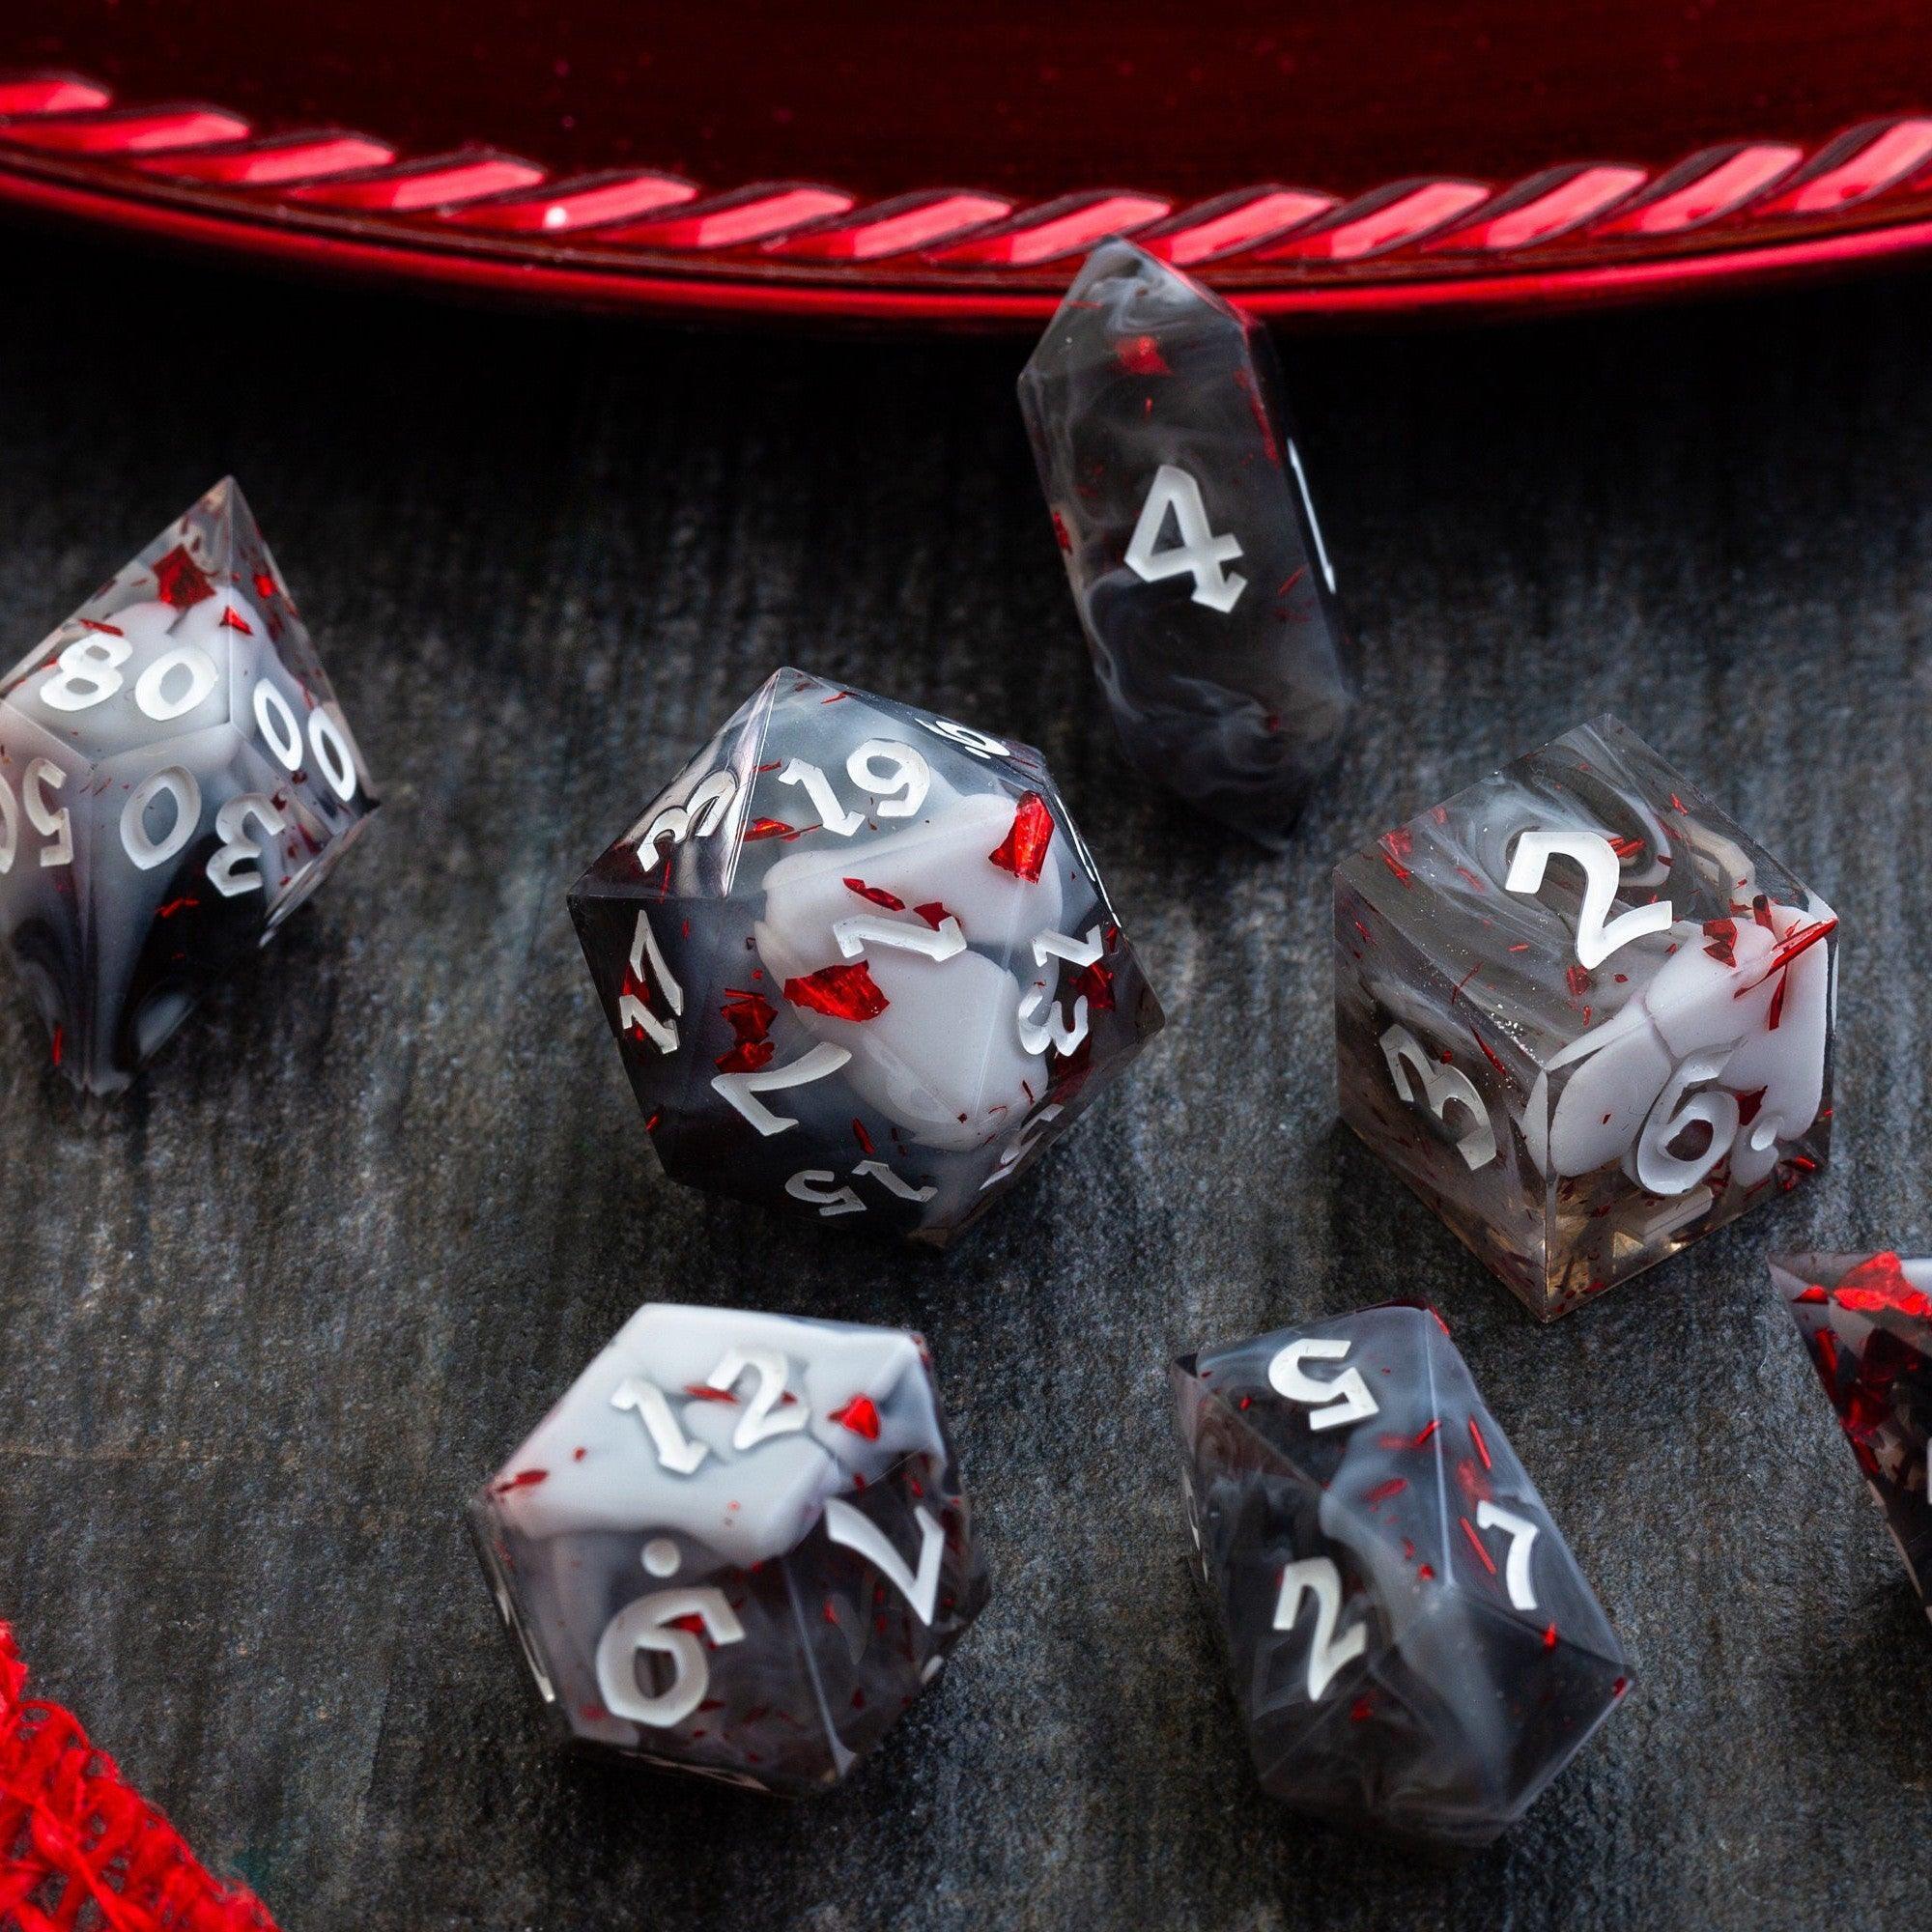
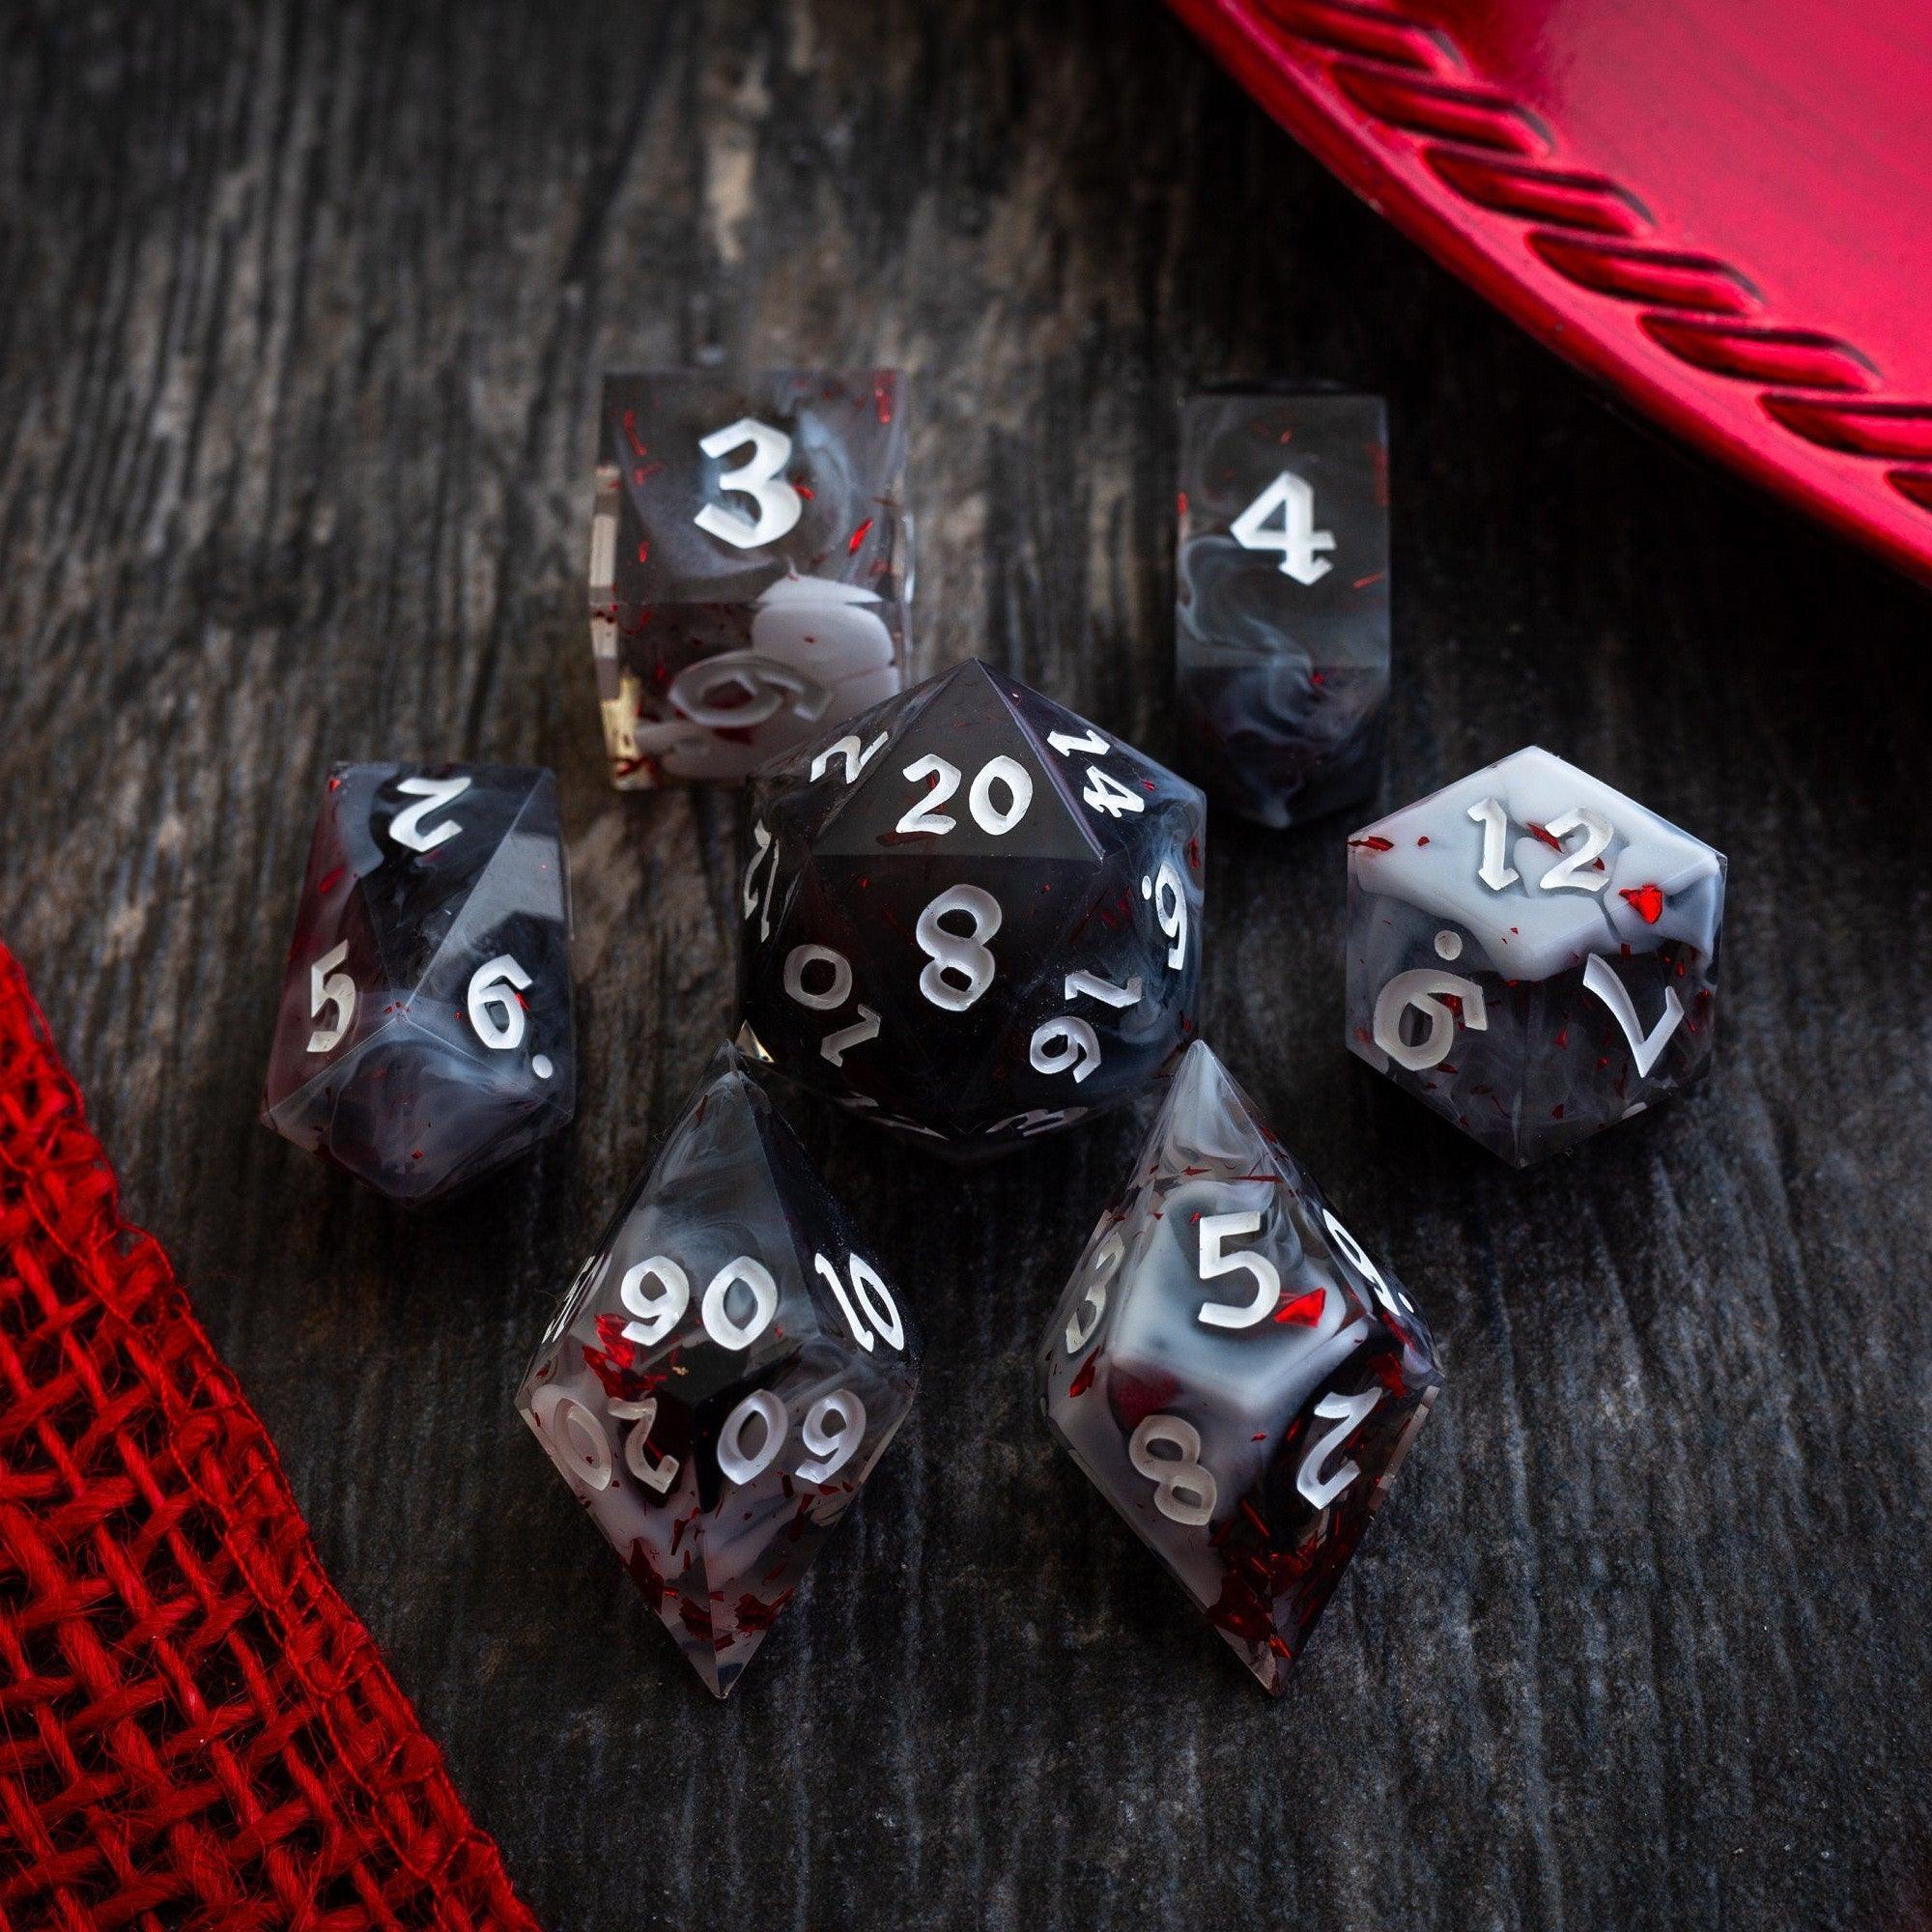
As you grow your toolkit, mix printable aids (initiative trackers, success clocks, character bookmarks) with physical accessories. If your players love flair, try a set from the liquid core dice range for eye-catching rolls that spark excitement without adding rule complexity. Remember, the goal is to support focus and fun, not to overwhelm the table.
When choosing youth-friendly role-playing resources, look for materials that highlight cooperation, curiosity, and achievable goals. Adventure starters, NPC cards with friendly faces, and puzzle prompts beat long stat blocks every time. The best tools stay flexible—adaptable to a sleepy rainy-day game or an energized after-school club.
Summary & Takeaway
You don’t need a massive library to run engaging sessions for kids and teens. Keep your approach simple: clear rules, gentle themes, and consistent safety tools. Build short adventures with obvious goals and give players lots of ways to succeed. Use tactile aids to reduce chaos and boost excitement, and close each session with reflection so your next game improves.
When in doubt, ask your players what they want to try, then design to that. With a little structure and a lot of encouragement, your table will feel welcoming, collaborative, and creative from the very first roll. And if you want accessories that make rolling smoother and more fun, browse sets that match your group’s style—subtle, sparkly, or bold—so the physical act of play is as delightful as the story itself.
How do I handle different ages at one table?
Use the “buddy system.” Pair younger players with older ones for helps and hints, and reward teamwork. Keep rules consistent for everyone, but scale expectations: younger kids get more guidance and prompts, while older kids lead scenes or handle group checks. If attention drifts, switch to a quick mini-game—a puzzle, riddle, or cooperative roll-off—to reset energy.
What’s a good age to start?
There’s no universal number, but many kids around early elementary school enjoy short, highly guided sessions with simple choices and lots of props. Focus on collaborative storytelling and visual aids rather than rules. As players mature, introduce slightly deeper mechanics and longer scenes. Always meet the table where it is and adjust pacing as needed.
Do I need special dice or accessories?
Not required, but helpful. High-contrast dice are easier to read, and a tower keeps rolls fair and contained. Consistent tools reduce table friction and let players focus on the story. If you want durable, memorable sets, consider a colorful option like the Mystic Violet set mentioned above or a sturdy gemstone set for longevity and clarity.


Leave a comment
This site is protected by hCaptcha and the hCaptcha Privacy Policy and Terms of Service apply.