
Token Sets and Markers for Tabletop RPGs Clear Tracking
Updated on: 2025-12-29
Ready to run smoother sessions without stopping to ask, “Who’s stunned?” or “Where does that spell end?” Smart table tools cut the chatter and keep everyone immersed. In this guide, you’ll learn how to pick, label, and store tabletop role playing game token sets and markers so your group can track status effects, areas, and turns at a glance. You’ll also see common myths debunked, a simple setup plan, and quick answers to the questions GMs and players ask most. By the end, your table will be faster, clearer, and way less cluttered.
- 1. Introduction
- 2. Myths vs. Facts
- 3. Step-by-Step Guide
- 4. Frequently Asked Questions
- 5. Summary & Key Takeaways
If you’ve ever paused a tense combat to debate a spell’s radius or hunt for who’s concentrating, you know how fast momentum slips away. Good tokens and clear markers solve that by making information visible. They speed up table talk, reduce rules disputes, and let your group focus on story beats and bold moves. Whether you run crunchy grid combat or loose theater-of-the-mind scenes, you can keep conditions, initiative, spell effects, and resources crystal clear with a system that’s simple, consistent, and easy to reset between sessions. With a few smart choices and some light prep, your table can feel organized without feeling fussy.
Myths vs. Facts
-
Myth: “Tokens only matter for tactical grid play.”
Fact: Even in narrative-heavy games, small trackers help record spotlight turns, story flags, or scene aspects. Visibility keeps momentum regardless of map style.
-
Myth: “Trackers slow the game down.”
Fact: They speed it up. When everyone can see who’s marked, prone, or concentrating, you skip reminders and re-checks. Clear table info equals faster decisions.
-
Myth: “They’re expensive to get right.”
Fact: You can start with colored rings, dry-erase chips, or paper flags. Upgrade later if you want premium looks or durability.
-
Myth: “Markers ruin immersion.”
Fact: Visual aids enhance theme when you match colors and materials to your setting. Subtle, tidy trackers fade into the scene while doing their job.
-
Myth: “Only the GM should manage tokens.”
Fact: Player-facing control is faster. Let each player place and remove their own condition tags or resource counters to shorten the GM’s to-do list.
-
Myth: “Digital tools replace physical markers.”
Fact: Apps are great, but at an in-person table, shared physical cues beat screen peeks. Hybrid setups often work best: an app for prep, tokens for play.
Step-by-Step Guide to tabletop role playing game token sets and markers
-
List what you actually need to track.
Make a quick checklist: initiative order, conditions (stunned, prone, restrained), concentration, spell areas, ongoing damage, and mission or scene flags. Start small; you can expand later.
-
Choose materials that match your table vibe.
Acrylic rings and dry-erase chips are lightweight and readable. Wood feels classic and warm. Silicone bands are flexible and quiet. Magnetic options stick to metal boards. Mix and match if it helps.
-
Color-code with intent.
Use bright, distinct colors for frequent statuses (red for damage over time, blue for frost, green for poison). Keep a simple legend visible, or print a tiny reference card for each player.
-
Size for visibility and space.
Mini bases vary, so test fit your rings. For area effects, use clear templates that don’t obscure the map. Thin edges and high-contrast labels keep everything readable without clutter.
-
Prep a fast storage system.
Small tackle boxes or zipper pouches work great. Label compartments by status. Put initiative clips and scene flags in a “start of session” tray. A tidy kit makes setup a 60-second job.
-
Set table rules for who manages what.
Give players ownership: they place and remove their conditions and resource counters. The GM handles area templates and global scene tags. This splits the load and prevents missed updates.
-
Keep it thematic with your accessories.
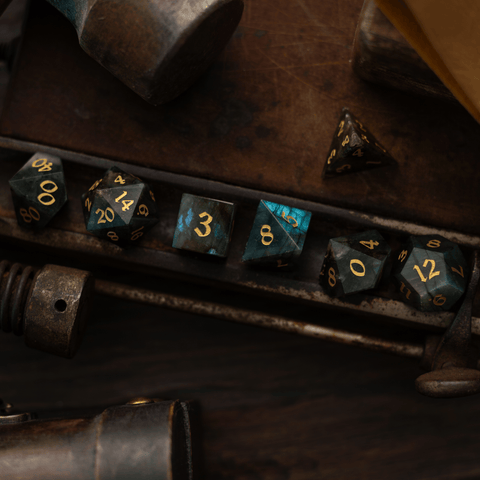
If your group loves premium pieces, match trackers to your aesthetic. For example, elegant dice or a dramatic tower pairs nicely with clean, understated markers. Explore curated dice collections to inspire your table’s look.
-
Integrate initiative and turn reminders.
Use numbered clips, a simple initiative tent, or a row of tokens. Assign a “turn marshal” player to advance the queue. Make it visible from every seat to cut down on “Who’s up?”
-
Create a reset ritual.
At the end of each scene, everyone clears their statuses and returns pieces to labeled slots. A 30-second reset prevents lingering markers from causing confusion next round.
-
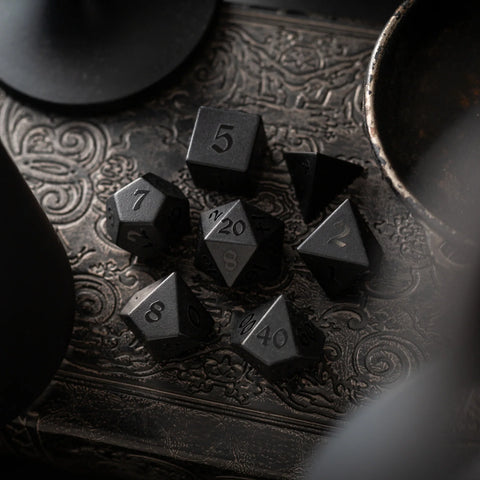
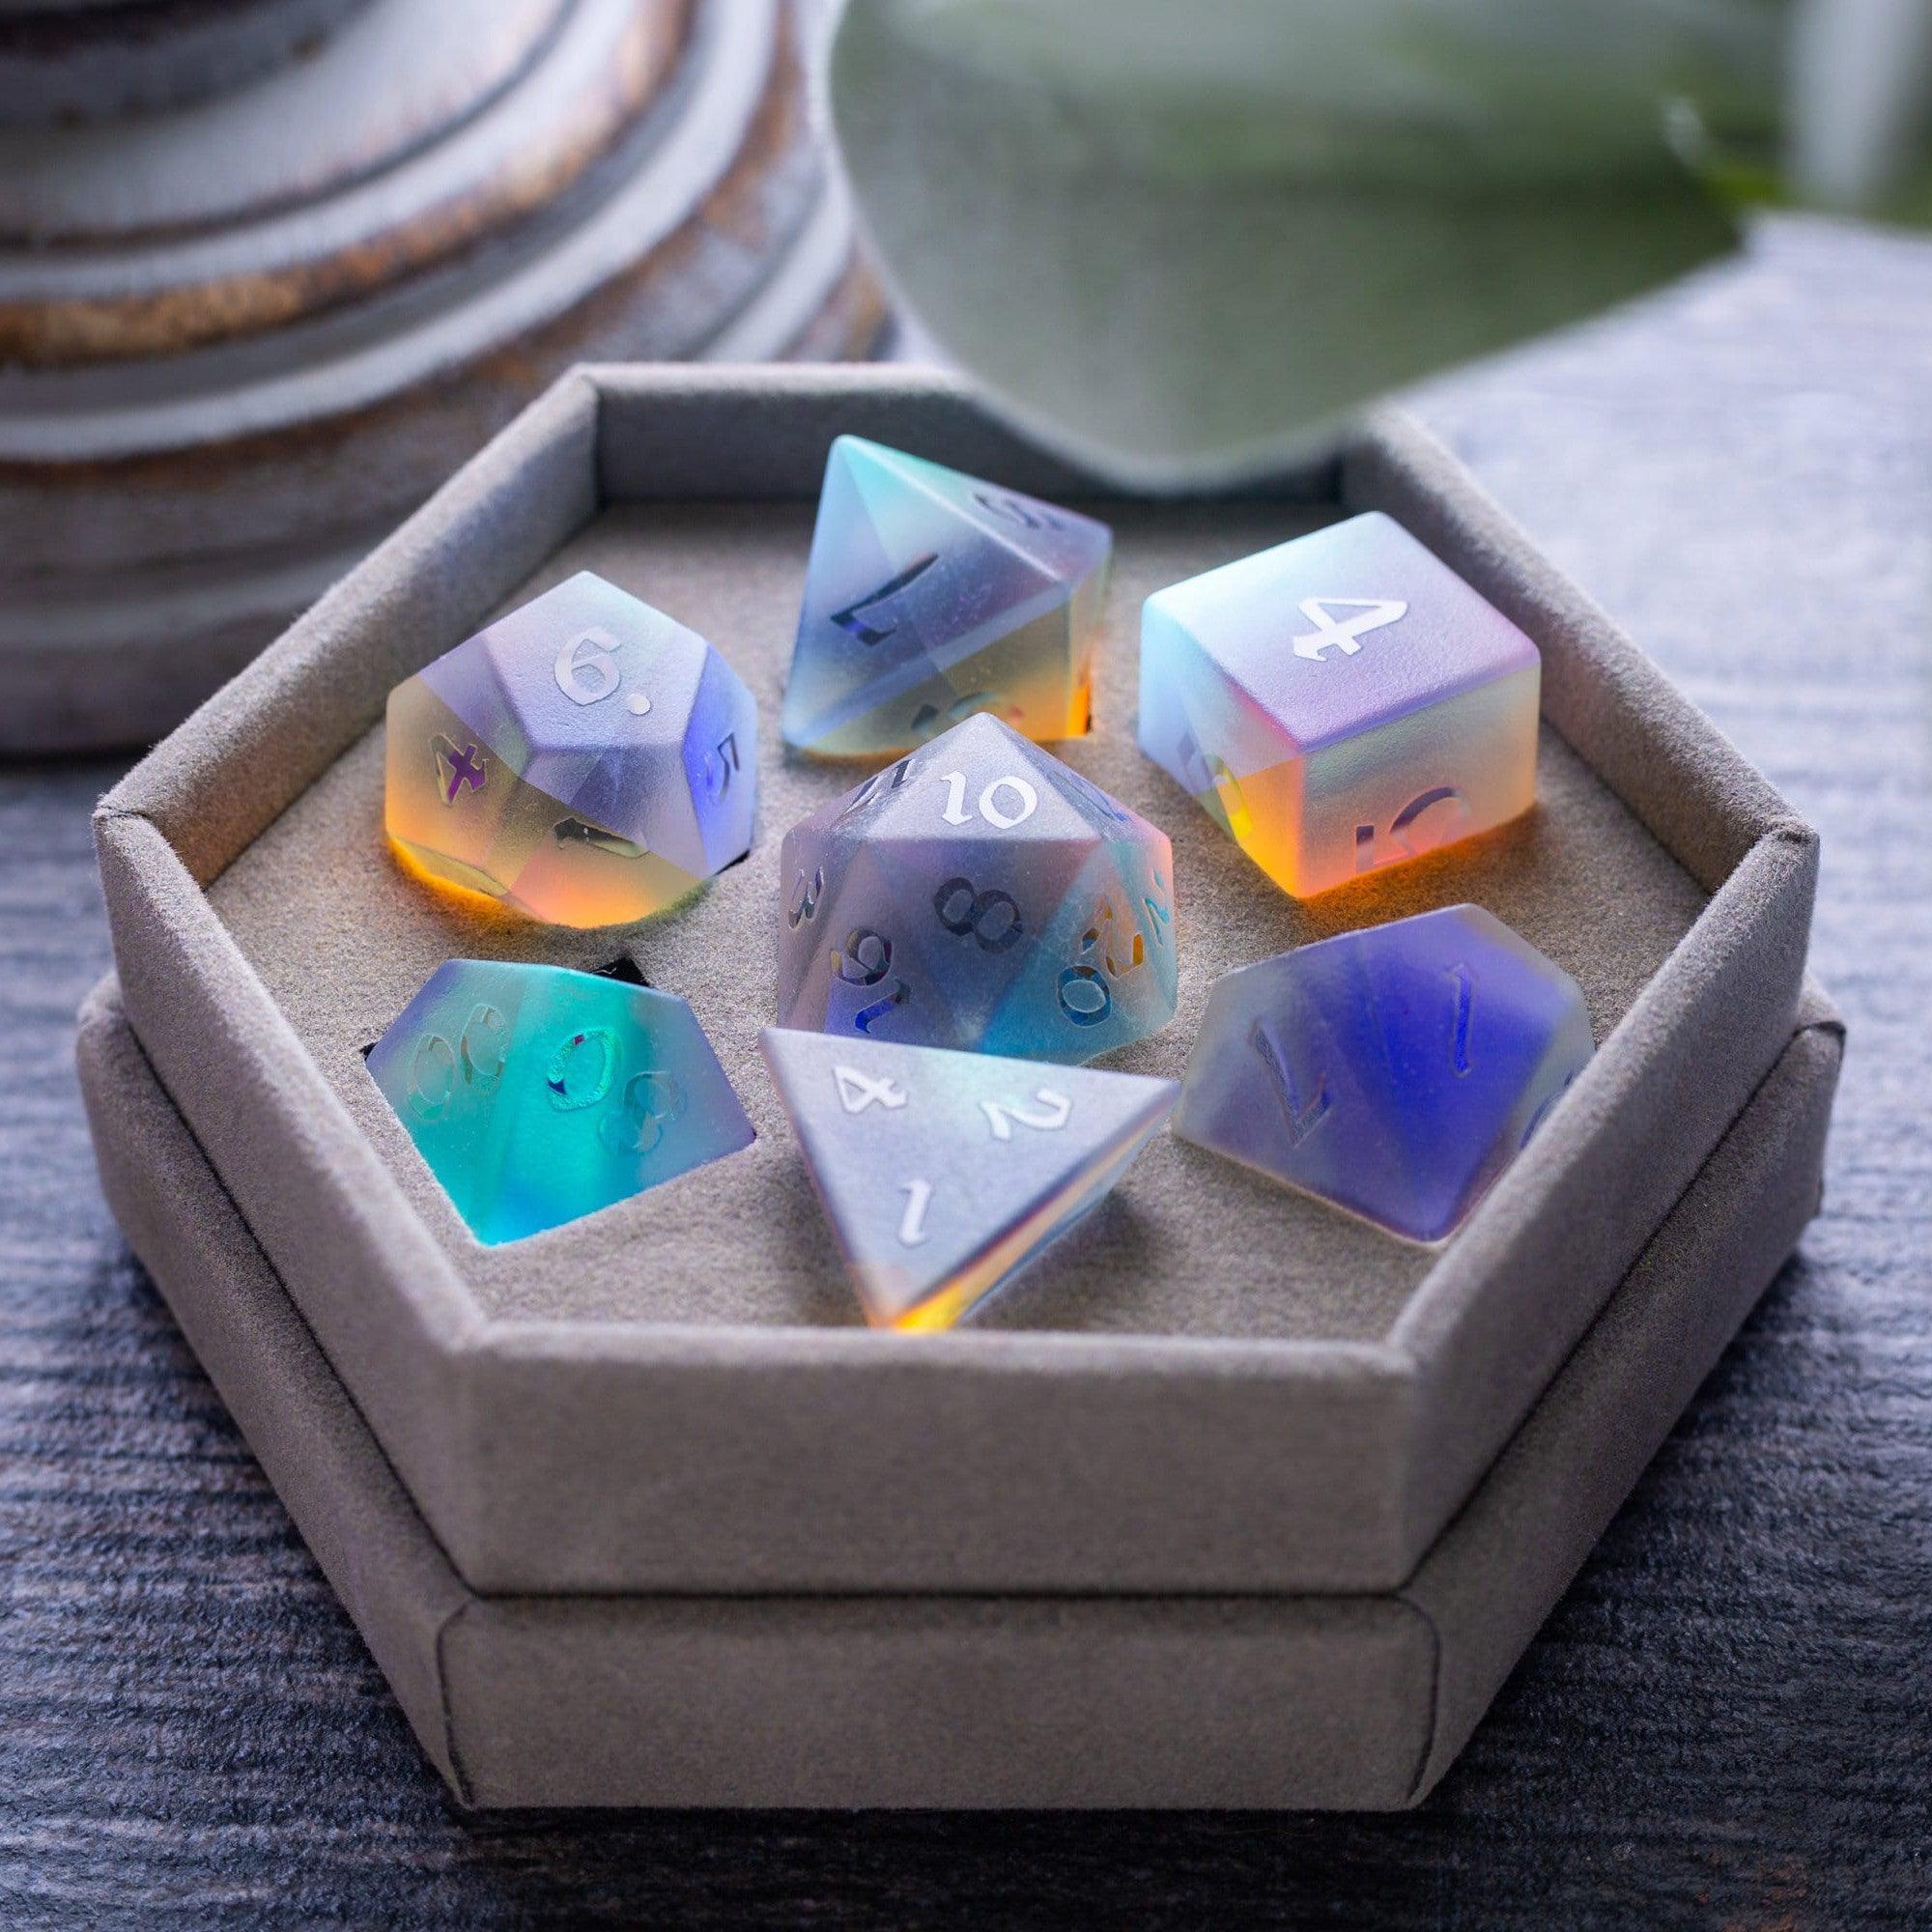
Upgrade deliberately.
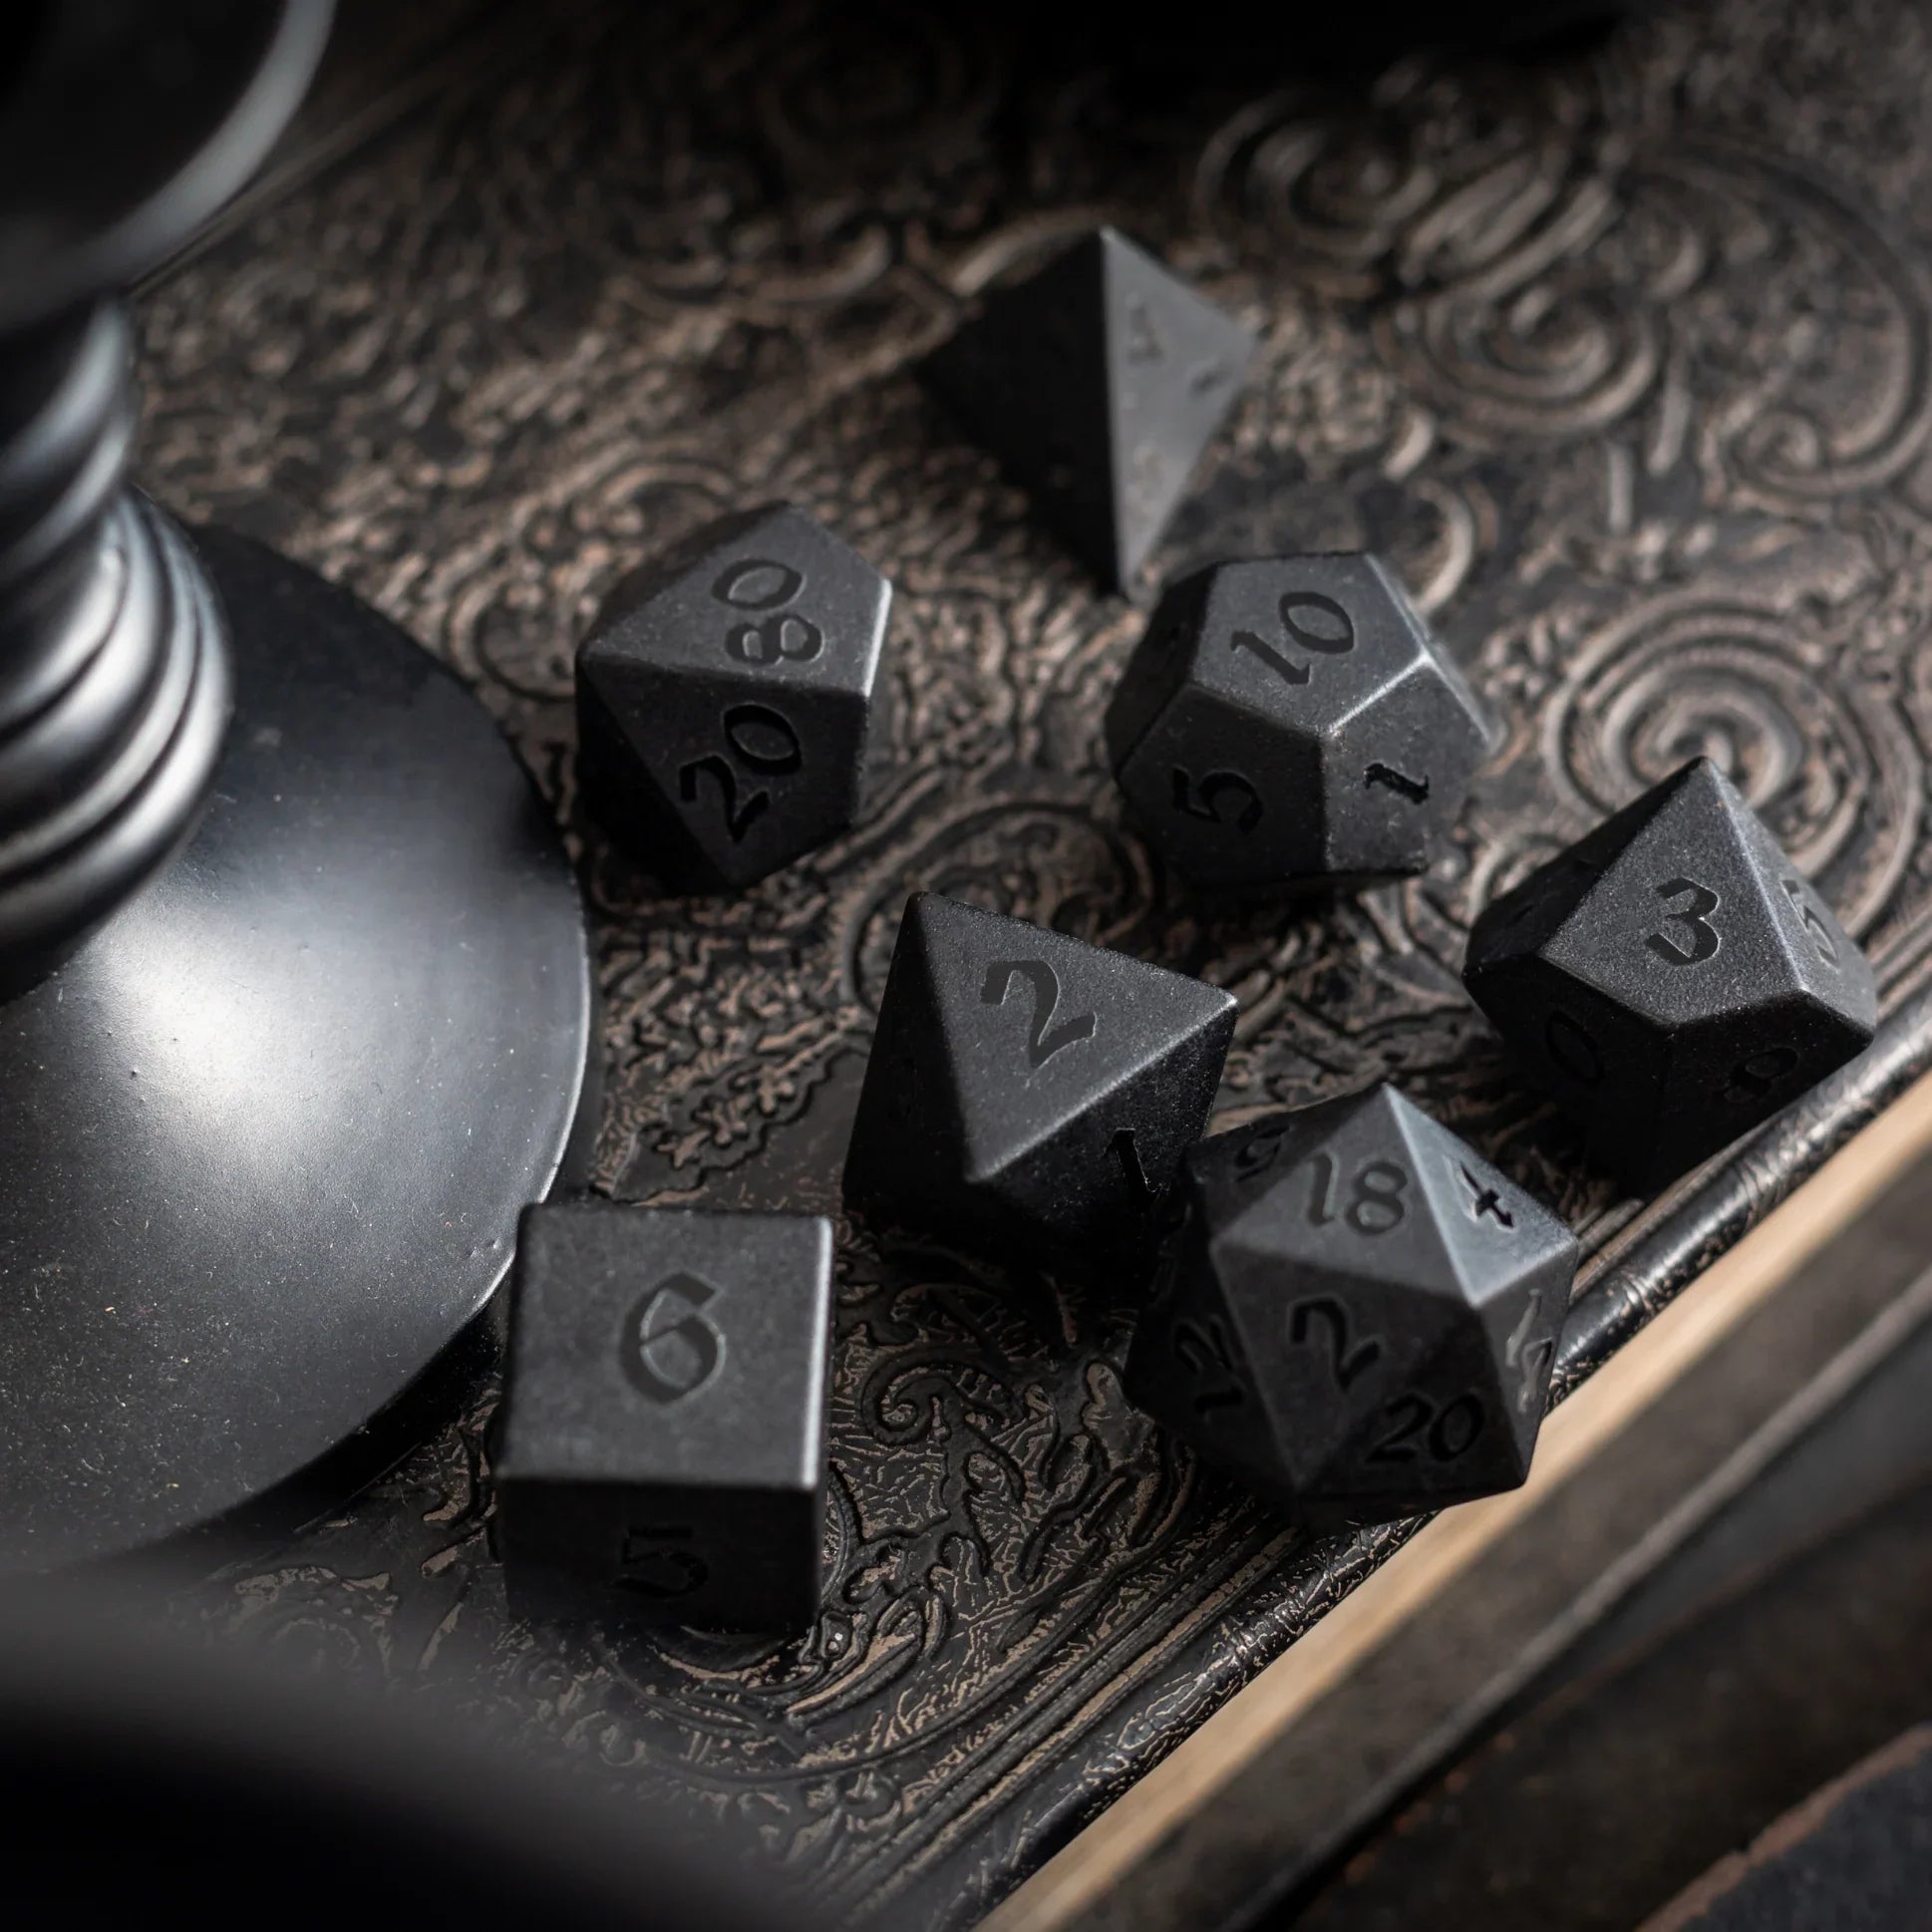
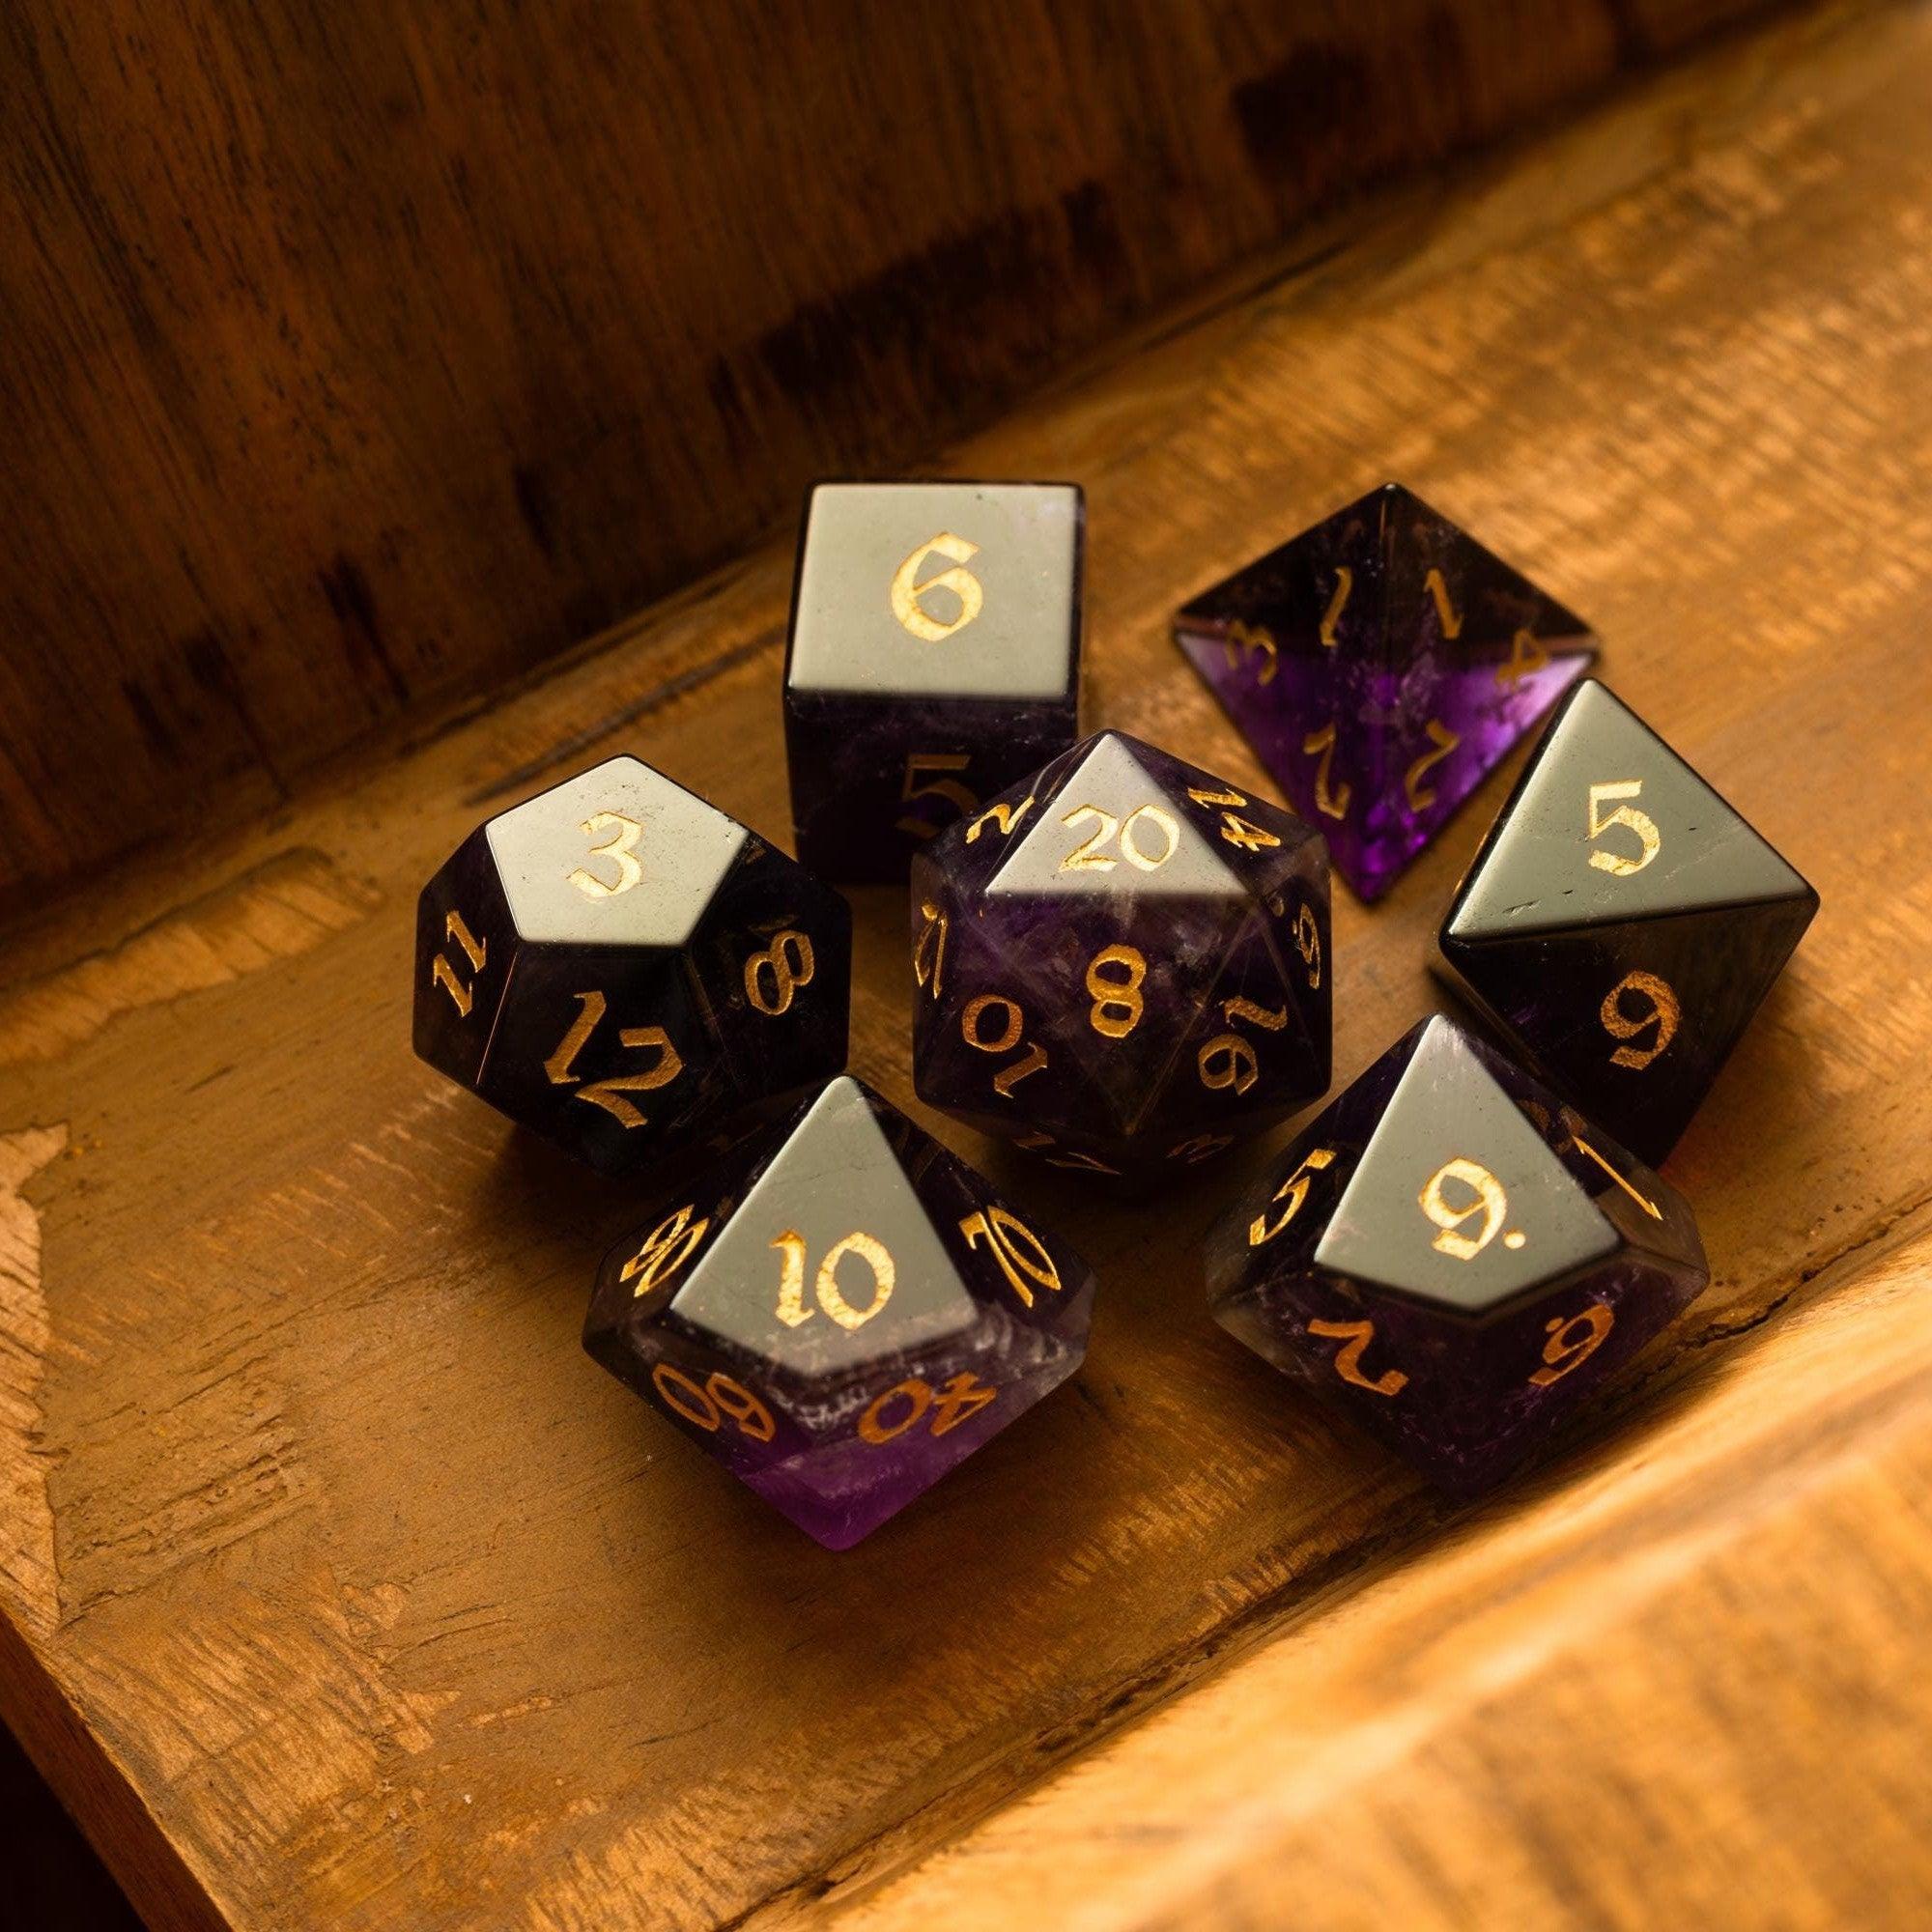
Once your system works, treat yourself to one showpiece that matches the mood. If your group favors arcane themes, a shimmering set can elevate the vibe. For dramatic rolls, a sturdy dice tower keeps the action fair and visible.
-
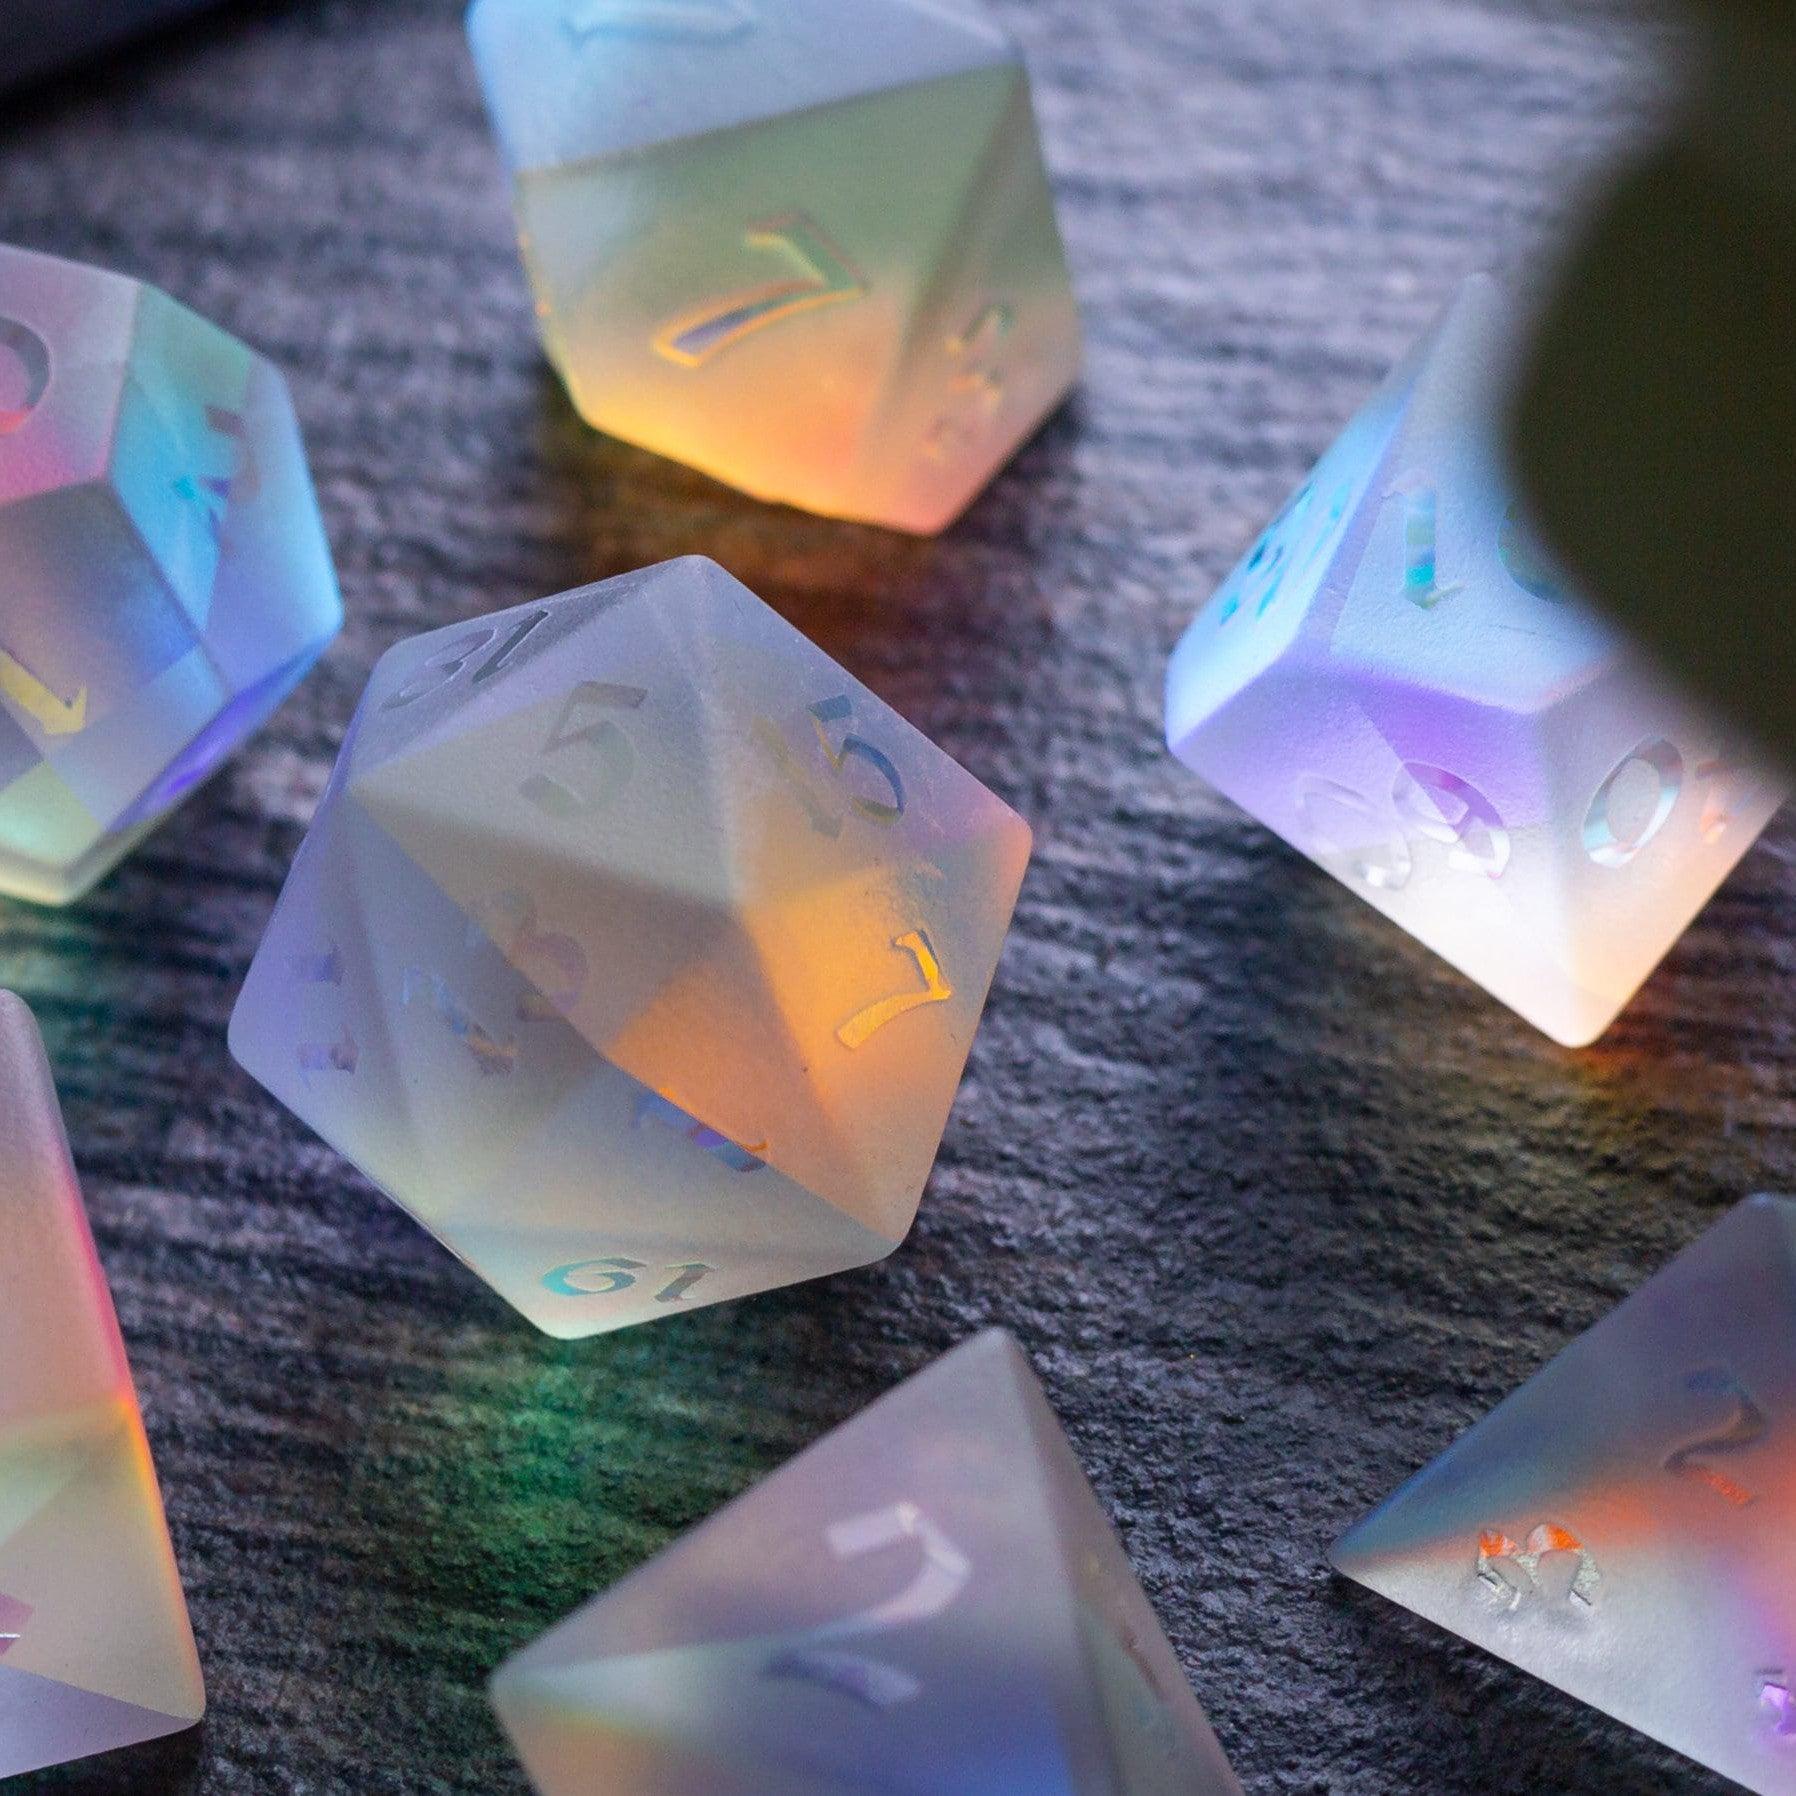
Support clarity with color-matched accessories.
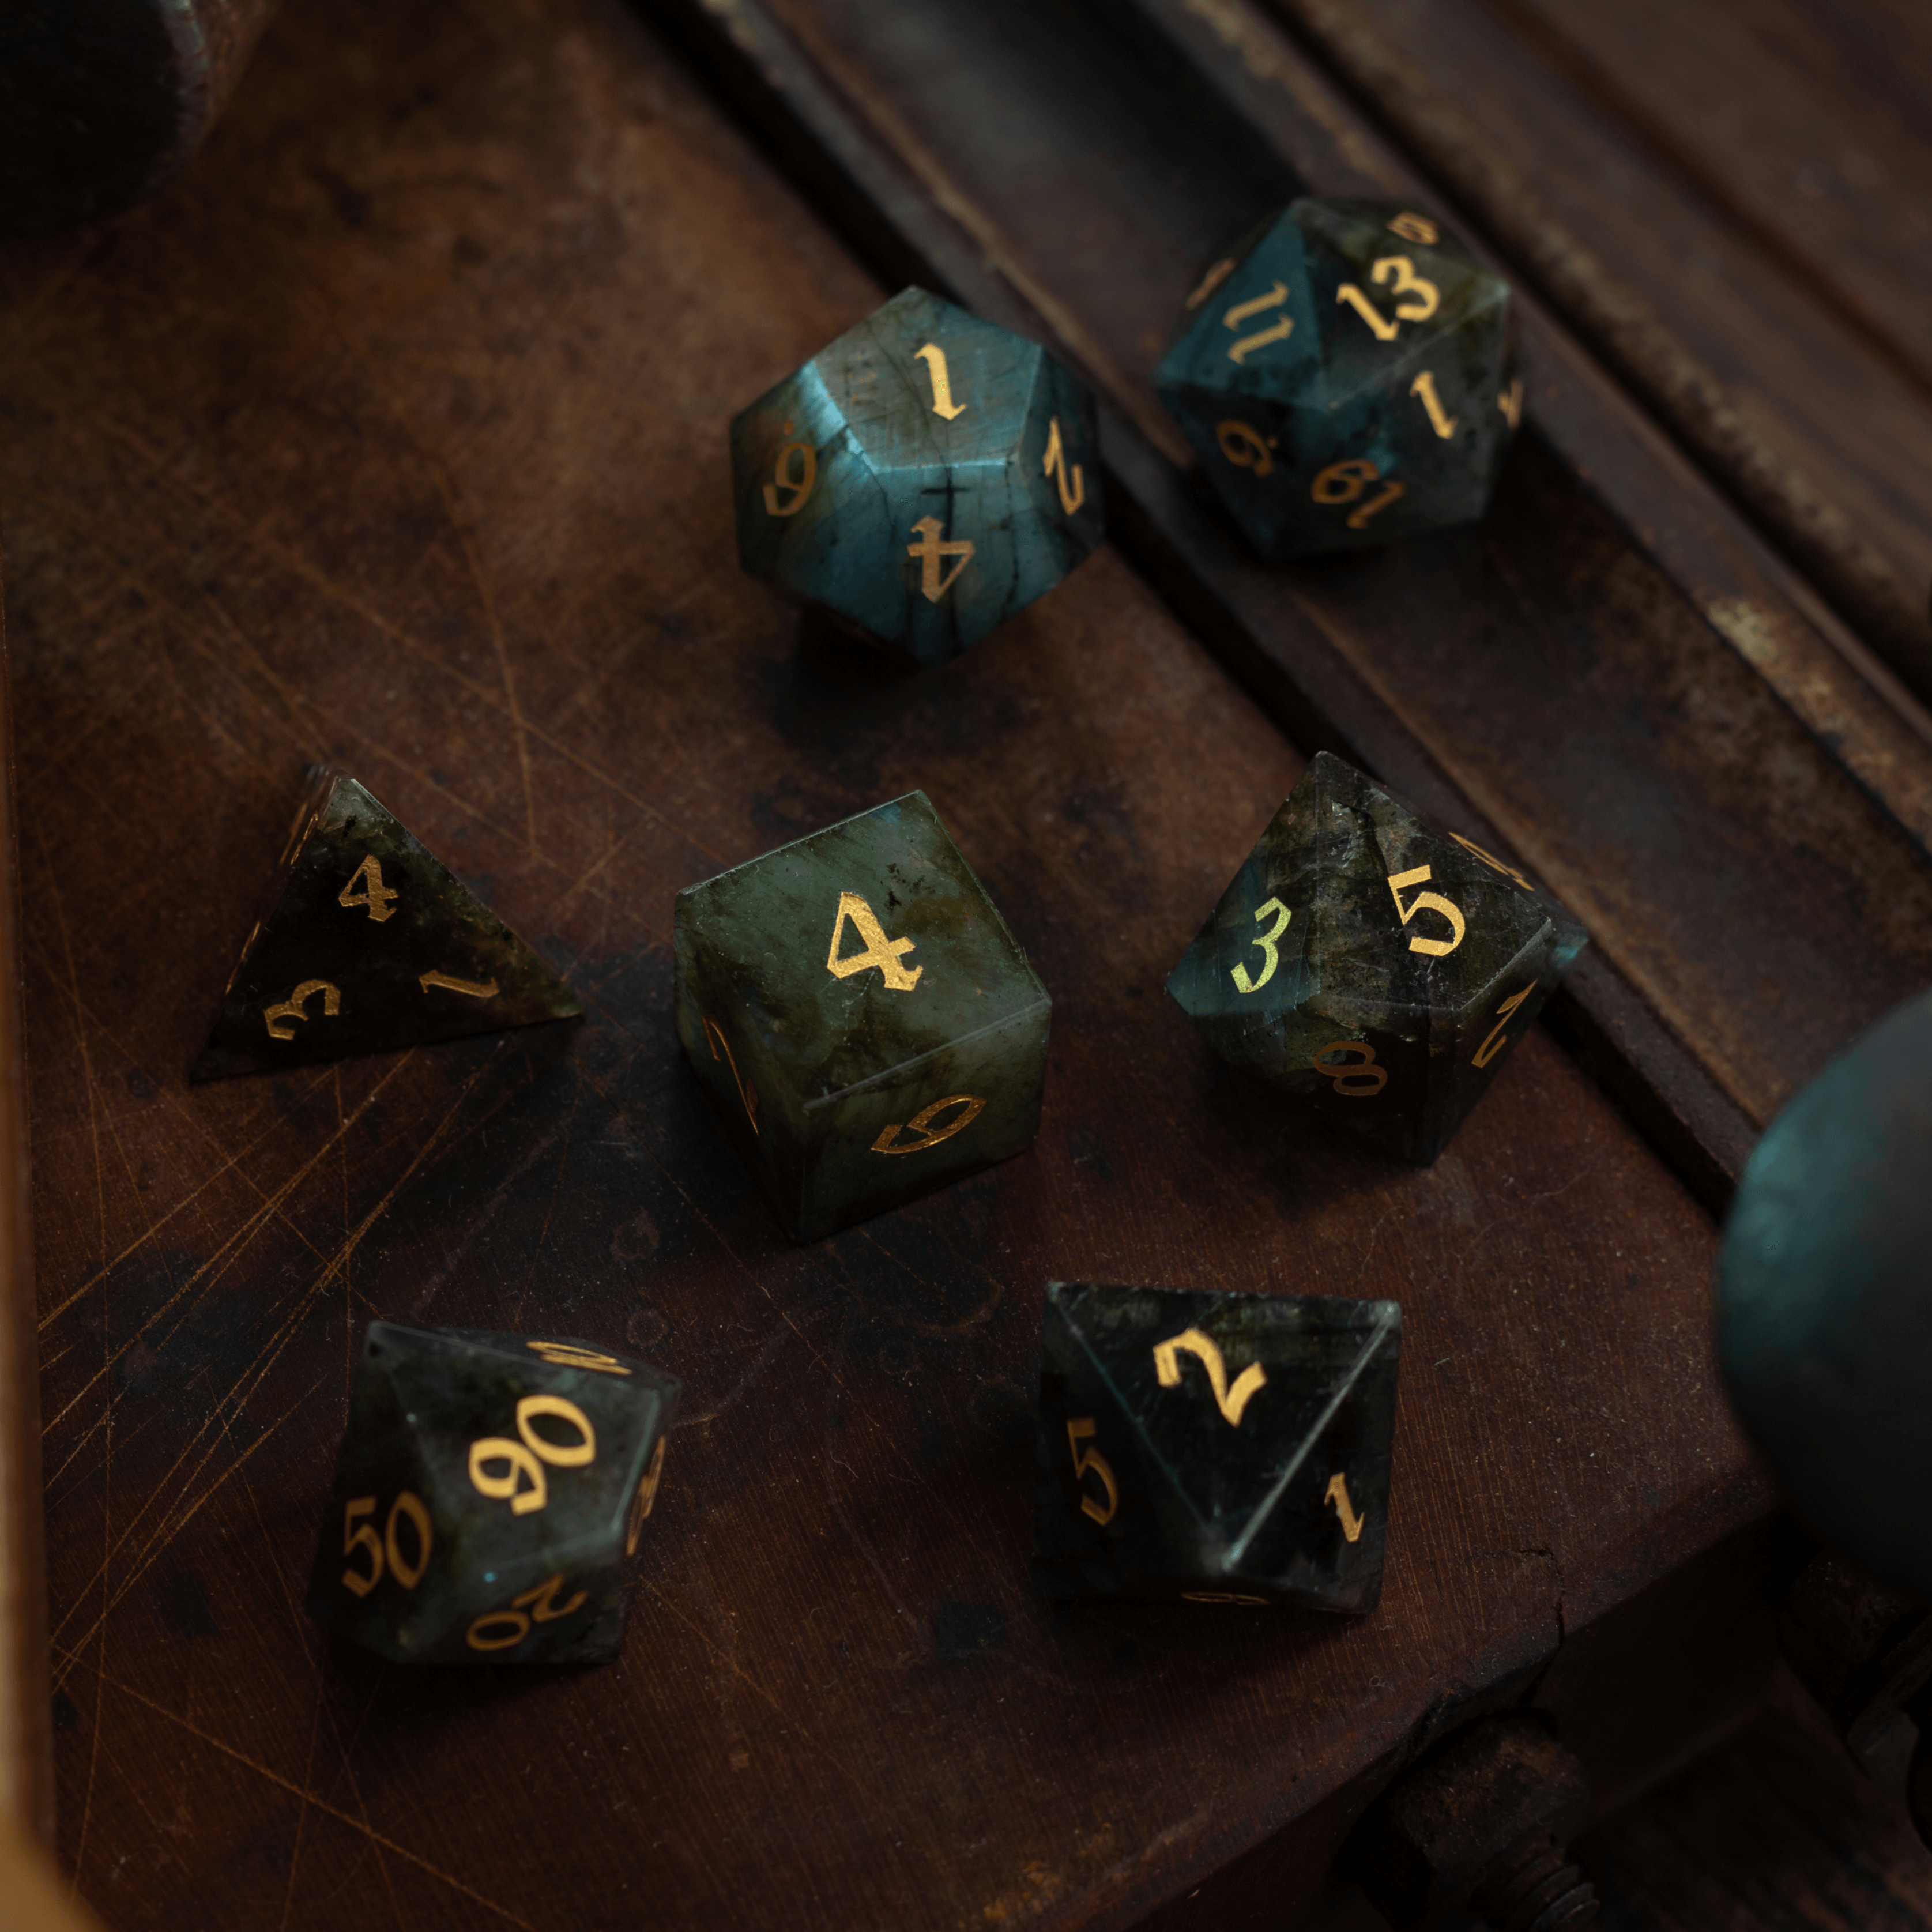
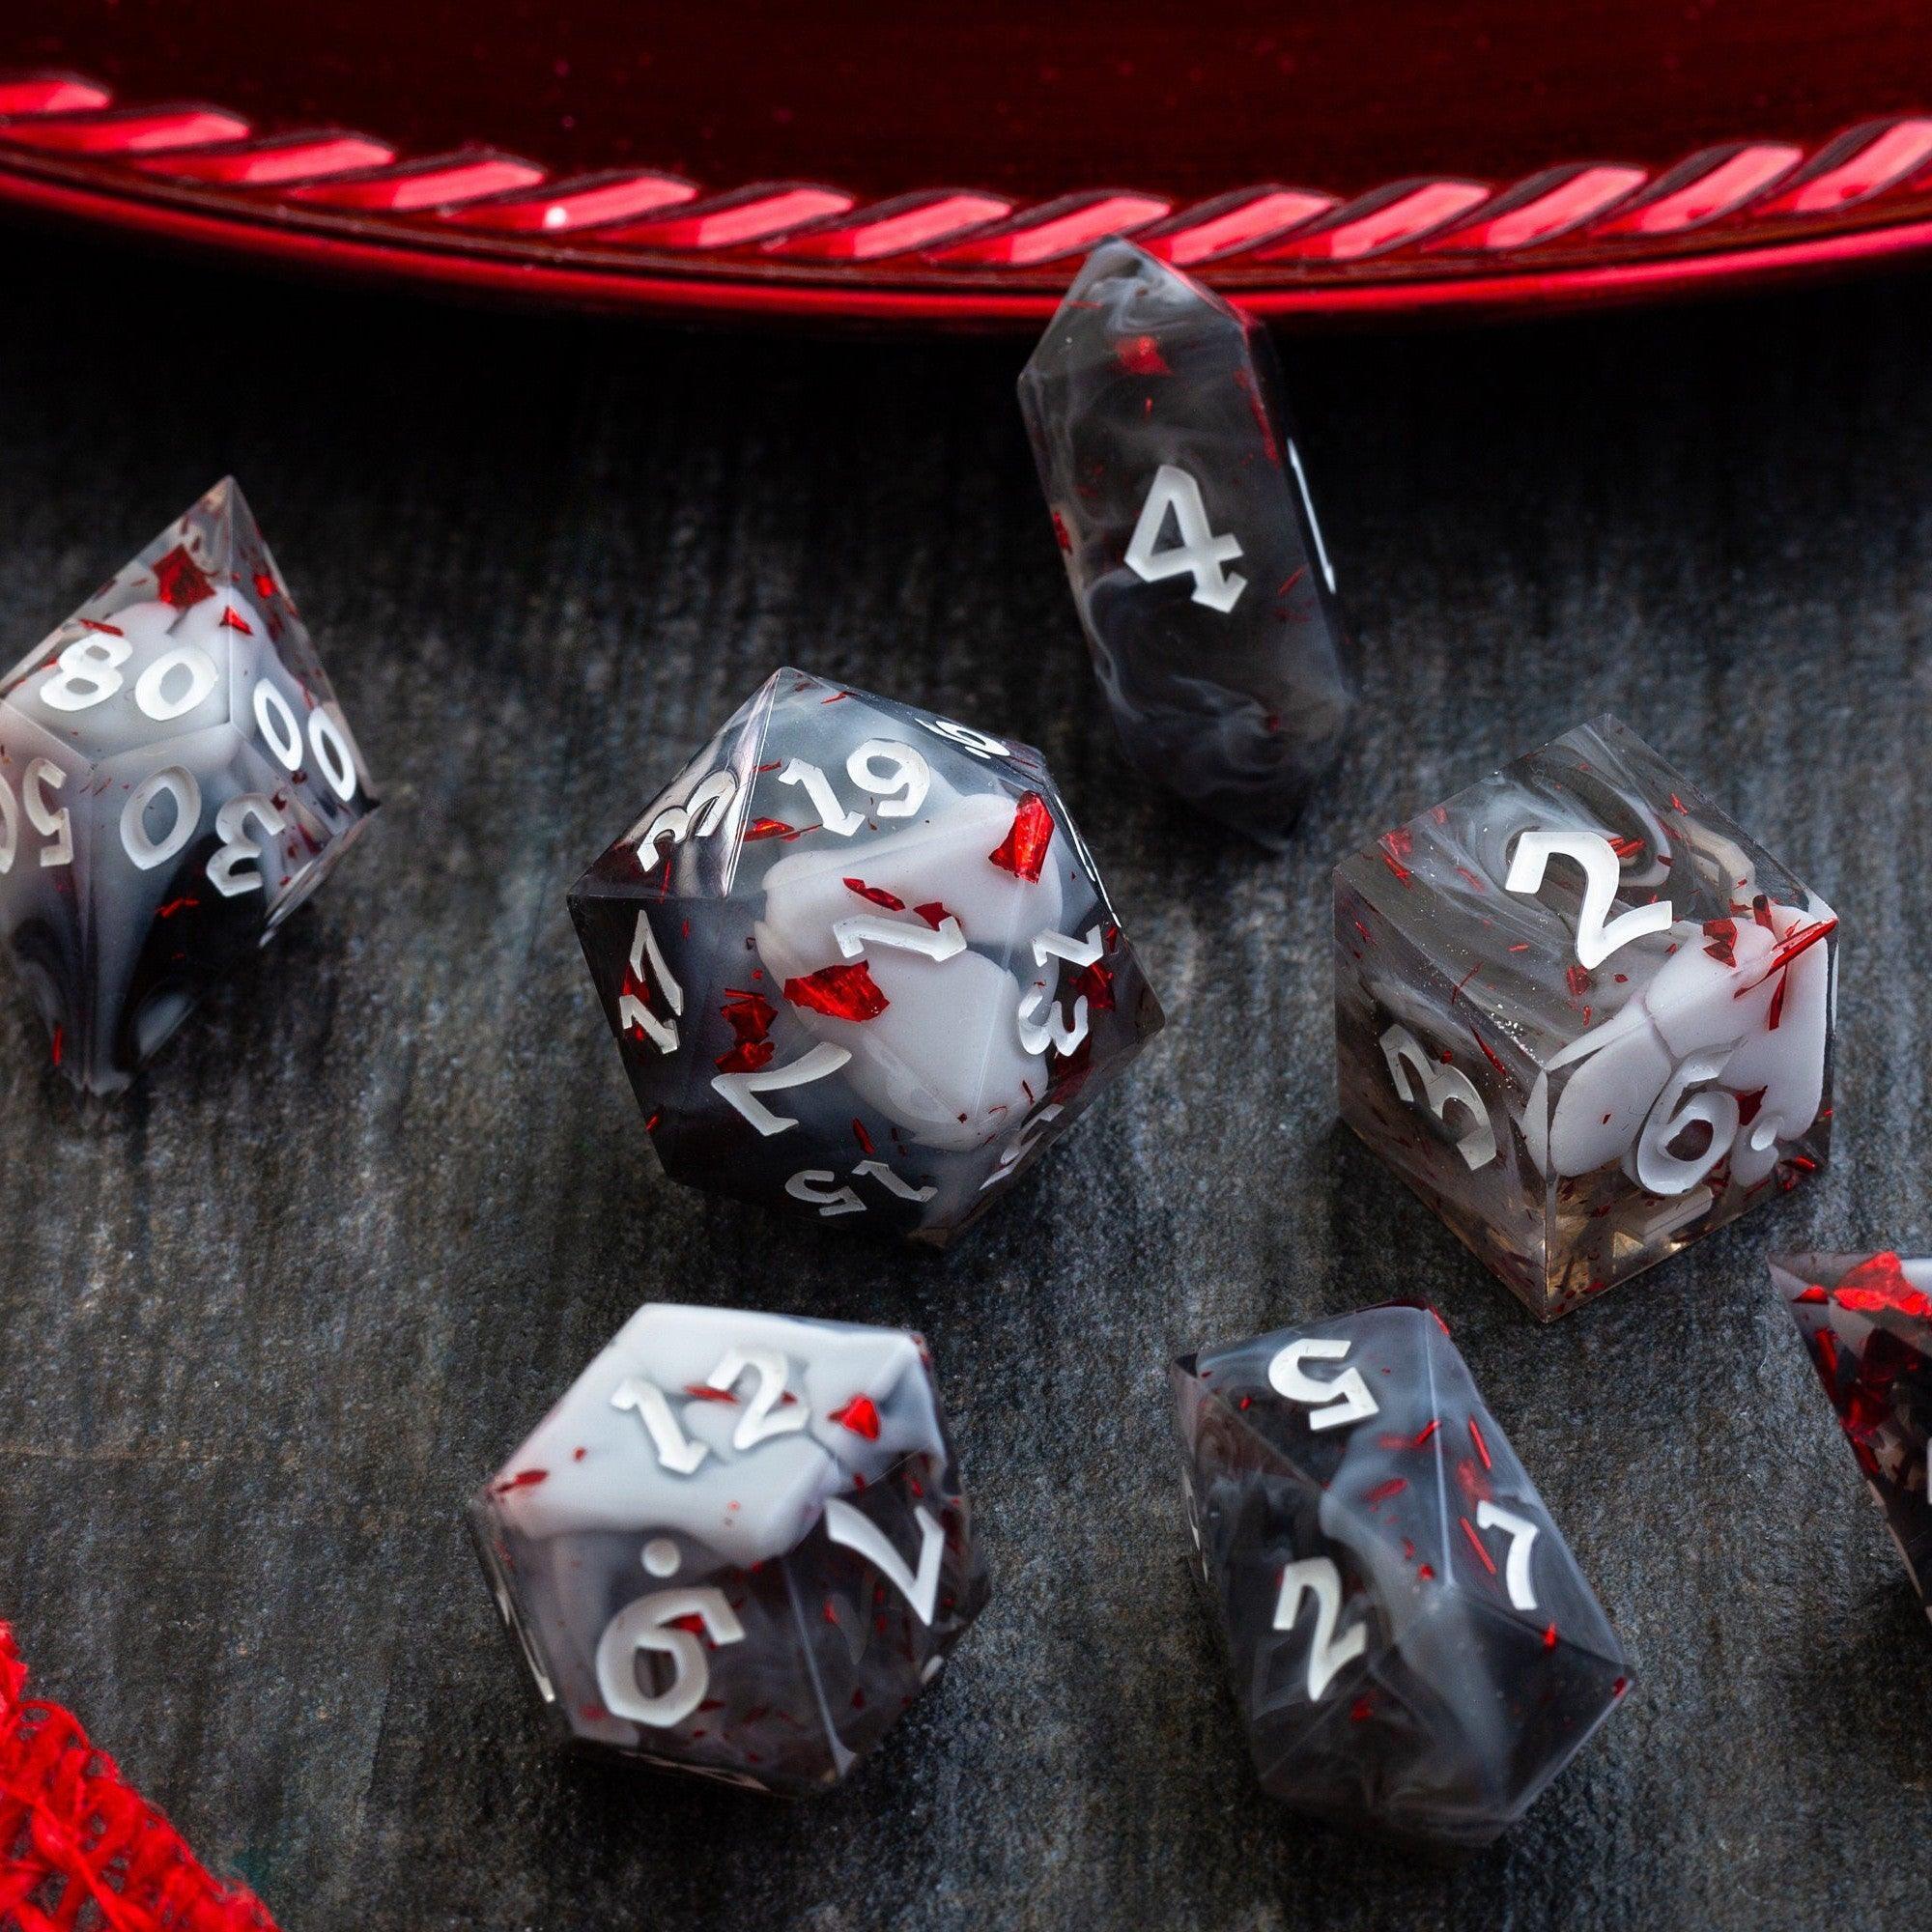
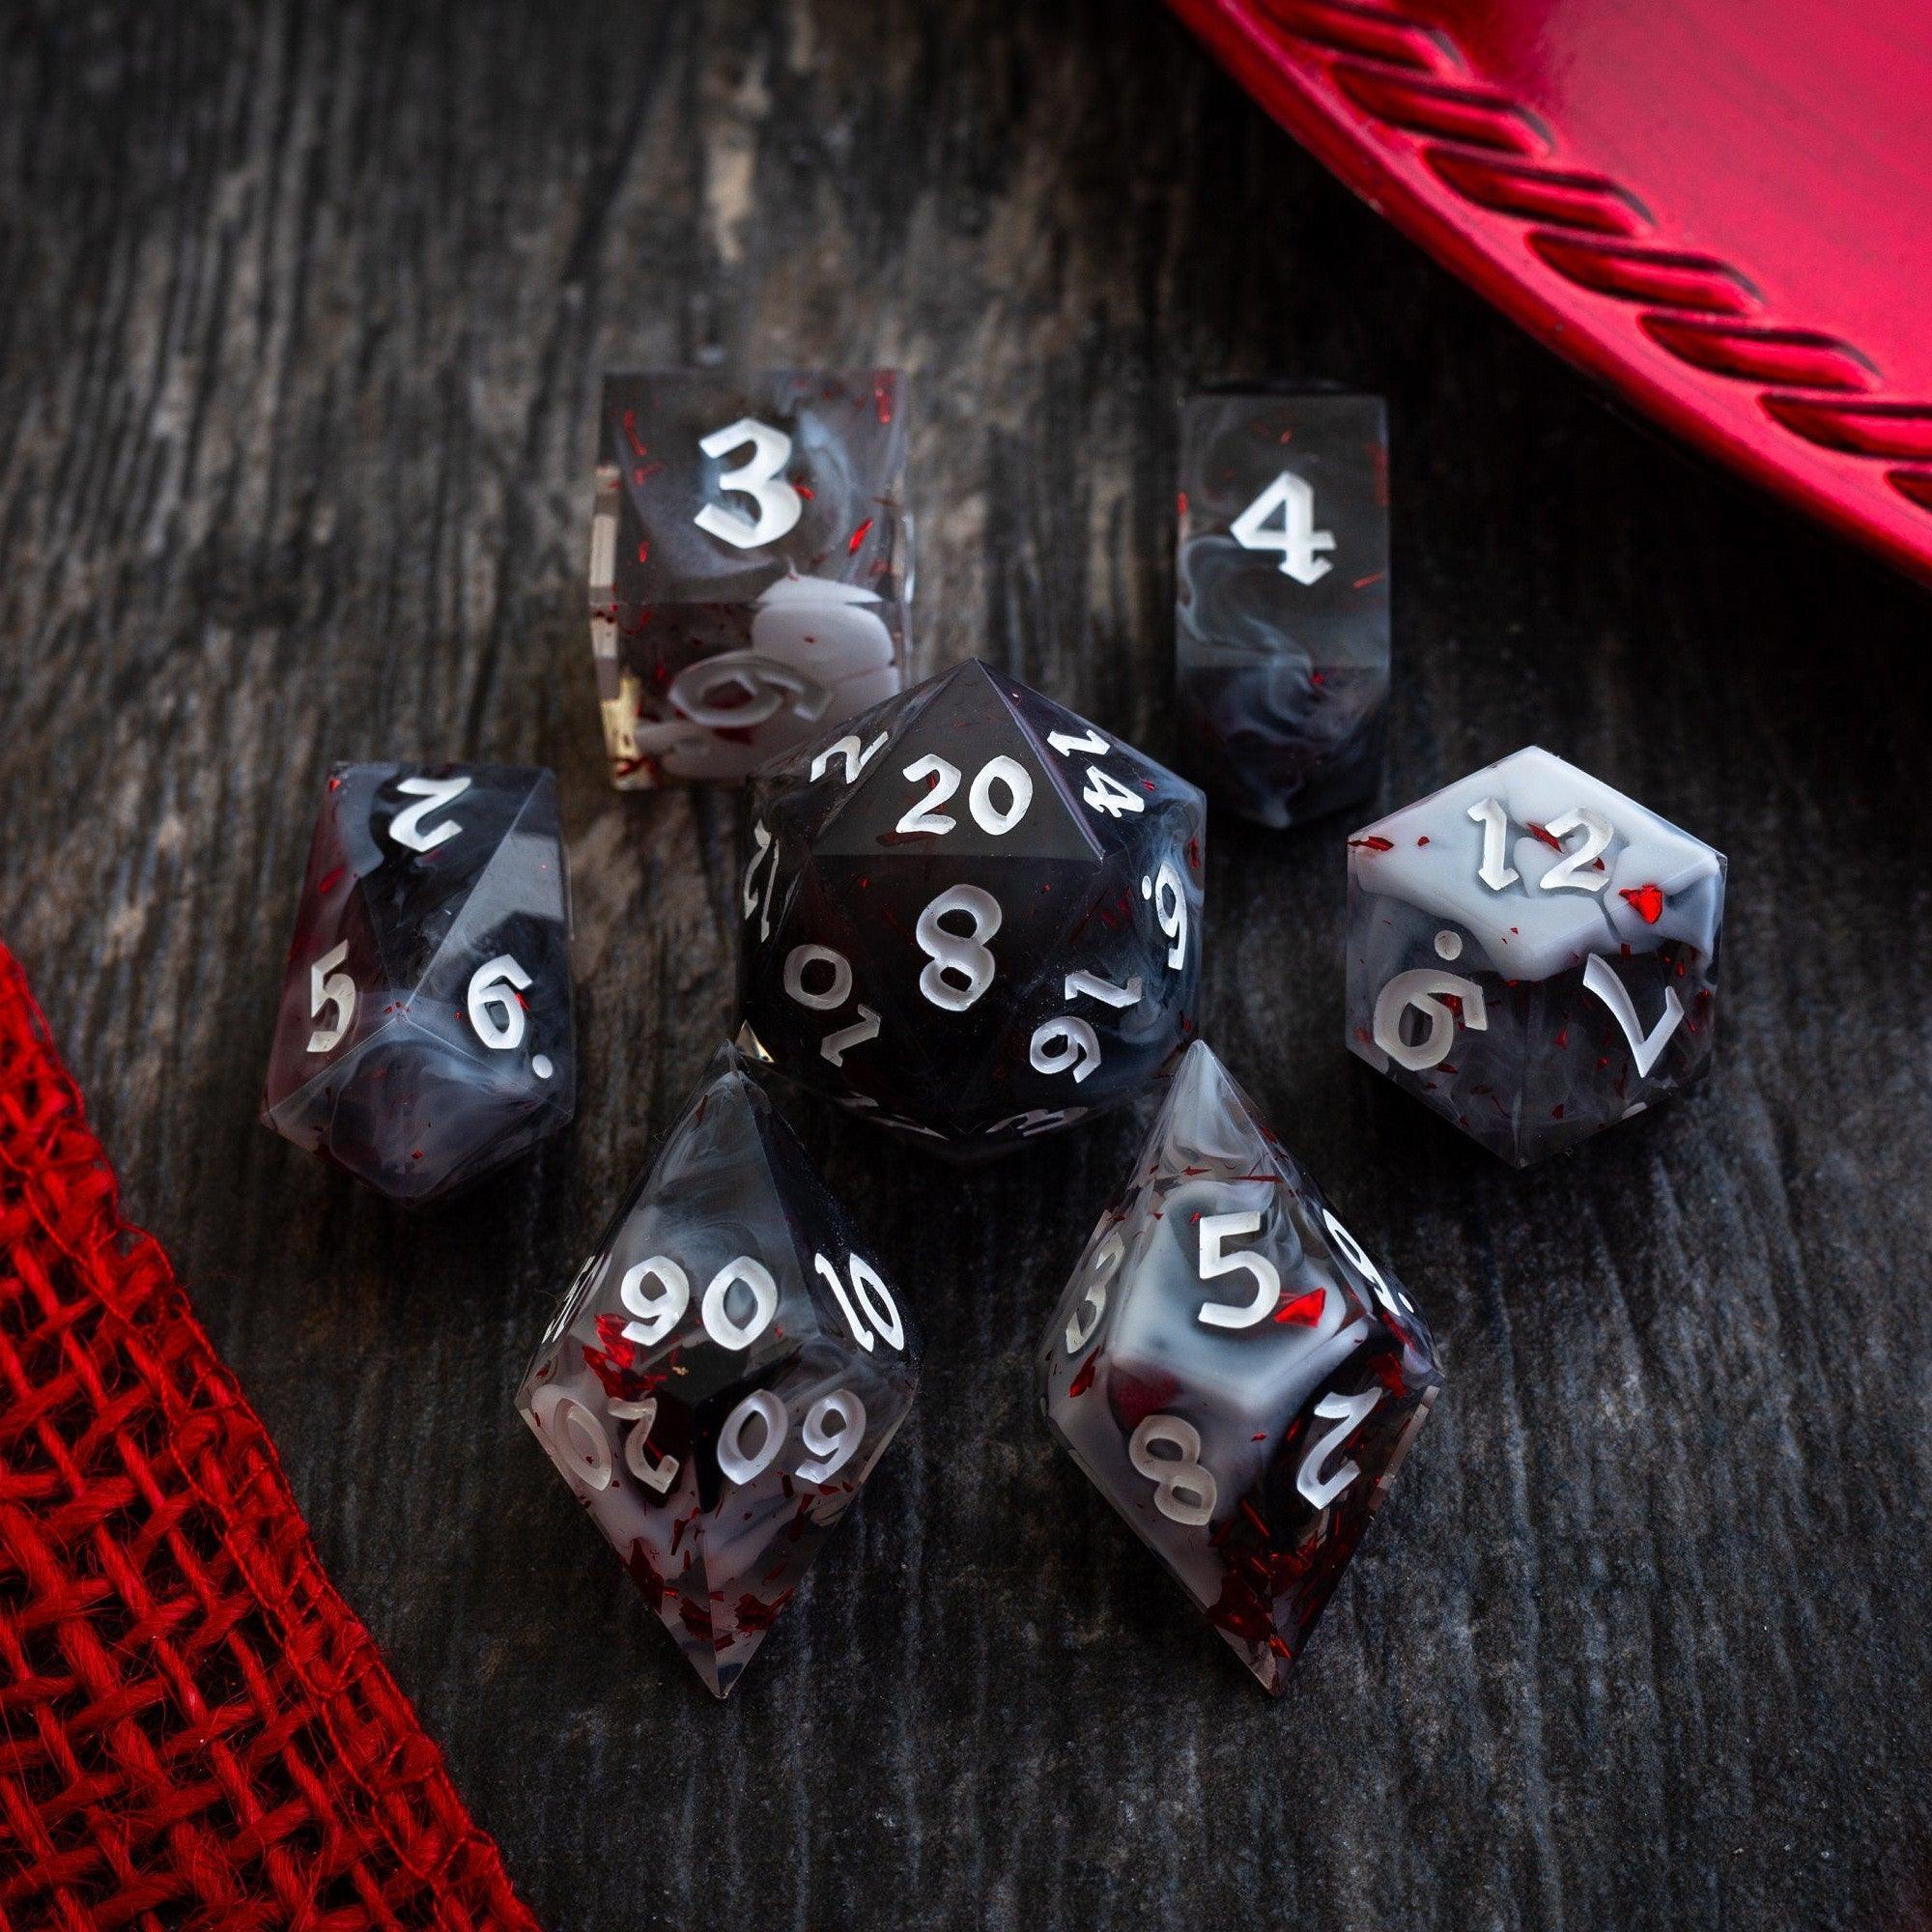
When your trackers, minis, and dice share a palette, the table reads cleaner. For bold flashes of motion, consider liquid core dice. For a refined, natural look, gemstone sets like labradorite gemstone dice pair beautifully with wooden tokens.
Frequently Asked Questions
What material works best for tokens and trackers?
There’s no single “best,” just best for your table. Acrylic is affordable, durable, and easy to color-code. Dry-erase chips let you jot quick notes like “-2 AC” or “Round 3.” Wood delivers a warm, classic feel and reduces glare under bright lights. Silicone rings won’t scratch minis and are quiet to place. If you play on metal boards, magnetic markers are crisp and stable. Choose high contrast, readable labels, and keep the footprint slim so your map stays visible.
How many pieces do I really need for a standard group?
Plan for your typical combat: 4–6 PCs plus a handful of foes. A practical starter kit looks like this: 12–16 condition rings in four colors, 8–10 dry-erase chips for notes and timers, 1–2 area templates (cone and circle), and 1 initiative set with numbers 1–10. If your game uses lots of terrain effects, add a few scene tags like “cover,” “difficult ground,” or “darkness.” You can always expand after two sessions based on what you actually use.
Will tokens scratch my map or slow the game down?
Quality pieces won’t damage a battlemat if you avoid rough edges and keep the table clean. Acrylic and silicone are gentle on vinyl and neoprene surfaces. As for speed, visible status and area info saves time—especially when players are responsible for their own markers. Keep a short legend on the table, color-code consistently, and build a post-encounter reset habit. You’ll notice fewer rules checks and faster turns within a session or two.
Summary & Key Takeaways
Clear visual tools keep the story front and center while cutting rules delays. Build a small, focused kit, label it, and give players ownership. With a few thoughtful choices, your table will run smoother, look better, and stay organized from session start to session wrap.
- Start with the statuses and areas you track most, not everything you could track.
- Use bold, distinct colors and a simple legend everyone understands at a glance.
- Split responsibility: players manage their own conditions; the GM handles global markers.
- Store pieces in labeled compartments and reset between scenes to avoid leftover clutter.
- Match your accessories to your table’s vibe for immersive, consistent visuals.


Leave a comment
This site is protected by hCaptcha and the hCaptcha Privacy Policy and Terms of Service apply.