
Assemble Your Ultimate Tabletop Toolkit A Practical Guide
Updated on: 2025-12-29
Want smoother game nights with less scrambling and more story? This guide shows you how to build a compact, reliable kit that keeps essentials at your fingertips, from dice and note-taking to quick rules references and storage. You’ll get practical steps, a smart packing order, and maintenance tips so your setup stays ready between sessions. Whether you run campaigns or rotate GMs, you’ll save prep time and keep the table focused on the fun.
- A Friendly Intro to Your Home Game Setup
- Build Your tabletop toolkit and guides
- How-To Steps
- Pro Tips, Storage, and Safety
- FAQ
A Friendly Intro to Your Home Game Setup
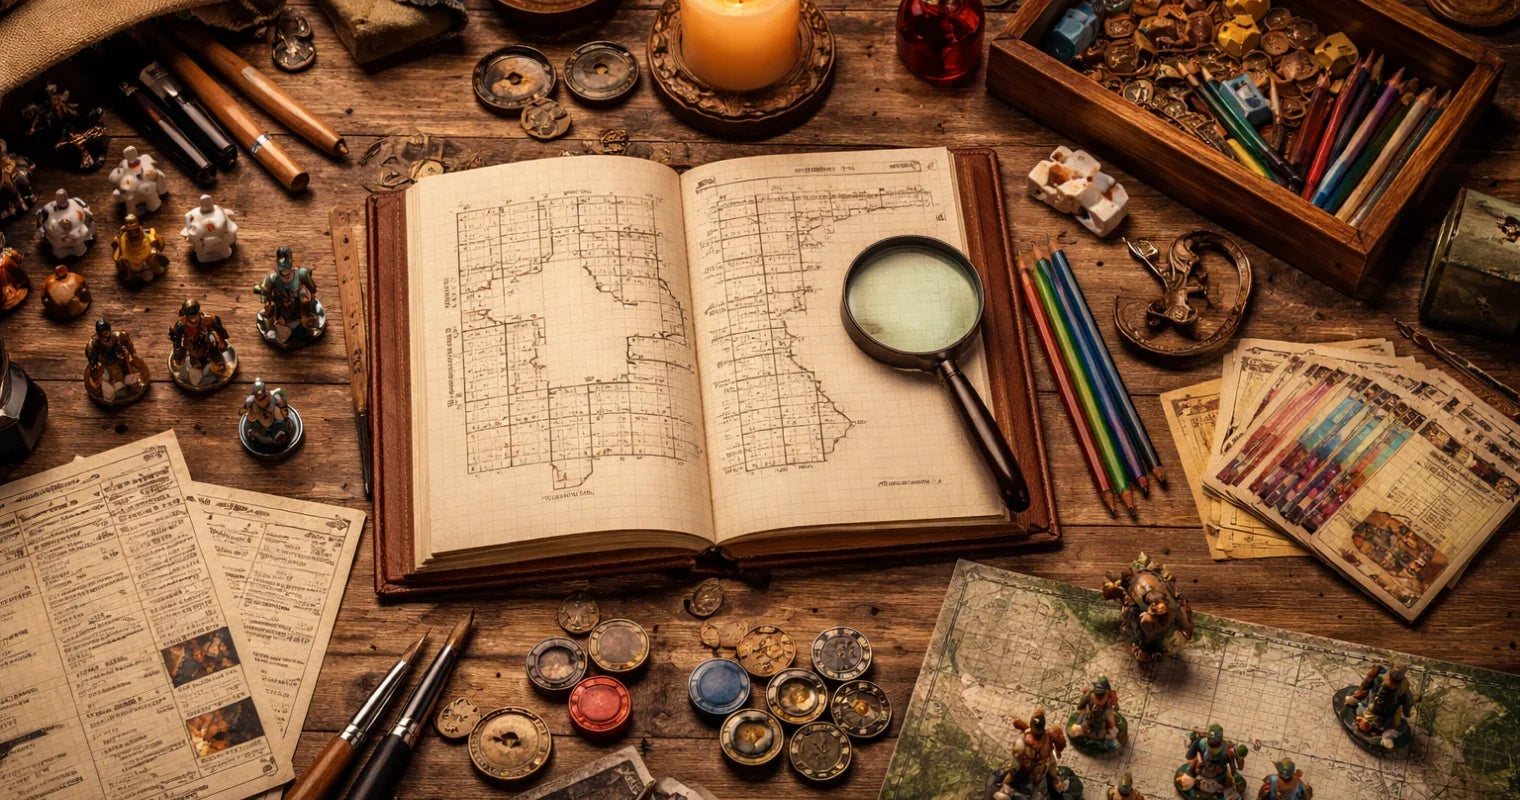
We’ve all been there: a late start, scattered pencils, and “Who has an extra d6?” ringing out as players arrive. A little planning goes a long way. If you’re building a tabletop toolkit and guides for your group, think of it as your portable control center—one place that holds dice, references, notes, and table aids so you can set up fast and run with confidence. The trick isn’t buying everything. It’s choosing the right essentials, packing them smart, and keeping them ready for the next session.
In this blog, we’ll keep things simple. You’ll get a short list of must-haves and nice-to-haves, a streamlined packing order, and a repeatable reset routine. We’ll also share storage ideas that protect your gear and make cleanup easier. By the end, you’ll have a nimble kit that tames table chaos and frees your brain for roleplay, rulings, and big plot beats.
Build Your tabletop toolkit and guides
Use this menu as a practical shopping and packing checklist. Keep weight low, protect fragile pieces, and group items by purpose so you’re never digging for the one thing you need right now.
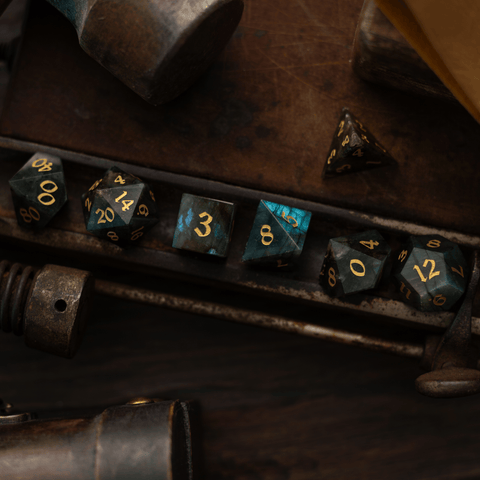
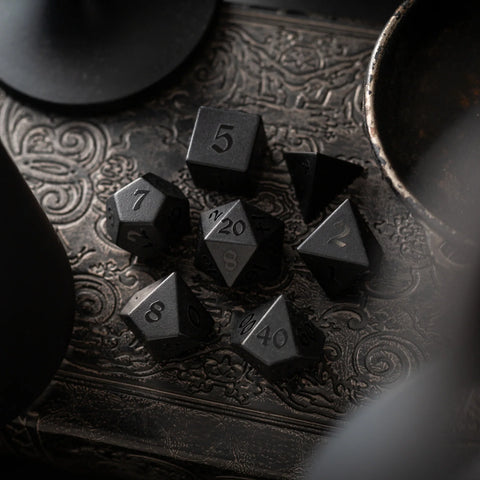
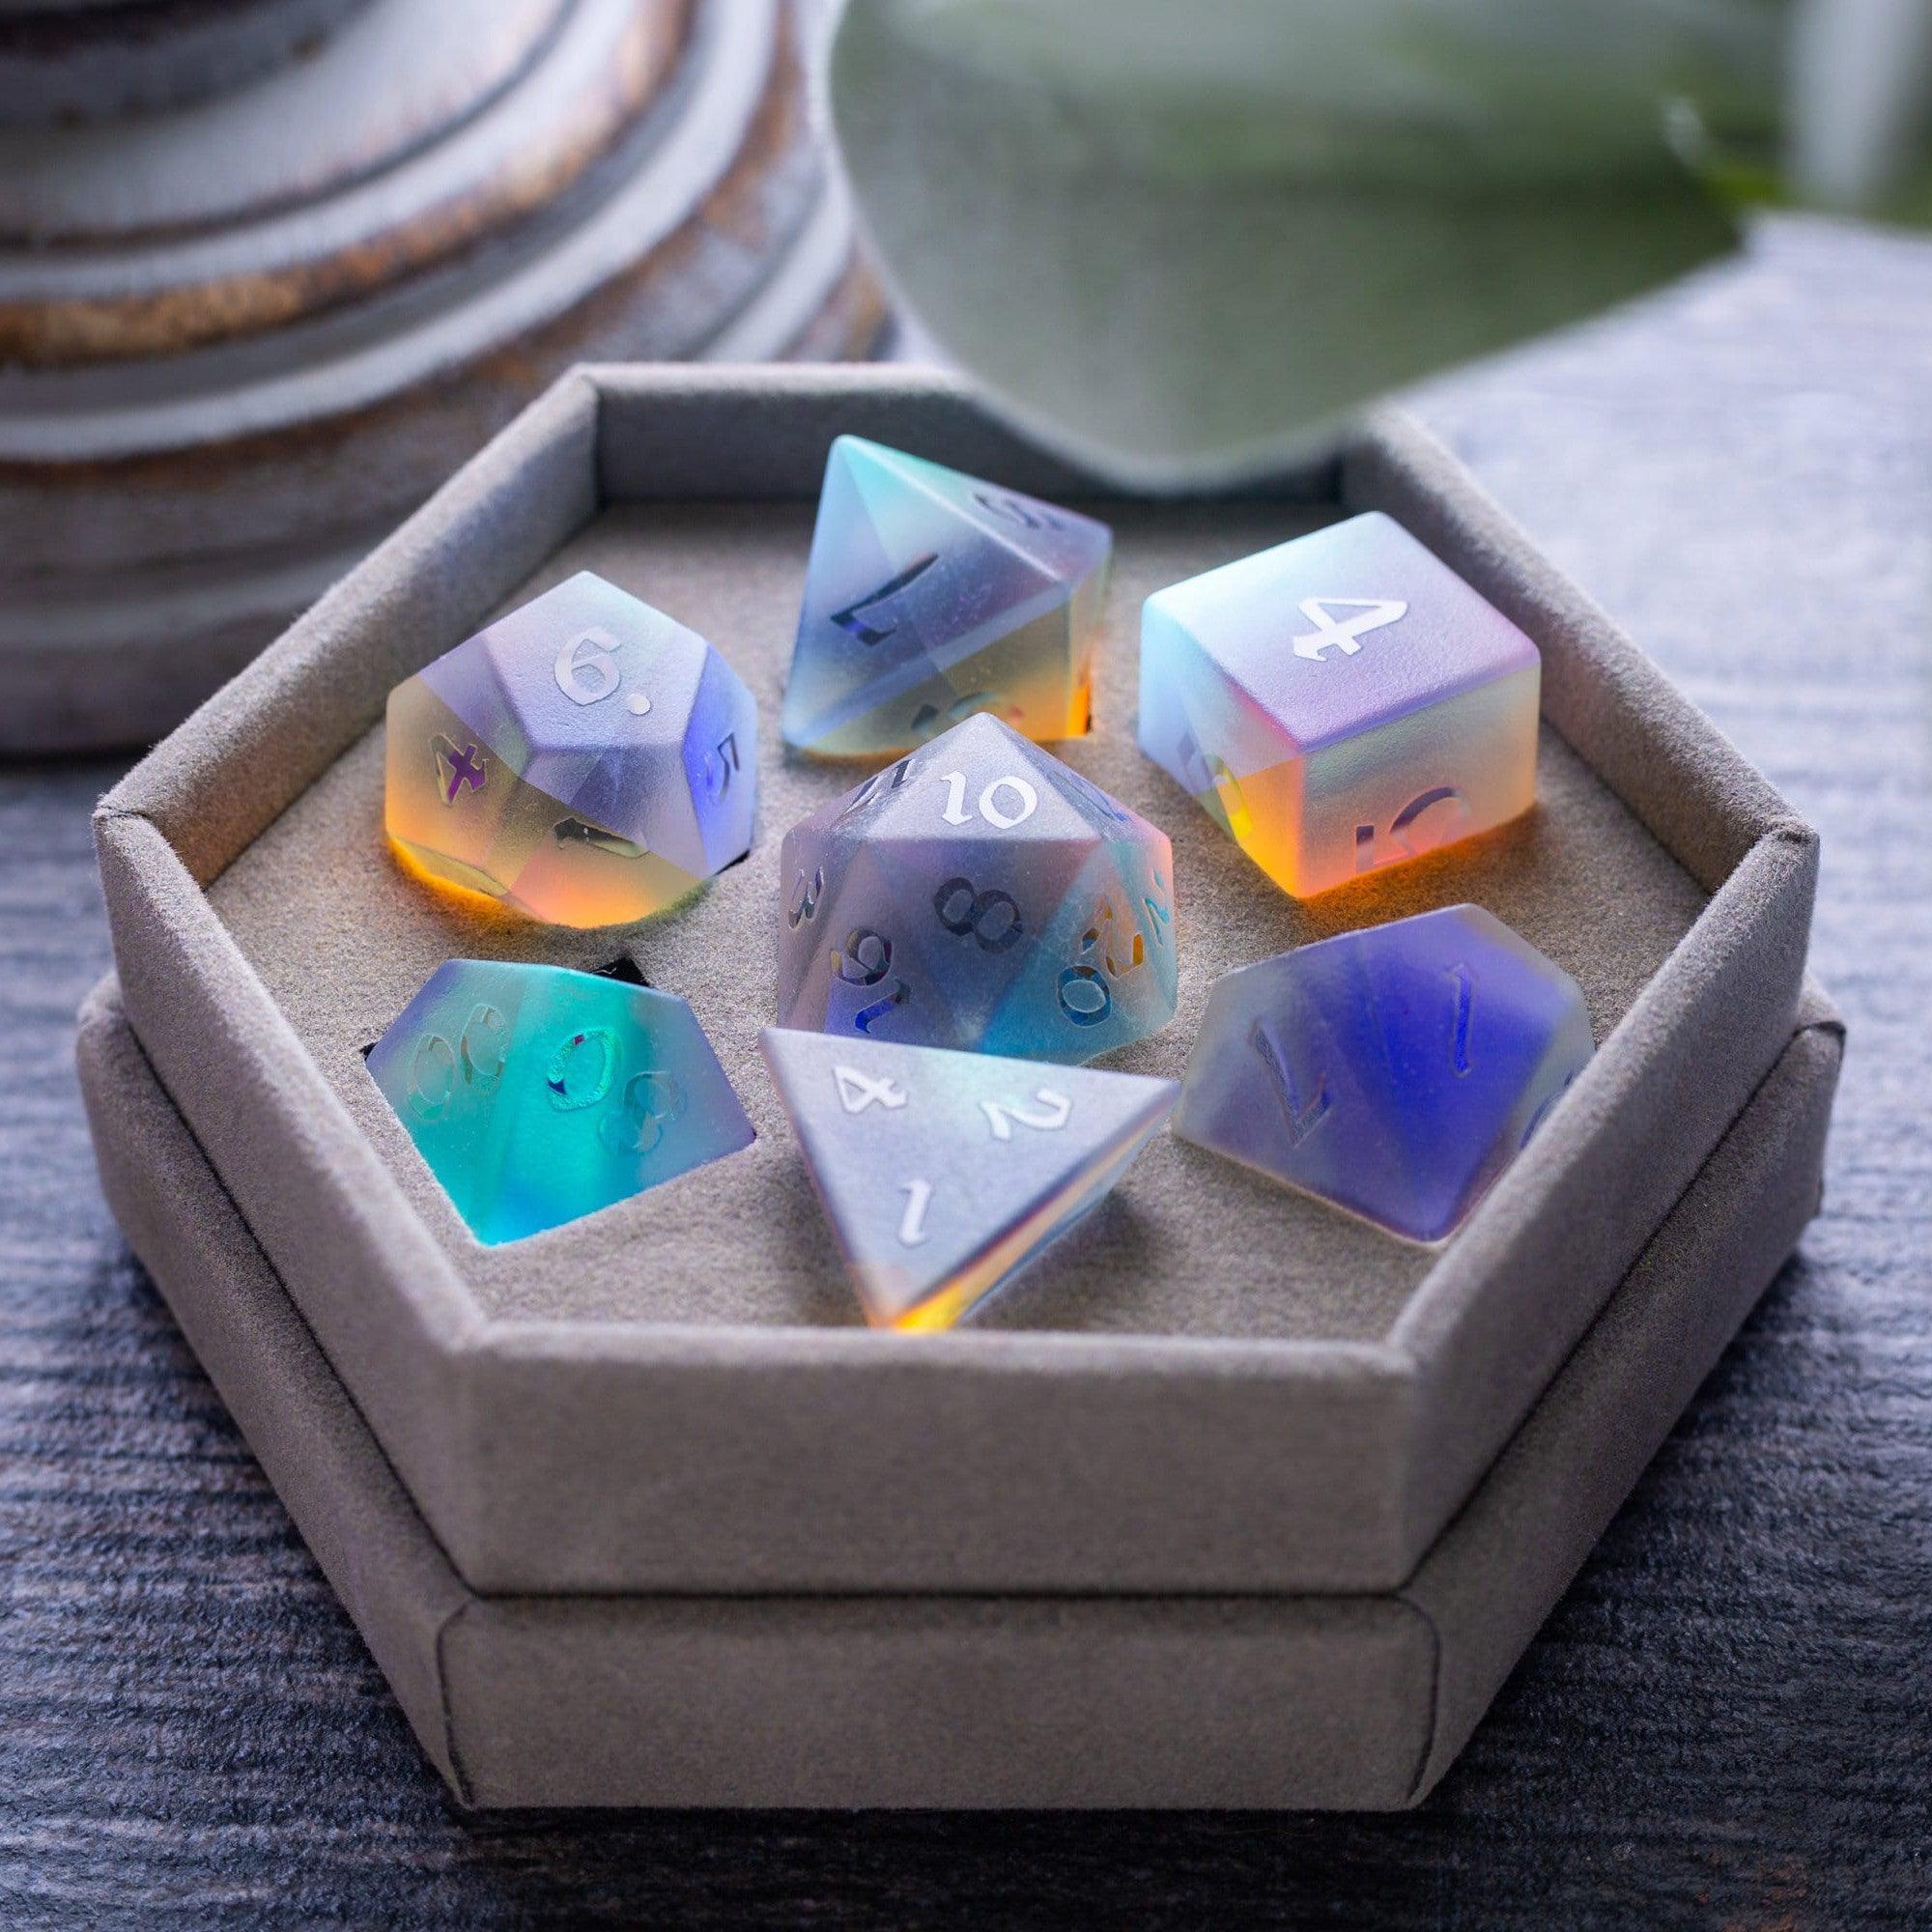
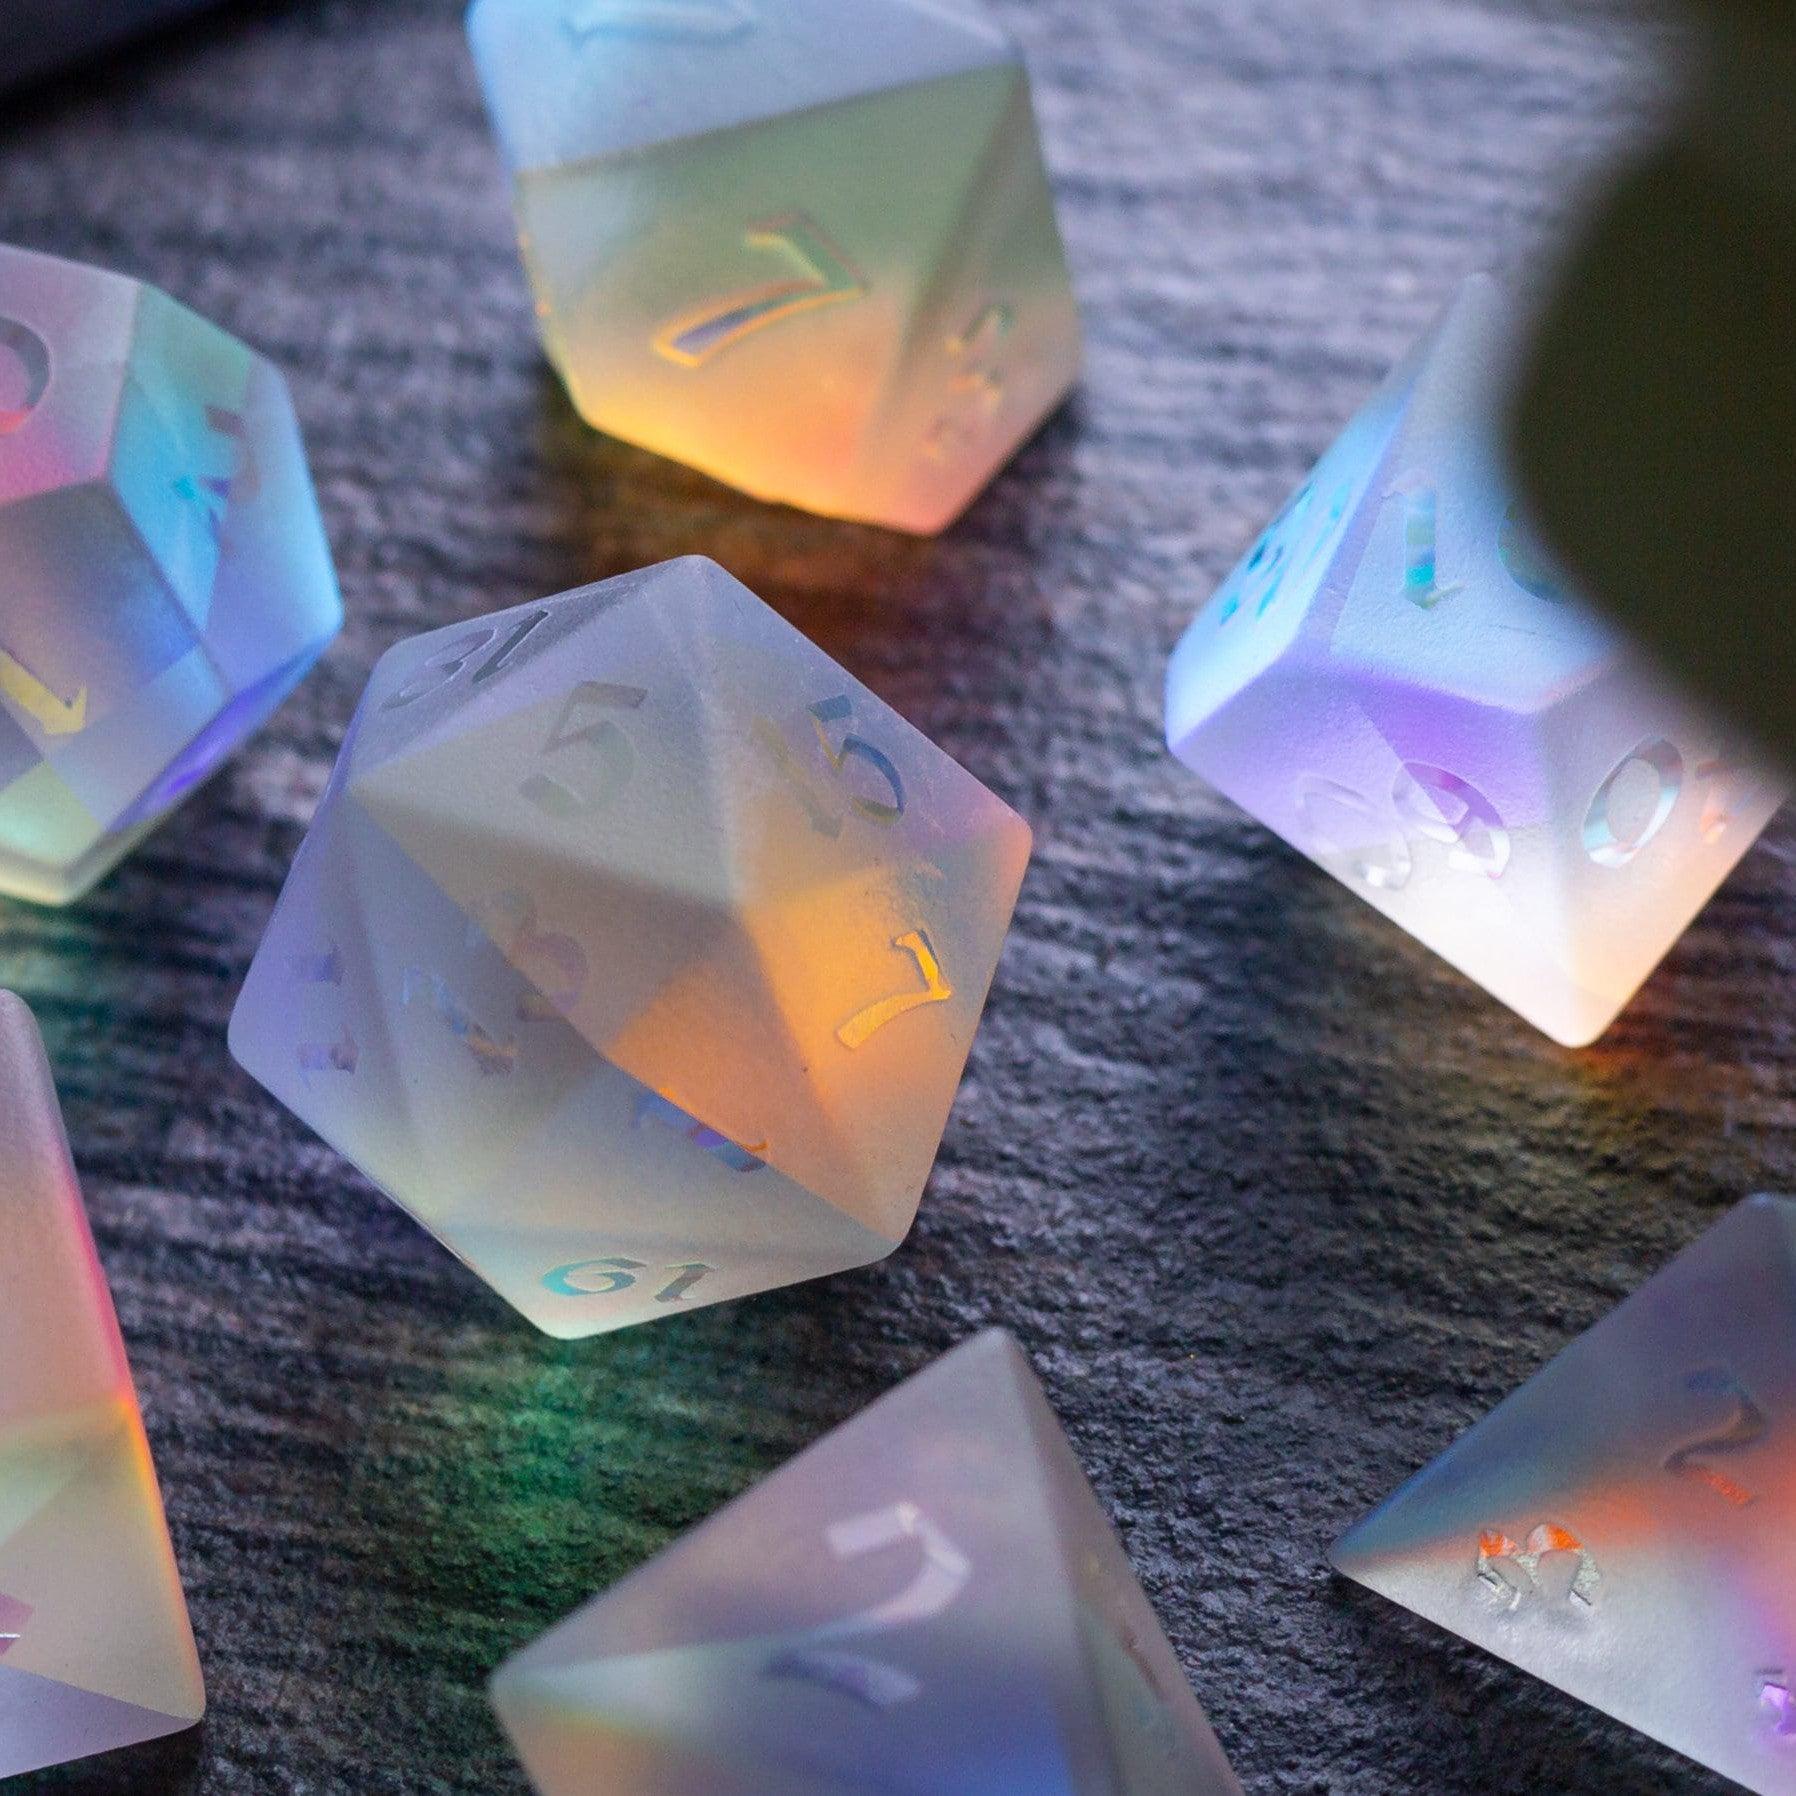
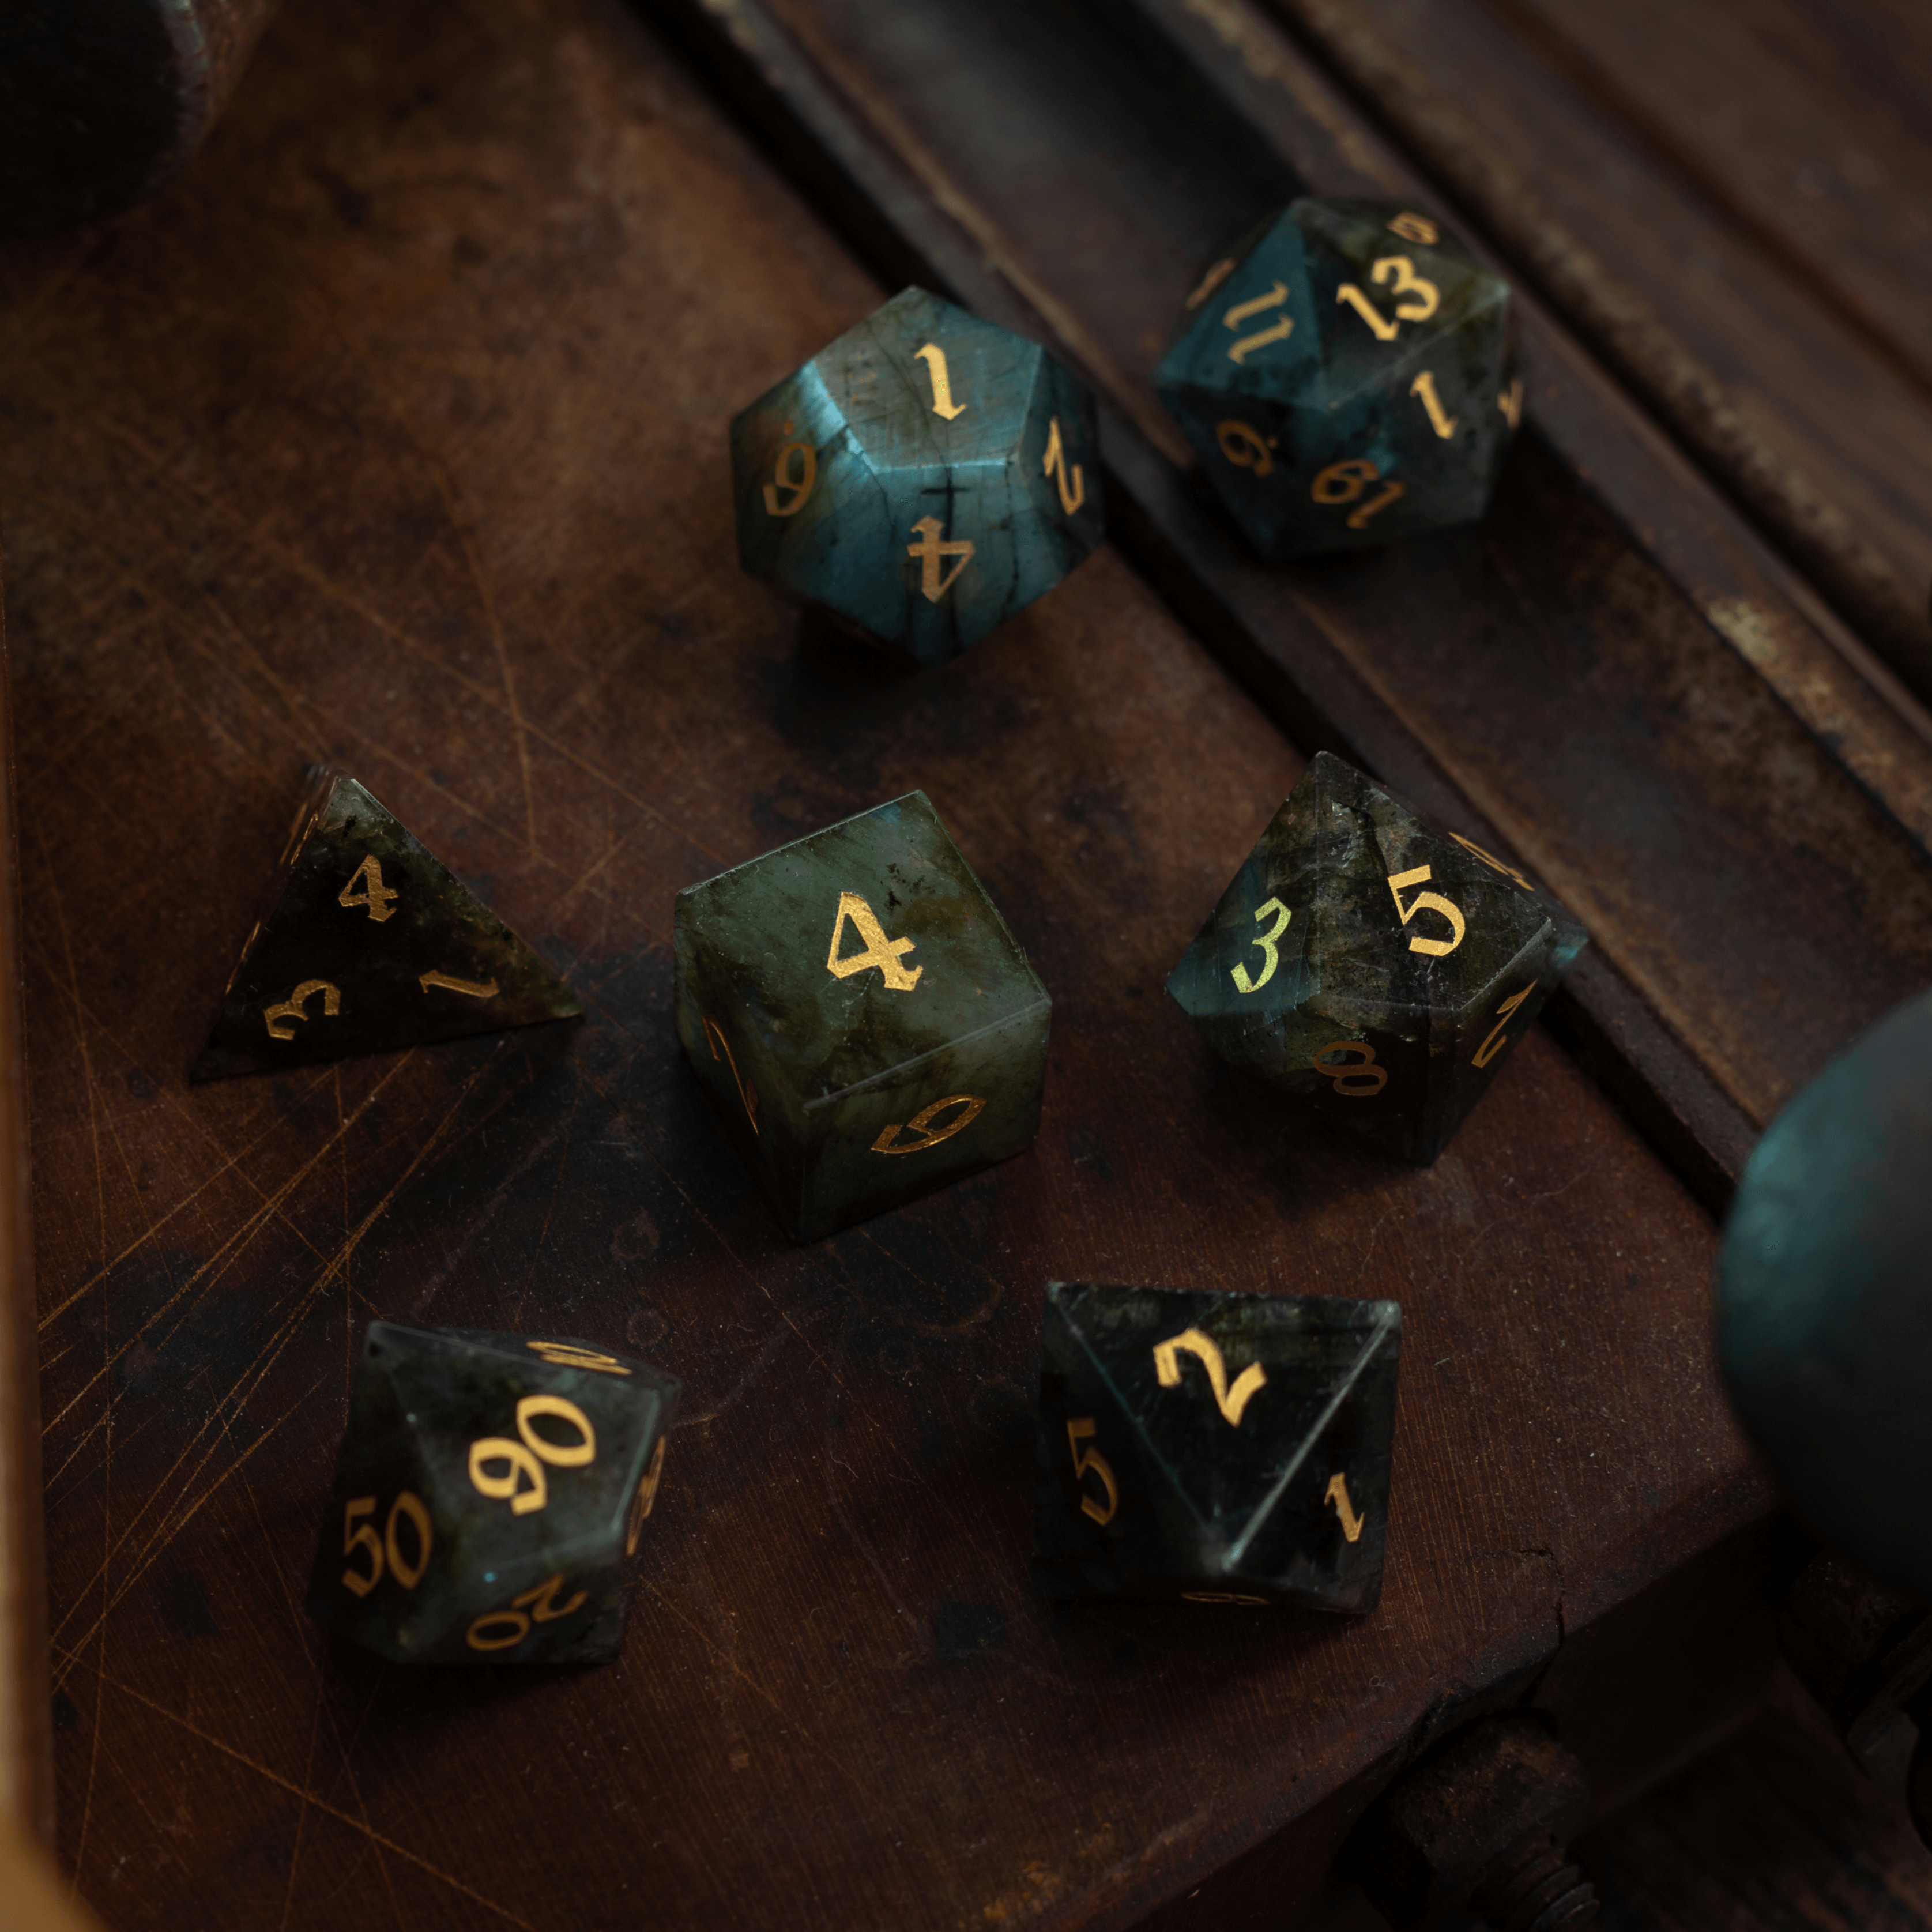
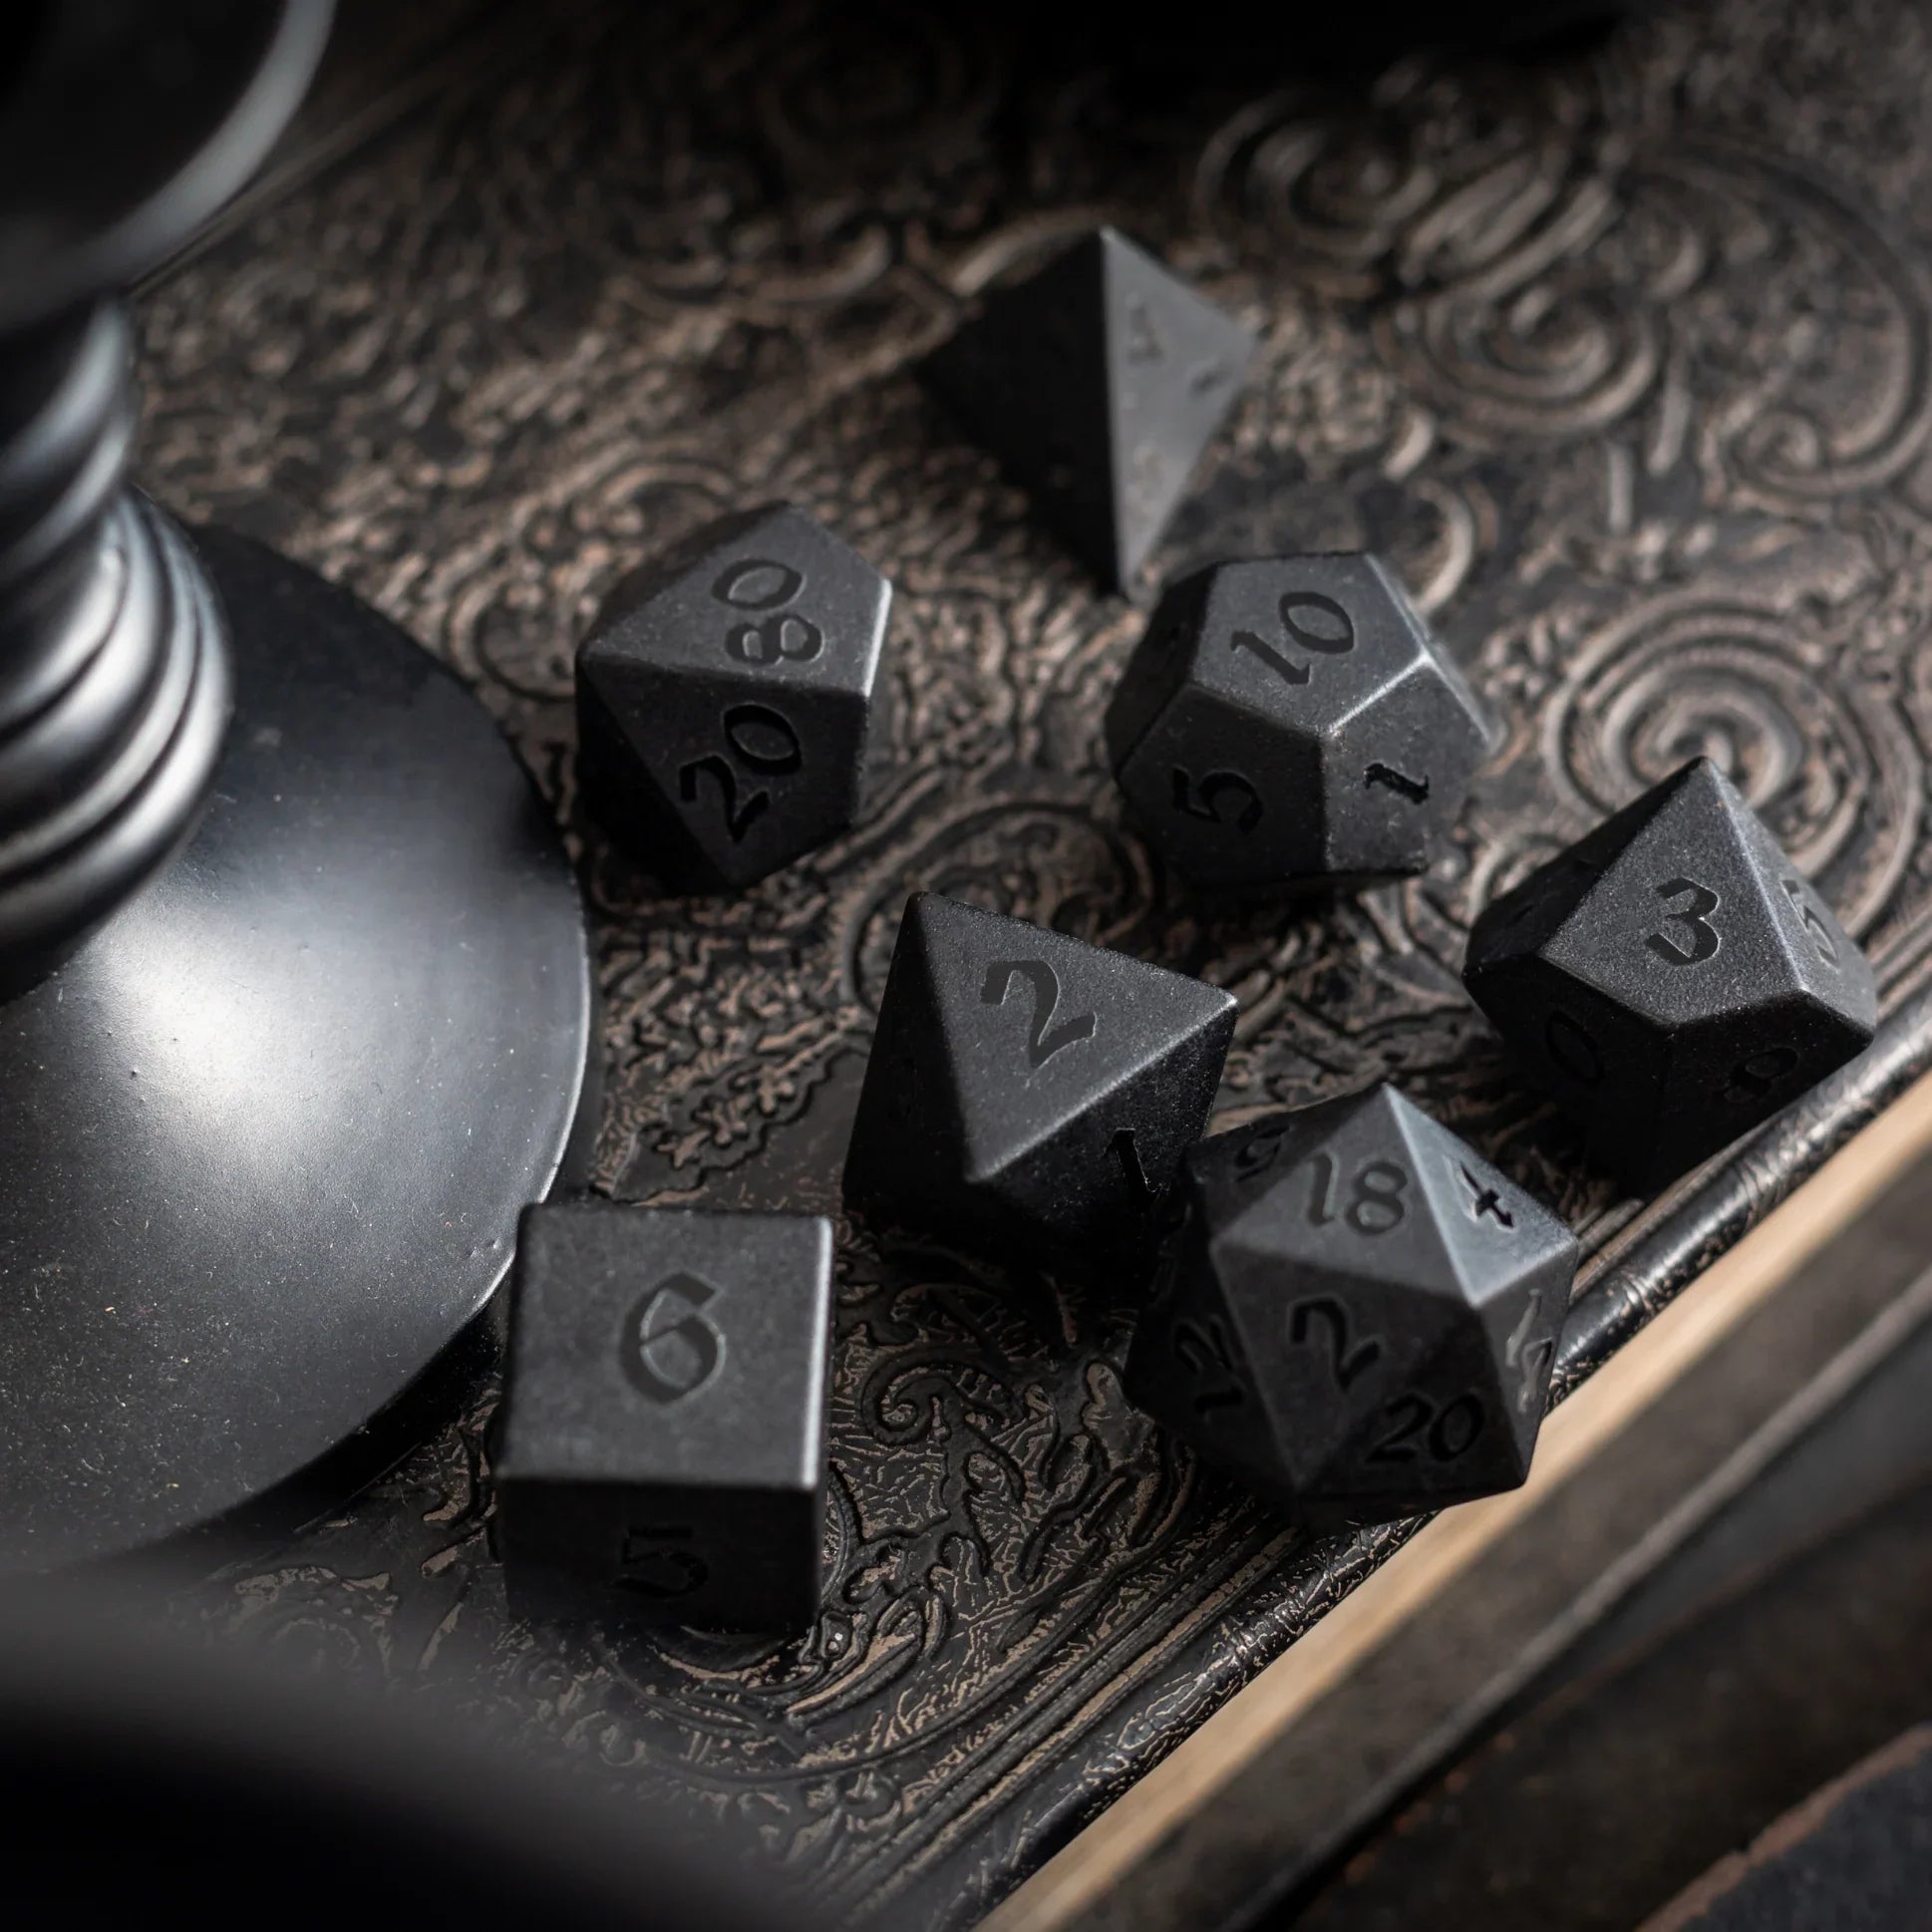
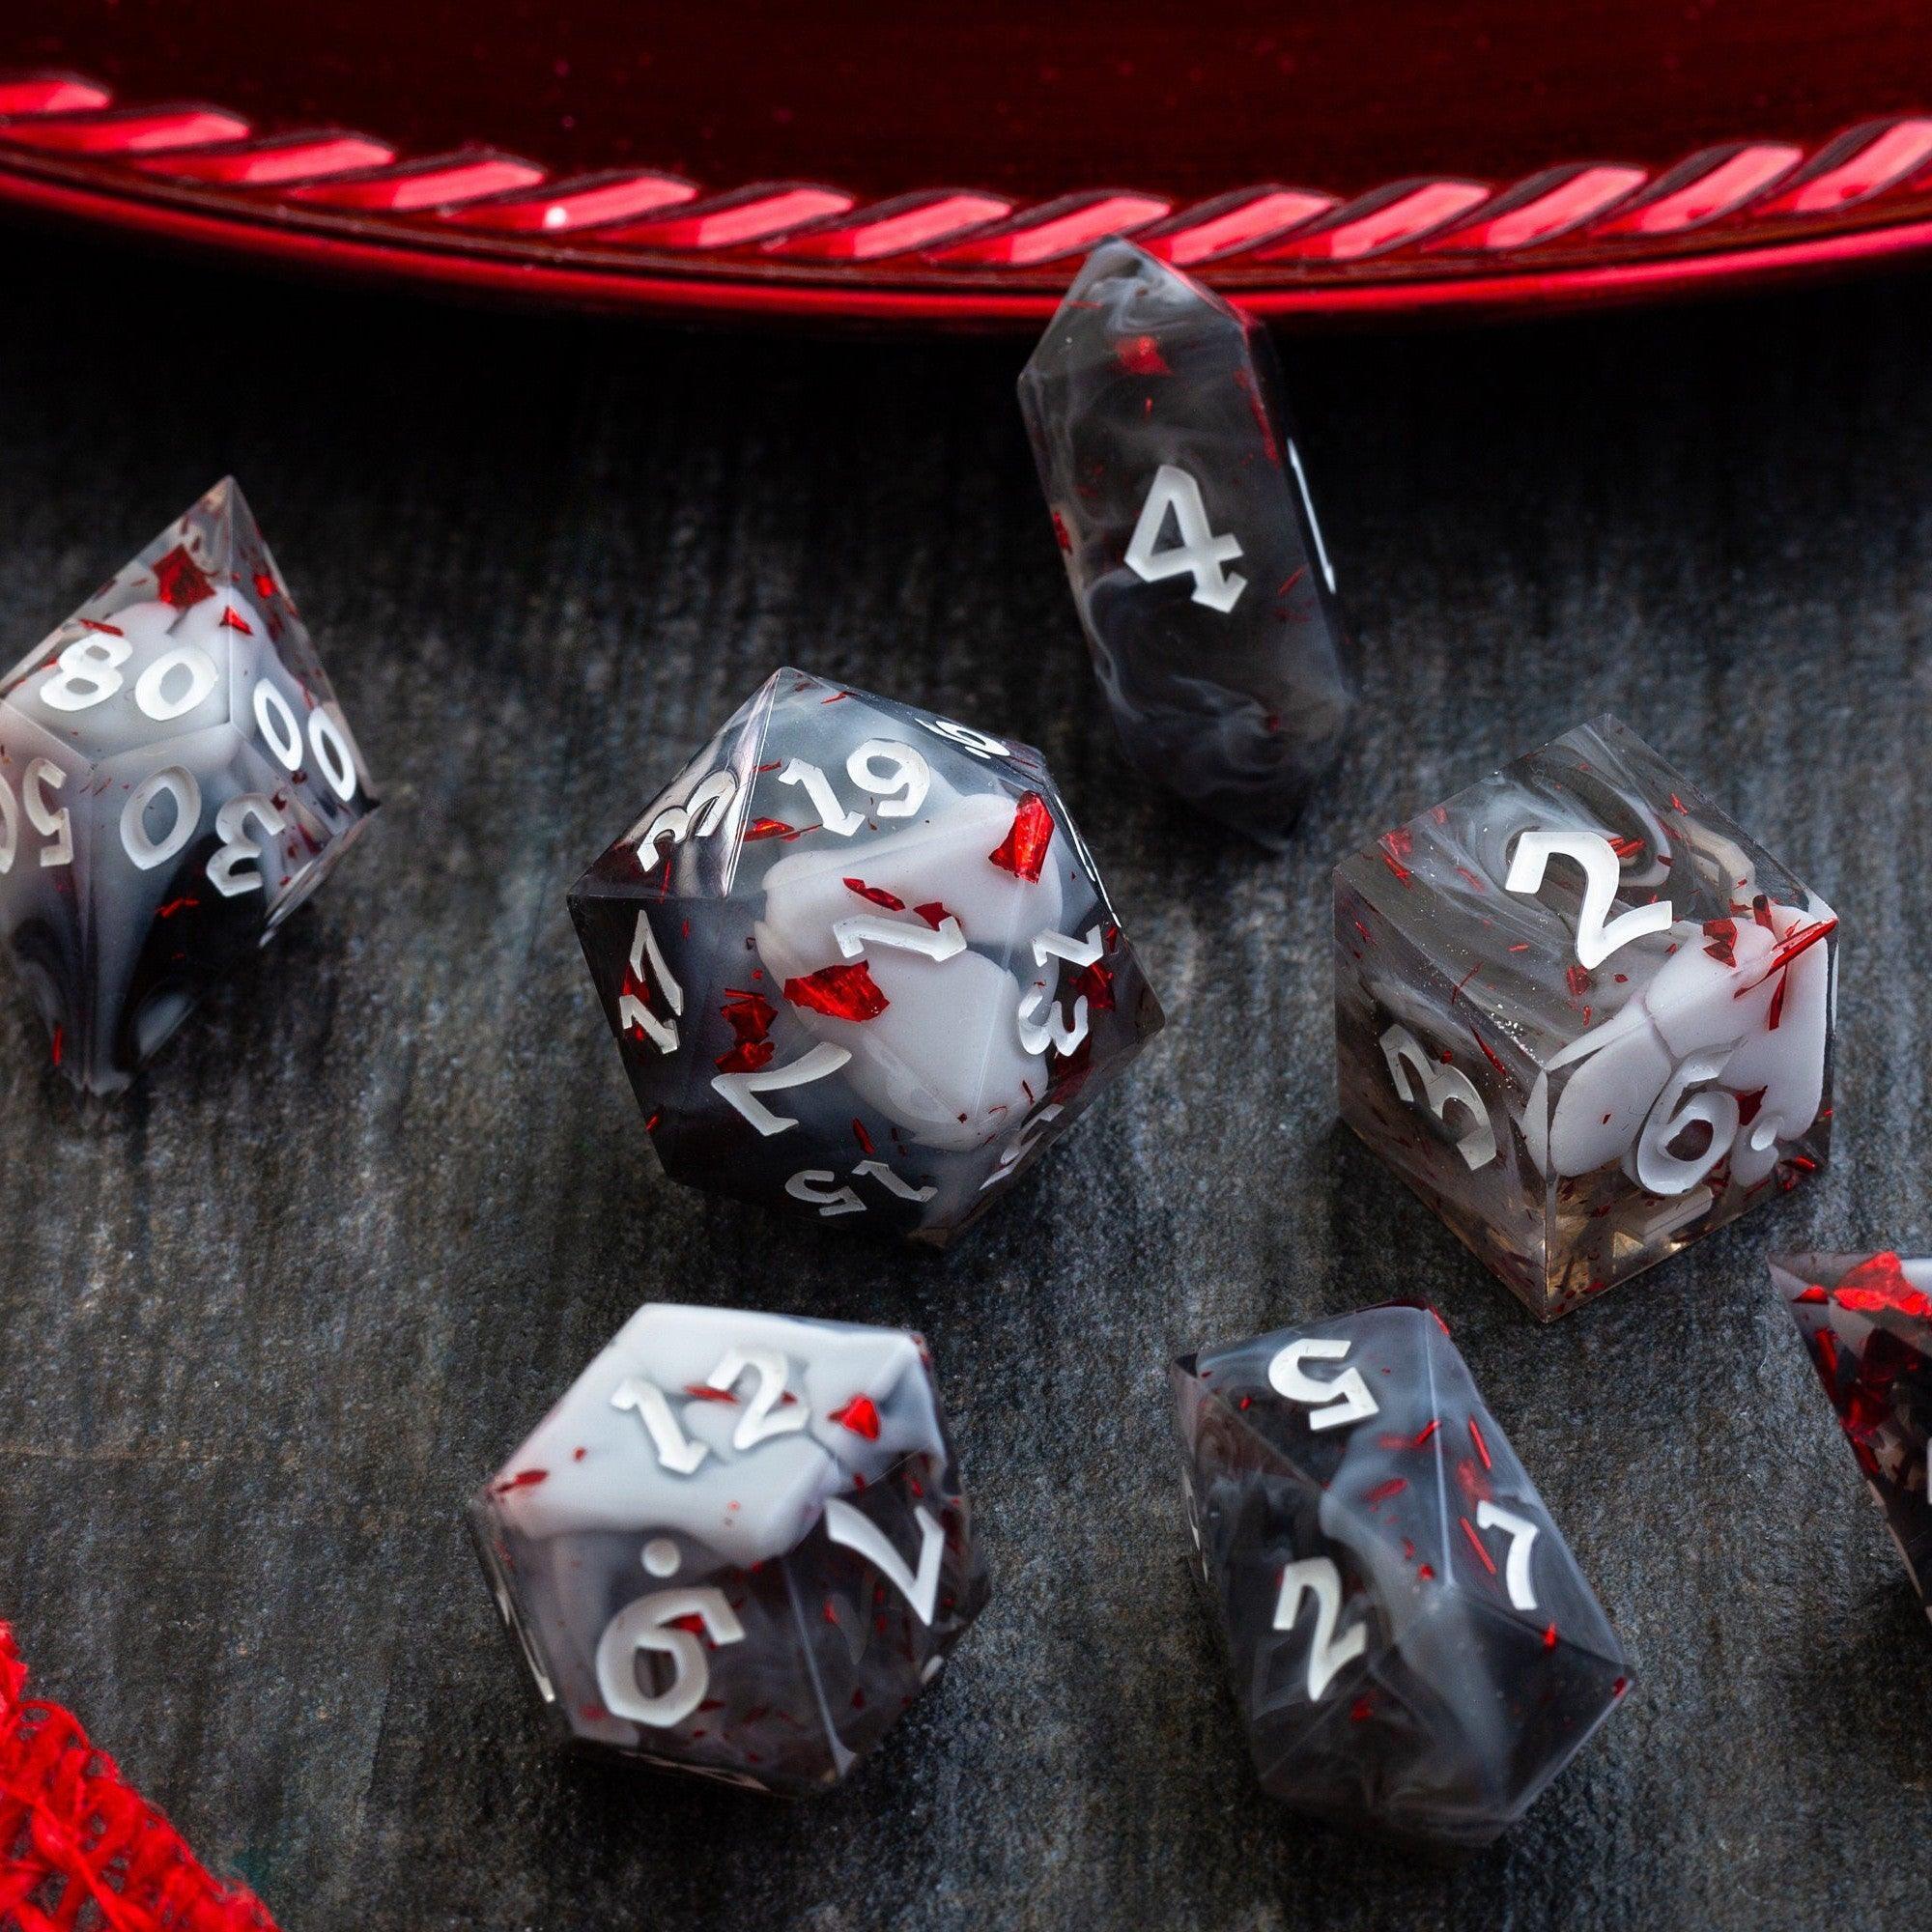
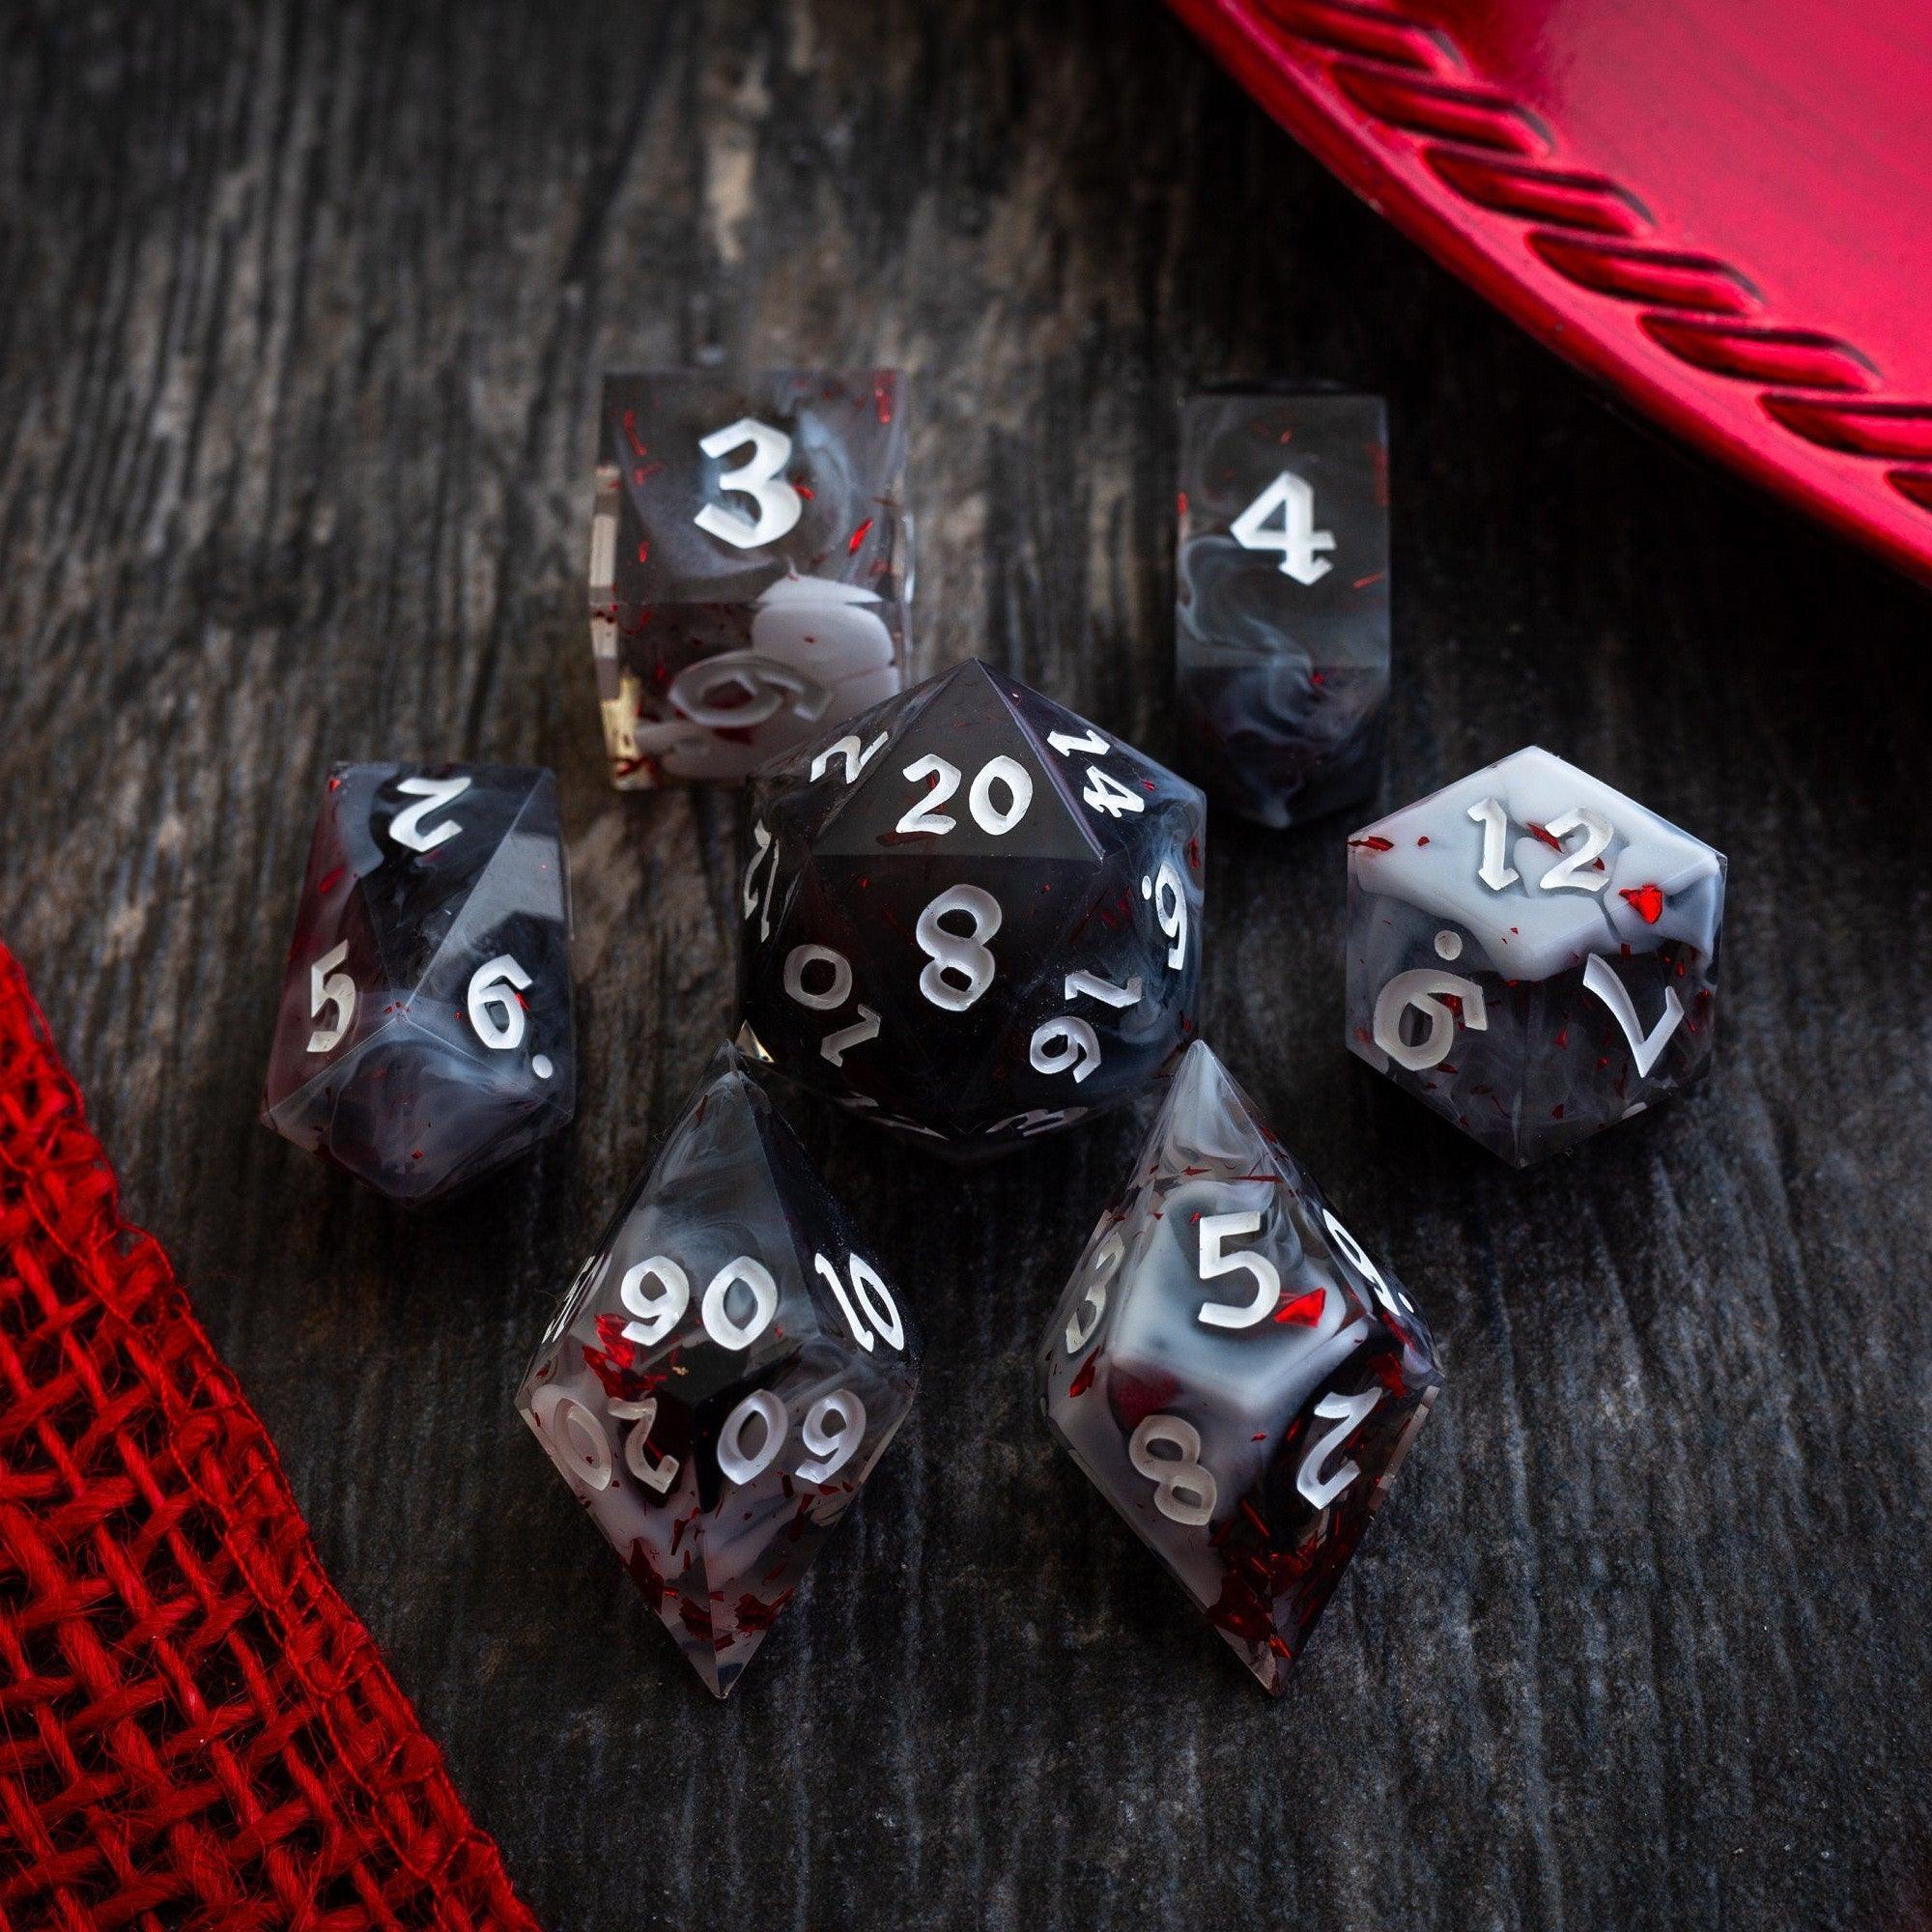
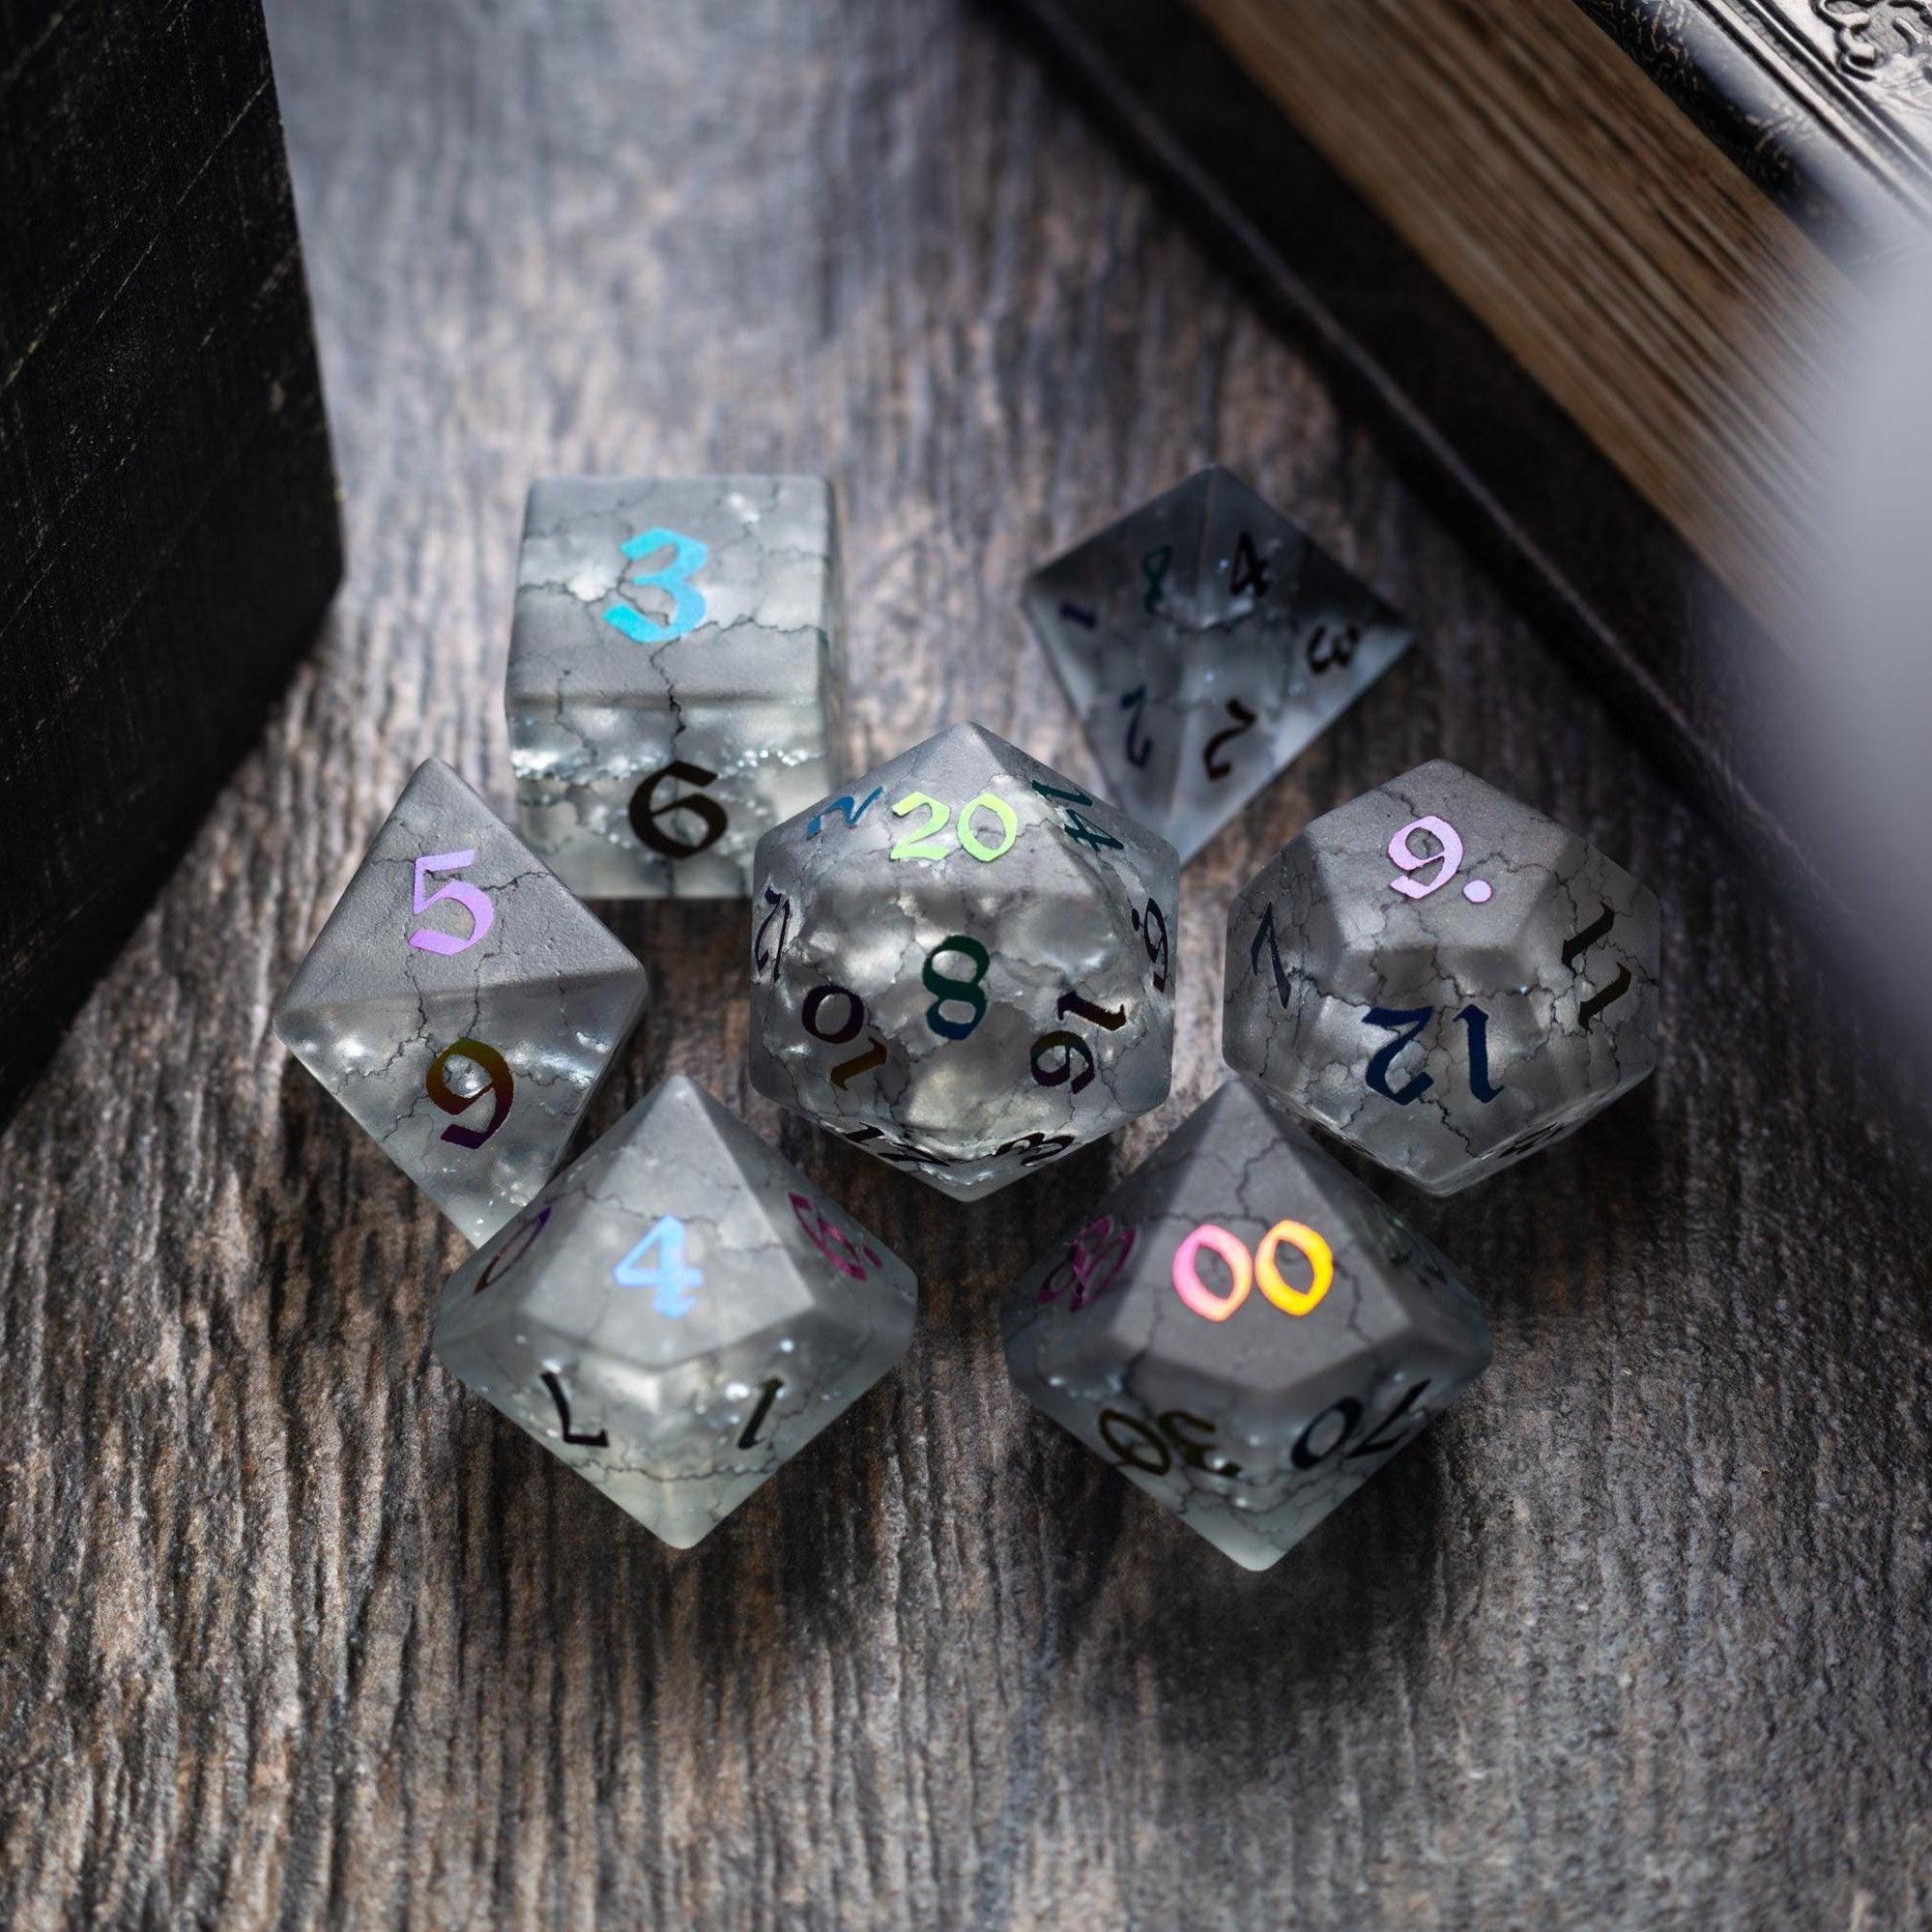
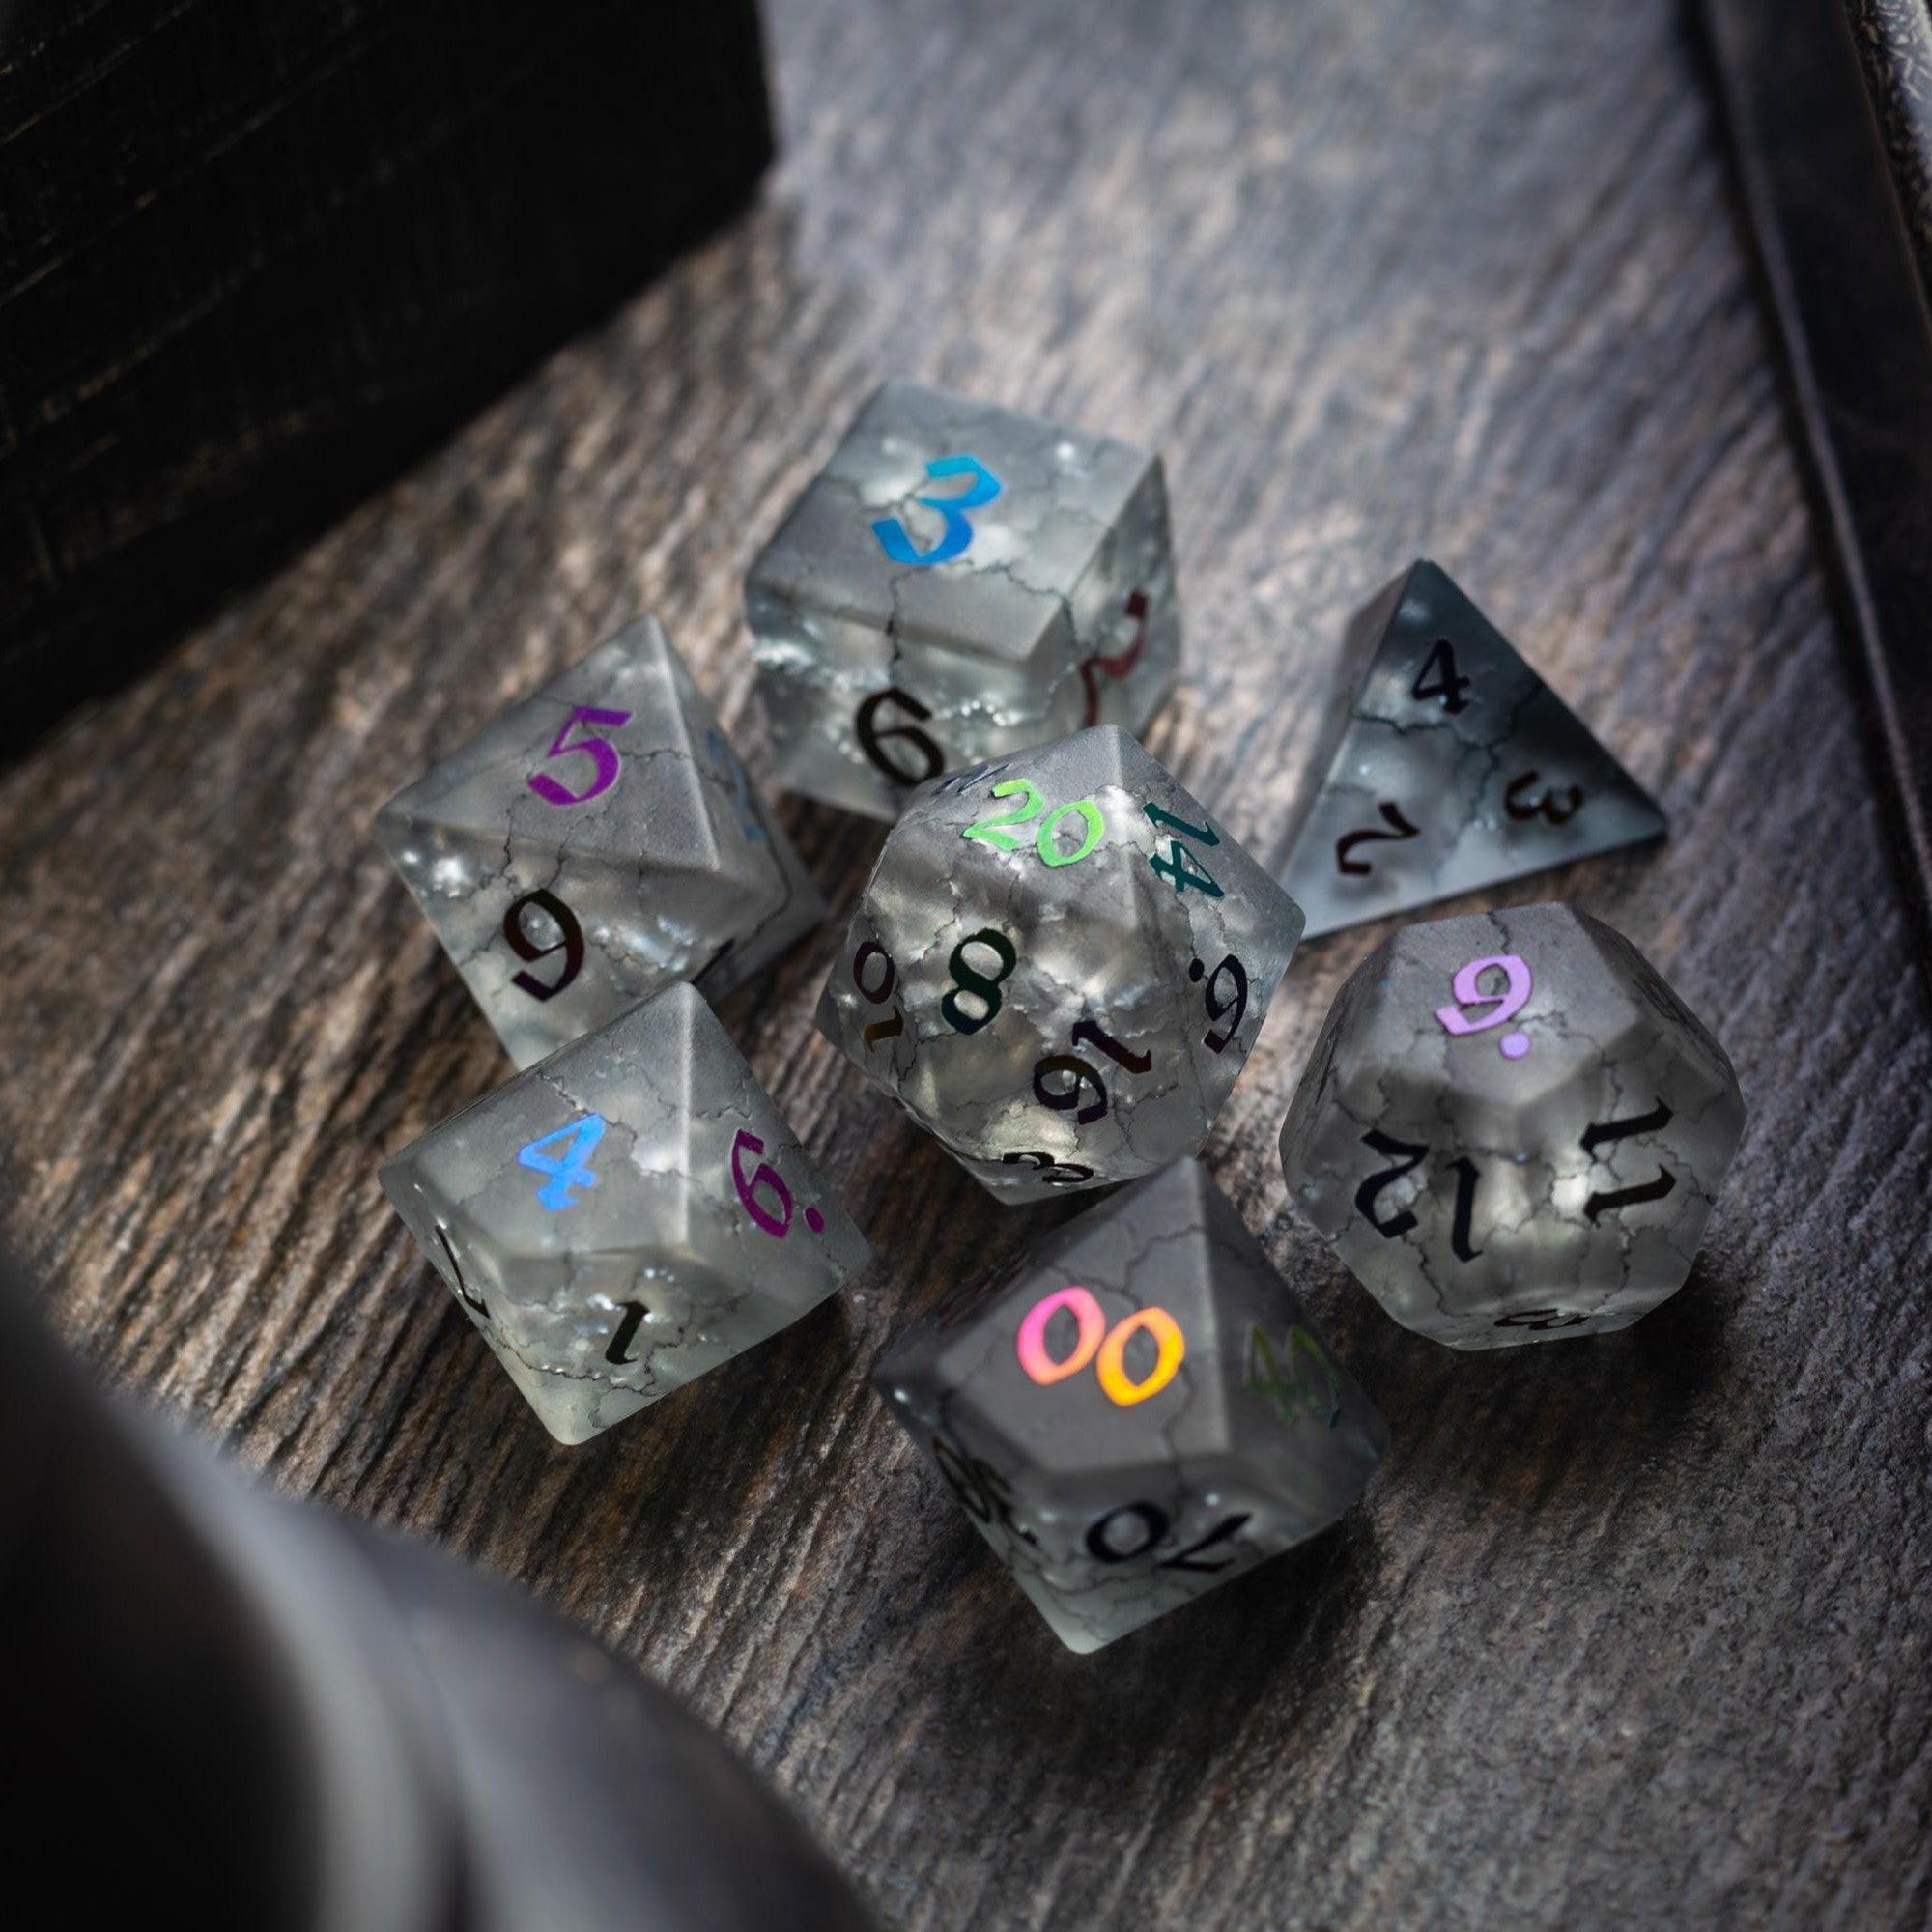
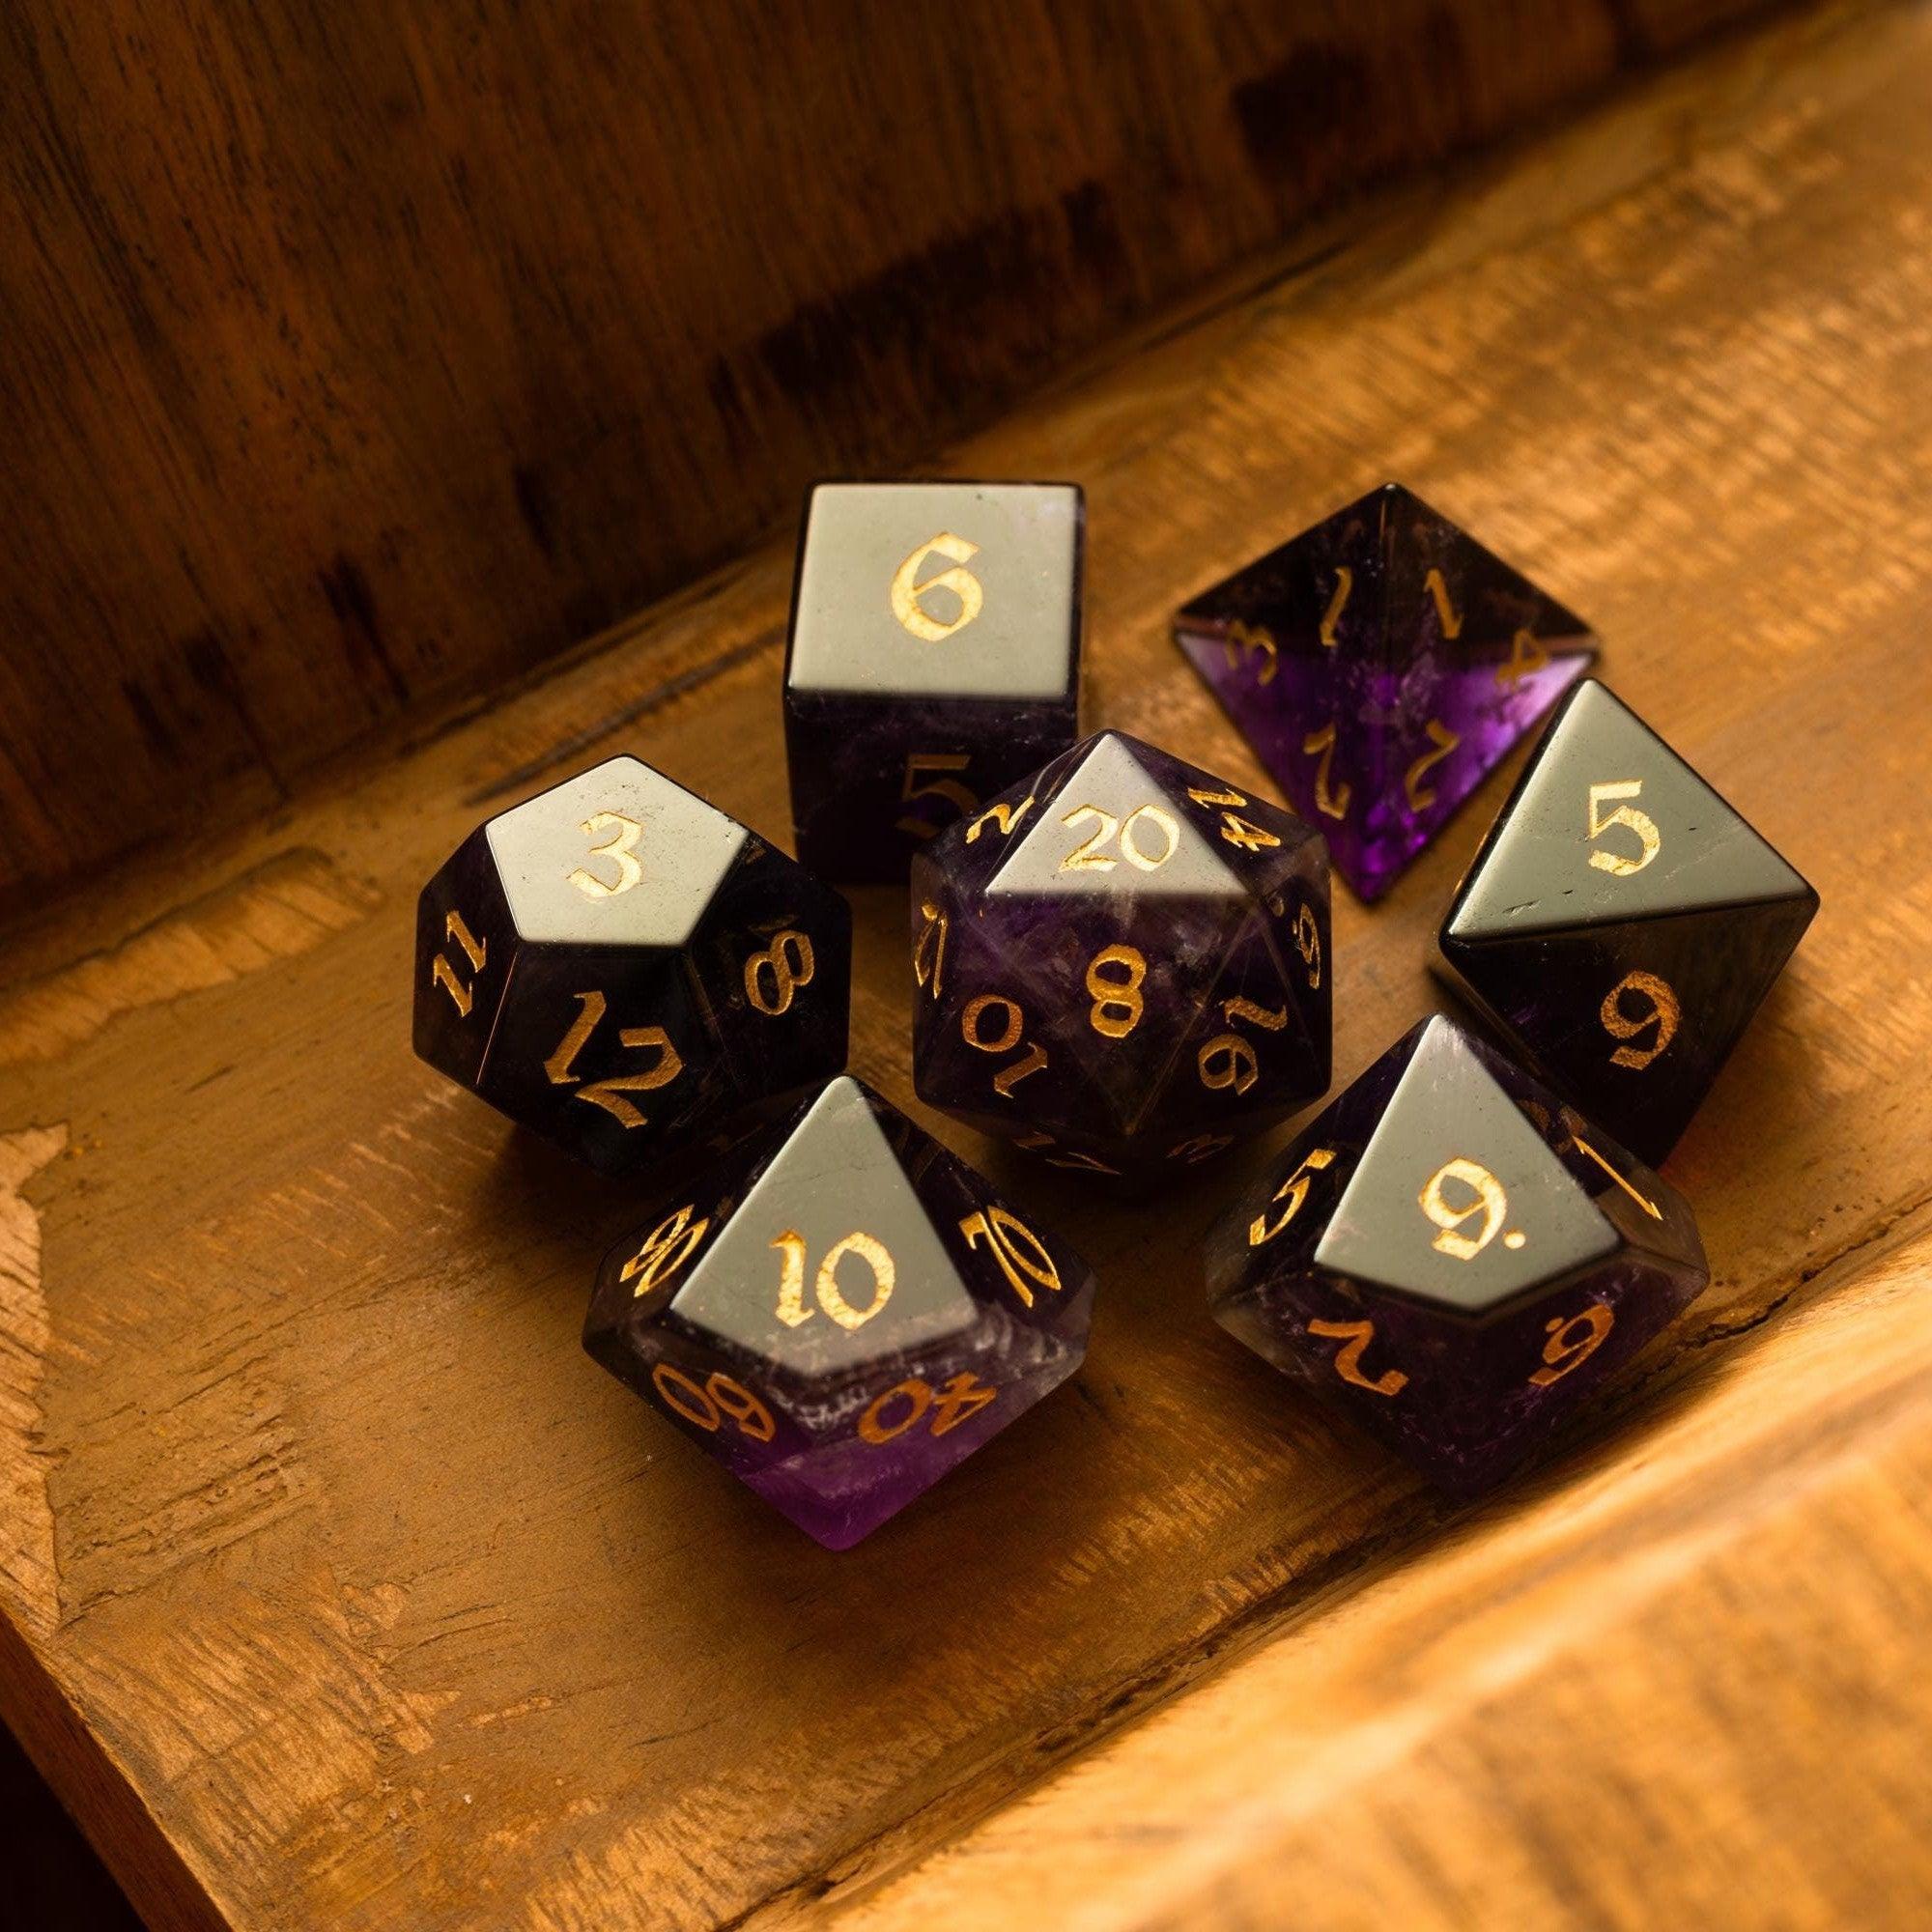
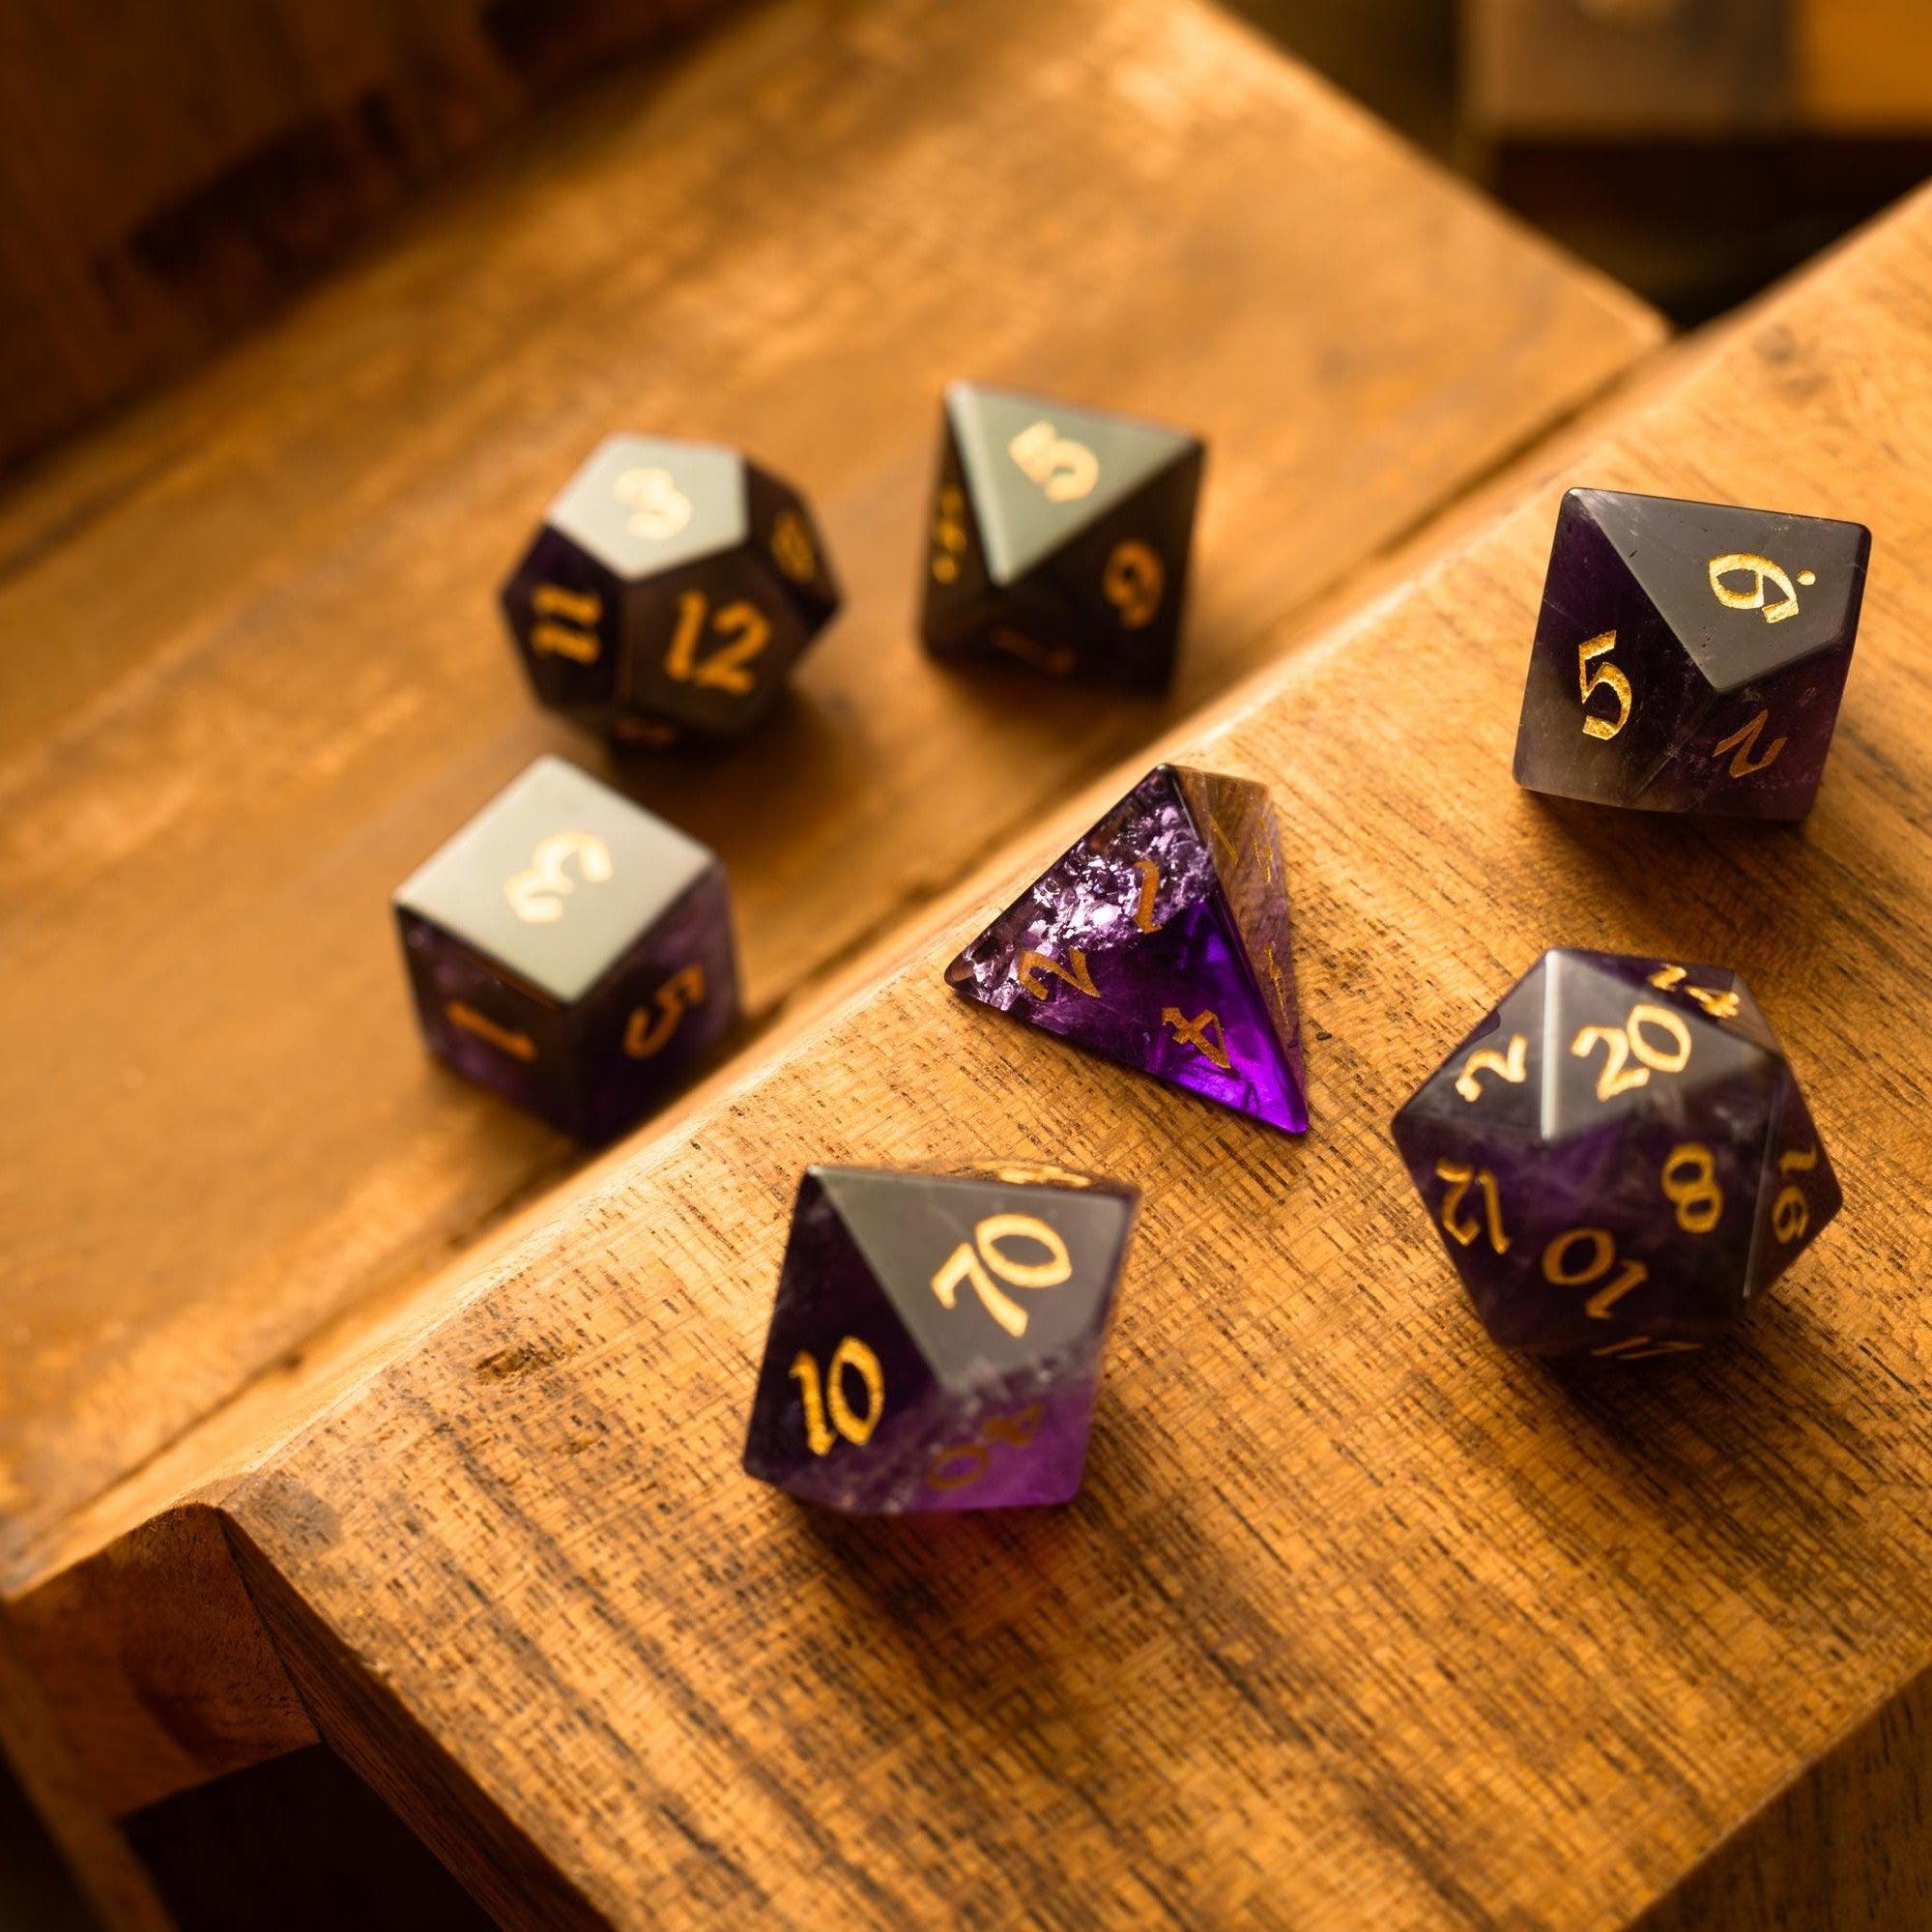
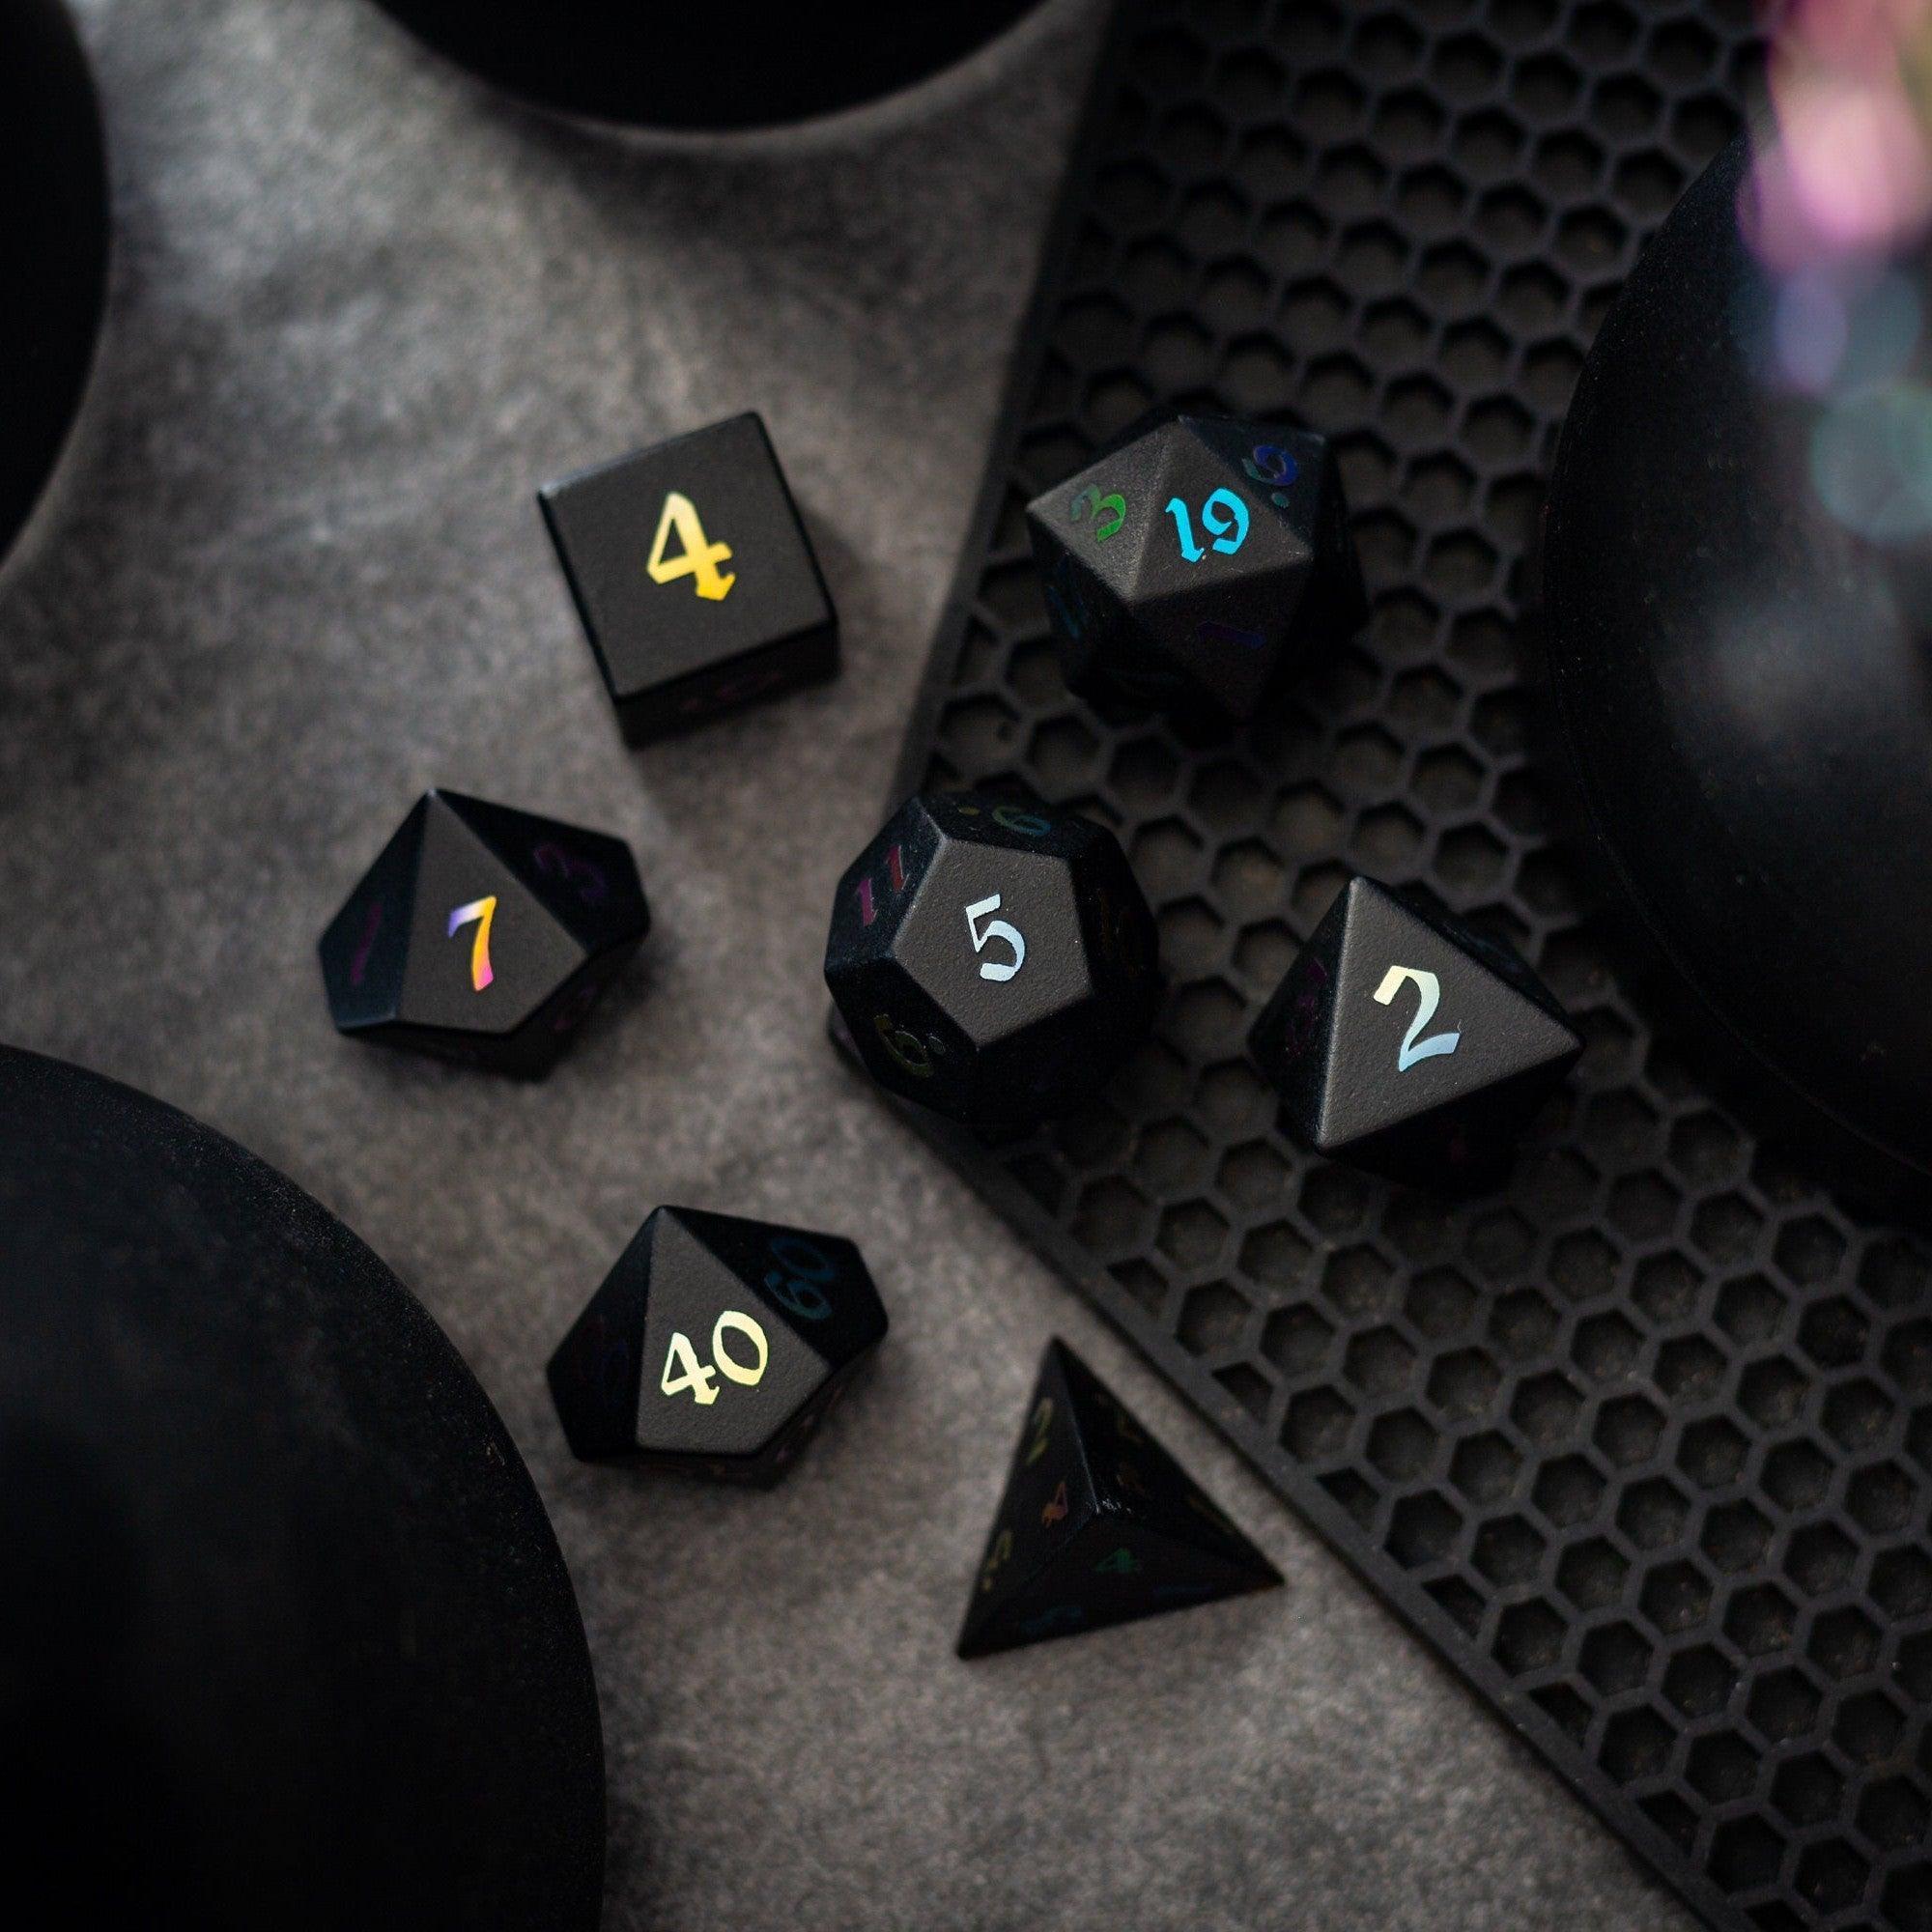
- Dice you trust: Bring two full polyhedral sets plus a handful of extras for advantage/disadvantage or damage pools. If you love table presence, consider durable stone or glass options such as Gemstone dice or a statement single like a Labradorite set.
- Rolling gear: A compact tray or tower keeps rolls contained and easy to read. If you want vertical drama and tidier dice, explore sturdy dice towers. Add a soft mat to reduce bounce and protect delicate materials.
- Writing kit: Mechanical pencils, a good eraser, fine-tip pens, highlighters, and sticky notes. Toss in index cards for initiative, conditions, loot, and NPC names. They double as great “table signage.”
- Quick rules: One-page summaries of common actions, conditions, and check DCs. Keep digital copies for search, but bind a printed set so players can pass them around without phones at the table.
- GM binder or folio: Sections for session notes, campaign arcs, locations, NPCs, encounters, and handouts. Use plastic sleeves for reusable maps and dry-erase markers for fog-of-war and tracking.
- Initiative and status tools: Index cards over the GM screen, colored clips, or a dry-erase strip. Pick one system and use it every time for consistency.
- Miniatures and tokens: Keep a small, versatile set: generic heroes, a few common foes, and condition markers. If minis aren’t your thing, flat tokens are lightweight and easy to store.
- Terrain or maps: A foldable grid or a laminated sheet works wonders. Add a wet-erase marker set. Keep magnetized clips or elastic bands to hold rolled mats in place.
- Time savers: A digital timer, page tabs, and a small pouch of pre-rolled damage dice for signature attacks. These cut your turn time dramatically.
- Showpiece die: For big moments, a single special piece can be a spotlight. If you like lively motion and sparkle, a bold liquid core set is hard to miss.
Pack everything in layers: rolling gear at the top, then writing tools and references, then minis and maps. Use pouches to avoid clatter, and add a microfiber cloth to keep polished faces clean. A couple of silica packets help manage moisture if you store your kit in a garage or basement.
How-To Steps
Follow these steps to assemble and maintain a reliable kit you can stash, grab, and go.
- 1. Define the scope: Decide whether the kit serves one GM, the whole group, or rotates. That choice sets size and which items live inside versus at the venue.
- 2. Gather the essentials: Two full dice sets, a compact tray or tower, pencils, index cards, sticky notes, a highlighter, and a one-page rules summary.
- 3. Build your reference stack: Print cheat sheets for conditions, actions, and common rulings. Add page flags to core books or your digital reader for fast jumps.
- 4. Assemble your GM binder: Create sections for session notes, NPCs, maps, loot, and quests. Slide maps into sleeves for dry-erase use.
- 5. Organize with pouches: Dedicate small bags to dice, writing tools, tokens, and minis. Label them. Color-coding saves minutes every session.
- 6. Prepare table aids: Make initiative cards, condition markers, and a short “turn checklist” to keep play snappy. Store them in a front pocket.
- 7. Pack in a repeatable order: Top layer—tray/tower and pencils. Middle—references and binder. Bottom—minis and maps. Put a microfiber cloth on the very top.
- 8. Do a 10-minute preflight: Before guests arrive, lay out dice, cards, and pencils; set the timer; open your notes to the first scene; and cue your opening hook.
- 9. End with a 5-minute reset: Log treasure and XP, collect table aids, wipe maps, sharpen pencils, and restock index cards. Your future self will thank you.
Pro Tips, Storage, and Safety
Keep your kit compact. Heavy gear is tempting, but the best kit is the one you actually bring. If you want variety, rotate a feature item each session—like a showpiece die or a thematic map—while the core stays the same. Consistency beats quantity.
Protect your investment. Hard cases cushion impacts, while soft pouches stop micro-scratches. Wipe polished surfaces with a microfiber cloth after play, and avoid leaving heat-sensitive materials in a hot car. For storage, a small tackle box or camera case with adjustable foam keeps components snug and visible. Silica gel helps in humid climates.
Streamline your rulings. Put a short “house rulings” card in your binder. When everyone knows how you handle passive perception, flanking, or table timeouts, turns stay quick and arguments fade. Keep that card to a single face for clarity.
Use a routine to reduce friction. Open every session with a three-sentence recap, a reminder of table expectations, and a spotlight prompt for one player. End every session by logging unresolved hooks and assigning a “recap volunteer” for next time. Habits are glue—once they’re set, your game runs like a well-oiled machine.
Finally, share the load. Give players a simple job—map wrangler, initiative tracker, or loot scribe—so you can focus on story beats and rulings. And if you’re ready to add a little sparkle or upgrade your table presence, browse sturdy options like gemstone sets or an eye-catching tower so your rolls are easy to read and always in-bounds.
FAQ
Do I need premium dice to start?
No. Any accurate, easy-to-read set will do. Start with one reliable polyhedral set and a spare. What matters most is visibility and consistency. If you want to elevate your table presence later, consider durable materials or a standout showpiece. When you do upgrade, focus on legibility, balance, and how the set feels in hand so you’ll use it every week, not just for special occasions.
How do I keep rolls neat and in-bounds?
Contain them. A low-lip tray or a compact tower keeps dice on the table, protects surfaces, and prevents bumping minis. Pair that with a soft rolling mat to cut bounce and noise. If your table is crowded, give each player a small personal tray space. For consistent results, roll from the same position each time and clear stray dice before the next turn begins.
What belongs in a GM binder?
Keep it lean and living. Use five sections: session notes (front), NPCs with brief tags (motivation, voice cue), locations and maps, encounters and tables, and handouts. Slip maps and trackers into plastic sleeves for wet-erase marks. Add page tabs for must-have rulings. Finally, include a single card with table expectations and your “turn checklist” so pace stays brisk even on busy nights.
Quick takeaways: keep your kit small, your references short, and your cleanup automatic. Save this tabletop toolkit and guides as a checklist, then tune it after every session. A few minutes of prep pays off with smoother flow, clearer rulings, and a happier table.


Leave a comment
This site is protected by hCaptcha and the hCaptcha Privacy Policy and Terms of Service apply.