

Spells Organized by Class and School A Quick Guide
Updated on: 2025-12-29
Planning your game night becomes easier when your magic is simple to find, compare, and prepare. This guide shows a calm, practical way to keep your spell references clear and fast to use, from session zero through epic tiers. You will learn simple tags, consistent naming, and session-ready checklists that reduce page-flipping and keep your turns smooth. By the end, you will have a tidy, flexible system you can update in minutes.
- Essential Tips for spells organized by class and school
- Detailed Step-by-Step Process
- How should I label spells that appear on multiple class lists?
- What is the best way to prioritize my prepared list?
- How often should I review and clean my catalog?
- Summary & Takeaway

When players talk about faster turns and clearer decisions, one idea appears again and again: spells organized by class and school. With a calm structure, your selection, preparation, and table reference become lighter and quicker. This article offers a friendly, step-by-step system for building a straightforward catalog you can maintain in less time than it takes to brew tea. The approach works for any edition or homebrew, and it adapts to both digital tools and a simple binder.
Essential Tips for spells organized by class and school
- Start from your table needs: Build for quick reading in the moment, not perfect completeness. Less clutter beats more fields.
- Use consistent tags: Class, school of magic, level, action type, casting time, components, range, and duration cover most table decisions.
- Create two views: A planning view (all data, full notes) and a session view (short line with only the deciding details).
- Color cues help: One subtle color per school of magic, or small icons, can guide your eyes without overwhelming your page.
- Keep names exact: Use official spell names letter-for-letter so you can cross-reference supplements and avoid duplicate entries.
- Flag special rules: Add clear tags for ritual, concentration, upcasting, and reactions; they affect turn economy the most.
- Bundle by role: Group your favorites into control, damage, utility, defense, and healing so you can fill party gaps quickly.
- Prepare a “first pick” list: Mark a small shortlist per level to speed up choices under time pressure.
- Archive kindly: Do not delete; mark “retired” or “replaced” so you preserve past notes and keep your catalog trustworthy.
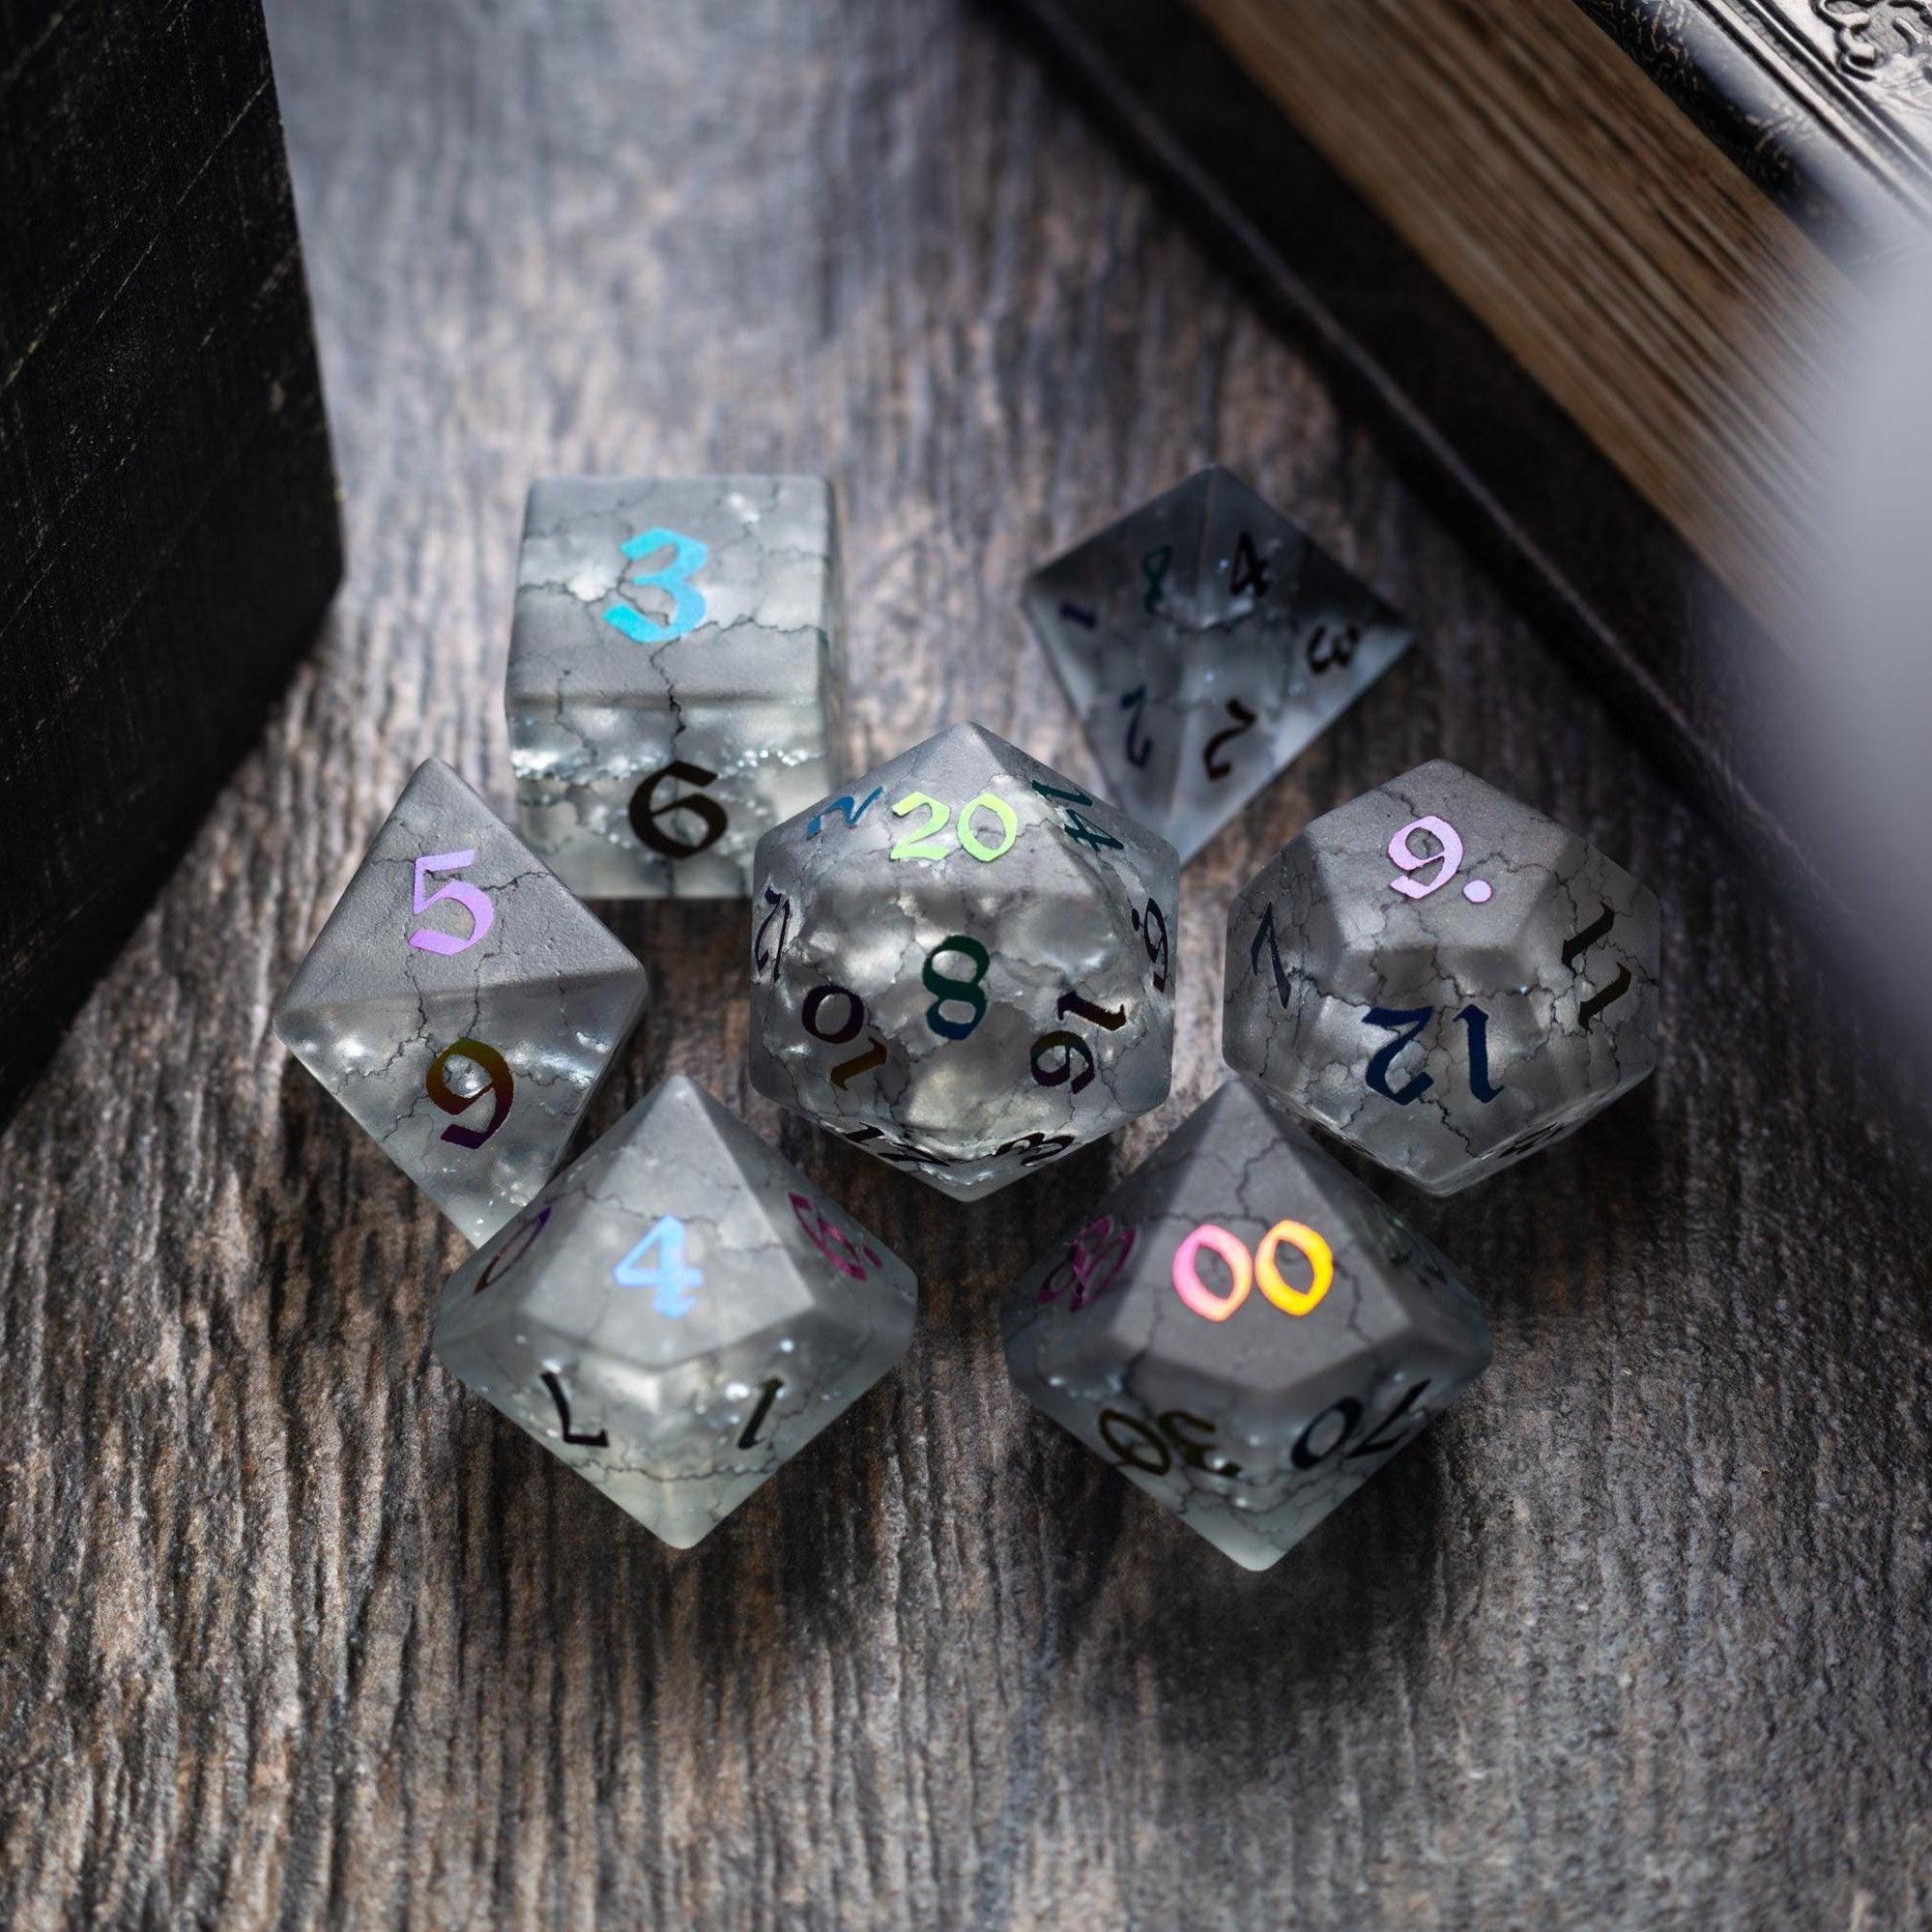
- Match your tools: If you enjoy tactile play, printable cards pair well with a compact dice setup and neat dice towers.
Detailed Step-by-Step Process
This gentle workflow aims for clarity first. You can follow it with a spreadsheet, a notebook, or your favorite organizer. Adjust any step so it fits your table and your comfort.
1. Define your scope.
Decide which classes, sources, and optional rules you include. Naming this boundary at the start prevents later confusion and keeps your list focused.
2. Create core categories.
Use two main groups: character class and school of magic. Add level as a number and keep it consistent. These three fields will drive most of your filters.
3. Set your tag list.
Prepare short, predictable tags such as Ritual, Concentration, Reaction, Bonus Action, Material, Verbal, Somatic, Single Target, Area, and Save Type. Keep tags lowercase or uppercase consistently.
4. Normalize your names.
Enter each spell name exactly once in a “master” sheet. If the same spell appears for multiple classes, add a multi-select field for classes rather than making duplicates.
5. Capture decision details.
For your session view, include only casting time, range, duration, components, and one-line effect. Place longer notes (synergies, rulings, edge cases) in your planning view to keep the table page clean.
6. Build smart filters. Create quick filters like “Level ≤ 3 and Concentration = false” for low-risk options, or “School = Conjuration and Range ≥ 60 ft” for positioning spells. Save a few frequent filters to reuse during prep.
7. Group by role. Add a “Role” column with values like Control, Burst, Persistent Damage, Mobility, Utility, Support. Sorting by Role, then Level, then School helps you pick a balanced kit in minutes.
8. Prepare a class loadout. For each class you play, mark 5–7 “always-know” picks per early level. Then add situational notes (e.g., “great in dungeons,” “works best outdoors”). This reduces cognitive load under time pressure.
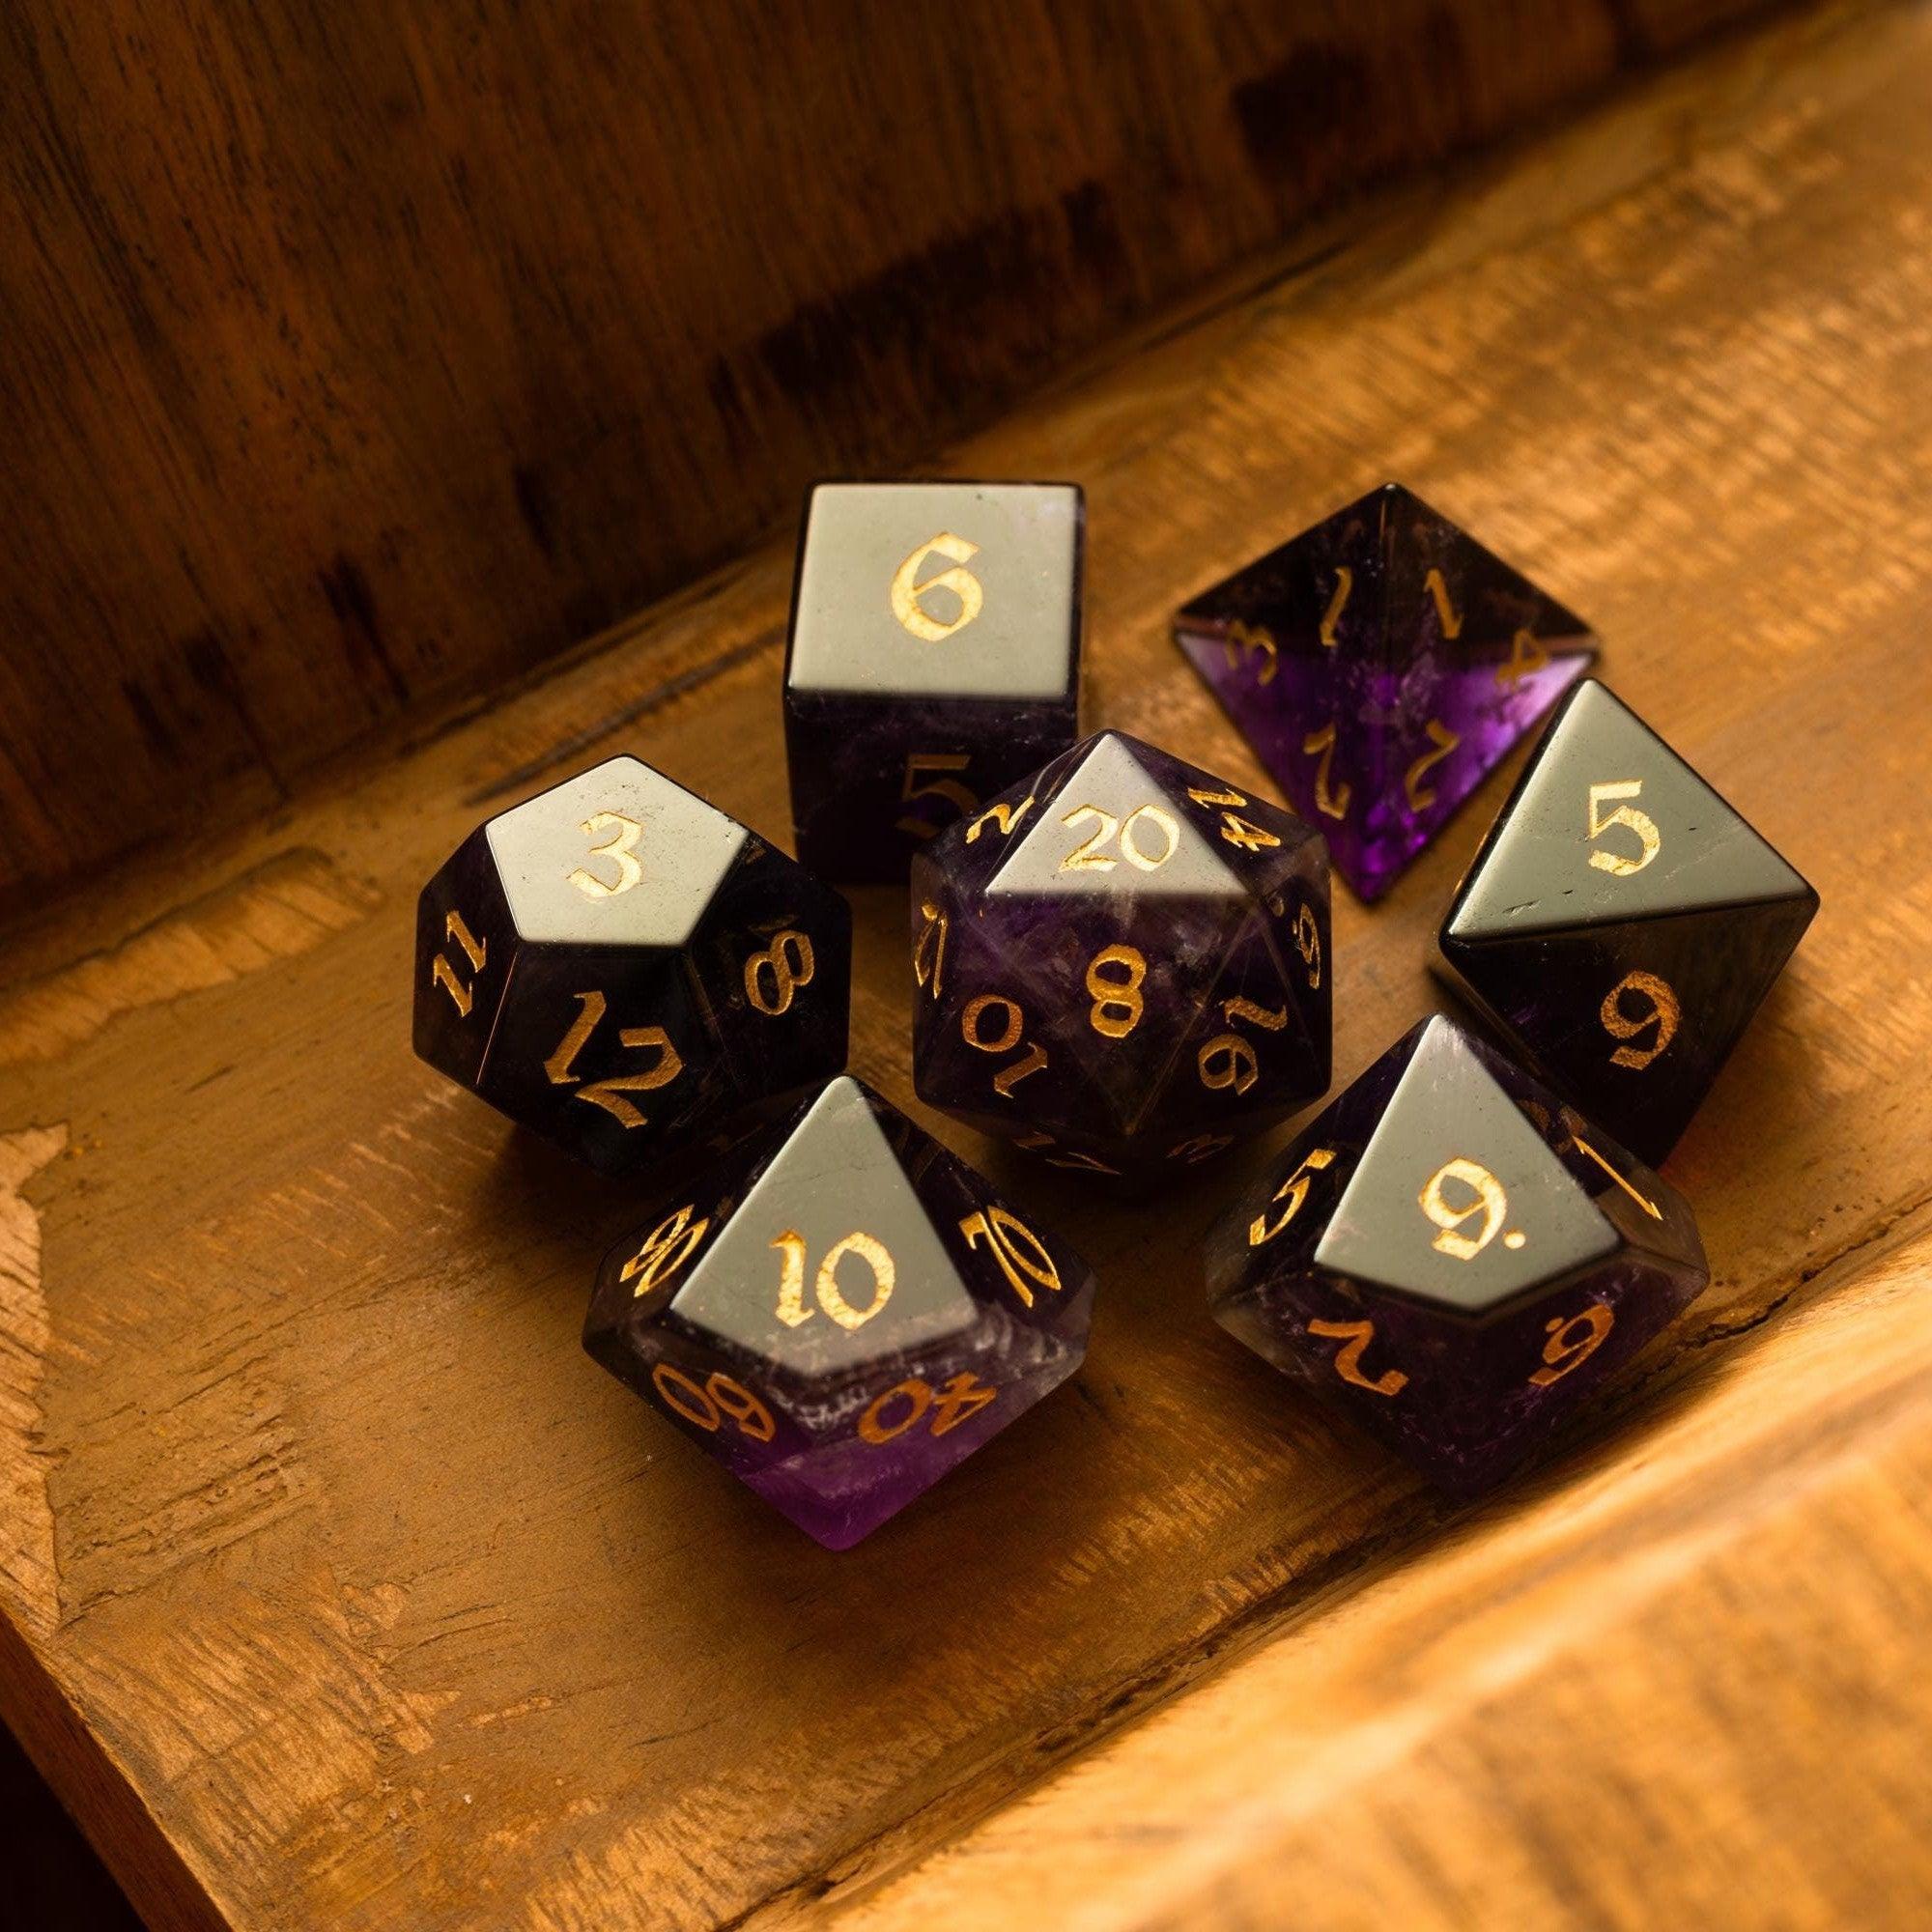
9. Design a quick reference card. Condense each chosen spell into a single short line: Name — Action/Range/Duration — Save — Key effect. Print to index cards, or use a one-page sheet. Pair it with a tidy set of gemstone dice for a crisp tabletop flow.

10. Track rulings and synergy. When your group makes a ruling or finds a combo, add it as a dated note under that spell. Over time, your catalog becomes a trusted guide tailored to your table.
11. Review and refine. After each session, mark which spells you used, which felt weak, and which excelled. Archive seldom-used options and elevate reliable workhorses to your shortlist.
12. Back up and version. Save a copy before big changes. A simple version label like “v1.3 — Tier 2 update” makes it easy to roll back or share with your party.
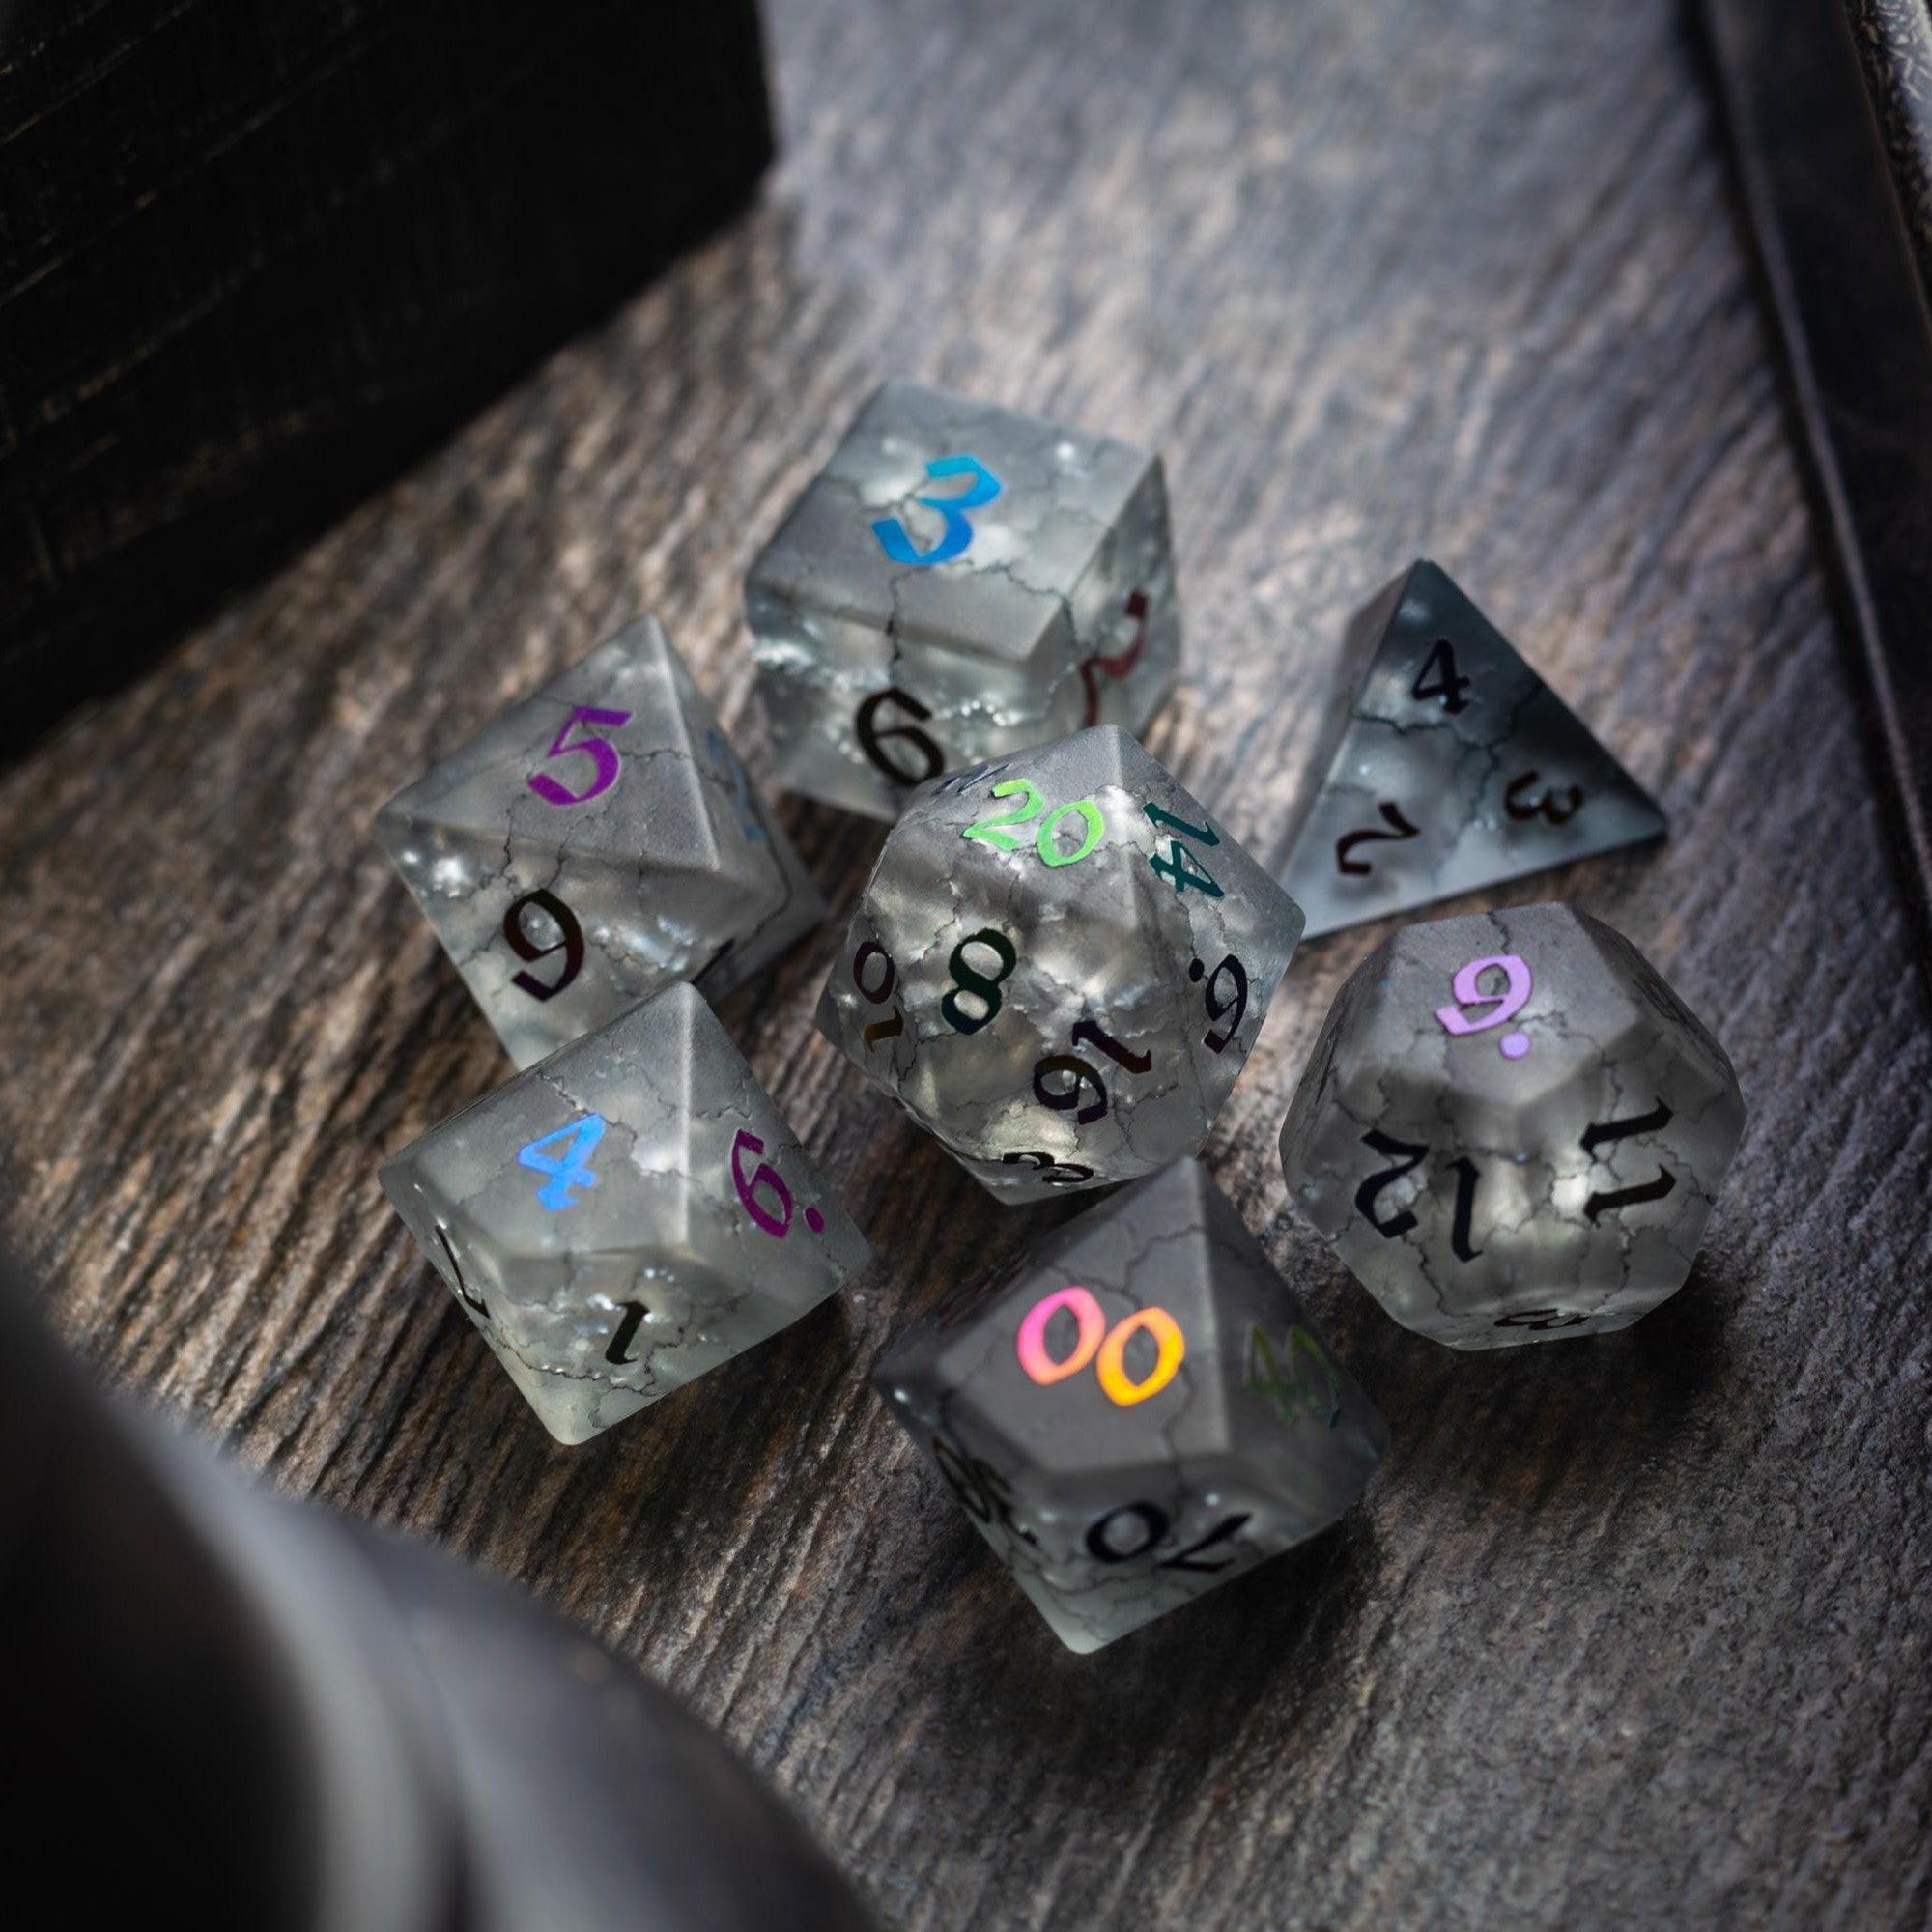
If you favor tactile play, consider a compact pouch for your session sheet and dice. A visually distinct set, such as shimmering liquid core dice, can help you spot your casting dice at a glance and keep your flow calm and steady.
How should I label spells that appear on multiple class lists?
It is often helpful to keep one master entry and assign multiple class tags rather than creating duplicates. This preserves a single source of truth for ranges, components, and notes. If a spell behaves differently for a specific class, add a brief class-specific note under the same entry. For filters, a multi-select field lets you show “Class contains Wizard” or “Class contains Cleric” without breaking your catalog. This approach keeps your grouped spell lists tidy and reduces the need for future edits.
What is the best way to prioritize my prepared list?
A simple method is to sort by Role first, then by Level, and then by School. Within each group, flag one reliable choice and one flexible choice. Reliable picks are safe and useful across most encounters; flexible picks shine in special circumstances. You may also maintain a “First Pick” tag for spells you can cast without checking notes. During prep, filter to “First Pick = true” and “Level = current tier” for an easy, fast selection.
How often should I review and clean my catalog?
A gentle cadence is after every 2–3 sessions or whenever your character gains a new spell level. At review time, ask which entries you never look up, which notes feel unclear, and which tags you never use. Retire unused tags and sharpen your one-line summaries. This regular upkeep keeps your collection quick to scan and pleasant to use. Over time, your grouping by class and magic school becomes second nature at the table.
Summary & Takeaway
A clear, dependable catalog turns decision fatigue into confident play. When you keep spells organized by class and school, your filters and shortlists do the heavy lifting for you. A steady routine—consistent tags, a session view, brief notes, and light reviews—keeps everything smooth without becoming a chore. Consider small quality-of-life touches too, like a dedicated casting set such as the elegant Starlit Rift set, or space-saving dice towers for neat rolls. With a calm system and a few thoughtful tools, your turn stays steady, your choices stay clear, and your game flows kindly for everyone at the table.


Leave a comment
This site is protected by hCaptcha and the hCaptcha Privacy Policy and Terms of Service apply.