
Discover the Best Map Creation Tools for Fantasy Campaigns
Updated on: 2025-12-05
Building maps that spark player imagination shouldn’t be hard. In this guide, we break down map creation tools for fantasy campaigns, step-by-step, so you can go from blank canvas to table-ready in a single evening. You’ll learn how to pick the right app, speed up your workflow, and add evocative details without getting stuck in perfectionism. Plus, you’ll find practical tips for style, scale, and session prep to keep your table engaged.

You want your world to feel tangible—towns with winding alleys, forests with hidden glades, and dungeons that make players lean in. Great maps do that. The right software doesn’t just draw lines; it lets you tell stories in shapes and colors. We’ll cover planning, picking the right editor, and fast workflows so you can spend less time fiddling and more time running unforgettable sessions. We’ll also compare features like asset libraries, hex grids, and exports for print, VTTs, and handouts. By the end, you’ll have a reliable approach to map design that works for weekly games and one-shots alike.
How-To Steps
-
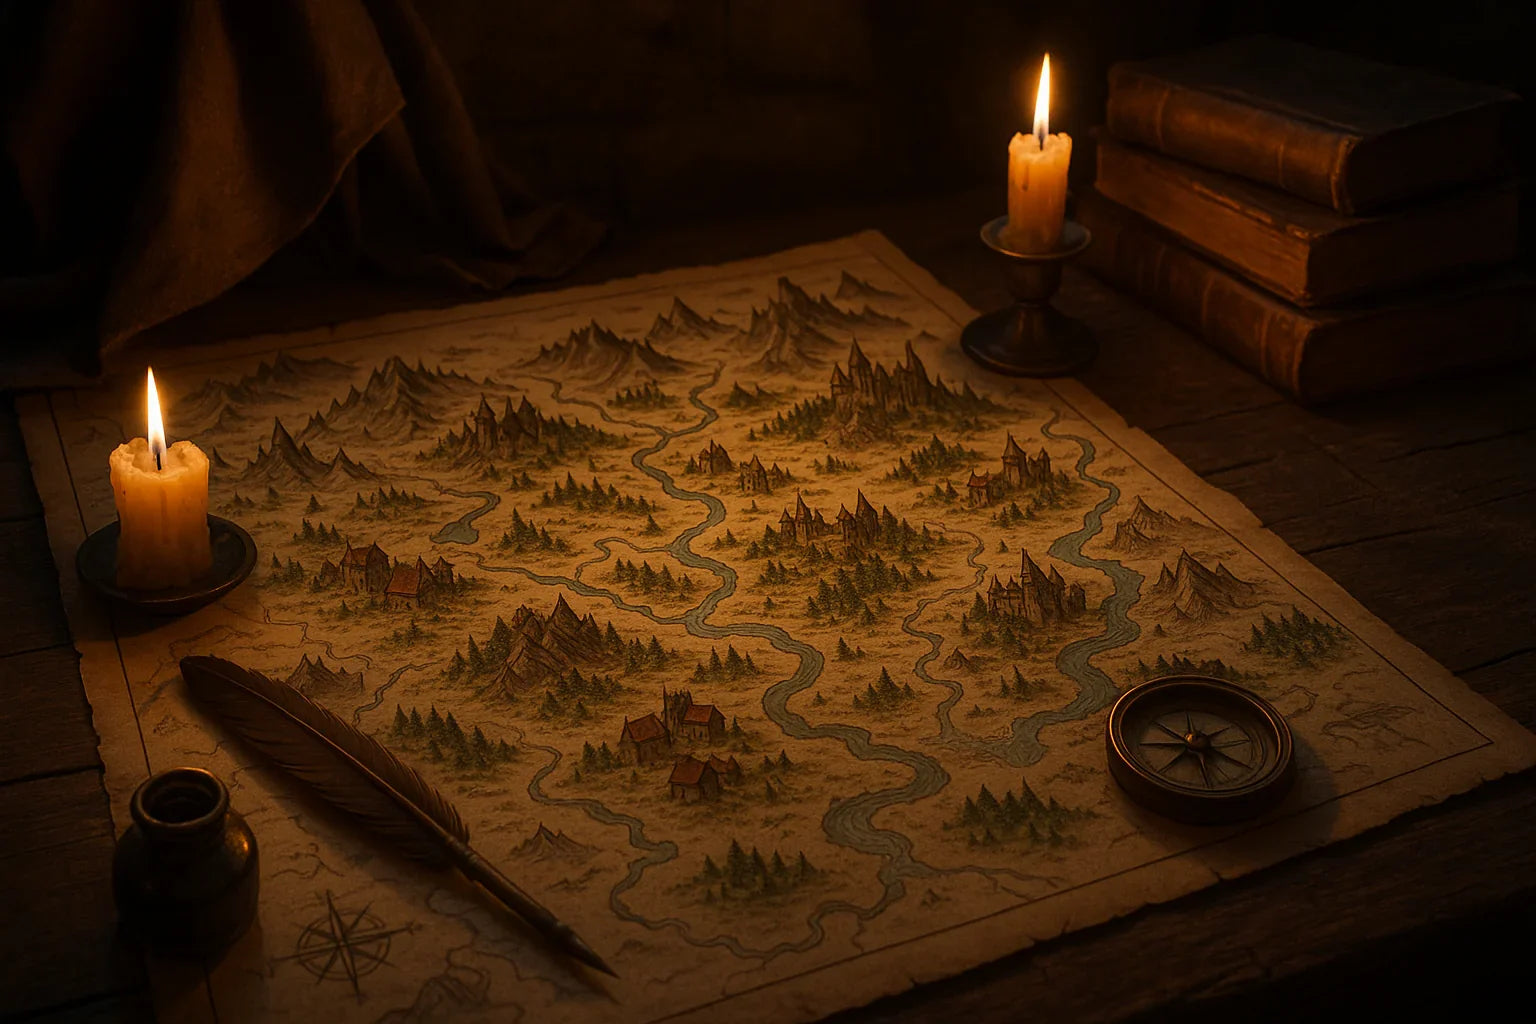
Define the purpose in one sentence. Write a single line that captures what the map must do: “A coastal heist town with three docks, crowded alleys, and a cliffside manor.” This keeps you focused and helps you choose the right canvas size and features.
-
Pick a base style early. Decide on parchment, painterly, pixelated, or modern VTT. Consistency saves hours. If you’re unsure, start with a simple ink-and-wash look—it reads well both on screens and in print.
-
Block out big shapes first. Rough in coastlines, walls, roads, and major landmarks using broad brushes or basic shapes. Resist detailing. At this stage, ask: “Does the layout support the story beats?” Adjust before you commit.
-
Establish movement and choke points. Place bridges, gates, stairways, and natural narrows that create tension. These guide encounters and exploration. A good rule: every area should have at least two paths in or out to avoid dead-ends.
-
Layer readable symbols. Use a limited set of icons for doors, traps, secret passages, and points of interest. Keep symbols consistent in size and color so players parse the map quickly during play.
-
Add texture, then restraint. Drop in a subtle paper grain or soft shadows for depth. Avoid over-texturing; it can muddy tokens and grids on a VTT. If you can’t read the scene at 50% zoom, simplify.
-
Export for the table you have. Prepare a clean version (no labels) for VTT, a labeled handout for players, and a DM version with notes. Name files clearly so you can find them mid-session.
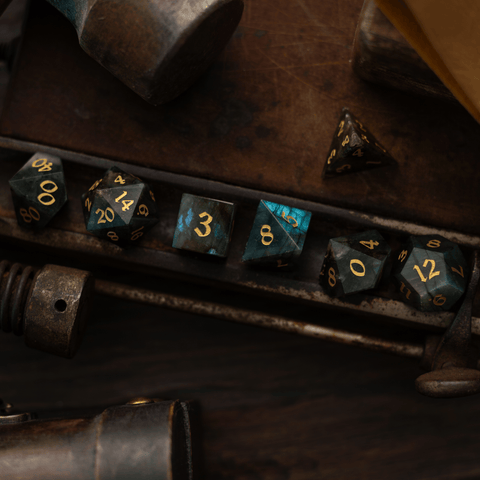
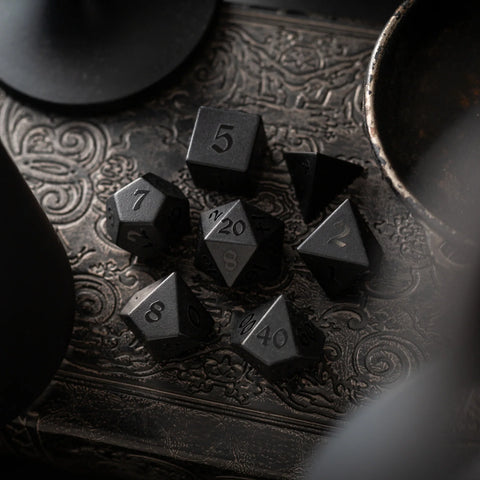
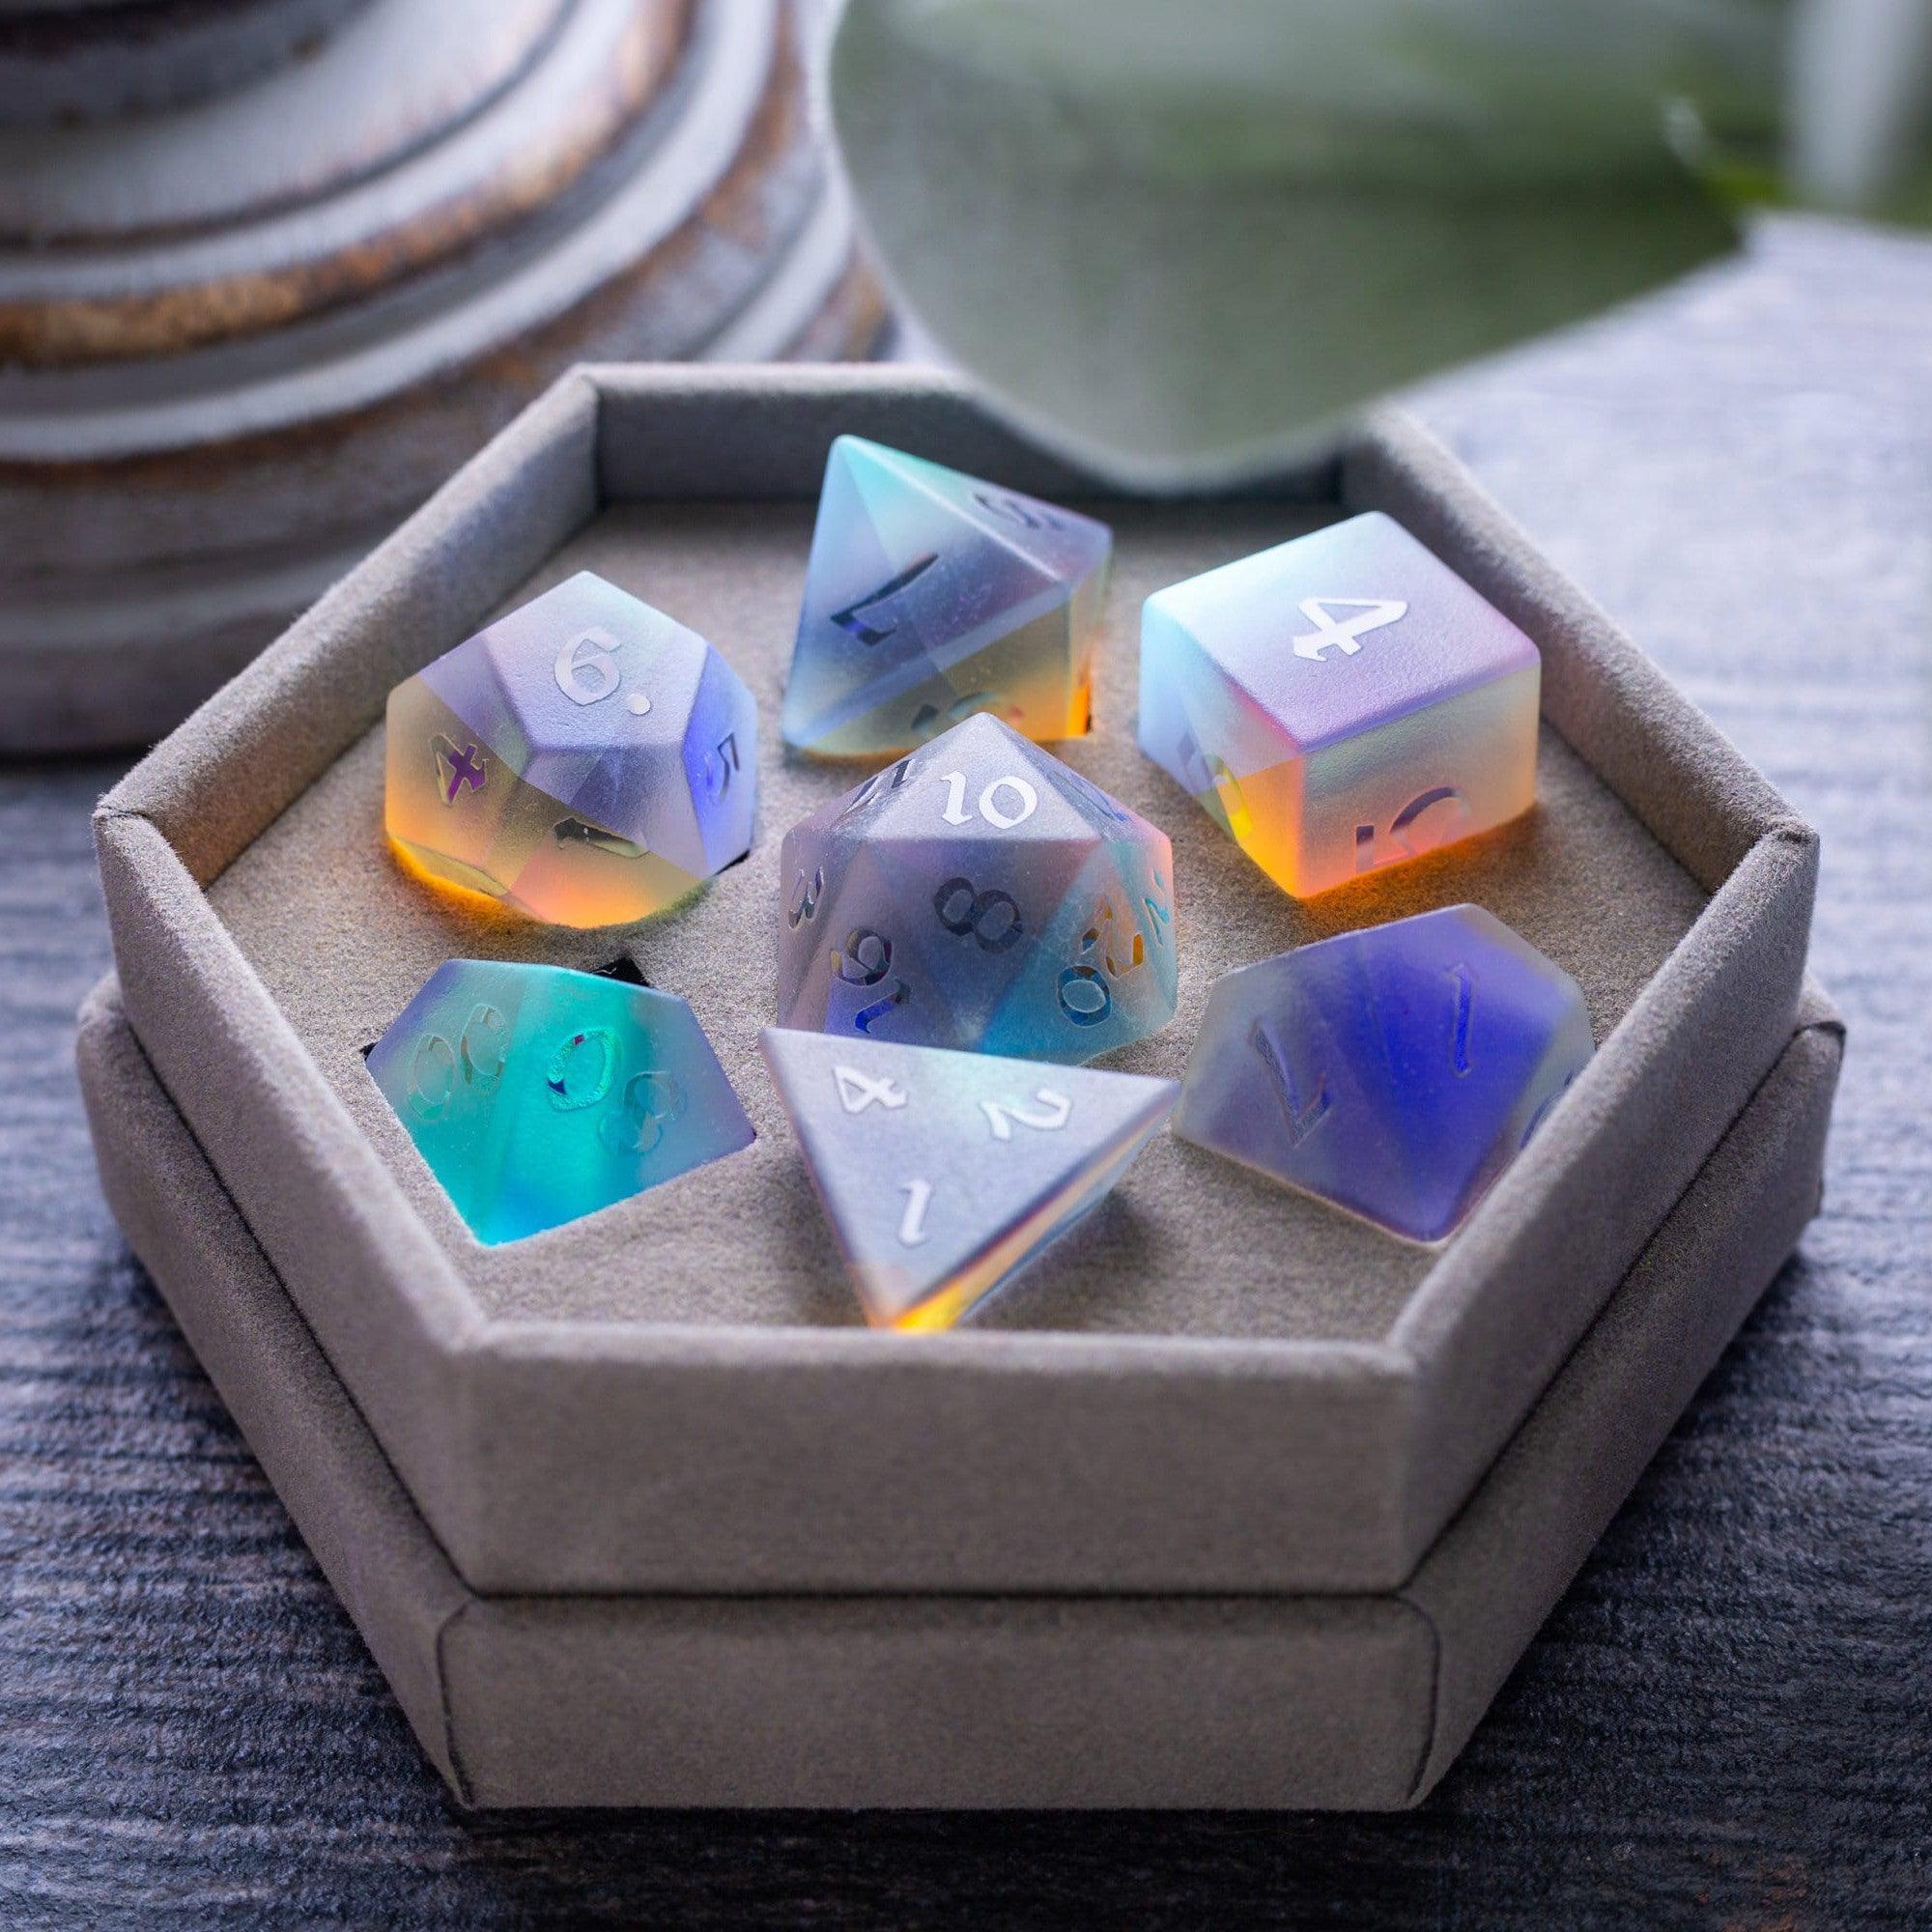
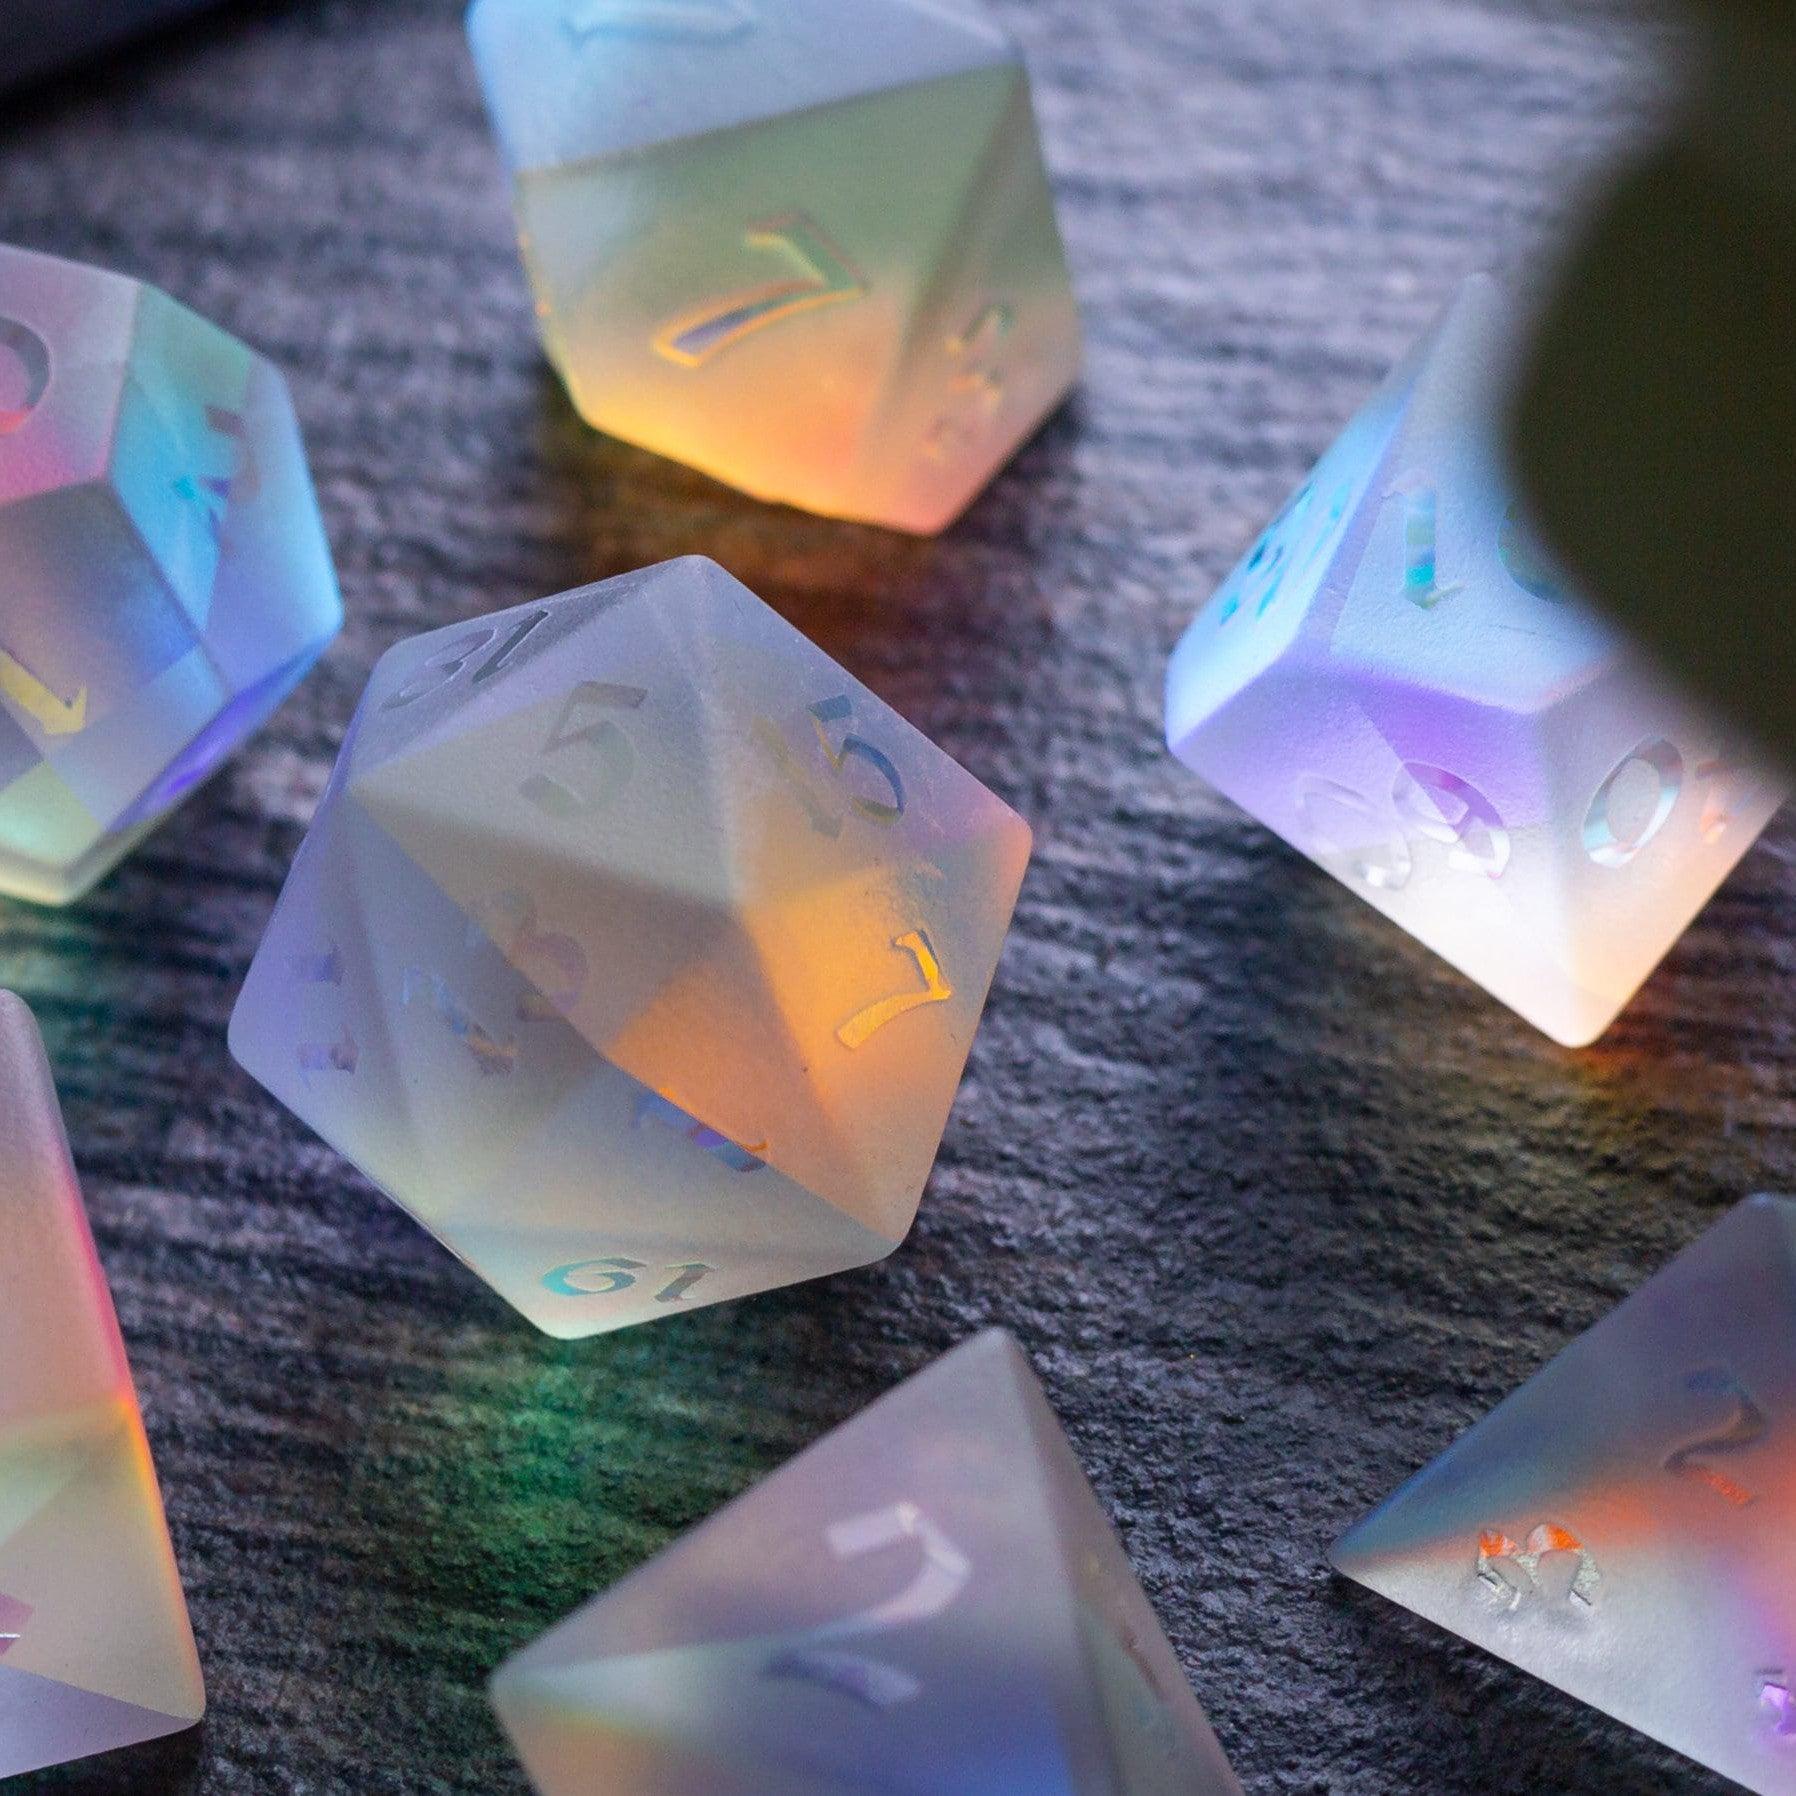
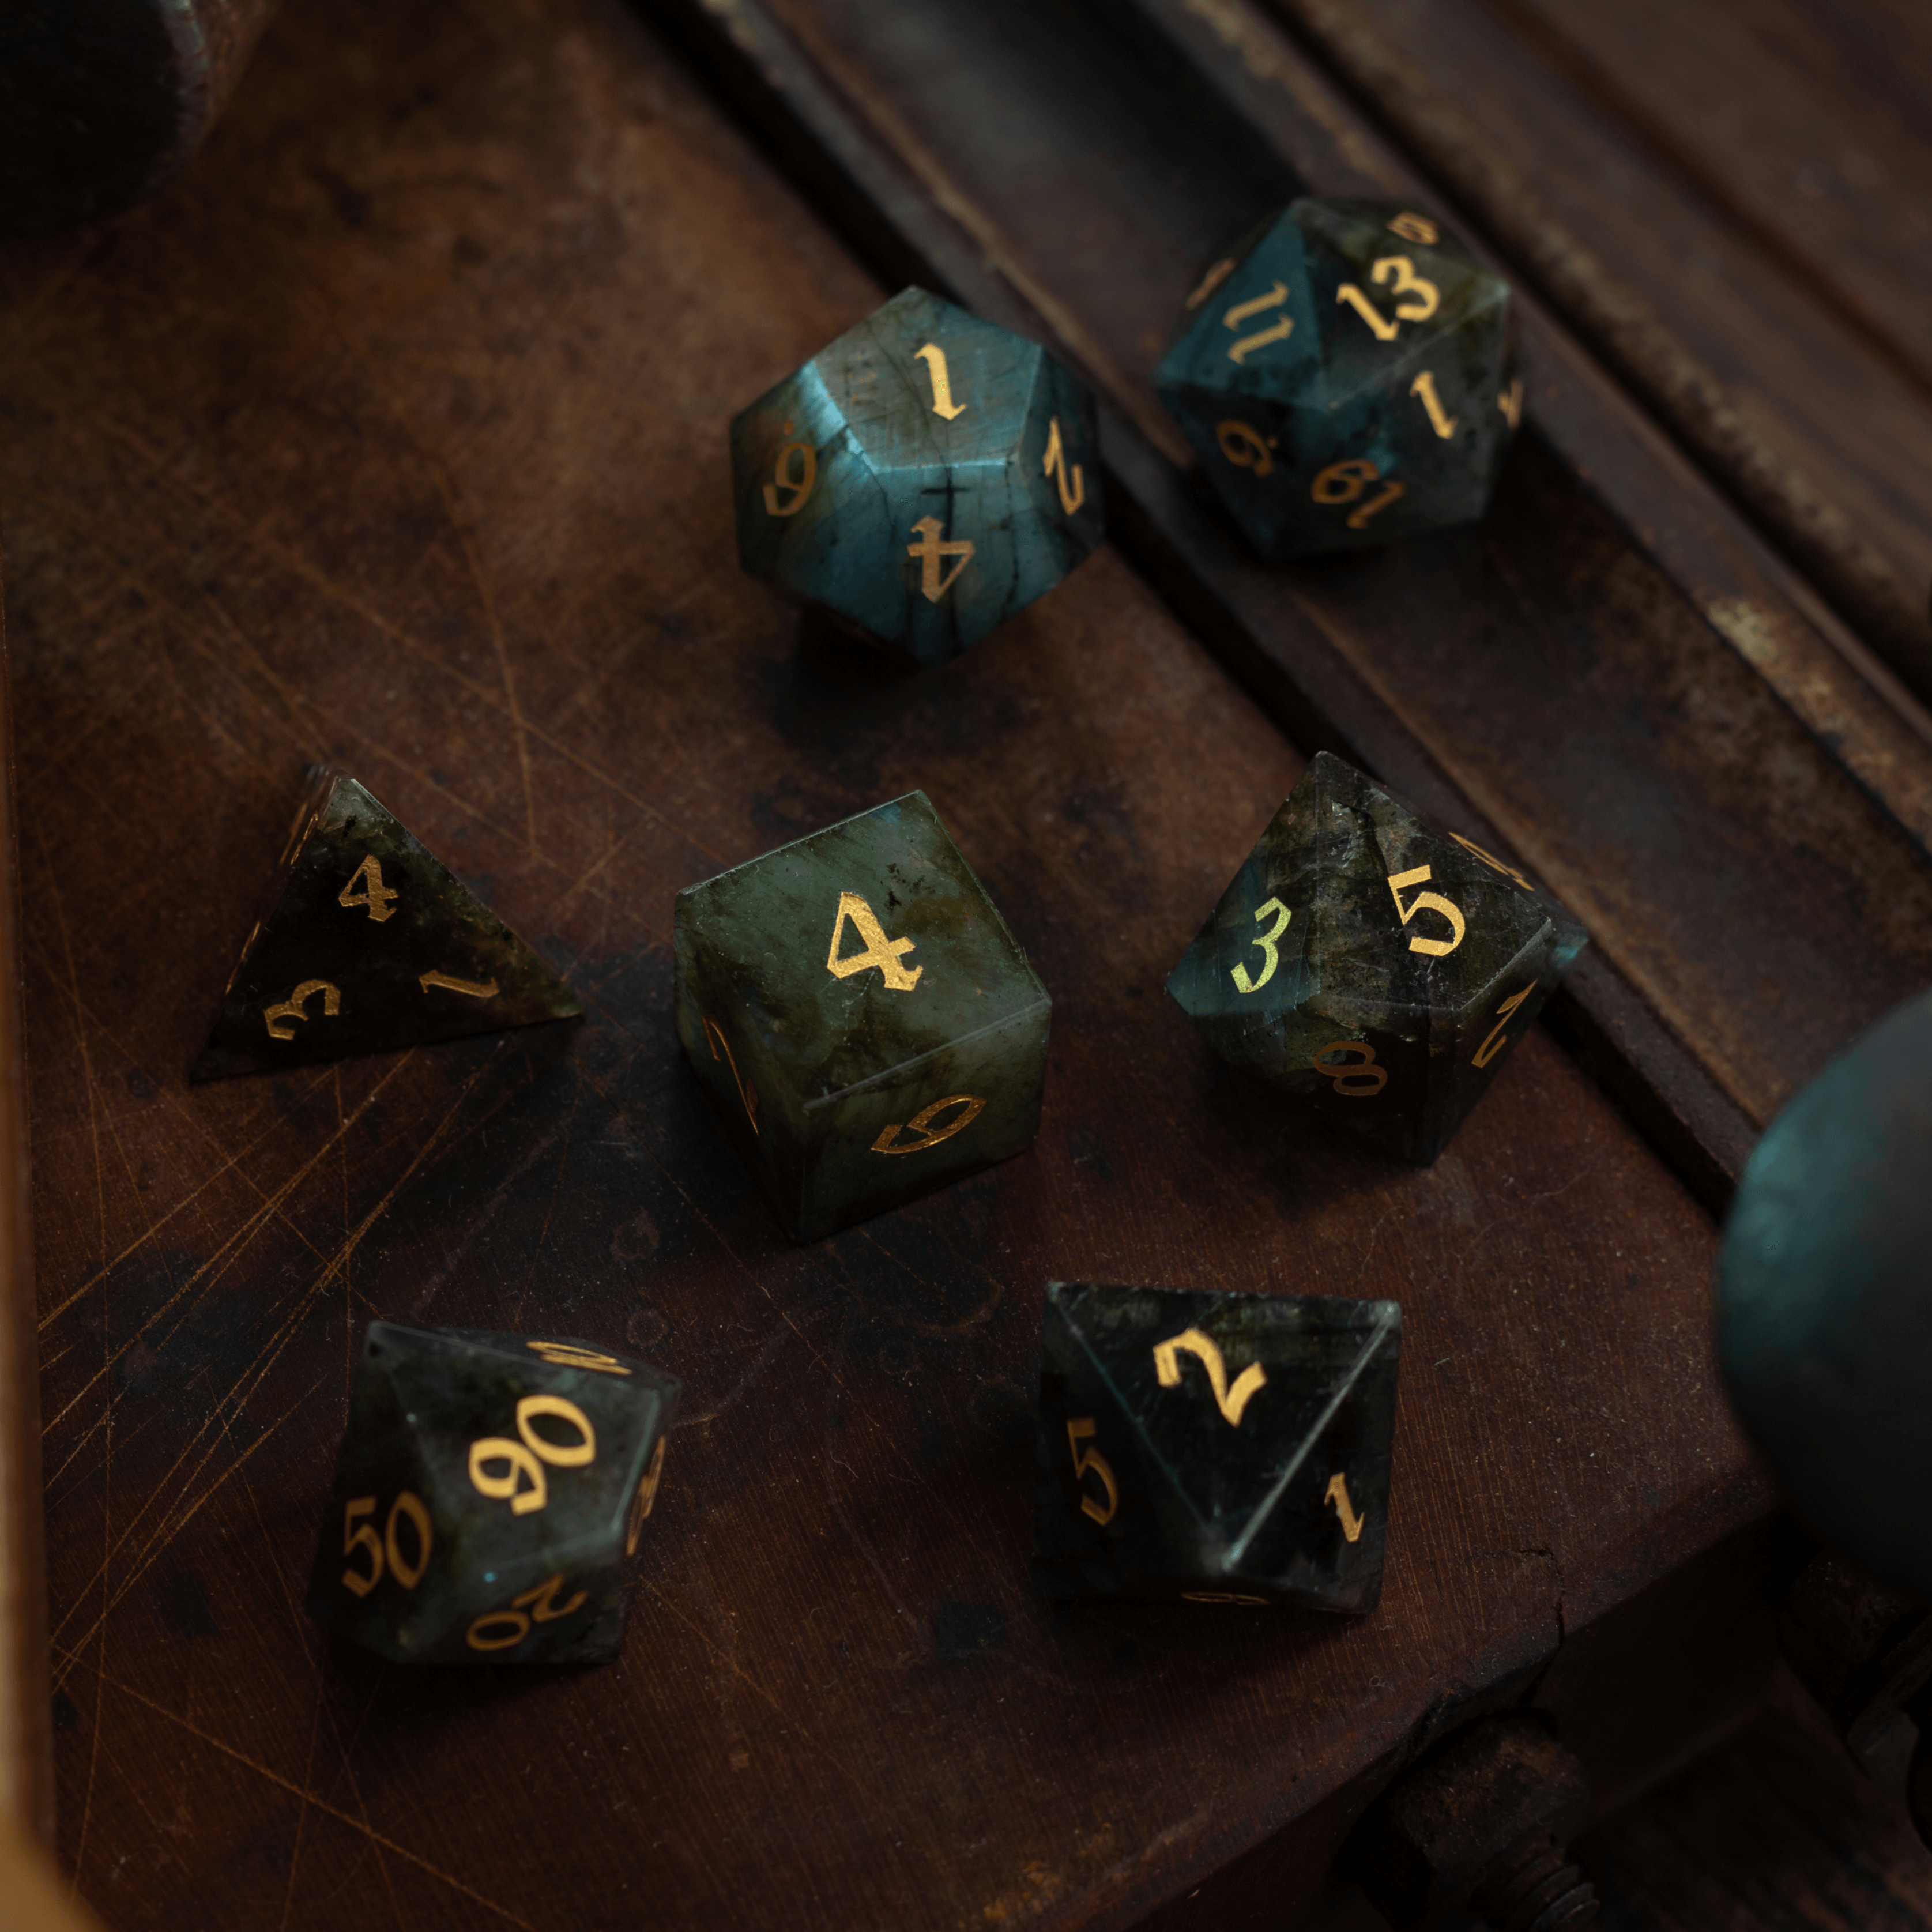
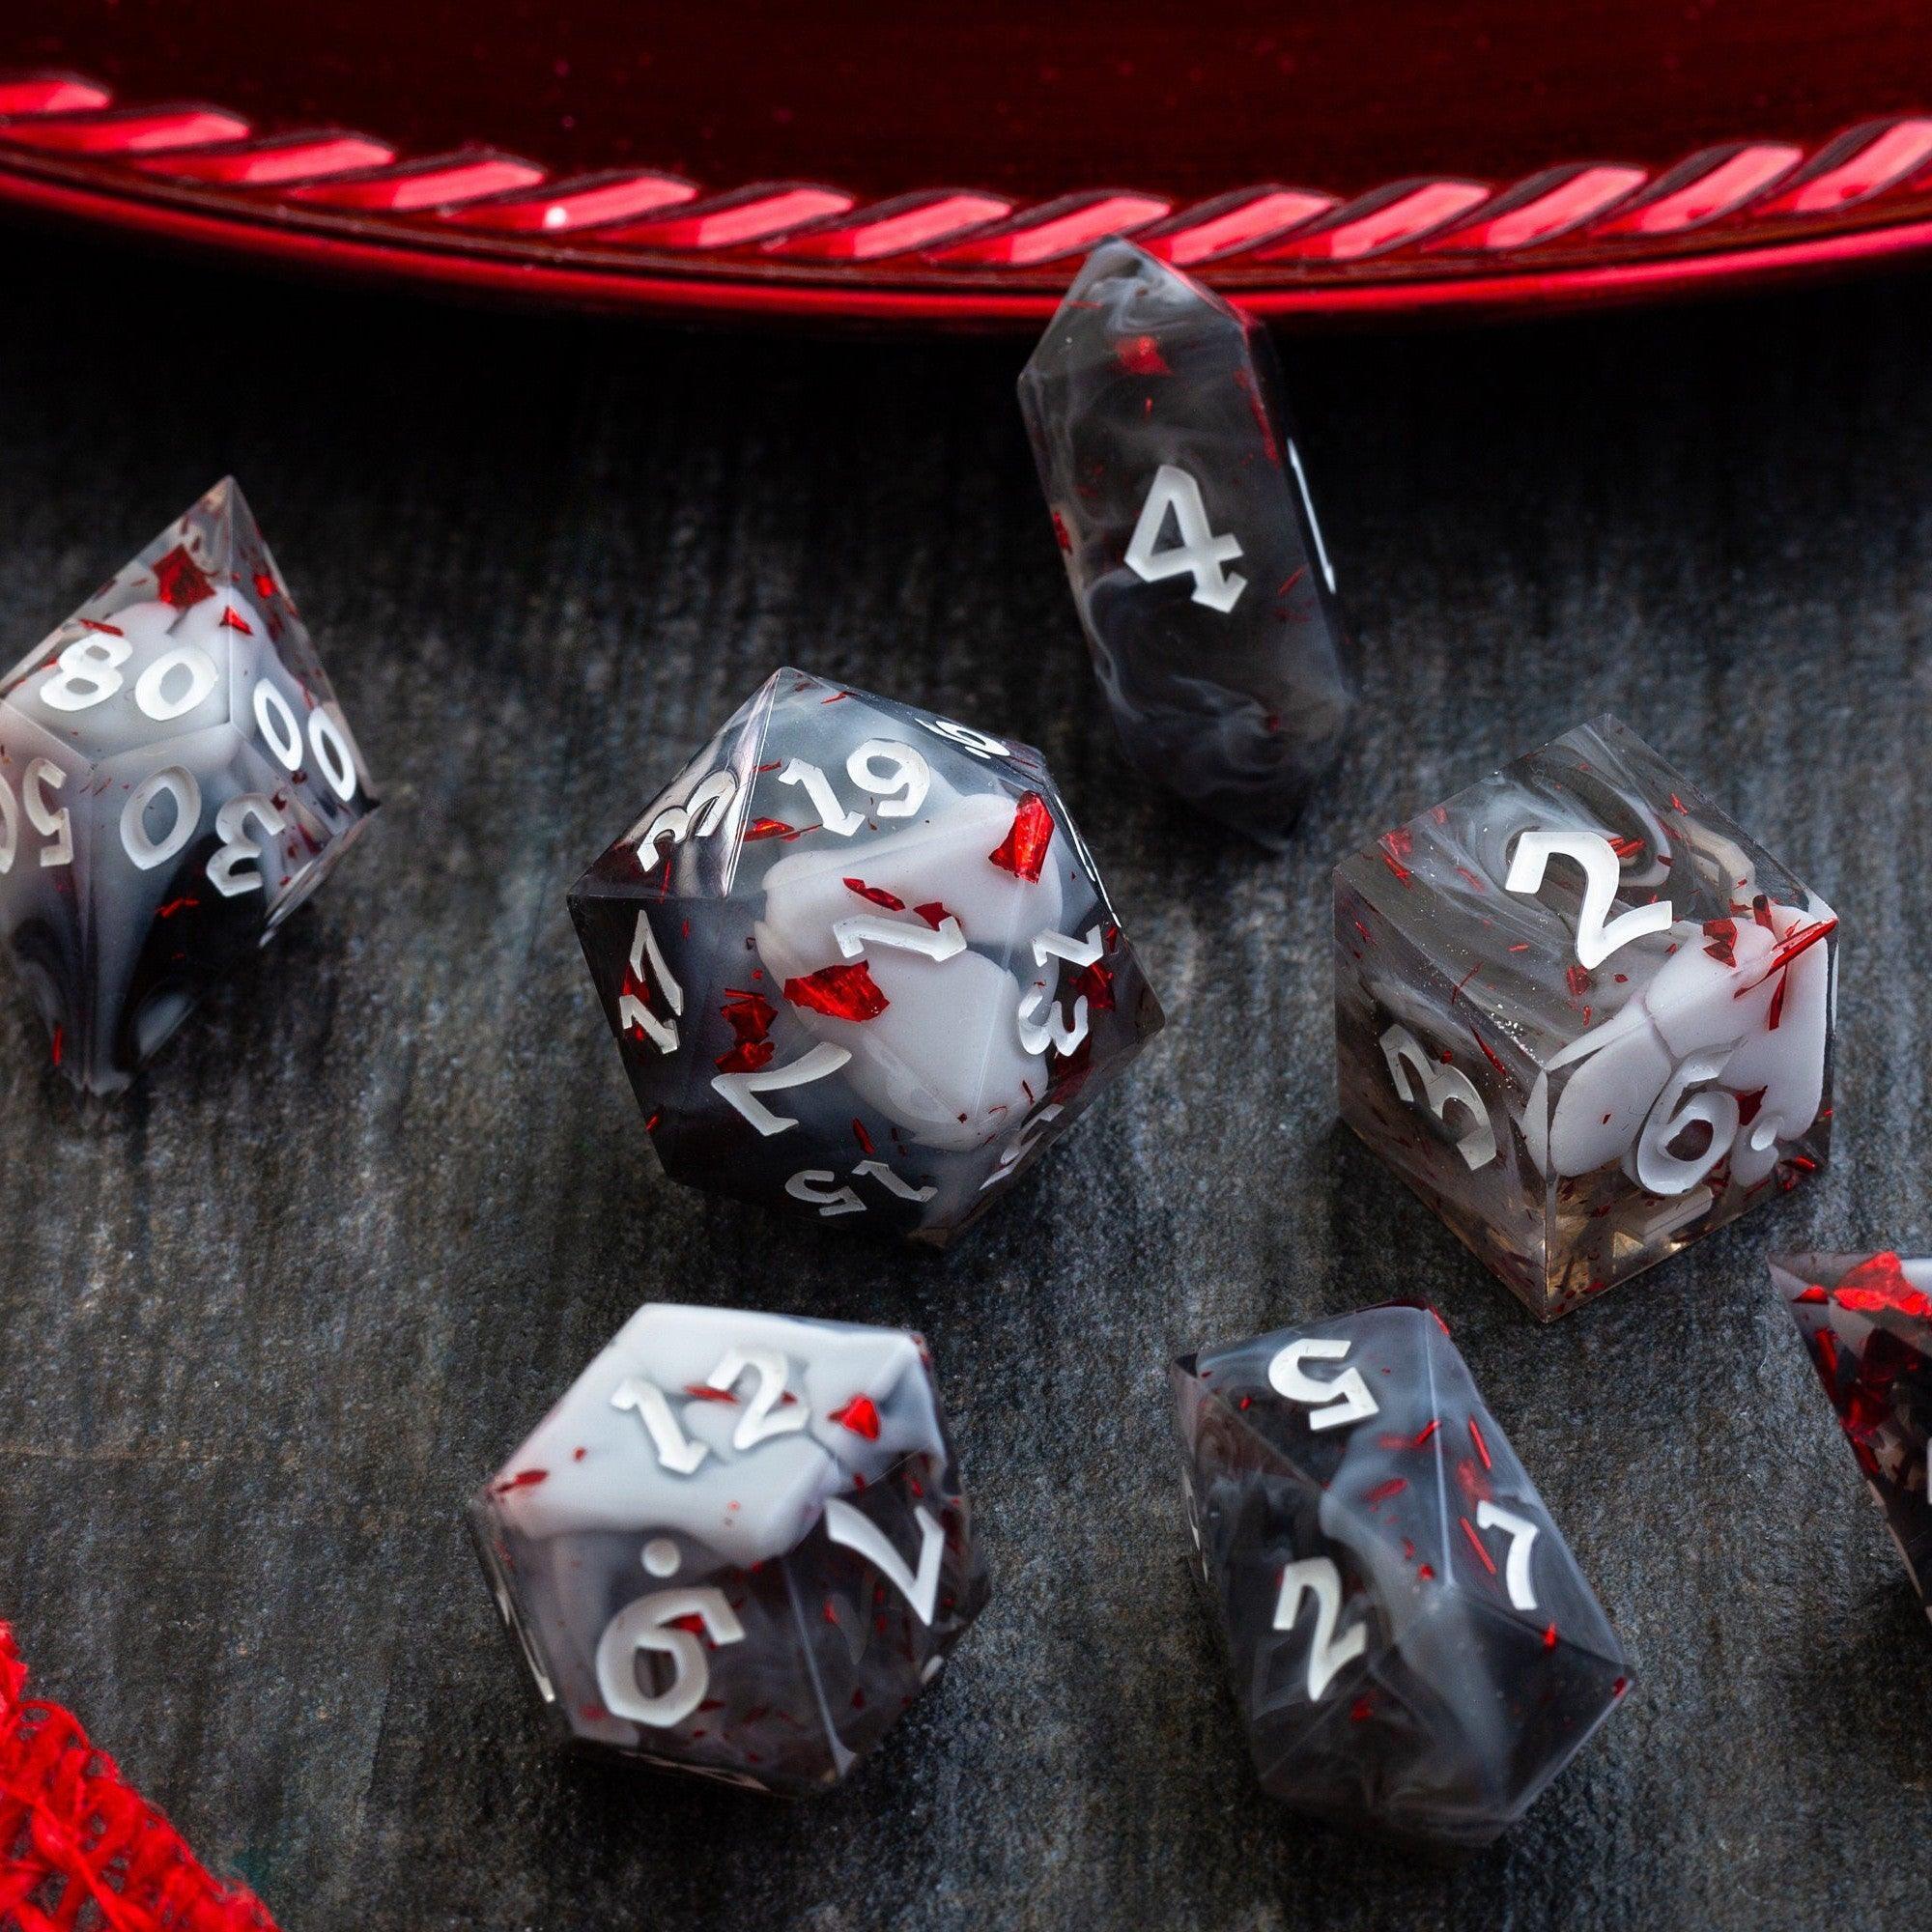
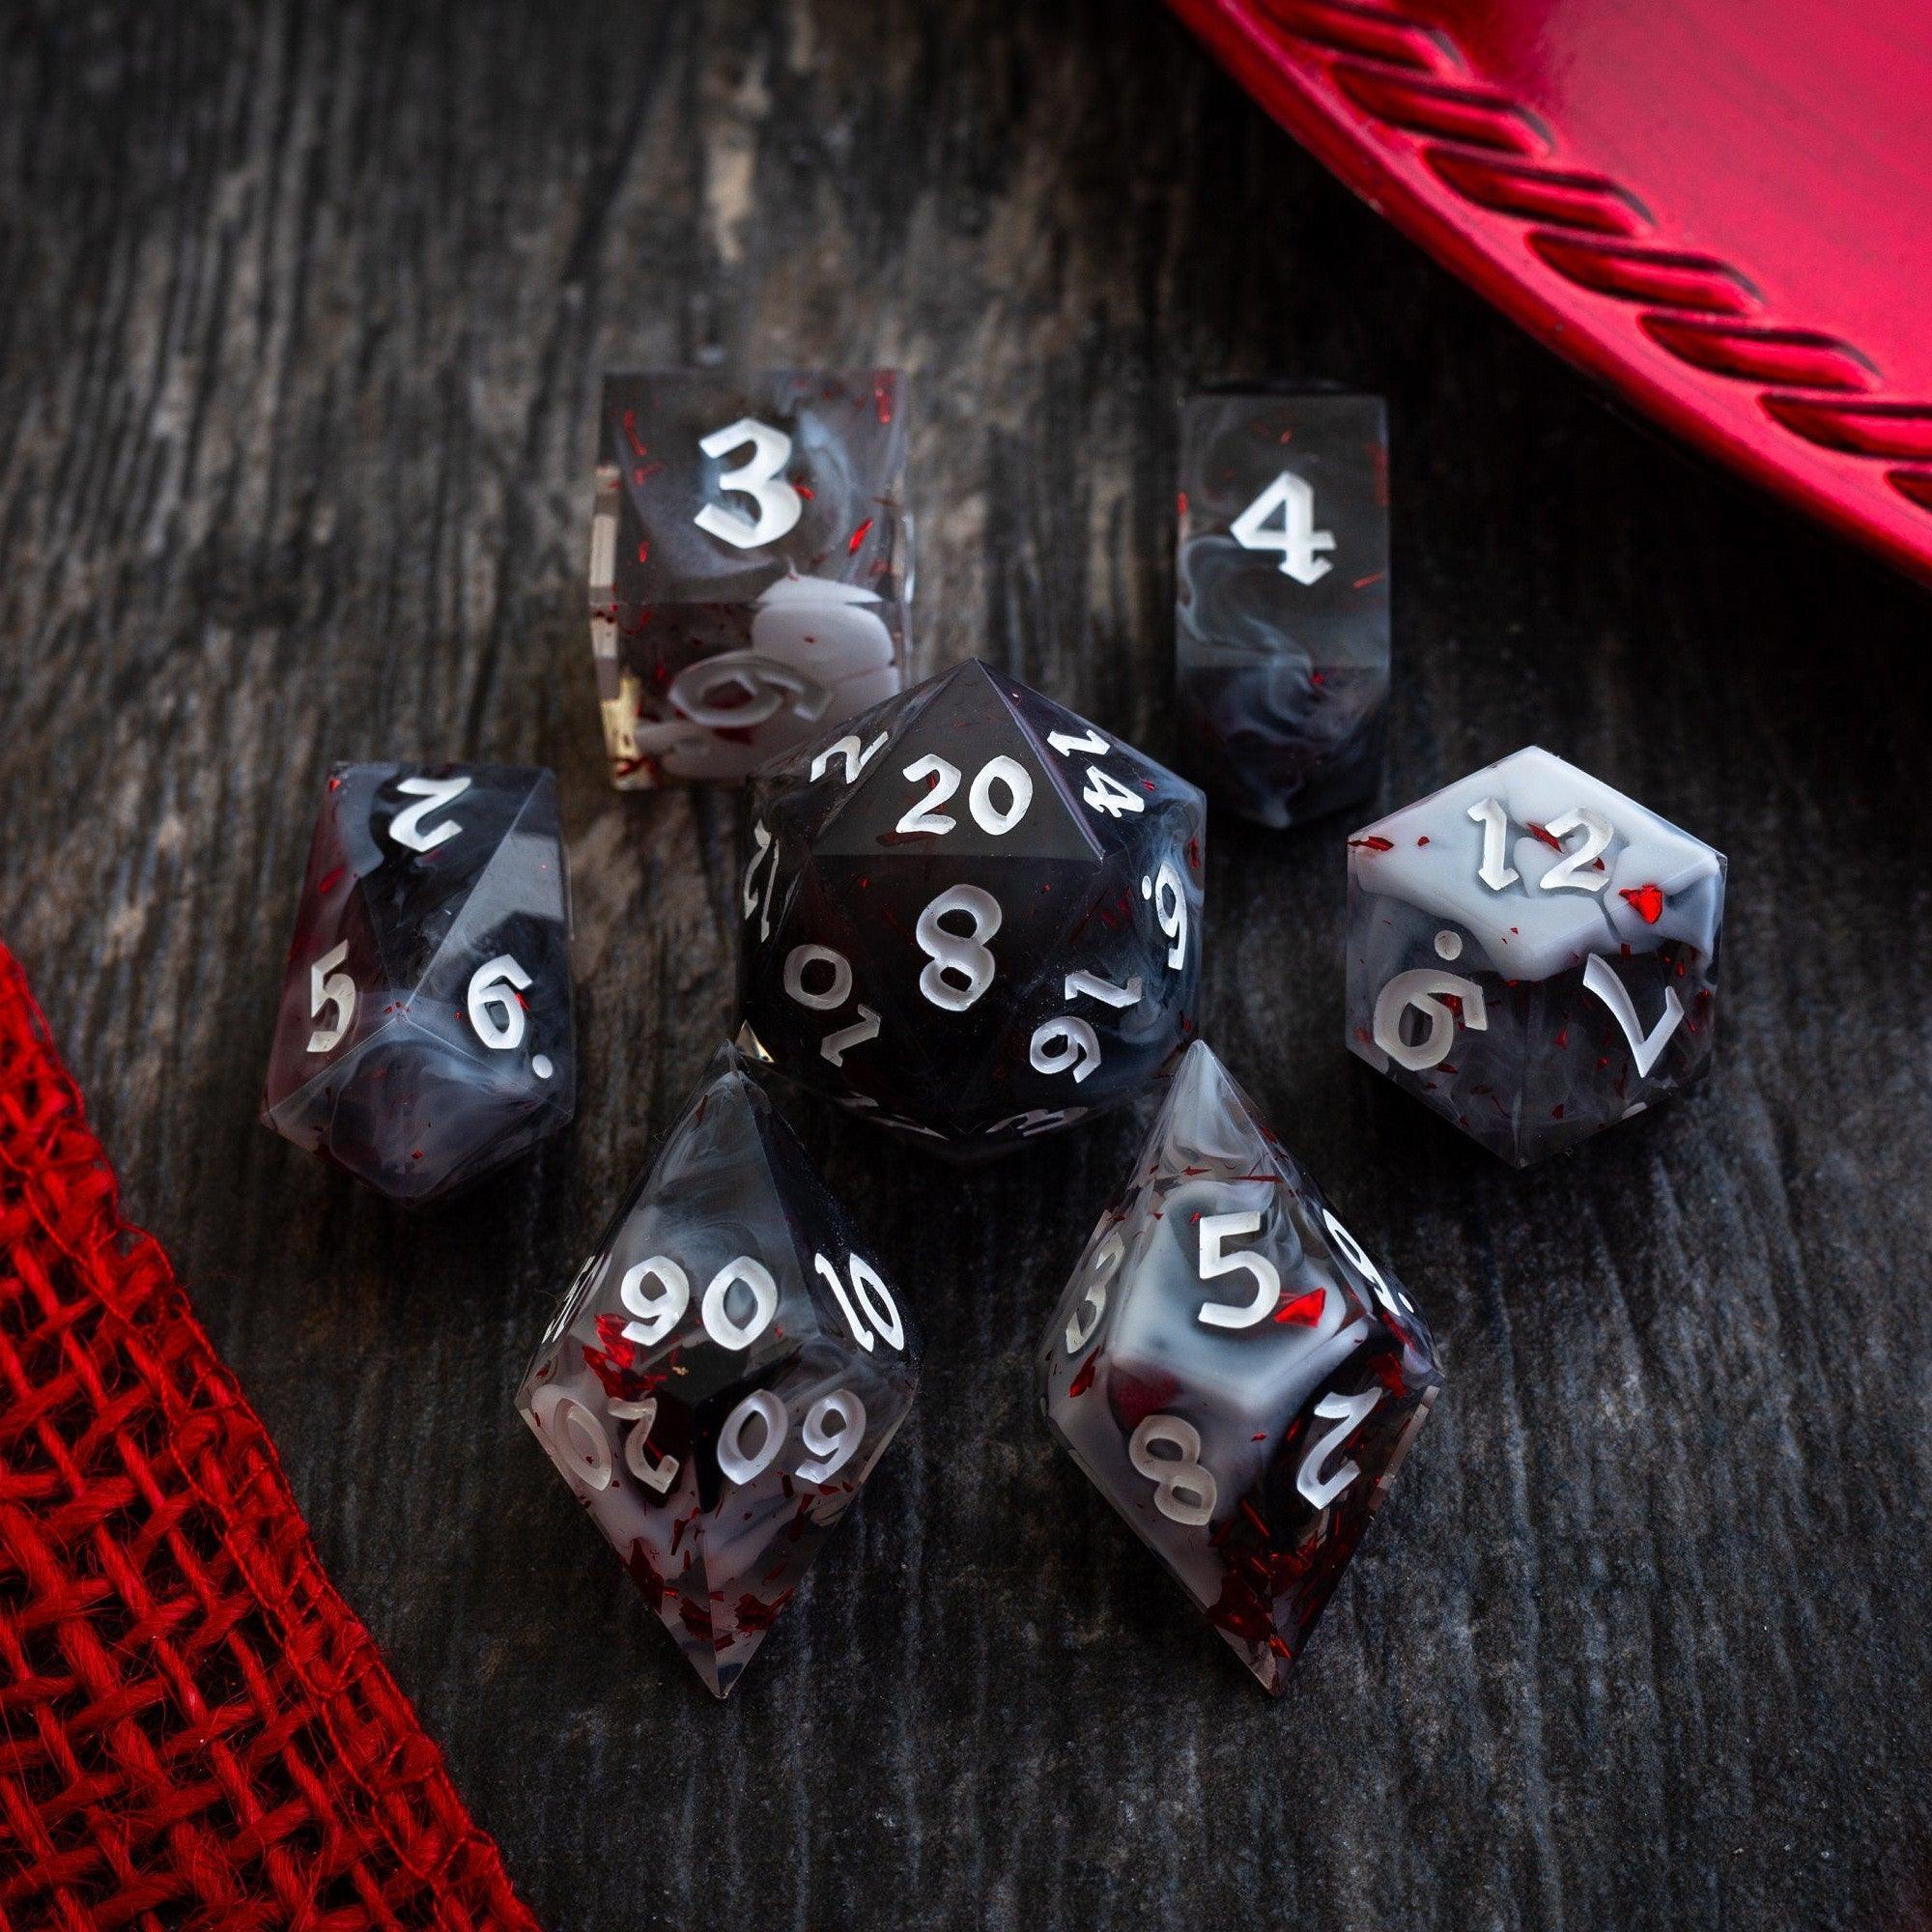
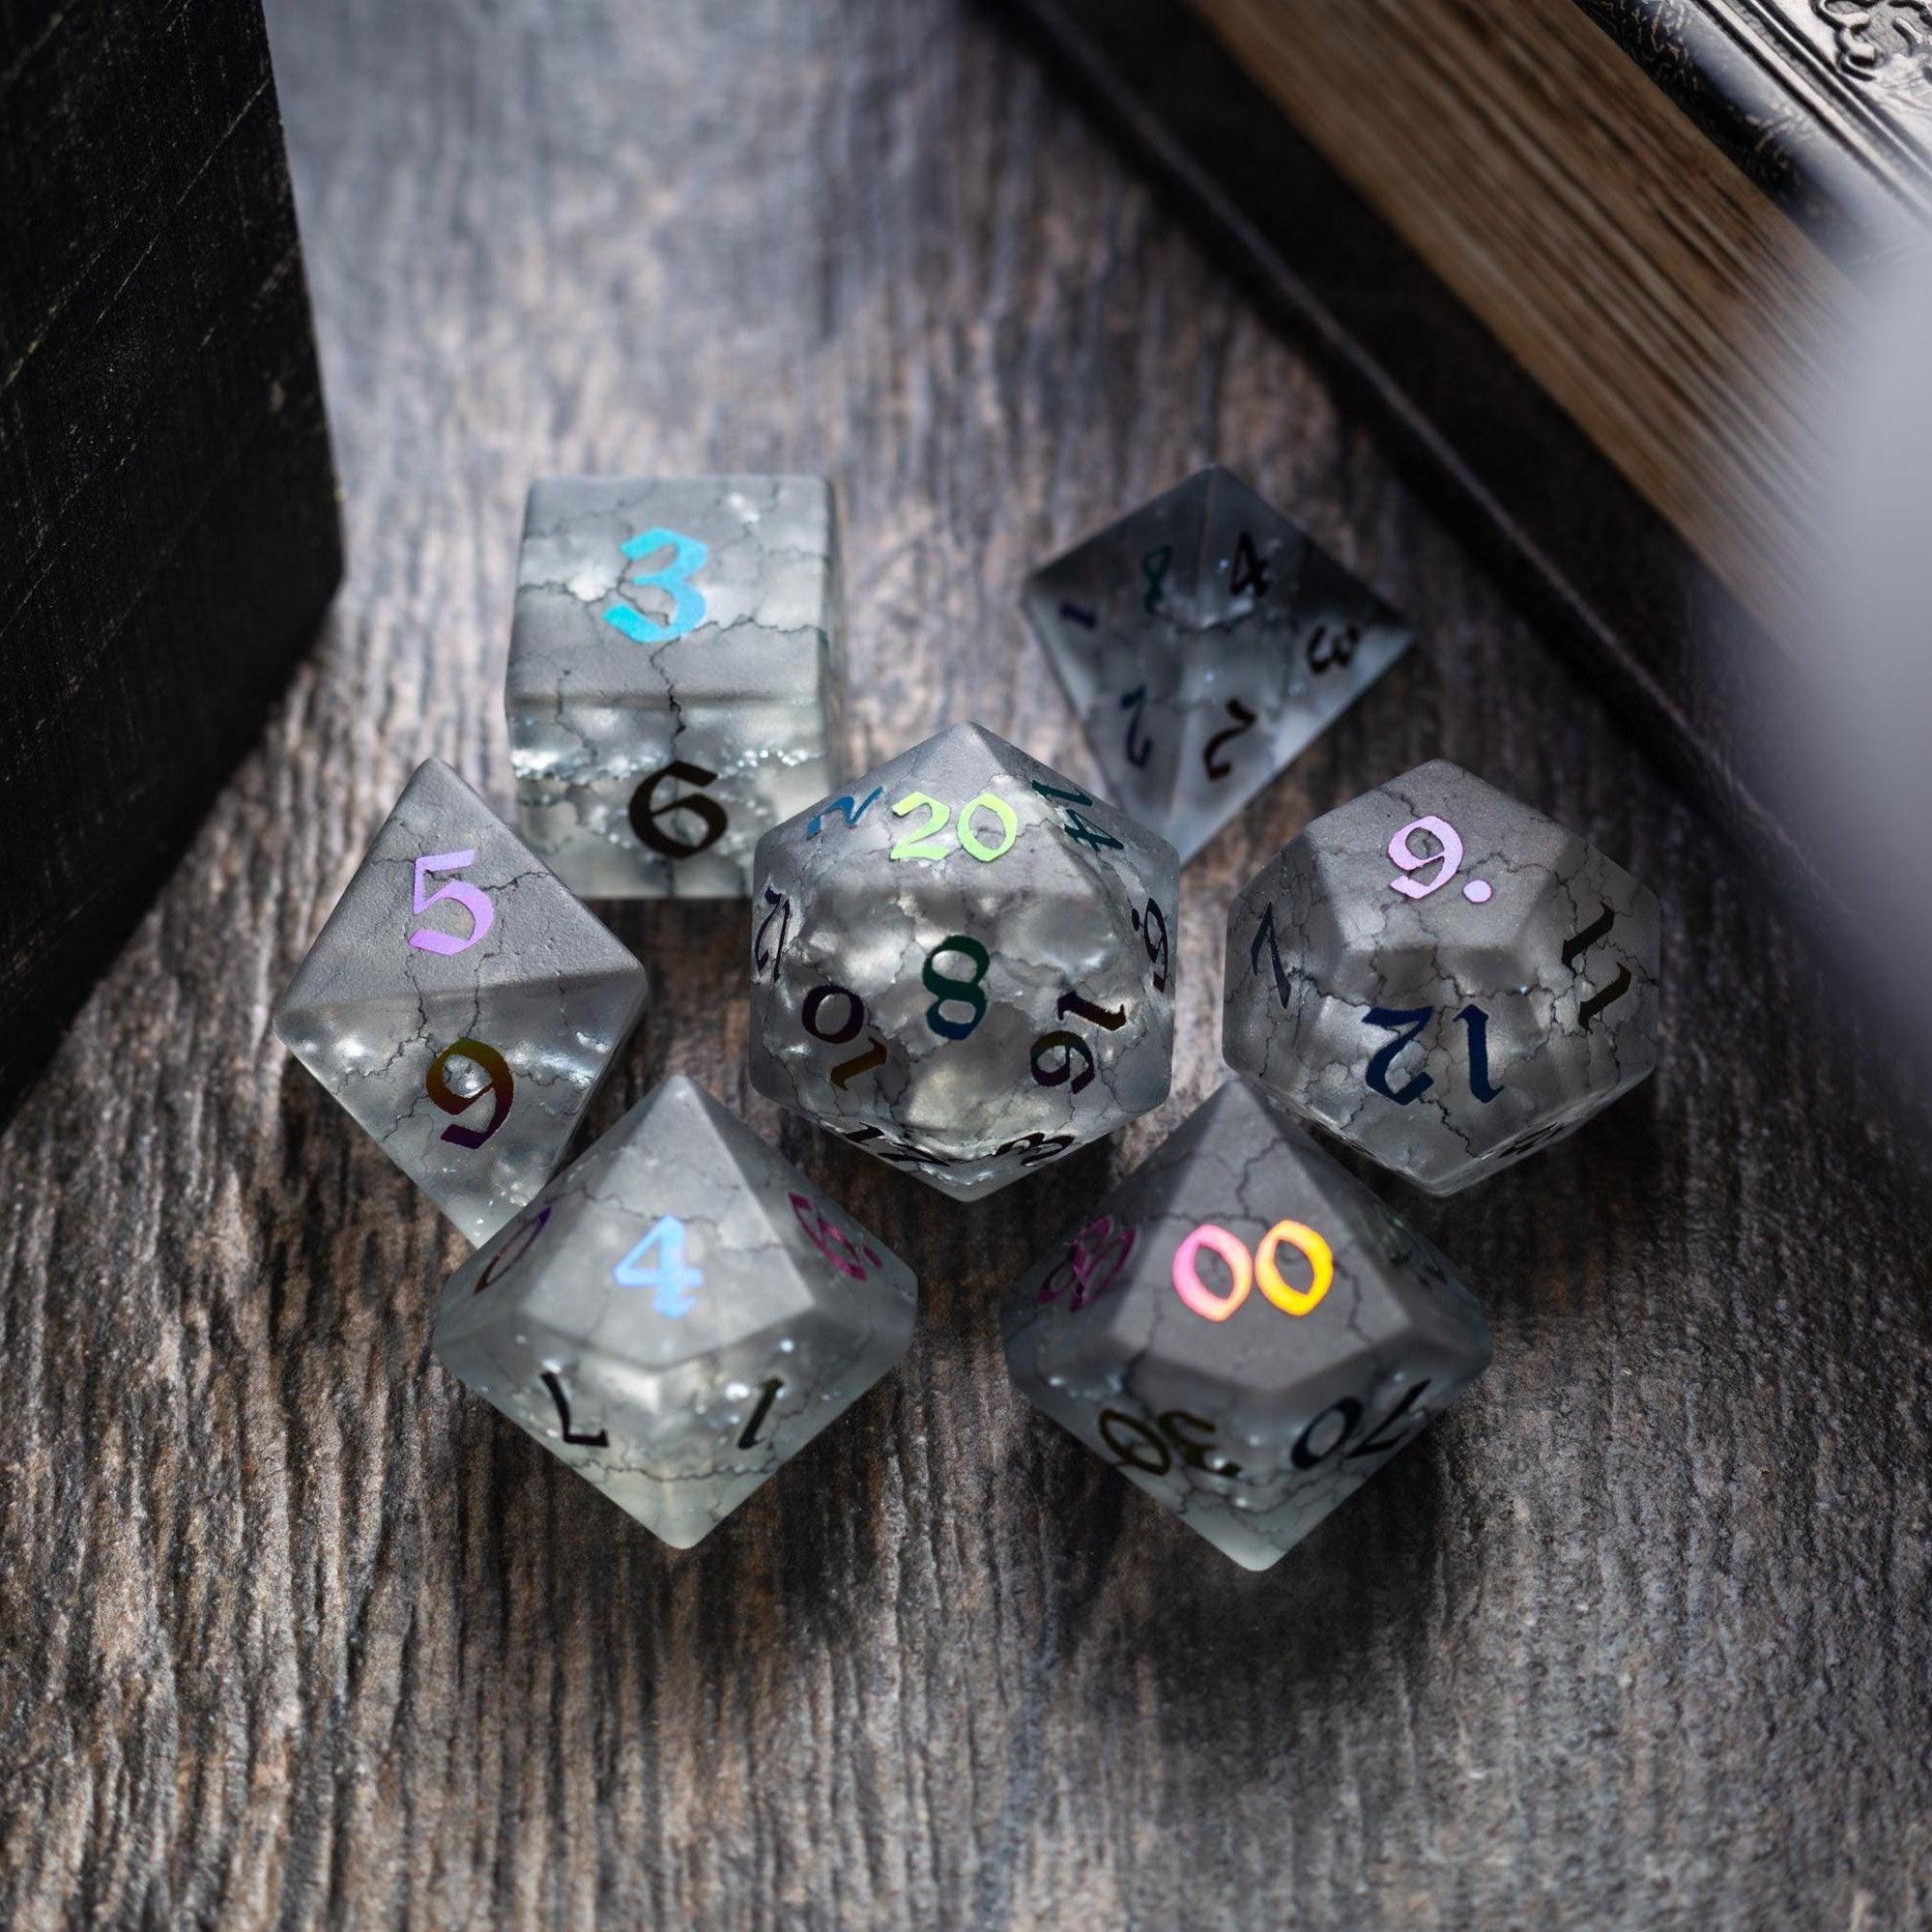
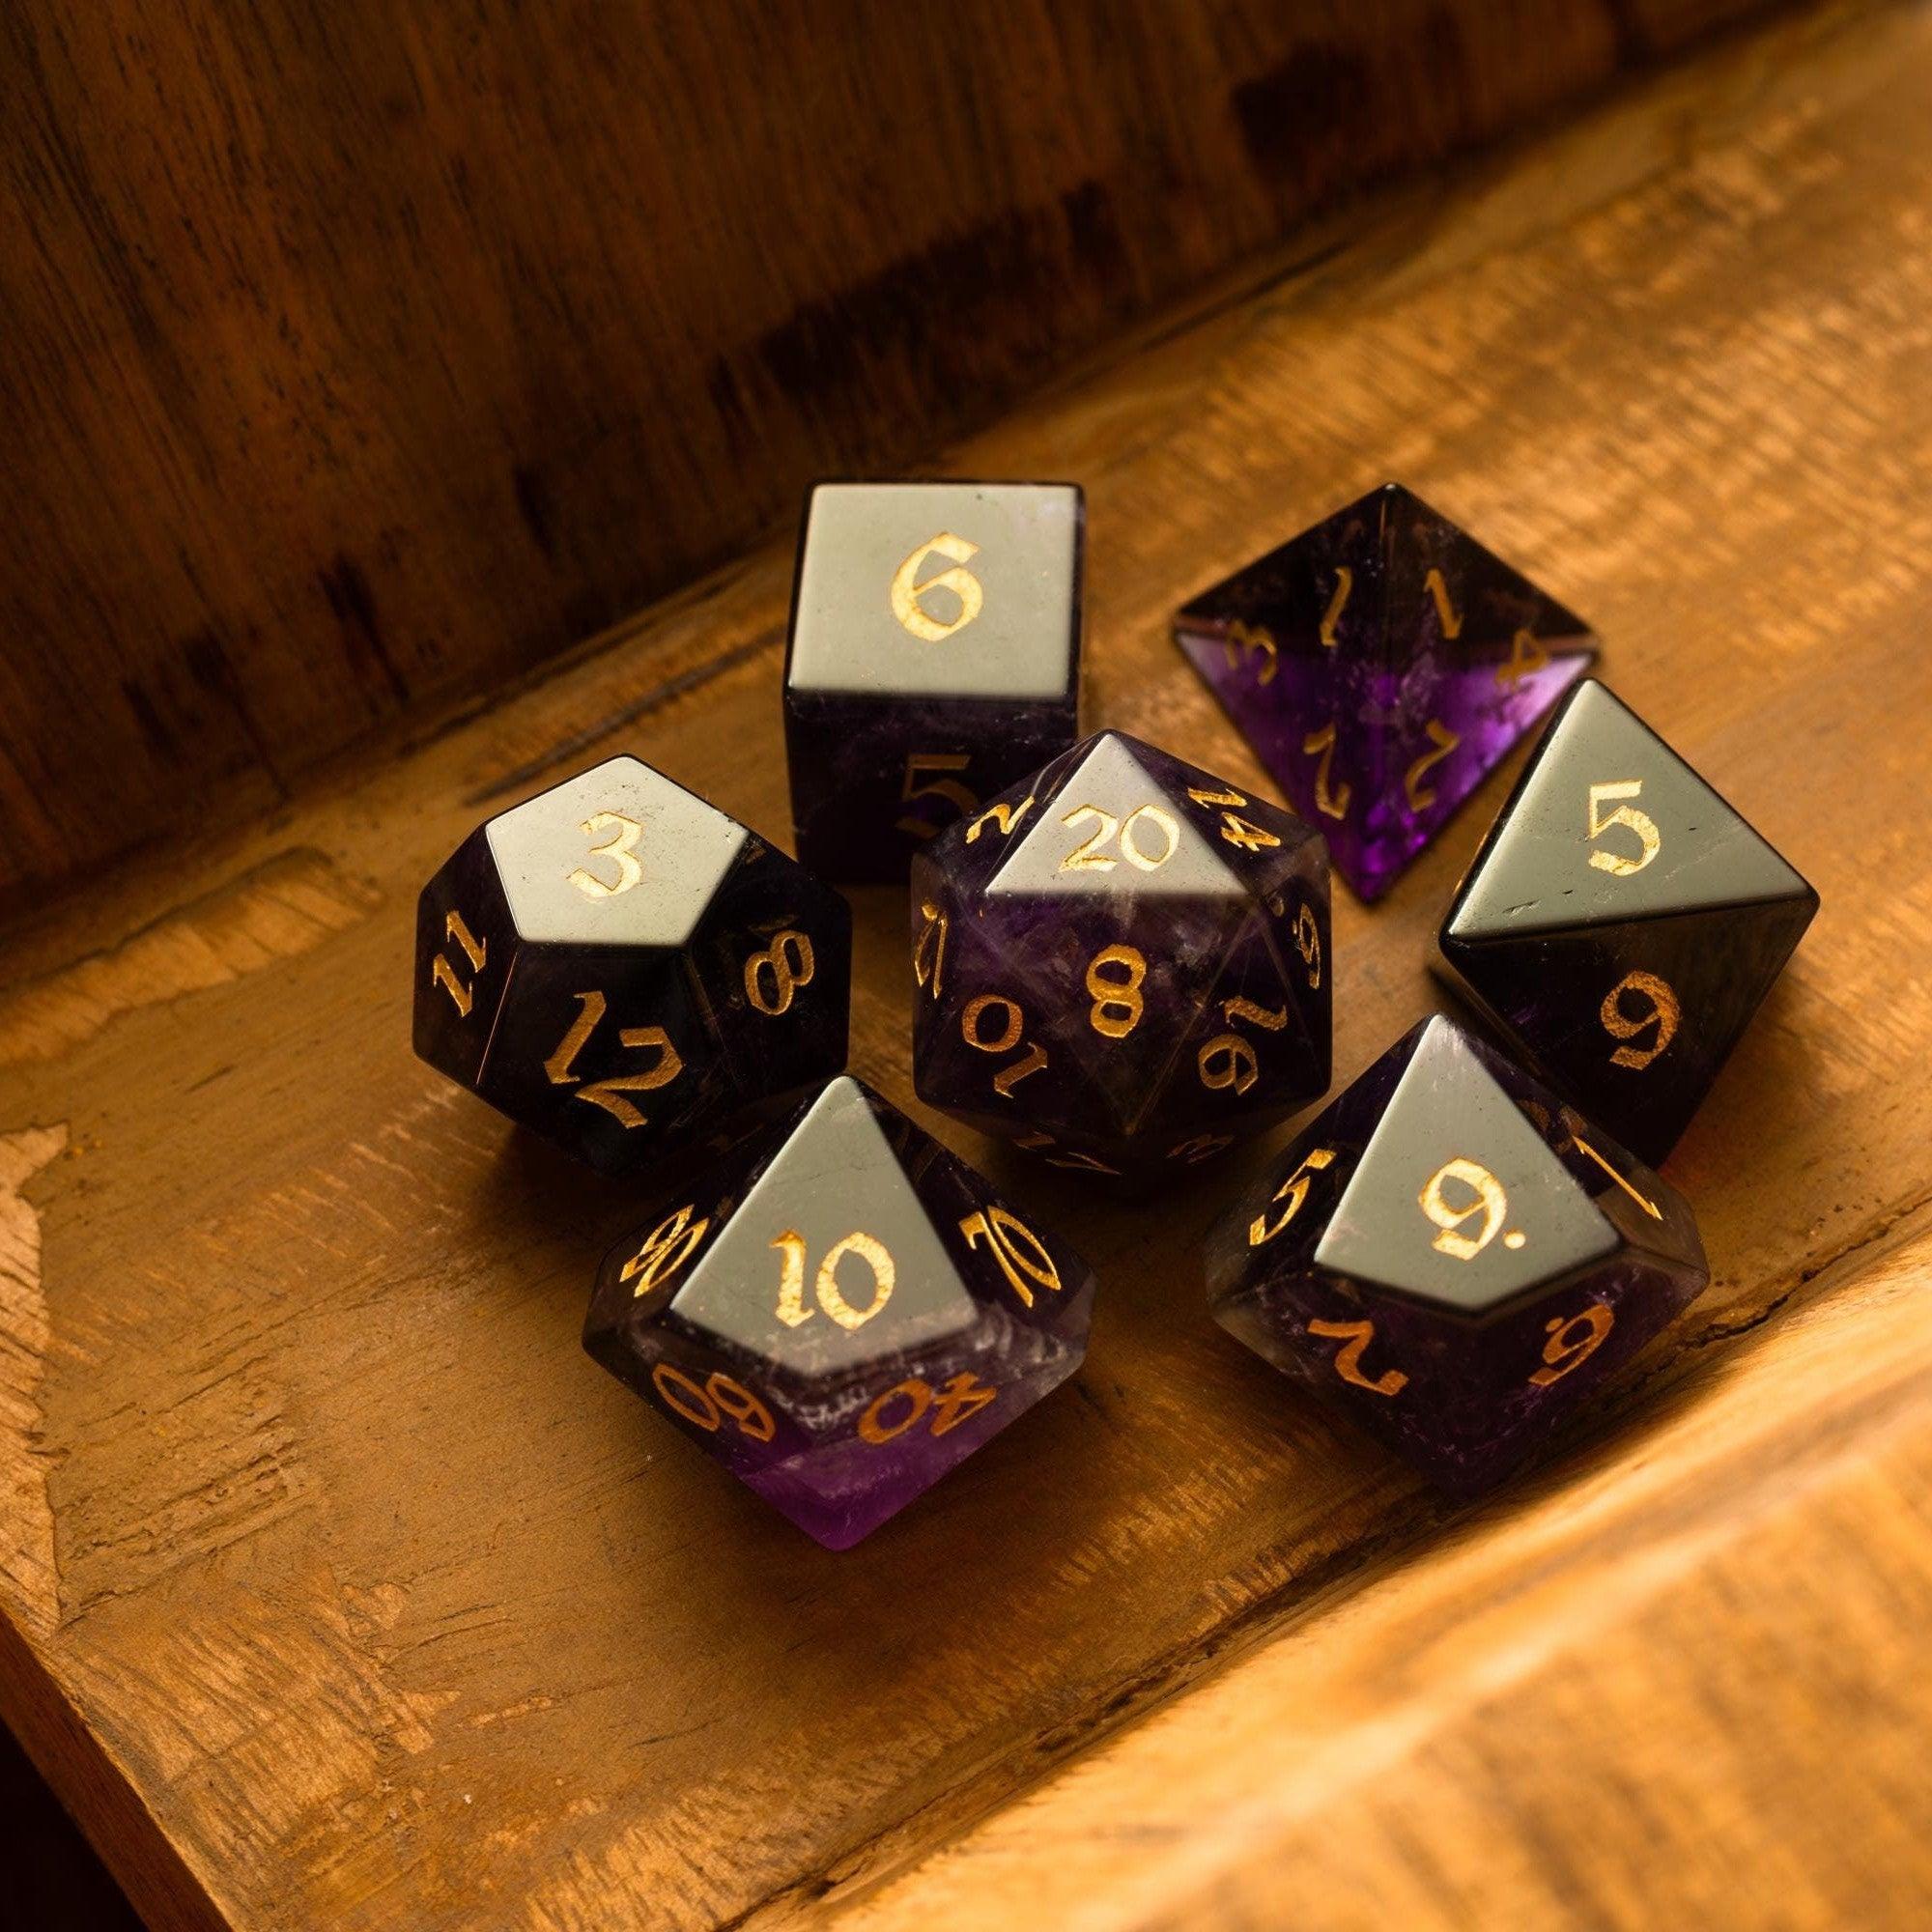
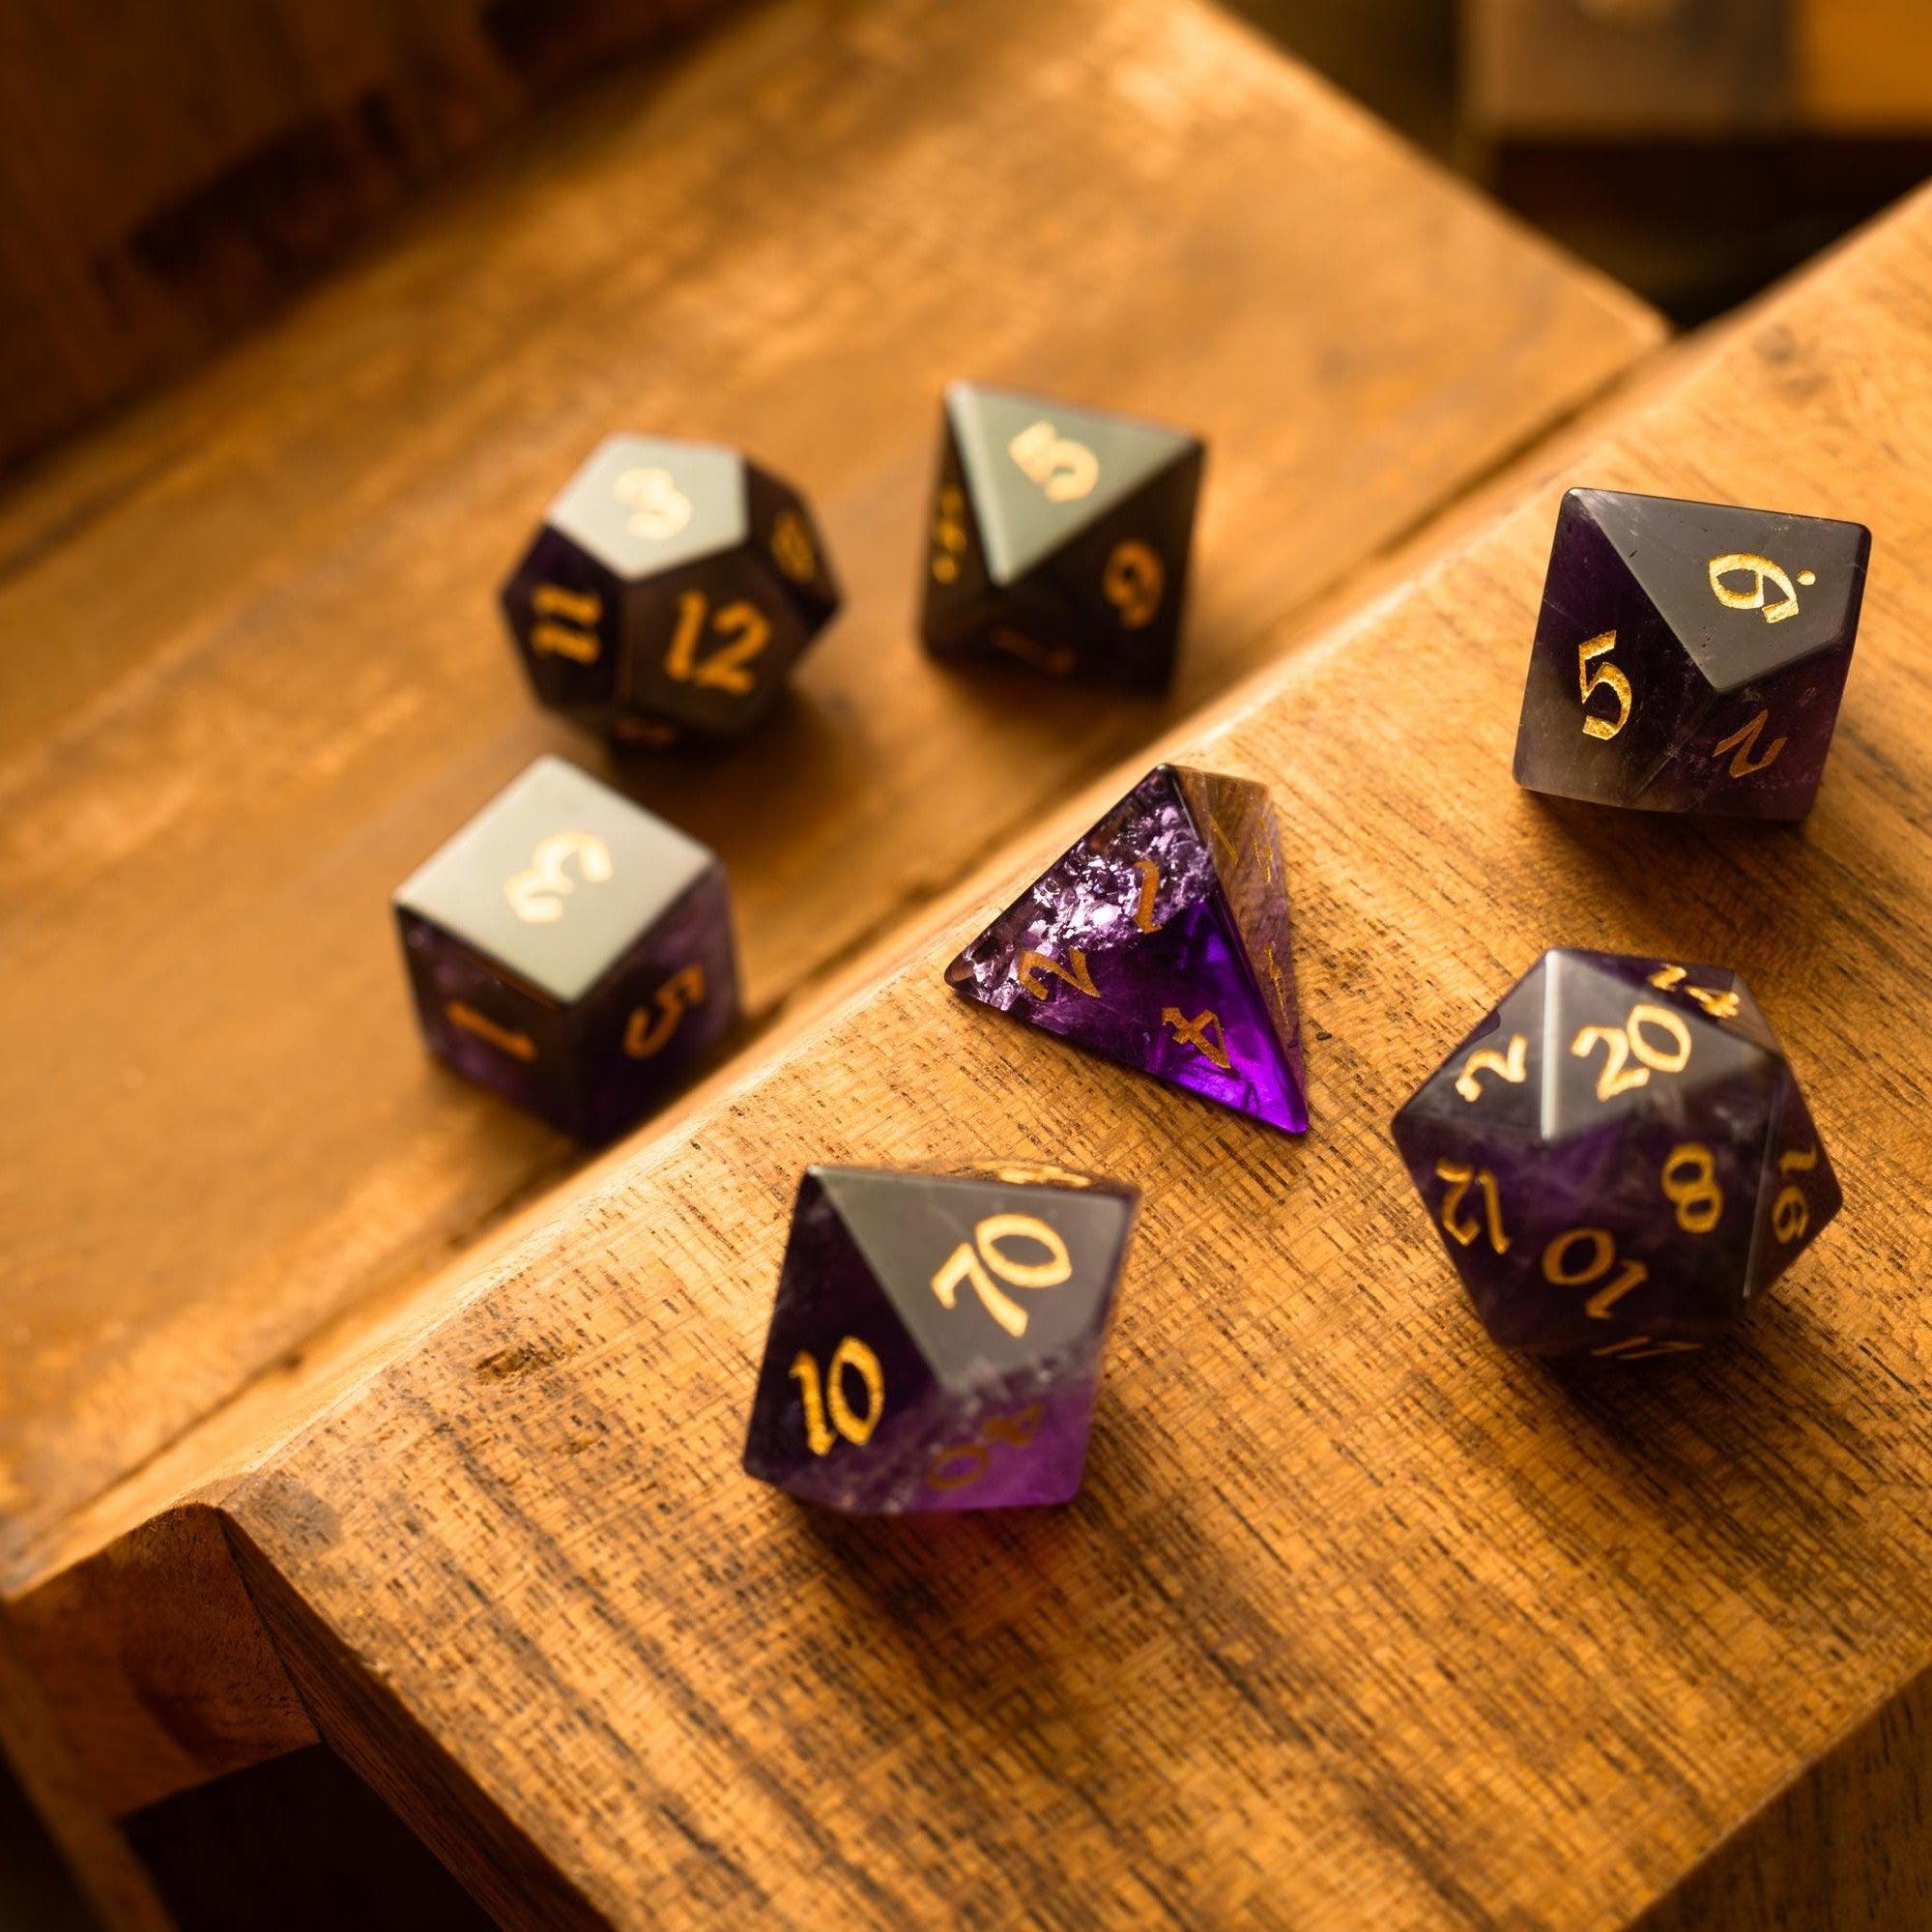
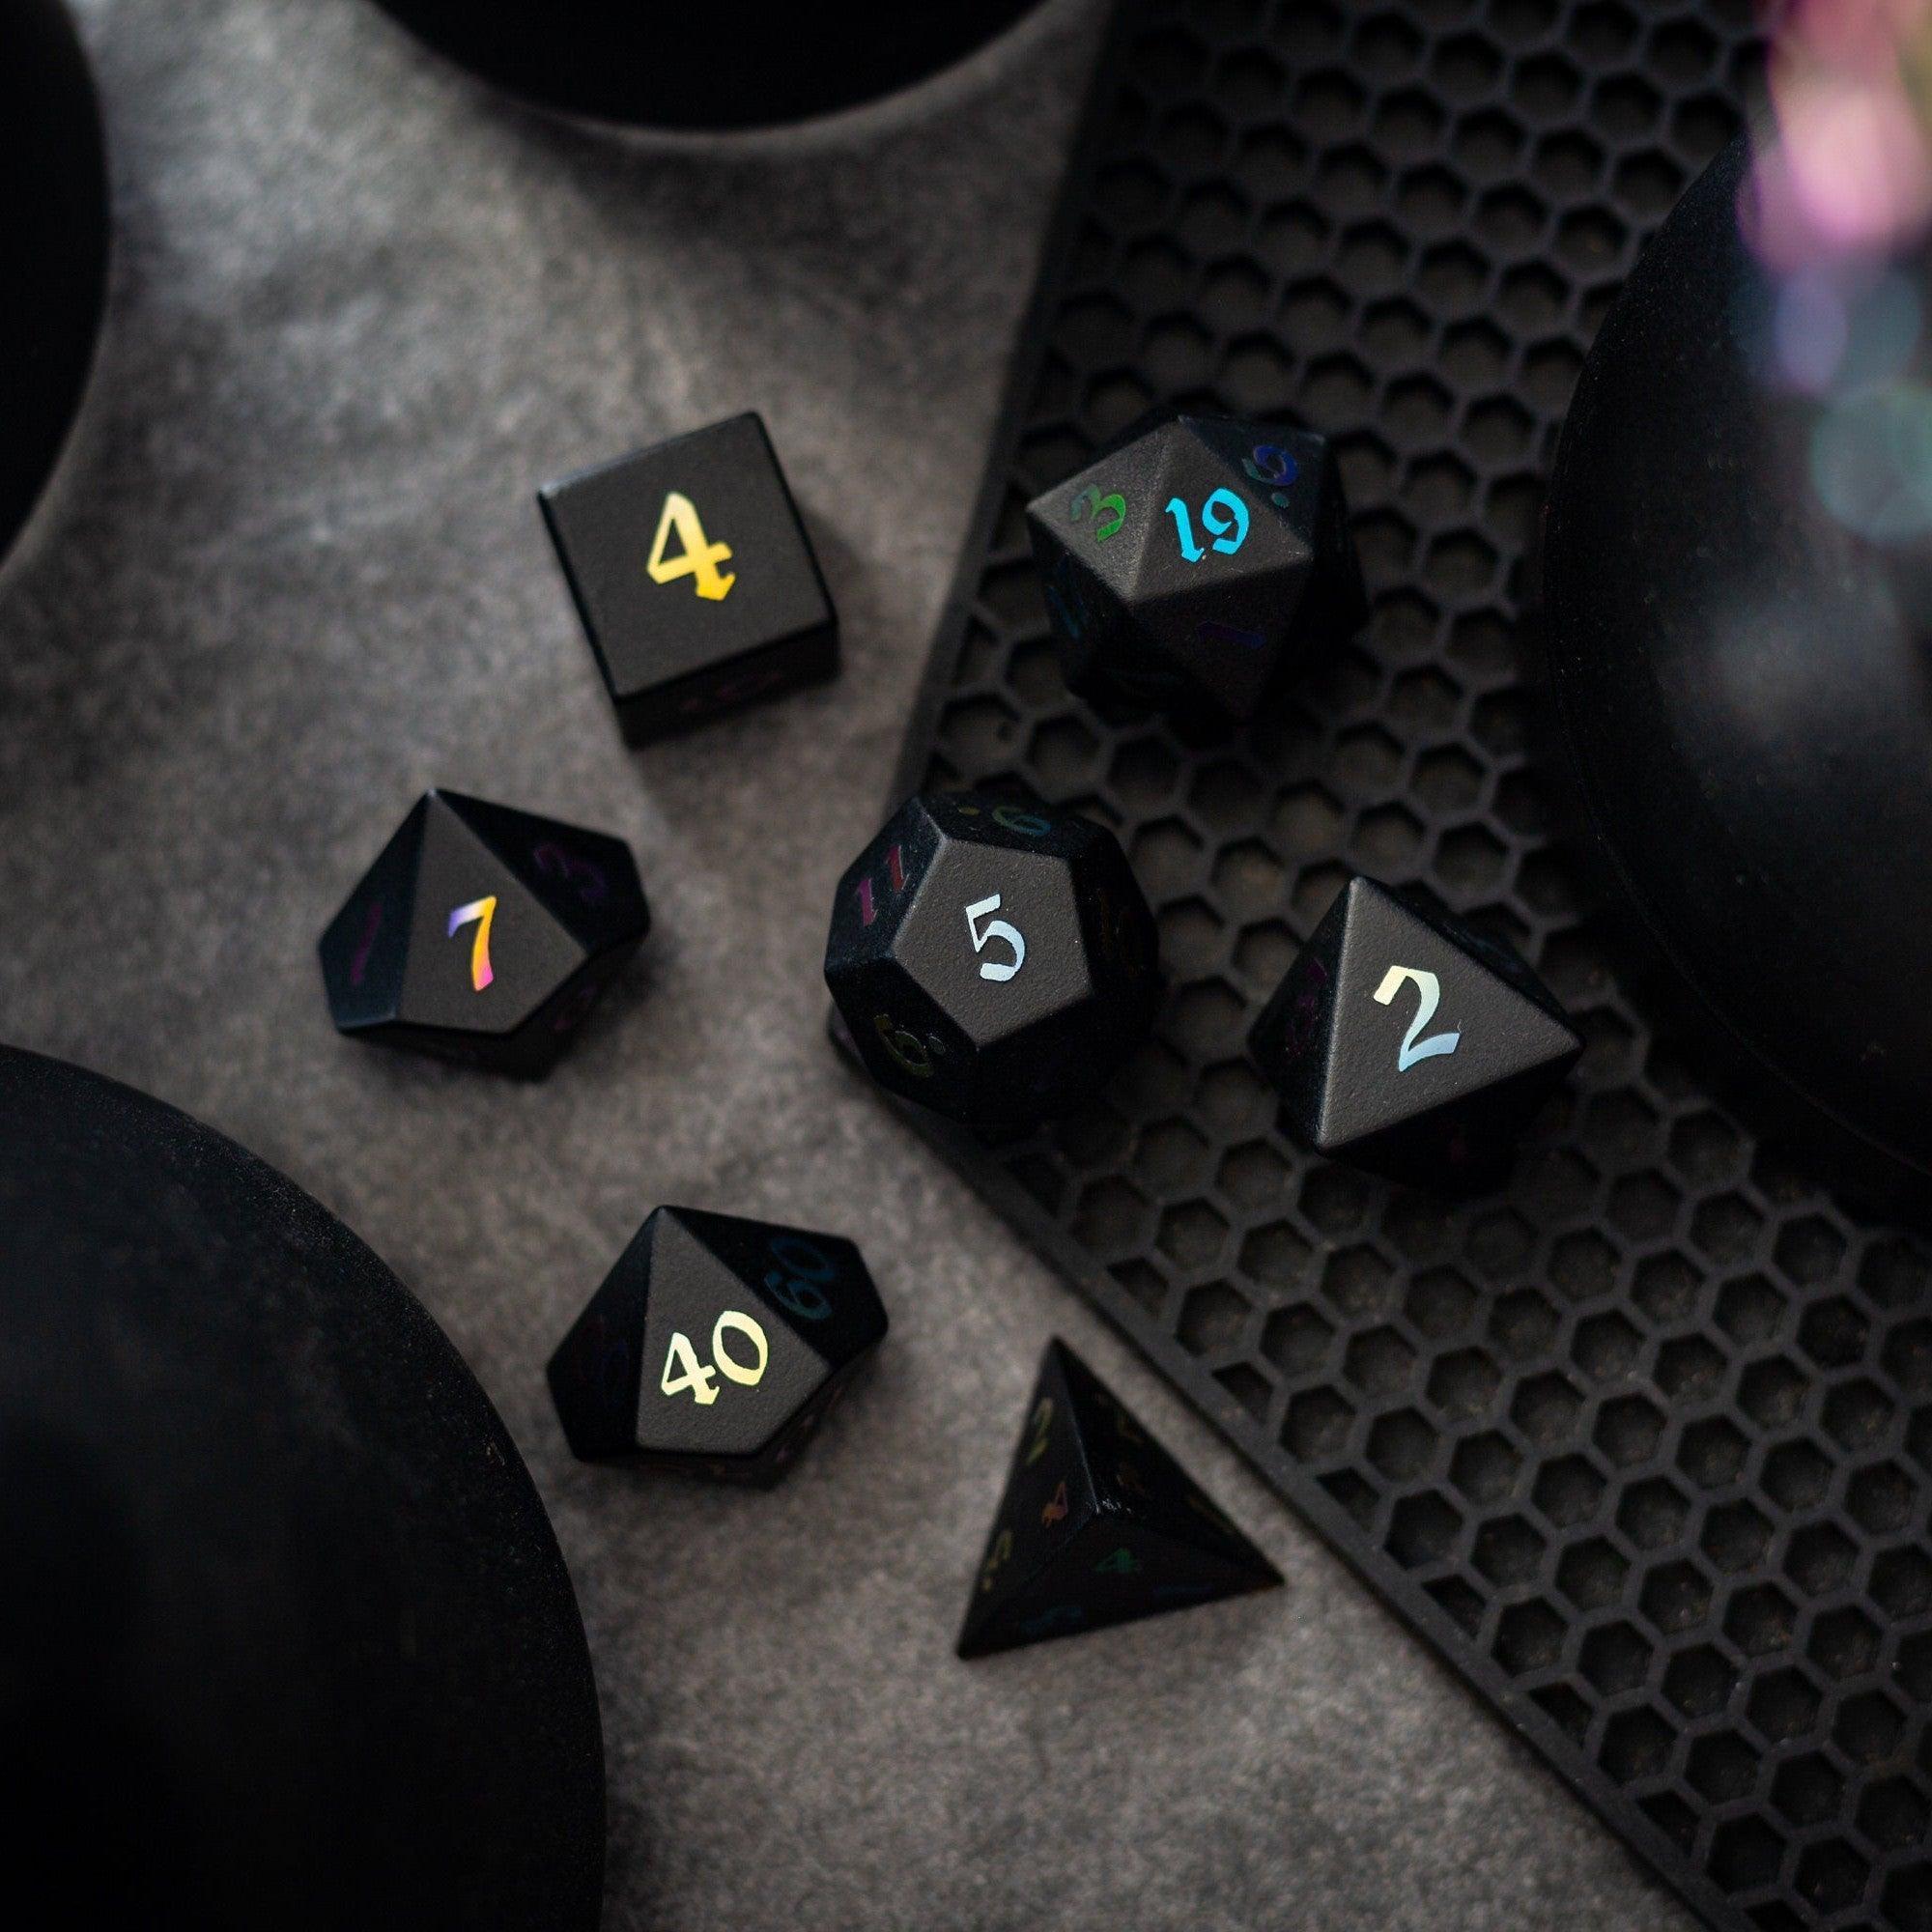
Want a tactile centerpiece to go with your fresh map? Treat the table to shimmering gemstone dice or eye-catching liquid core dice. They’re a simple way to make every reveal feel special.
For smoother rolling during tense chase scenes and siege combats, a sturdy tower keeps results fair and the map uncluttered. Explore compact and dramatic designs in our dice towers.
Choosing map creation tools for fantasy campaigns
Picking the right editor matters. You don’t need the “best” software—you need the one that fits your time, learning style, and table format. Use this checklist to narrow your options fast:
- Learning curve: Can you get a usable map in under an hour? Favor drag-and-drop editors if you’re short on prep time.
- Style presets: Look for built-in themes (ink, painterly, parchment, pixel). Strong presets reduce tweaking and guarantee cohesion.
- Grid support: Hex and square grids should be easy to toggle and scale. Bonus if the app allows gridless exports for narrative scenes.
- Asset libraries: Quality over quantity. A tight, well-matched pack beats hundreds of mismatched icons that derail your look.
- Layer control: Layers should be simple to reorder, lock, and group. This is essential for fog-of-war, secret rooms, and quick last-minute edits.
- Export options: PNG/JPG for VTTs, print-friendly PDFs, and scalable resolutions. Test a small export to ensure tokens stay crisp.
- Licensing and sharing: If you publish your modules or stream games, confirm commercial-use terms for included textures and icons.
Feature tip: If your group loves hex-crawls, prioritize tools with flexible hex scaling and snap settings. For dungeon delves, look for precise grid snapping, doors, and light sources. For region maps, rivers and elevation brushes save tons of time.
Finally, do a timed test. Give yourself 45 minutes to build a small village or cavern. If you can’t reach “good enough” in that window, try a simpler editor or switch to a style preset that removes choice overload. Then reward your prep session by browsing our new arrivals for your next session highlight.

Map Style Tips and Inspiration
Style is how your map communicates mood and genre. The same layout can feel gritty and desperate in charcoal greys or whimsical in pastel inks. Try these quick wins to make your maps sing:
- Use a three-color palette. Pick a base, a shadow, and a highlight. This keeps everything cohesive and readable. Save saturated colors for points of interest.
- Let light tell the story. Subtle rim lights on cliffs and rooftops suggest time of day and help separate layers. Keep shadows soft so tokens don’t disappear.
- Show wear and age. Add light scuffs near doors, moss along north-facing walls, or silt on river bends. A few hints sell centuries of history without clutter.
- Label with intent. Sparingly name only what players need: districts, roads to plot hooks, and safe havens. Keep typography simple, all-caps for regions, mixed-case for locales.
- Design for the camera. On VTTs, players view at 50–75% zoom. Make sure vital shapes and paths read clearly at that scale.
When you approach map creation tools for fantasy campaigns as creative partners instead of hurdles, you’ll draft faster and run smoother sessions. Use the tools to amplify your story’s beats, not to chase endless perfection.
FAQ
What’s the best free tool for beginners?
The best pick is the one that helps you finish a map today. Start with a browser-based editor that offers drag-and-drop stamps, customizable grids, and quick exports. Try a couple and run a 30-minute test build for a tavern or cave. If you hit friction—too many menus, confusing exports—switch to a simpler option. When you’re ready for more control, move to a desktop app with layers and style presets.
How do I balance map detail with prep speed?
Work in passes. Pass 1: layout the big shapes. Pass 2: add paths, doors, and encounter zones. Pass 3: place a handful of story props (a toppled statue, a broken wagon). Stop when the scene is clear at 50% zoom. If players ask for more detail at the table, annotate live with quick markers—it’s faster than overbuilding in advance.
Do I need a tablet or drawing skills?
No. Many tools are built for non-artists. Stamps, brushes, and prefab assets do the heavy lifting. A tablet can help with organic shapes, but a mouse works fine for most layouts. If you want a hand-drawn feel, use an ink preset or a textured brush instead of freehanding every line.
How big should my battle map be?
Start from the encounter. A skirmish in a tight alley might be 20×20 squares; a river ambush could be 30×40. Keep action loops tight so no one spends turns sprinting without interacting. If in doubt, keep it smaller and add side areas later. For region maps, focus on a travel day or two so choices feel meaningful.


Leave a comment
This site is protected by hCaptcha and the hCaptcha Privacy Policy and Terms of Service apply.