
Designing Clear virtual tabletop maps for seamless RPG play
Updated on: 2025-12-05
Want your virtual tabletop maps to feel alive and memorable? This guide shows you how to plan scenes, build battle-ready layouts, and keep performance smooth so your players stay immersed. You’ll learn simple, repeatable steps that work across popular VTTs, plus pro tips for lighting, fog, and sound. We’ll also cover quality checks, file optimization, and quick ways to share maps with your group.

You don’t need to be a professional cartographer to create maps your table will talk about for weeks. With a bit of planning, thoughtful scene composition, and a few technical habits, you can turn any encounter into a cinematic moment. This post breaks the process into bite-sized steps you can repeat for every location—town streets, dungeon corridors, airships, you name it. We’ll keep it platform-agnostic so you can apply the tips in Roll20, Foundry, or your favorite tool. By the end, you’ll have a reliable workflow for designing, exporting, and running maps that look great and perform even better.
Practical Guide to virtual tabletop maps
Step 1: Choose a platform
Start by picking the tool you’ll use to host the game. Each platform handles tokens, lighting, and file sizes a little differently. Browse the documentation for recommended image dimensions and grid sizes. If you’re unsure, aim for a square map between 3000–4096 px on the long side, with a consistent pixels-per-square value (more on that soon). Note what file formats load fastest—PNG for crisp lines, JPG for photo textures. Keep notes so you don’t reinvent the wheel next time.
Step 2: Map the scene goal
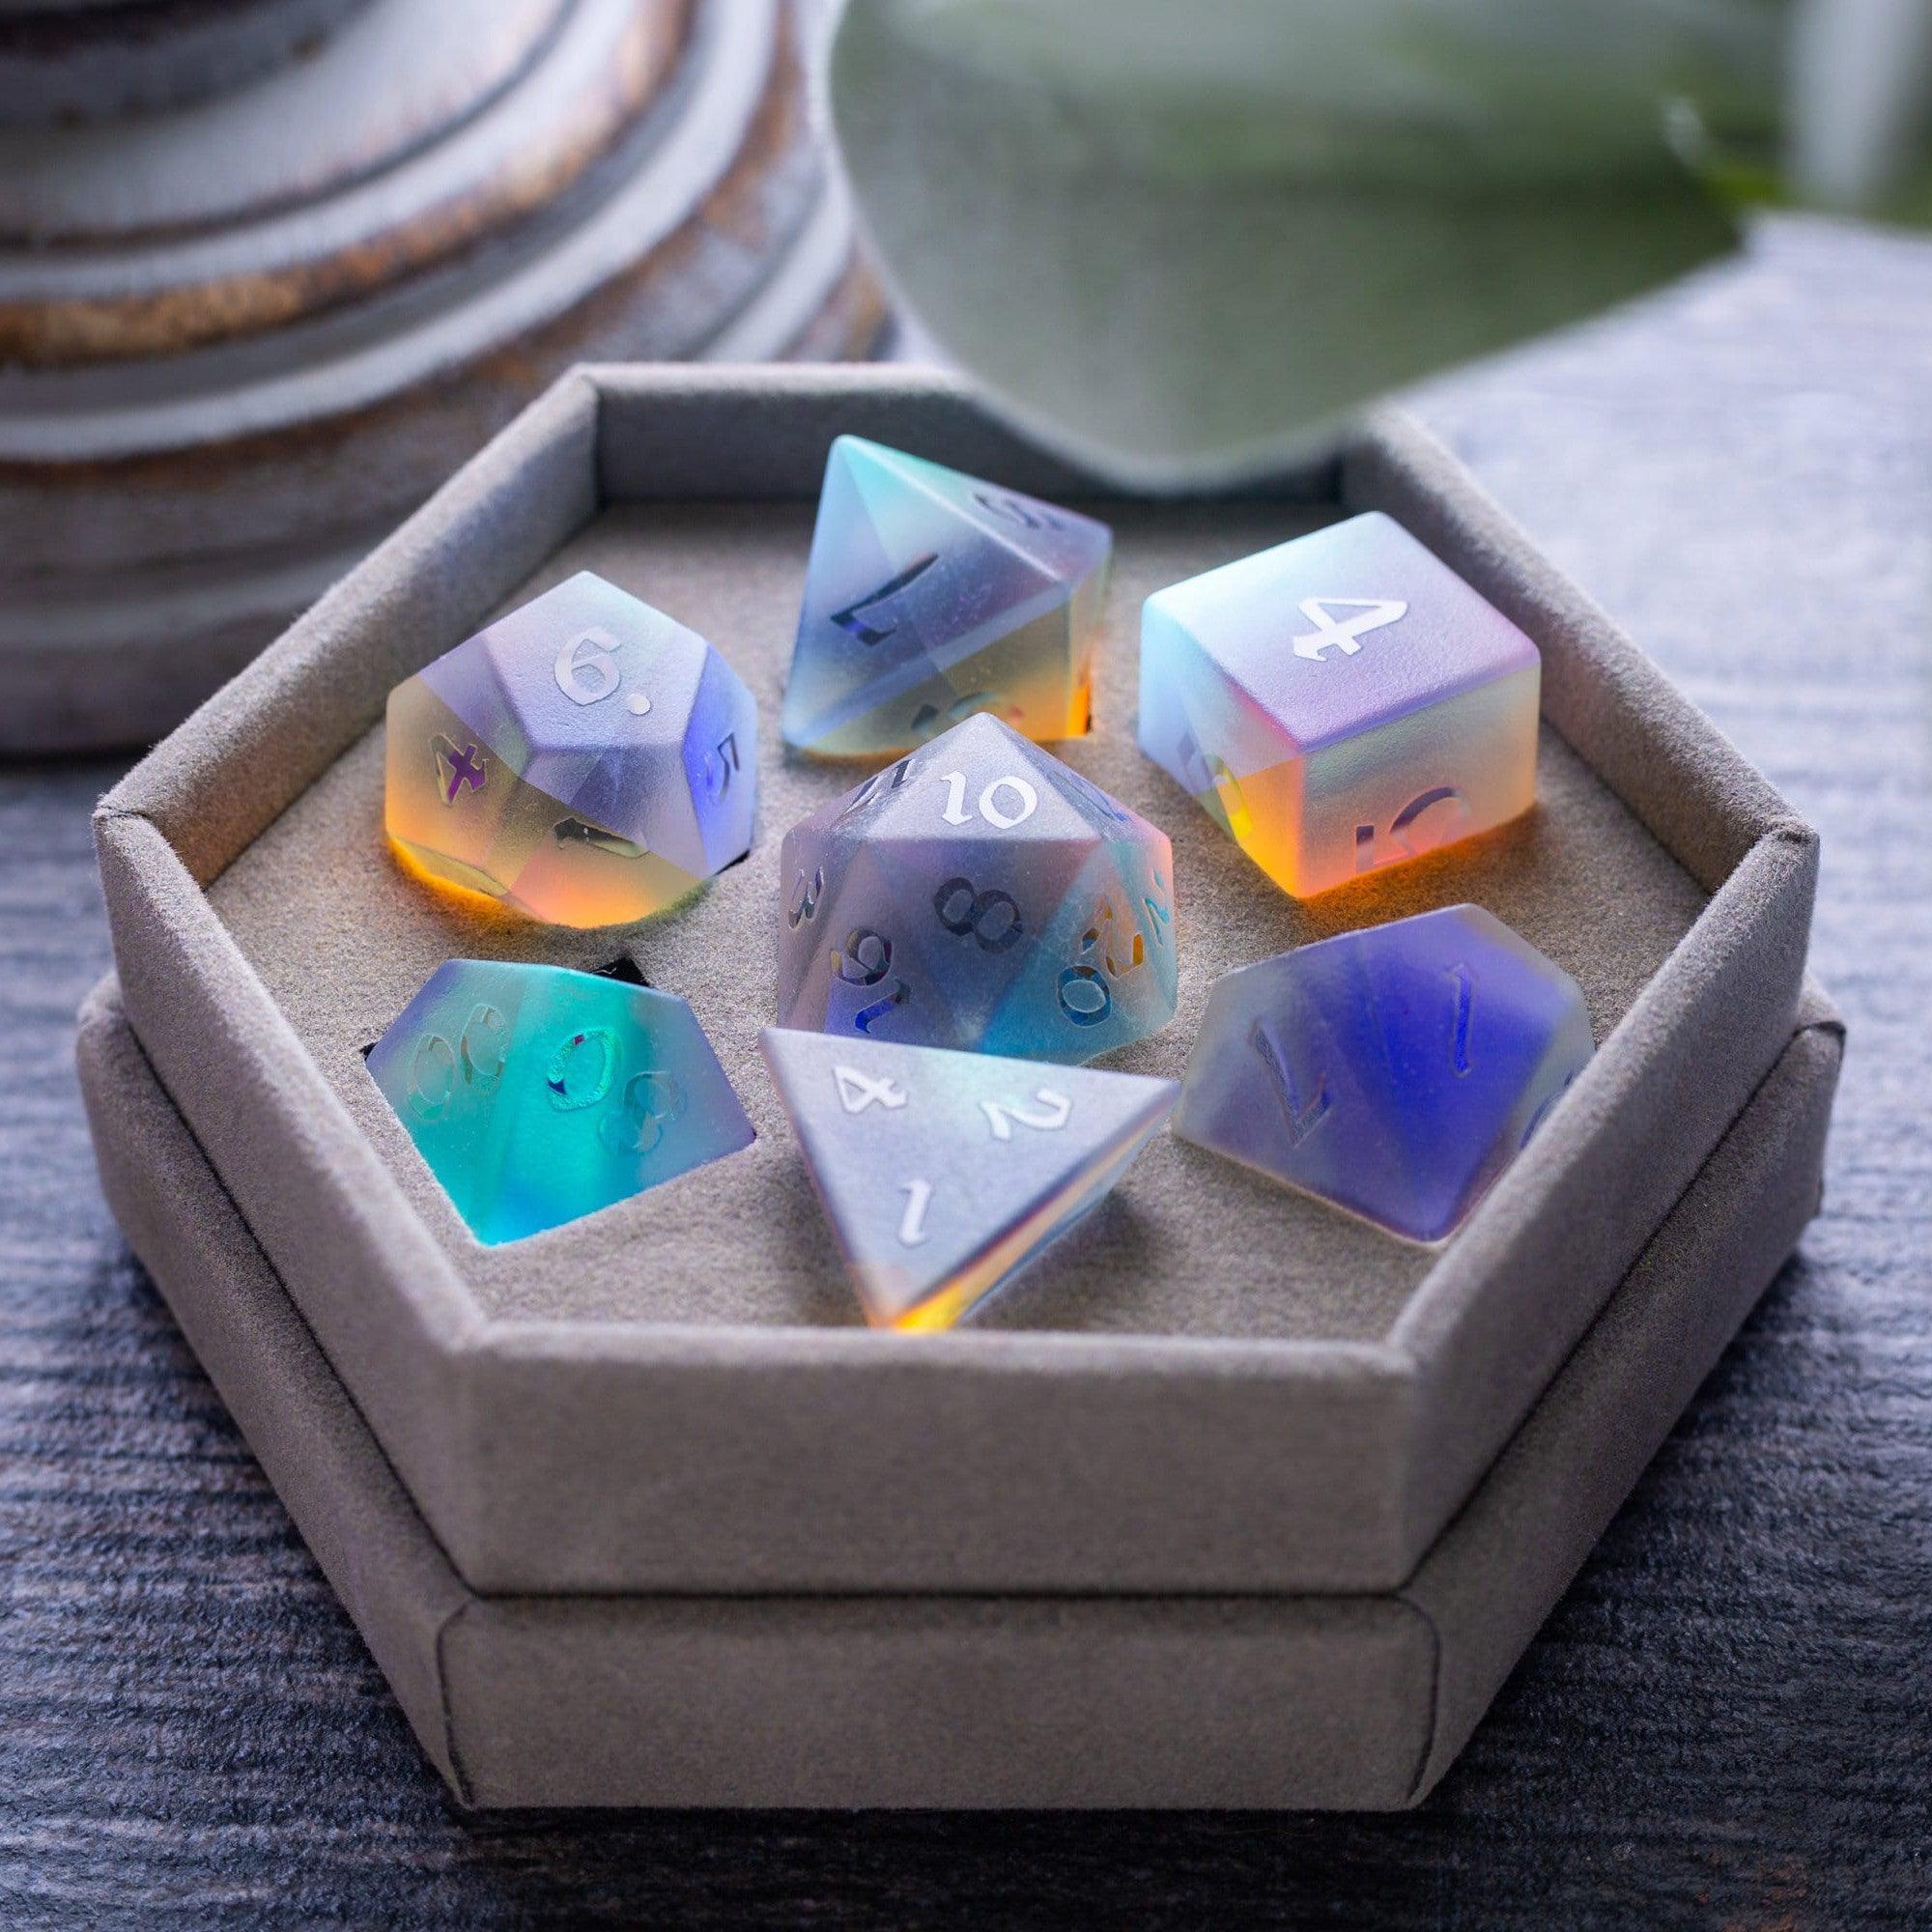
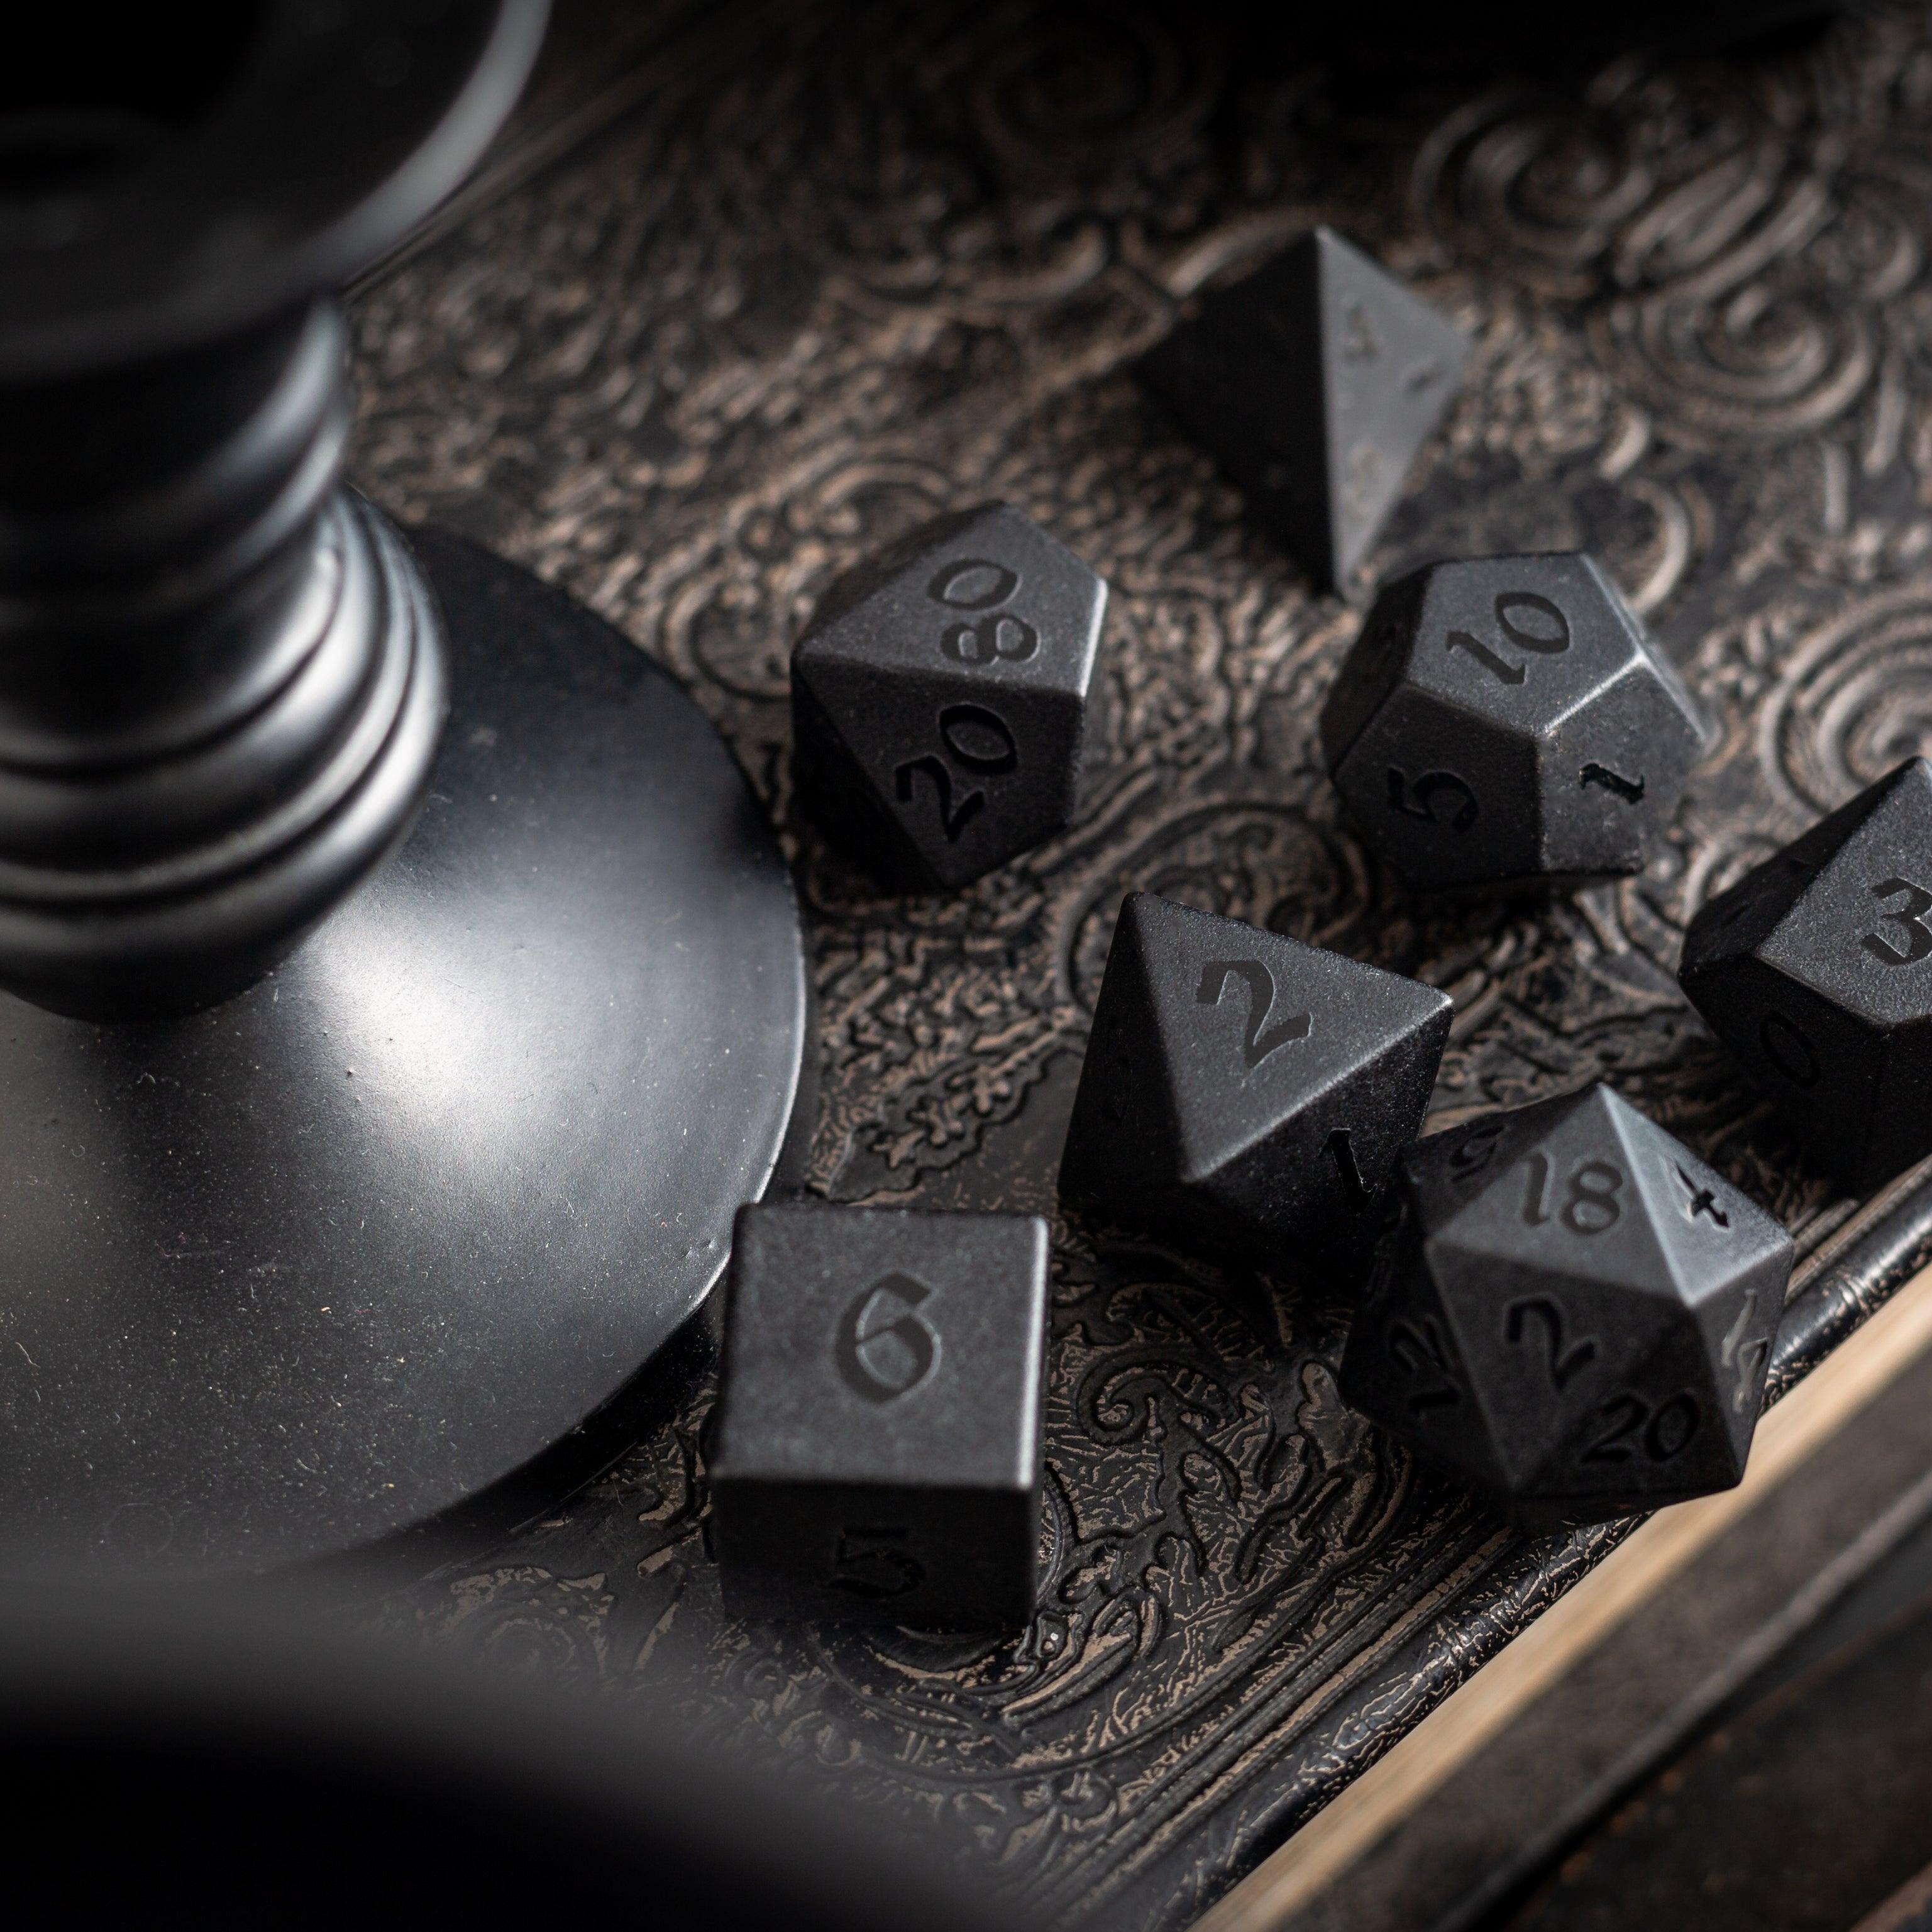
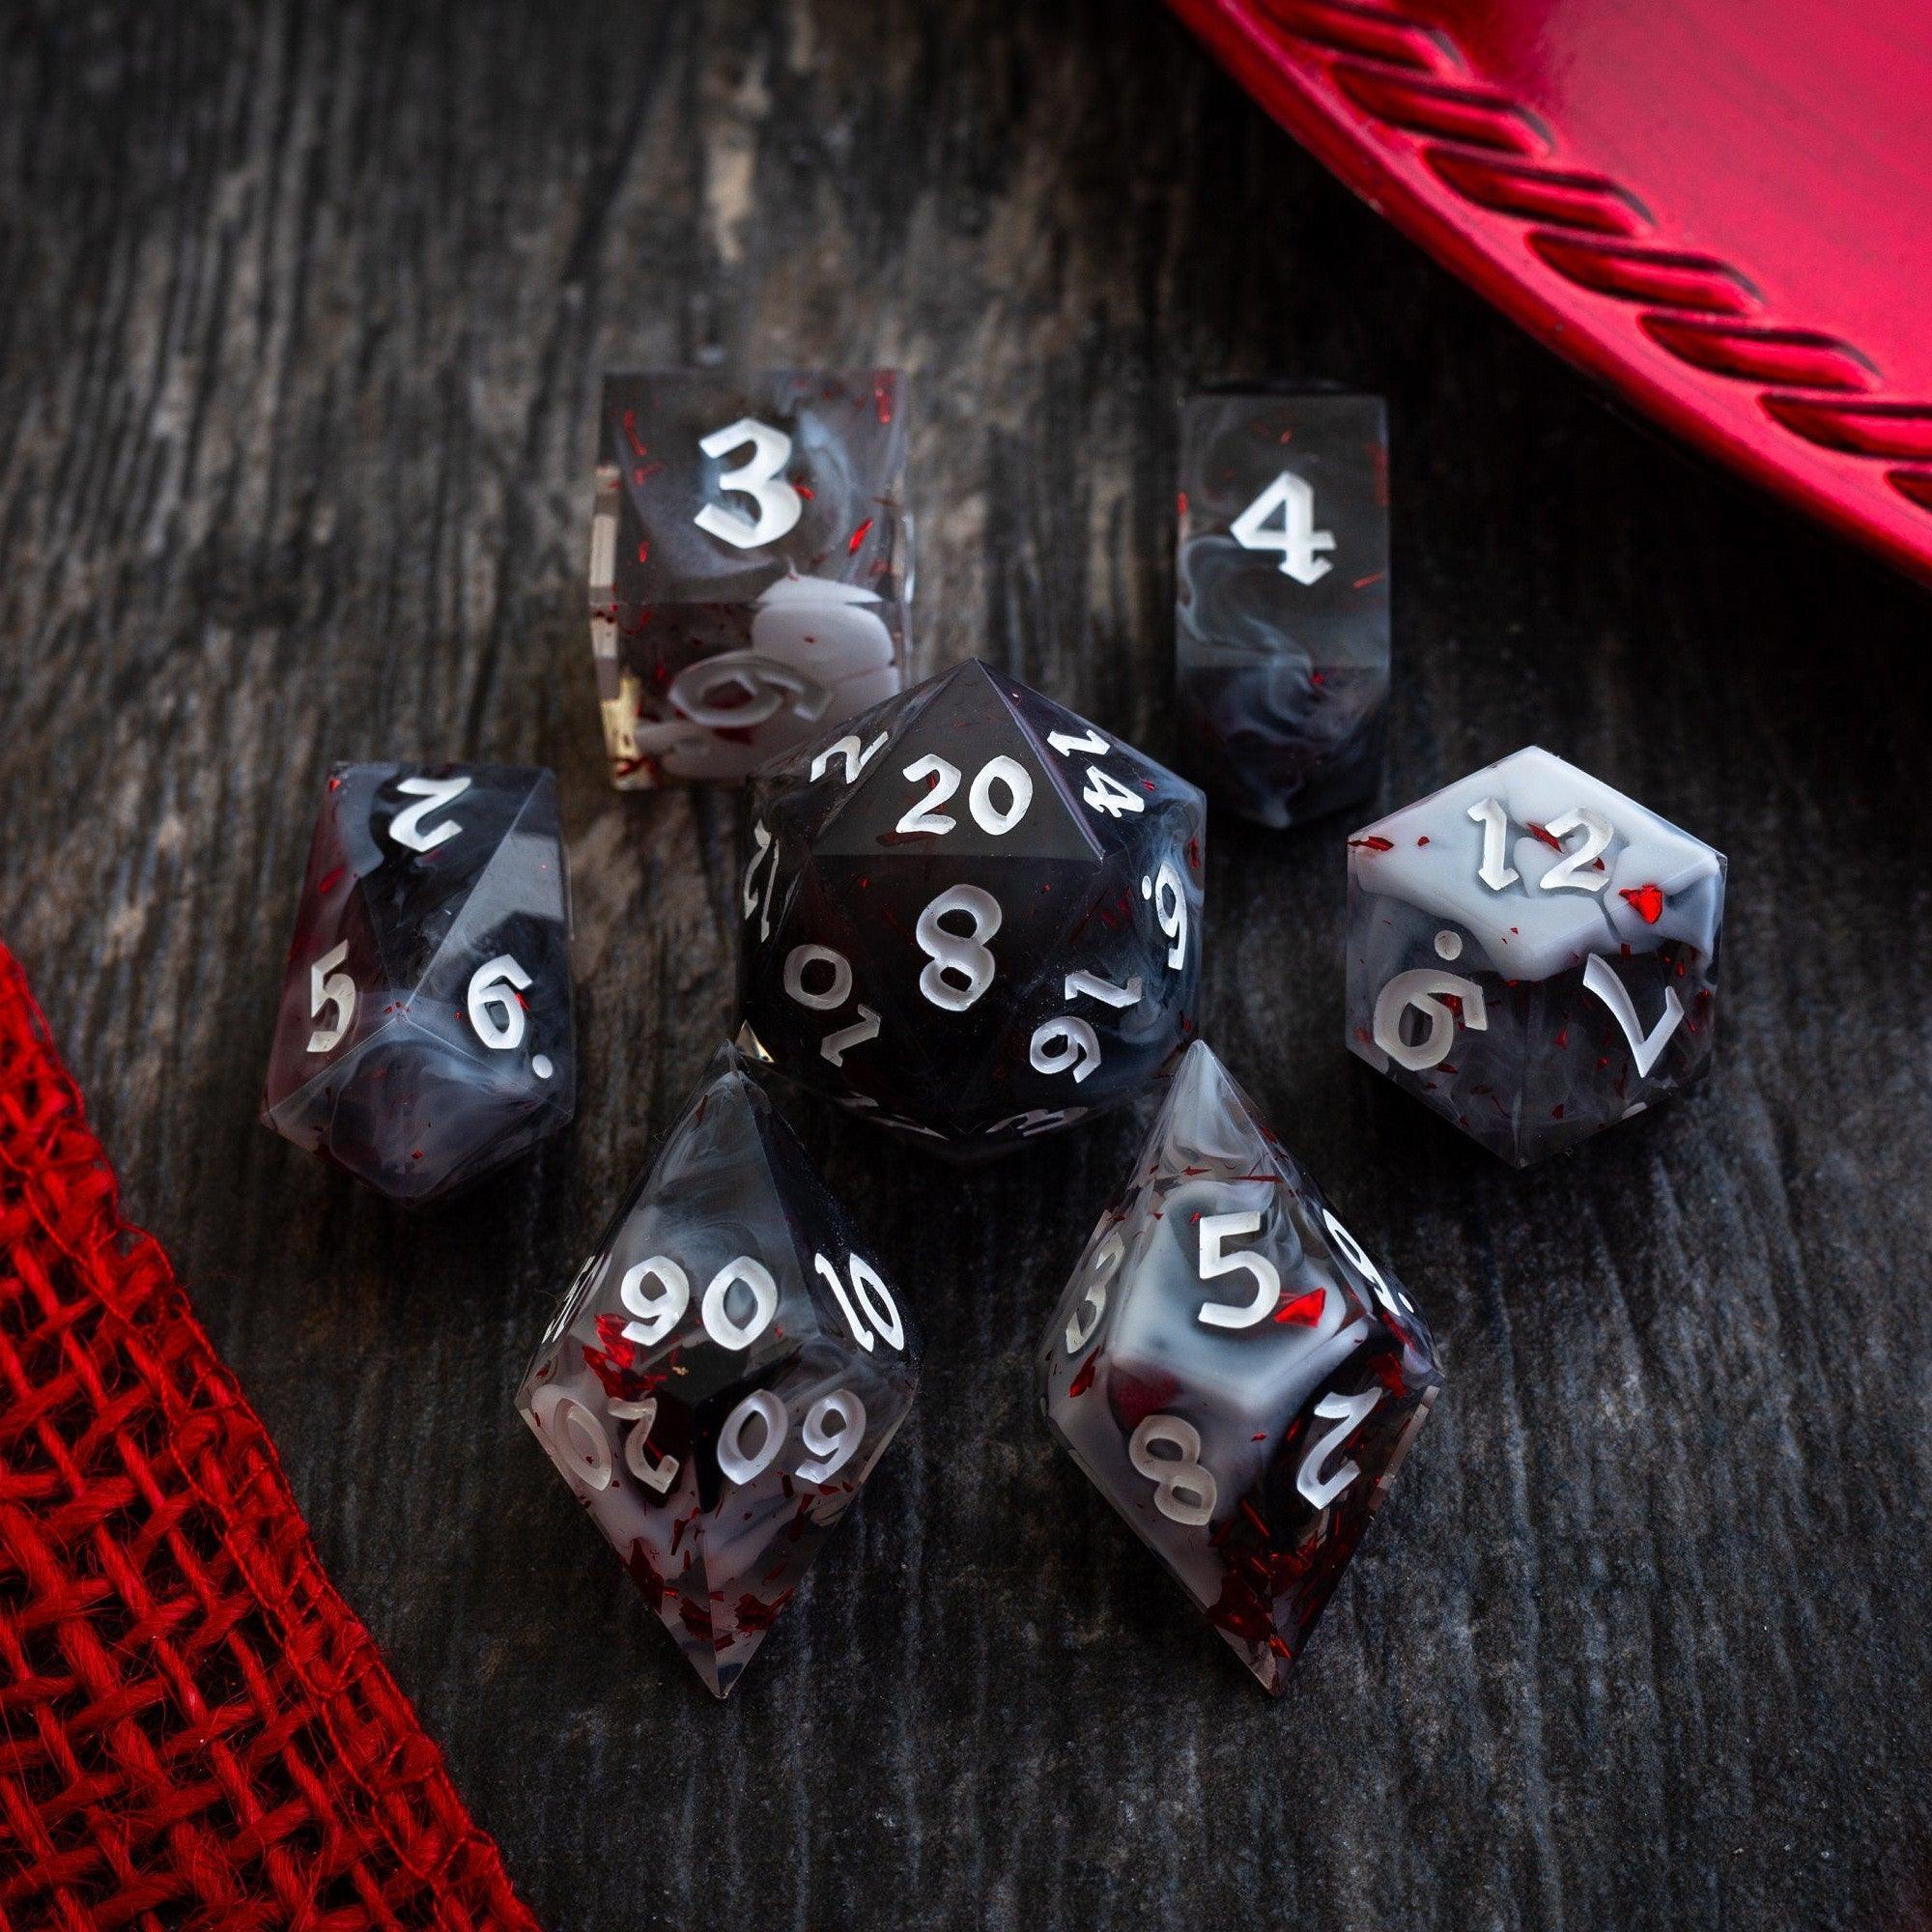
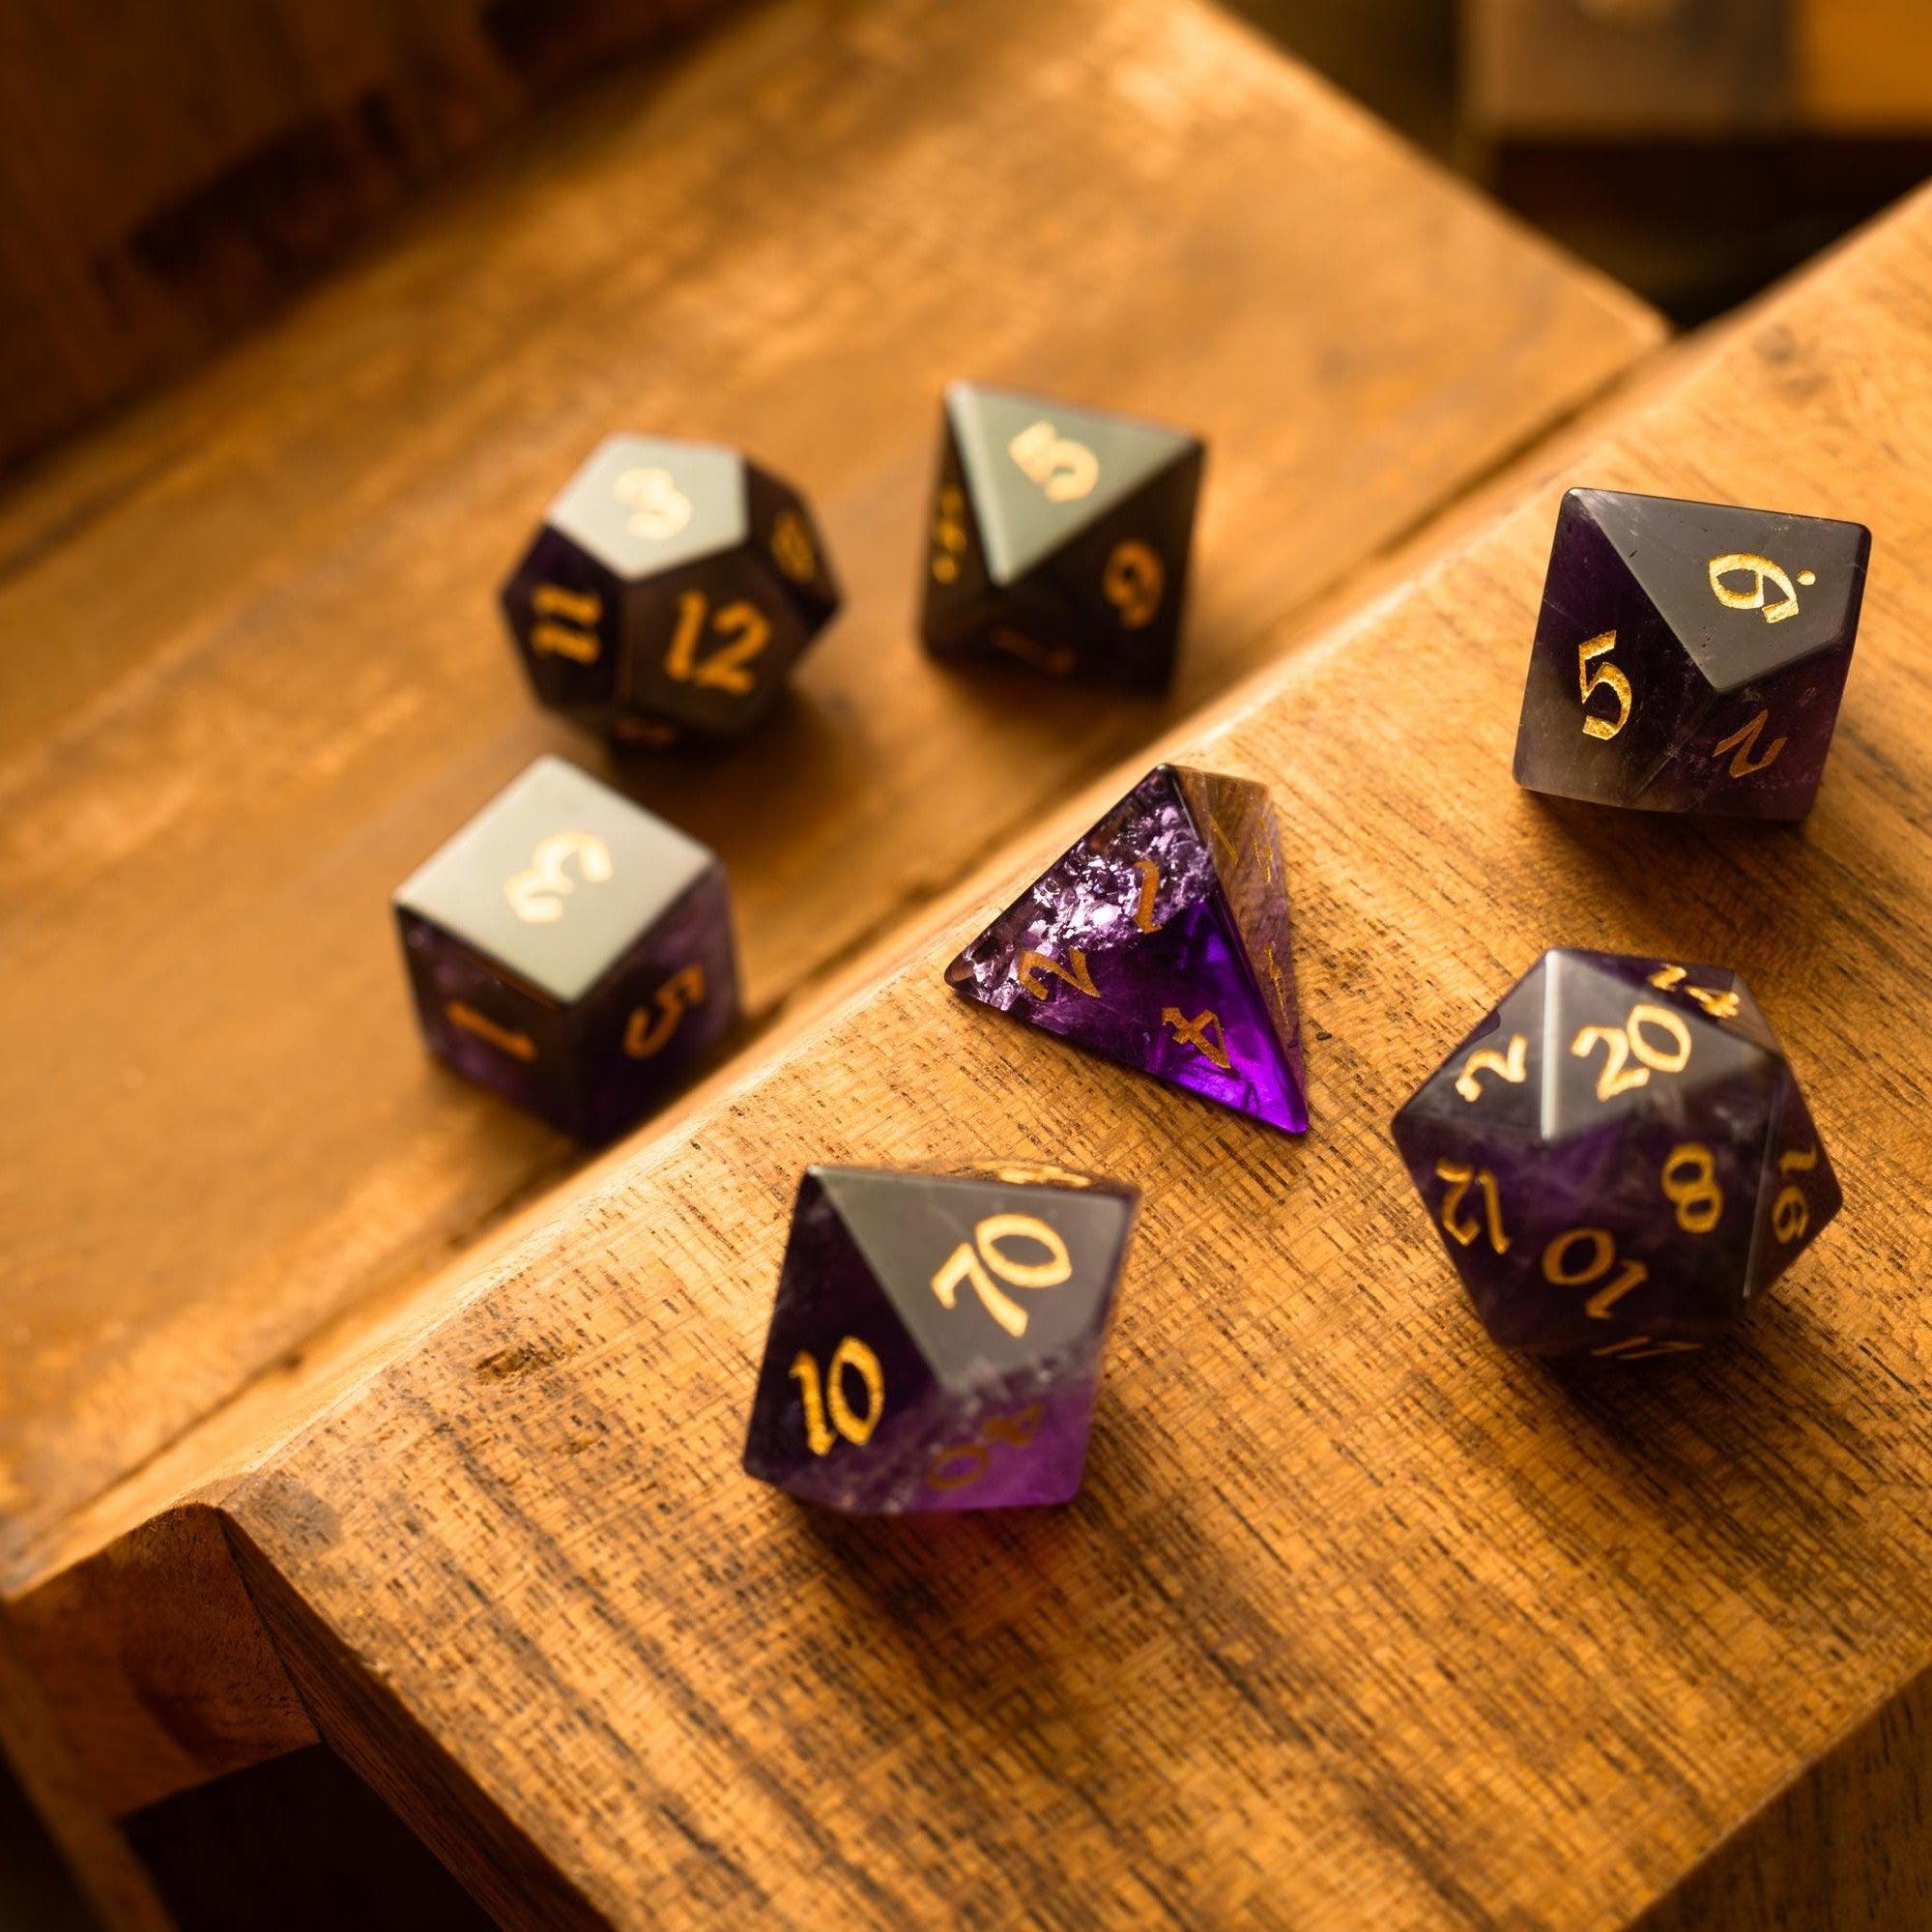
Before drawing, define what must happen on this map. Is it a chase, a stealth infiltration, or a boss arena? That scene goal dictates the shape of the space, where cover lives, and how players move. Mark three things: the entry point, a focal objective (altar, vault door, bridge), and two to three meaningful obstacles (chokepoint, difficult terrain, verticality). These ingredients create tactical choices without clutter. As you plan, think about the props that set the mood—and, for tabletop flair between sessions, reward standout moments with physical keepsakes like gemstone dice your group will love.
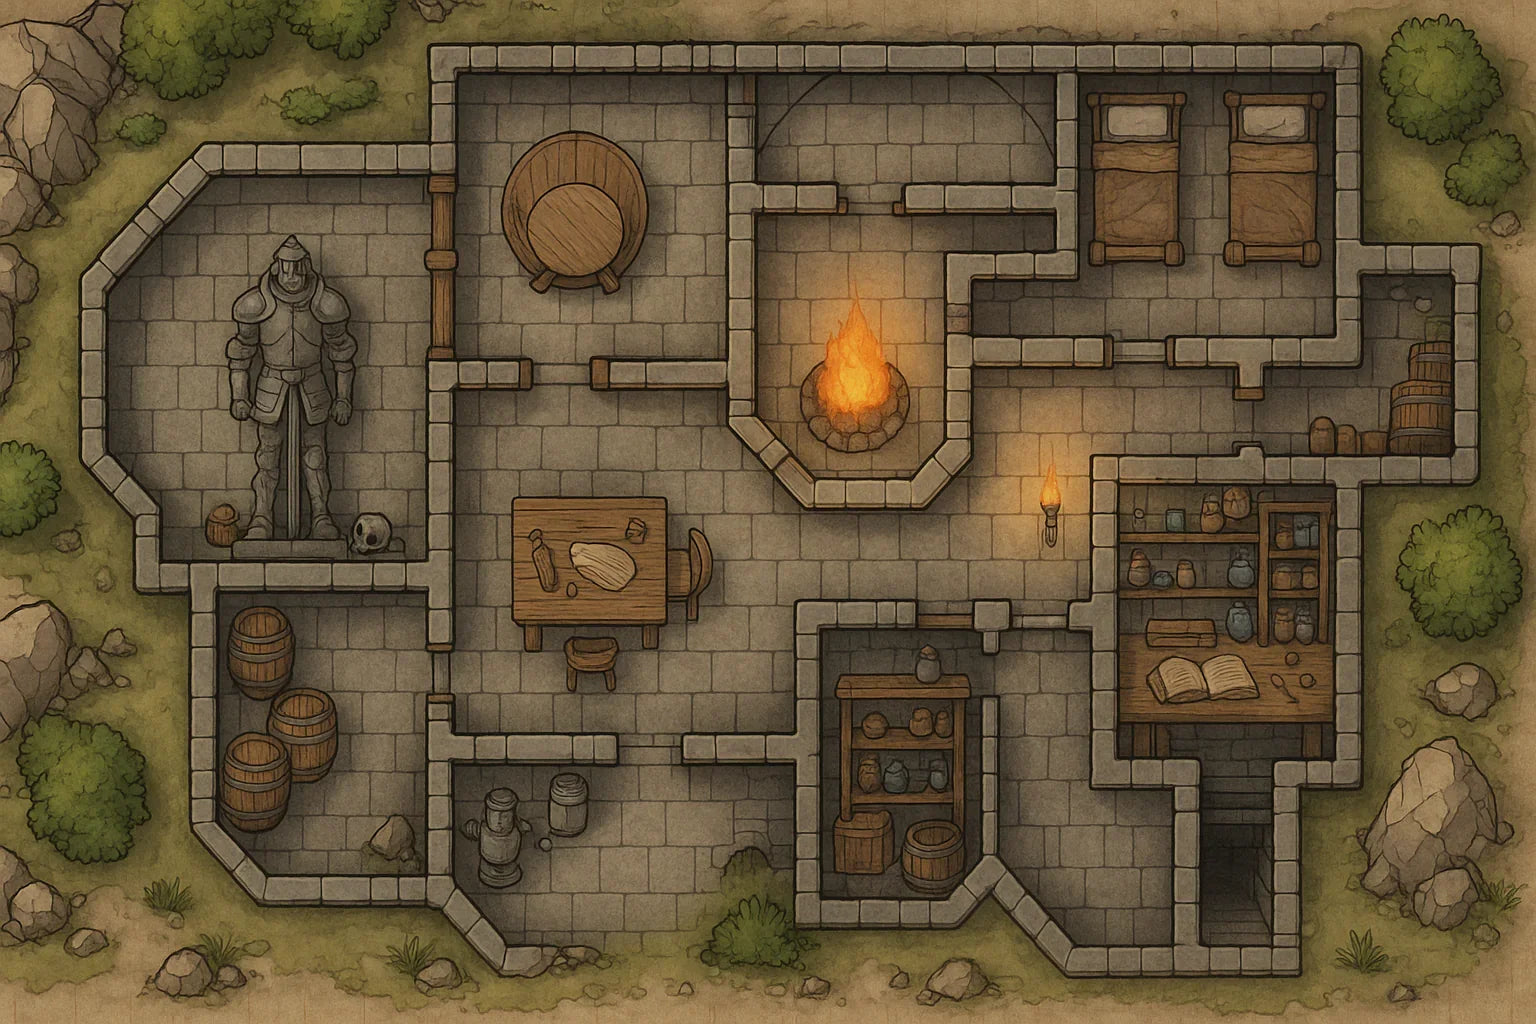
Step 3: Layout and grid
Sketch the big shapes first: walls, roads, rivers, balconies. Work large to avoid fussing with details too soon. Once you can navigate the space in your head, lock your grid. Common choices are 70, 100, or 140 pixels per square. Pick one and stick with it for all your maps so tokens scale consistently. Place “landmark” tiles that will help you align the grid later—straight walls, balcony edges, or a long table. These references save time when you import the image.
Step 4: Optimize and export
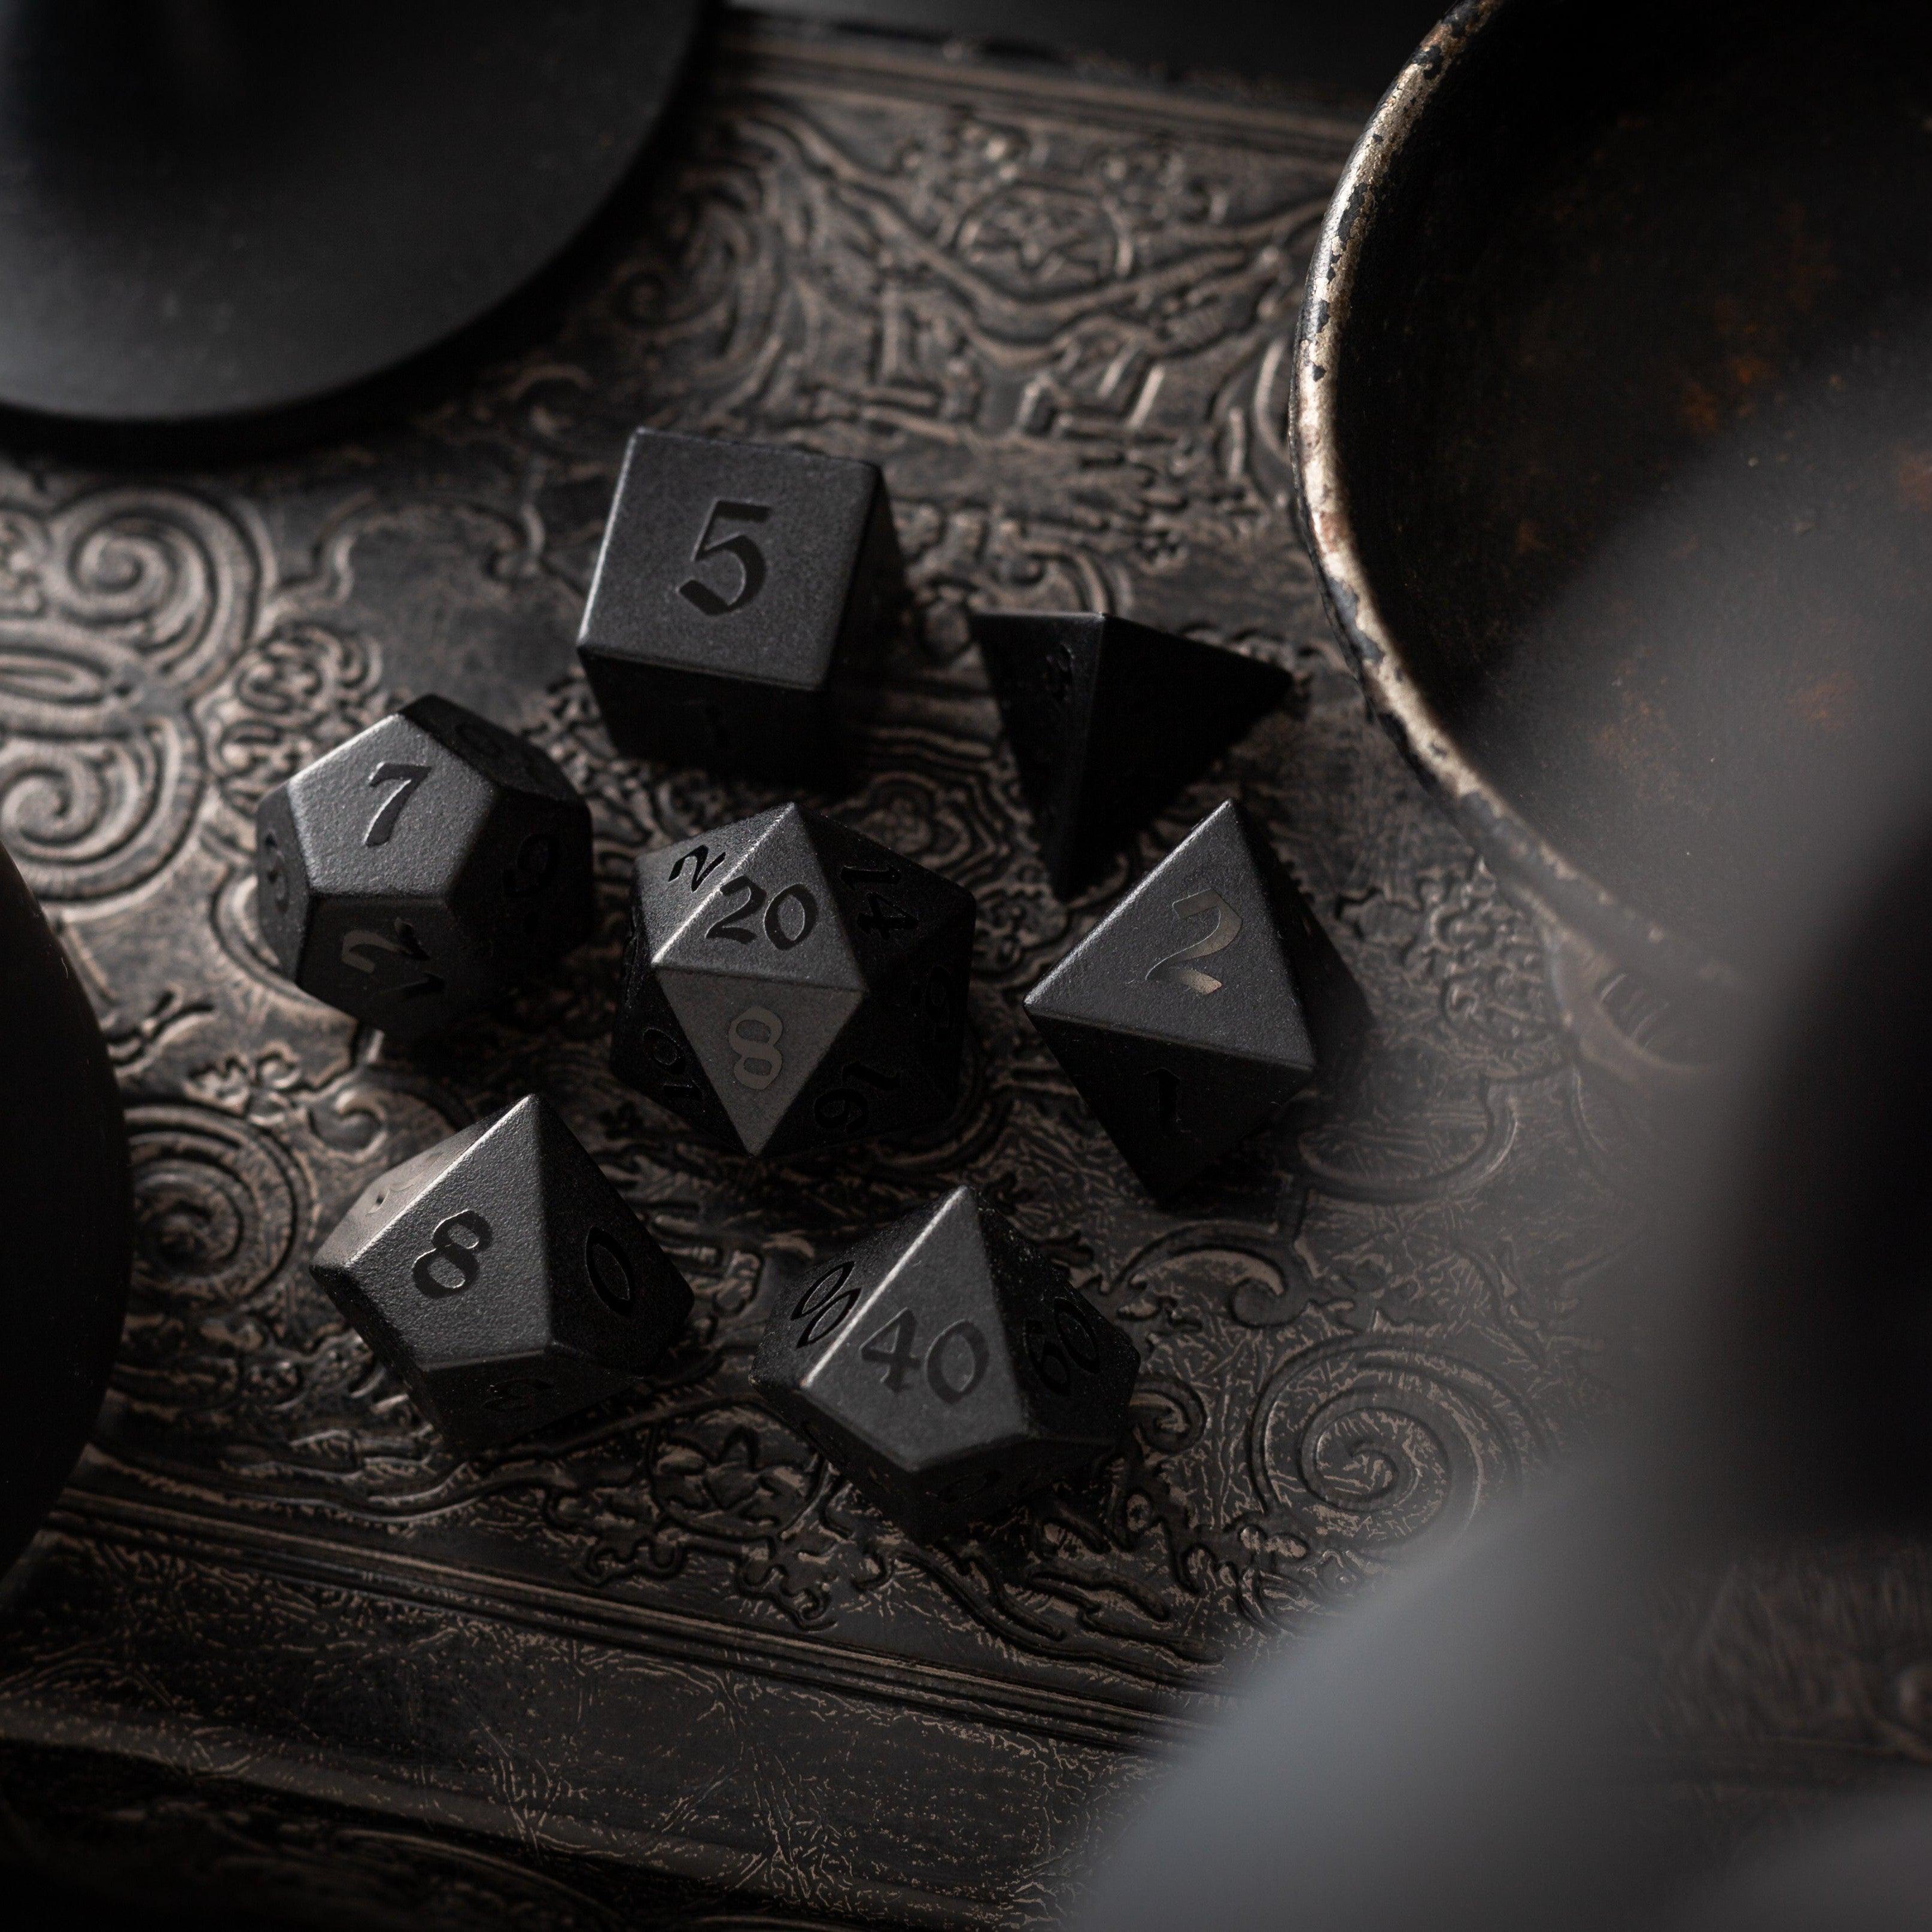
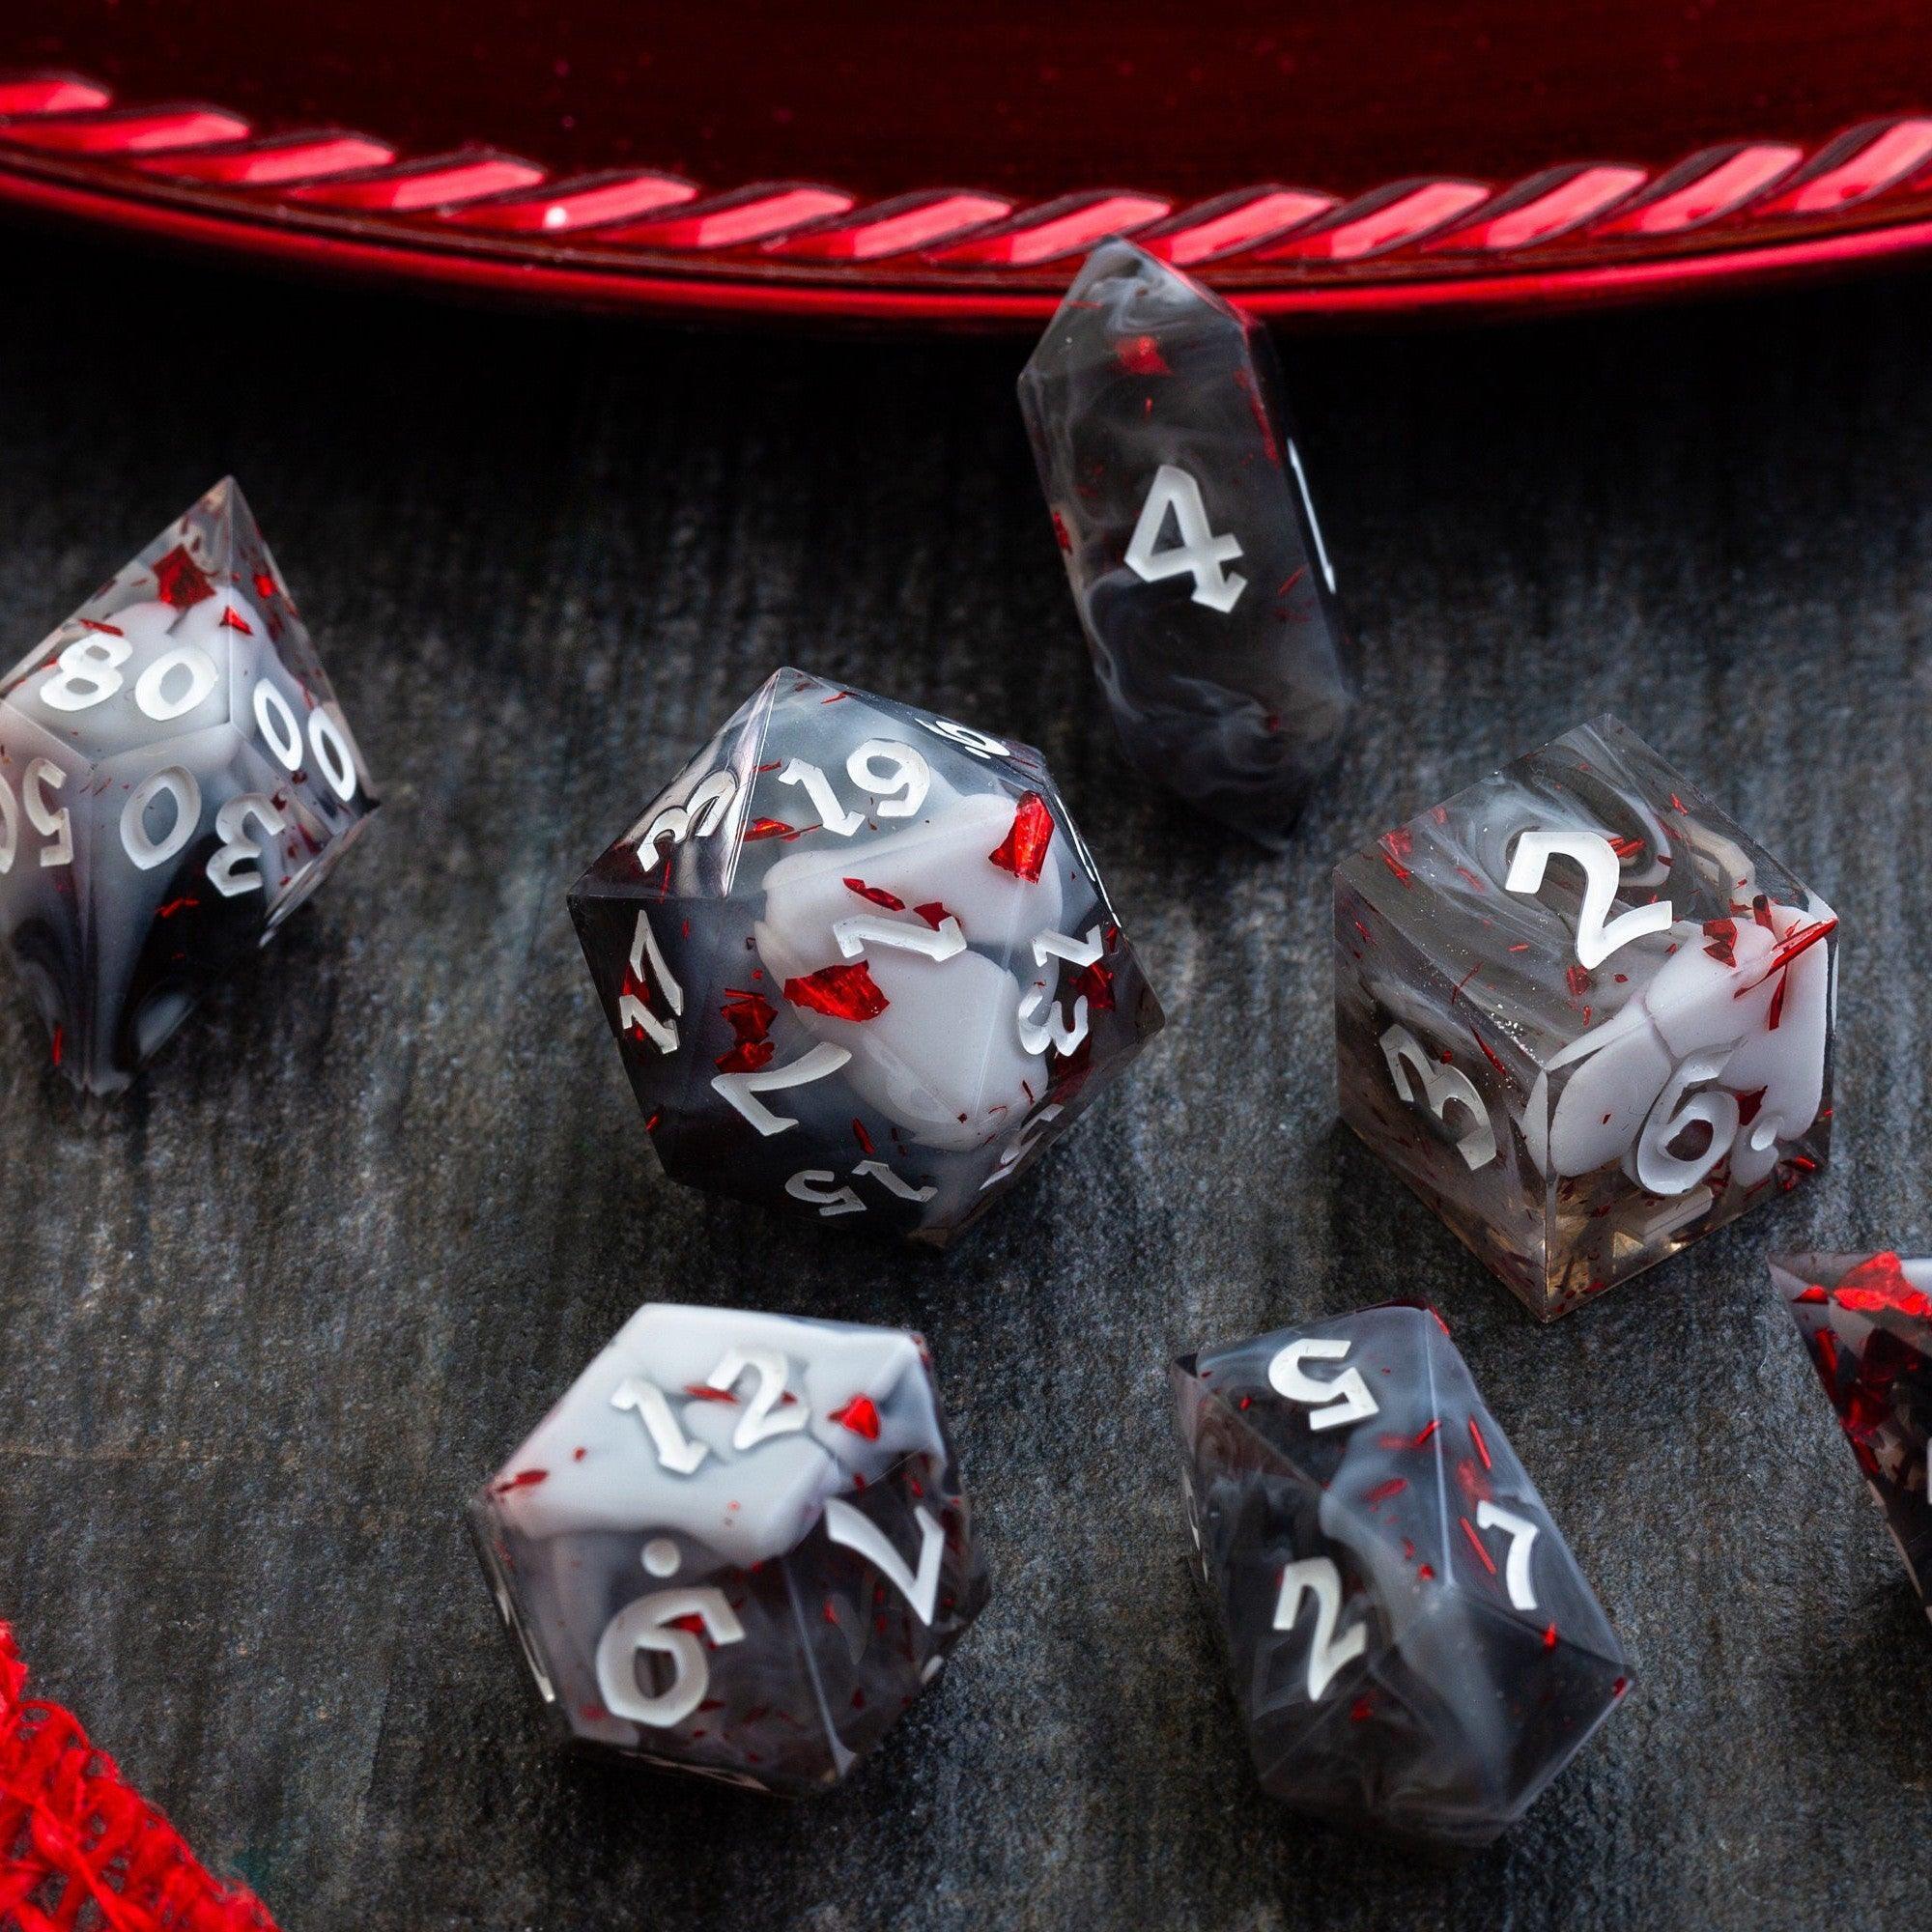
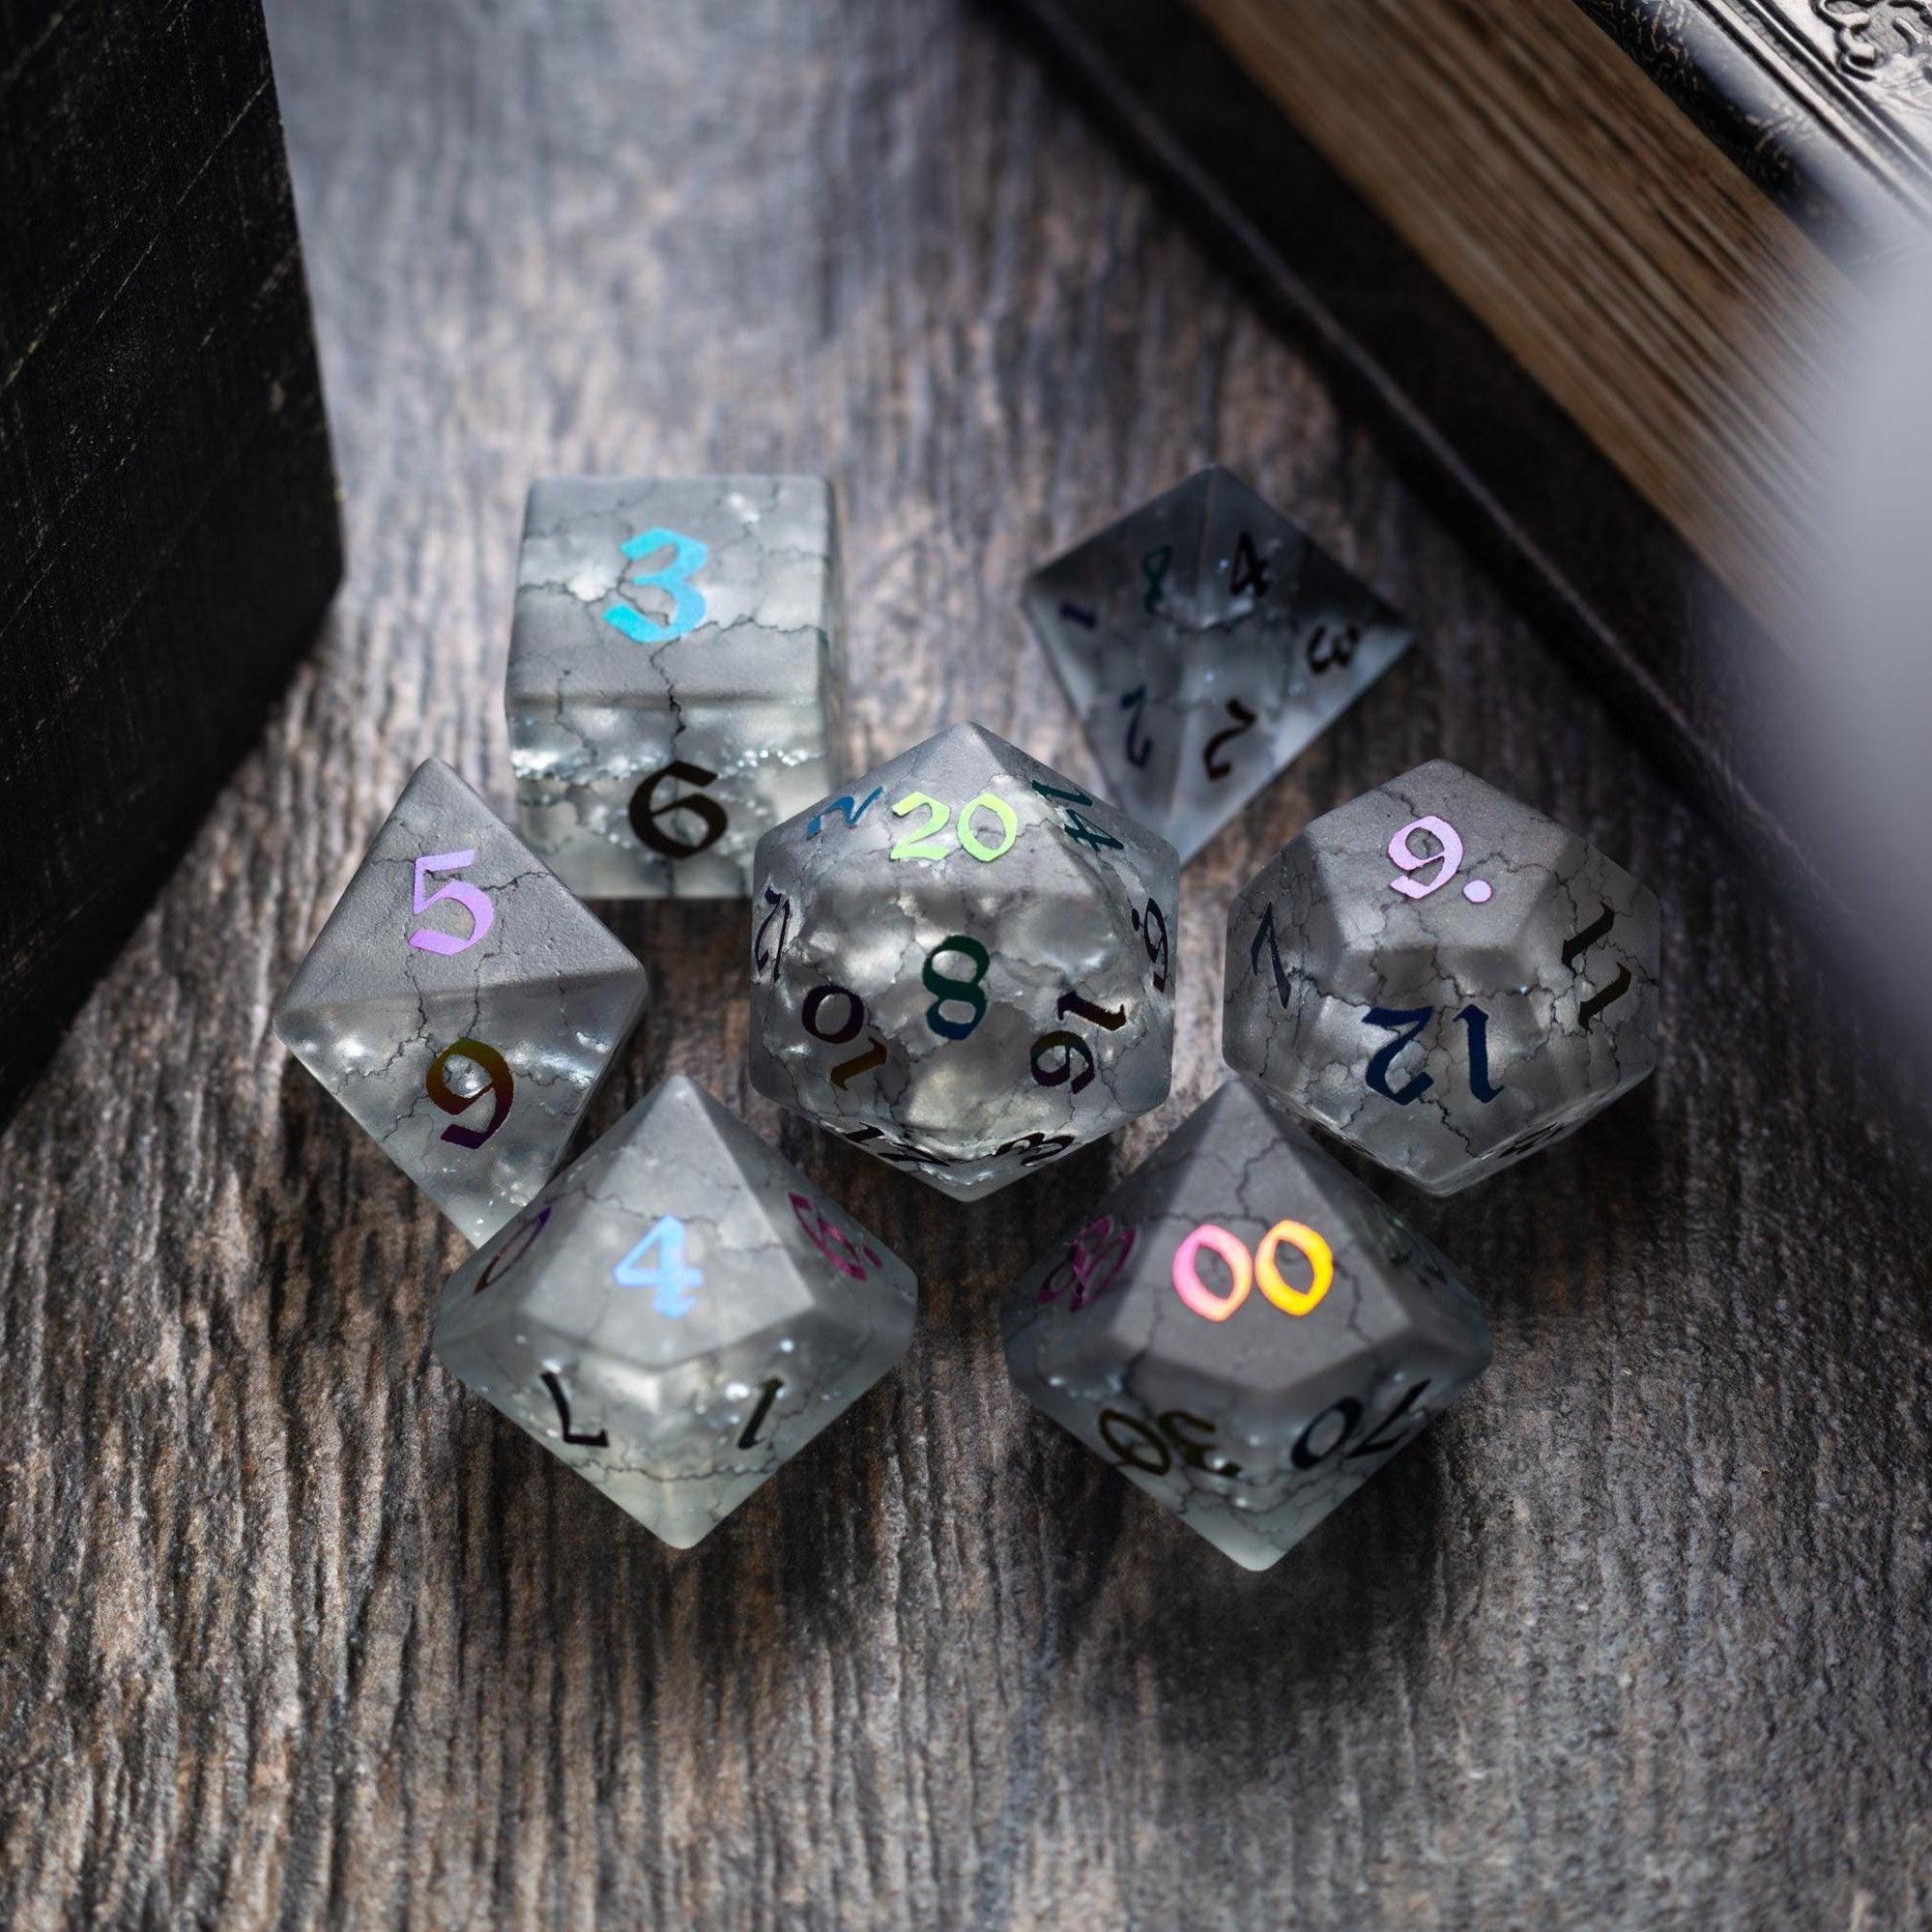
Textures and lighting layers add up. Keep your source file layered, then export a flattened copy for play. Downscale to the smallest size that still looks good at your intended zoom. If your platform supports it, export web-friendly JPGs for large backgrounds and PNGs only where transparency matters. Compression is your friend; compare 70–85% JPG quality to balance clarity and size. While you’re prepping, consider upgrading your dice experience too—swapping in eye-catching liquid core dice can turn routine rolls into little meteor showers on camera.
Step 5: Upload, align, and tag
In your VTT, create a new scene and set the canvas size to match your export. Drop in the image and align the grid. Use those straight edges and landmarks to check scale. Then set basic metadata: scene name, recommended zoom, lighting mode, and any player tags you use (city, forest, dungeon). Organizing your maps now makes them easier to reuse later. I like adding a brief note with encounter difficulty and environmental effects so I can recall the vibe at a glance.
Step 6: Lights, fog, and sounds
Dynamic lights and fog of war make exploration sing, but keep it simple. Use larger light sources with soft falloff to reduce processing. Define transparent doors or windows only where gameplay depends on them. Add two or three ambient sound loops at low volume—wind under a bridge, crackling torches, quiet tavern chatter—to sell the scene without distraction. Finally, place line-of-sight blockers around major geometry and test it from a player token’s perspective. If movement feels sticky or slow, widen paths or reduce blockers.
Key Advantages
- Faster prep with a repeatable workflow: Plan, layout, export, and load. You’ll spend more time storytelling and less time troubleshooting.
- Smoother performance for everyone: Right-sized images and restrained lighting reduce lag and keep your group present in the moment.
- Stronger tactical play: Clear objectives, readable cover, and clean grid alignment make movement and positioning intuitive.
- Reusable scenes: With consistent pixels-per-square and smart naming, you can remix locations for new encounters and side quests.
- Better immersion: Ambient audio, tasteful lighting, and selective detail draw players in without overwhelming the screen.
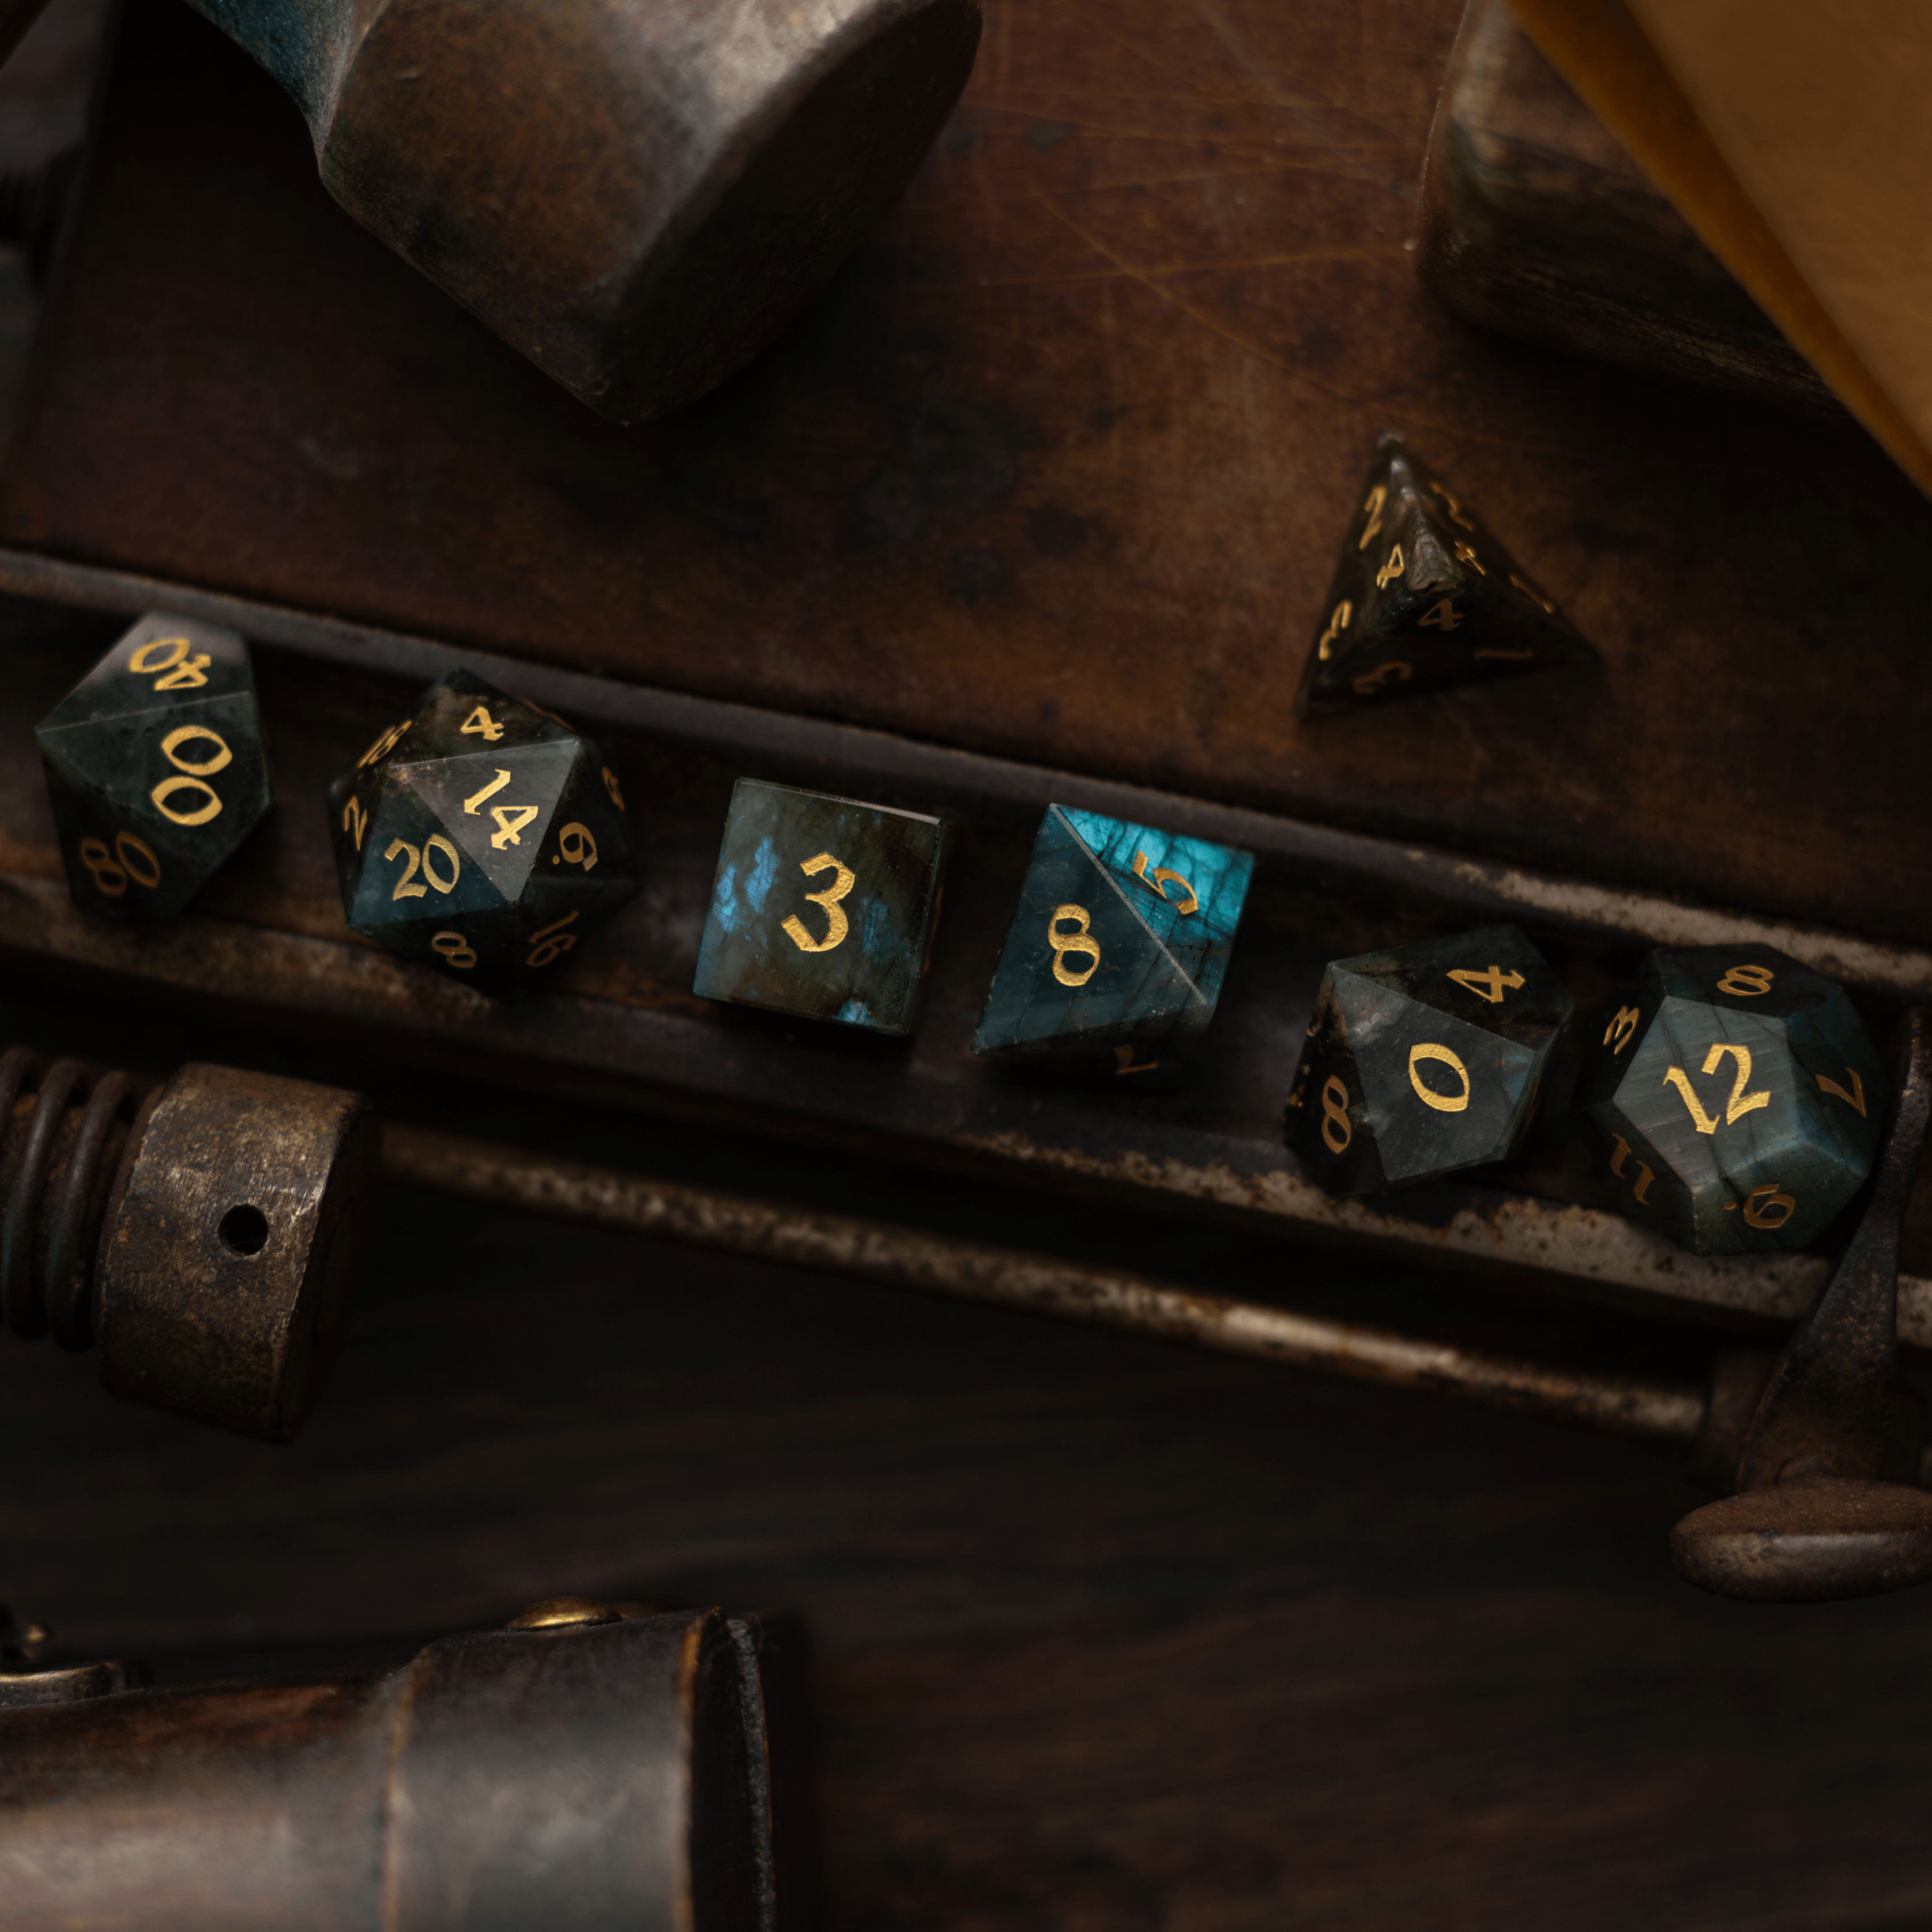
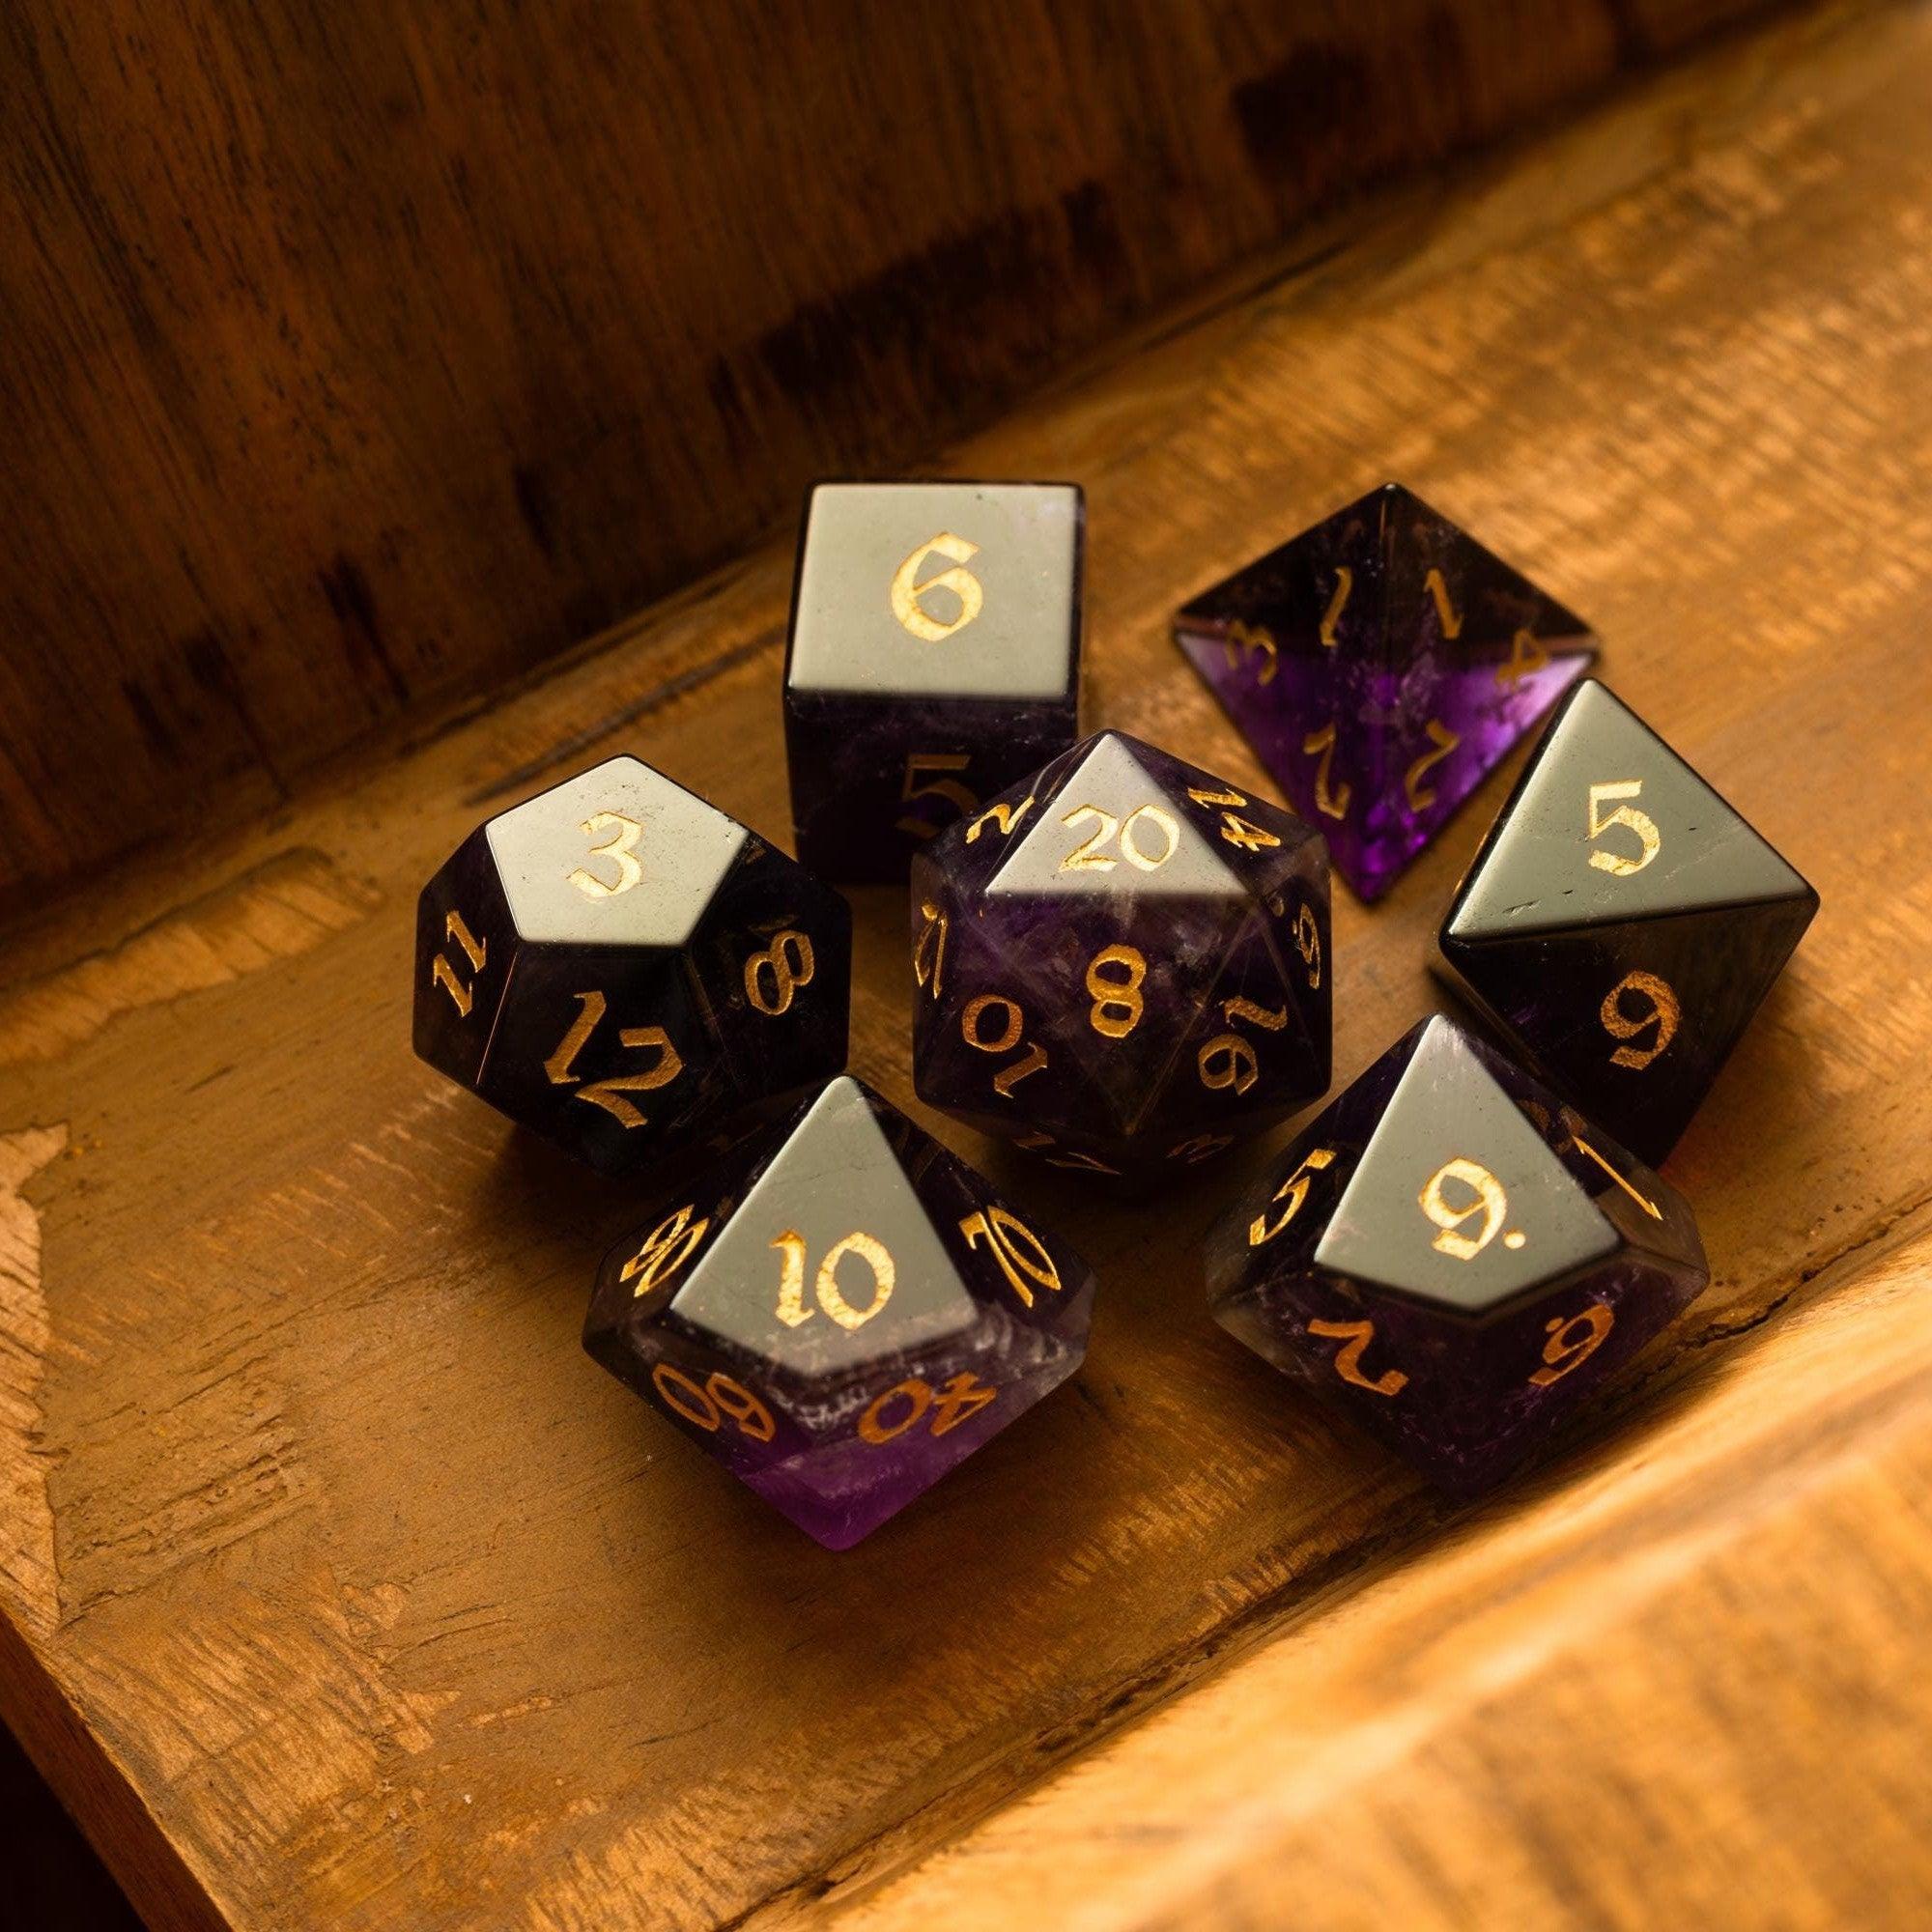
- Camera-ready table vibes: If you stream or record, complementary props—think the shimmering finish of a Labradorite set—add polish to your session’s aesthetic.
- Easy handoffs: Organized files and tags let co-GMs or future you spin up the scene quickly.

Summary & Next Steps
Great maps don’t need to be complicated. Focus on the scene goal, build a readable layout, then export a lean file that loads fast. Add just enough lighting and sound to sell the atmosphere. After one or two runs, this workflow becomes second nature—and your players will notice the difference. If you want to boost table energy too, pair your digital scenes with tactile upgrades like polished dice towers or curated sets from our shop. Prefer premium sparkle? Explore handpicked gemstone dice for milestone moments that deserve center stage. Ready to craft your next masterpiece with virtual tabletop maps? Grab your notes, set your grid, and let the adventure begin.
How big should a digital battle map be?
As a rule of thumb, export between 3000 and 4096 pixels on the long side for a standard encounter space. That size looks crisp at regular zoom but stays friendly to bandwidth. If your scene spans multiple rooms or outdoor areas, split it into zones so players only load what they need. Always test on a player account to confirm load time and zoom behavior before game night.
What grid size works best across platforms?
Pick one pixels-per-square value and use it everywhere. Many creators like 70, 100, or 140 px. The specific number matters less than consistency, because it keeps tokens, doors, and walls predictable. Document your choice in a sticky note or file name (for example, “-100px-grid”) so you never have to guess. When importing, align the grid to straight edges and verify by moving a token across several squares.
How do I speed up load times for players?
Start by reducing image dimensions and compressing exports. Keep large textures out of lighting layers, limit the number of dynamic light sources, and avoid stacking complex effects in one area. Use JPG for big backgrounds when transparency isn’t required. Finally, pre-load scenes before the session starts. While you’re at it, consider rewarding patience during setup with a flashy roll using our showpiece liquid core dice—they’re a crowd-pleaser while the map finishes caching.


Leave a comment
This site is protected by hCaptcha and the hCaptcha Privacy Policy and Terms of Service apply.