

Master Virtual Tabletop Maps for Epic Campaigns Worldwide
Updated on: 2025-12-02
Want faster prep and smoother sessions? This friendly guide breaks down how to choose, build, and share virtual tabletop maps so your group can jump straight into the fun. You’ll learn practical setup tips, smart workflows, and time-saving tricks that work in any VTT. We’ll also bust common myths, share a quick personal story, and end with bite‑size takeaways you can use tonight.
- Introduction
- Virtual tabletop maps: build faster, play better
- Myths vs. Facts
- Personal Experience
- Final Thoughts & Takeaways
- Questions & Answers
If you’ve ever spent too long tweaking lighting or wrestling with assets, you’re not alone. Getting the most out of digital battlemaps doesn’t have to be hard or expensive. In this guide, we’ll cover the essentials so you can prep quickly, run confidently, and keep your players immersed. We’ll look at must‑know file settings, simple design principles, and table‑tested tips for sharing scenes without lag. By the end, you’ll have a go‑to process that makes your sessions smoother and your stories shine.
Virtual tabletop maps: build faster, play better
Let’s start with the core: clarity beats complexity. A clean layout with readable landmarks is more useful than a gorgeous map that slows to a crawl. Keep the following basics in mind.
Set the right resolution. For most VTTs, 70–150 pixels per grid square is the sweet spot. Lower values load faster; higher values look crisp for zoom‑ins. Try exporting a test scene at 70 ppi and 150 ppi to see what your group prefers. If your table includes players on older laptops, choose the lighter file.
Control file size. PNG helps when you need transparency or sharp symbols. JPEG is lighter for full‑color scenes. If a map has large gradients, a well‑optimized JPEG often cuts the size by half with minimal visual loss. Aim to keep individual files under a few megabytes so they load quickly during play.
Pick a consistent grid. Decide on a standard grid—most groups use 5‑foot squares—and stick to it across all scenes. That way, your tokens scale correctly every time, and you avoid last‑minute resizing. If your VTT supports it, snap tokens to grid to save fiddling during combat.
Use layers with intention. Separate floors, doors, and objects that block line of sight. This makes it easier to toggle visibility while keeping your prep tidy. For example, place doors on their own layer so you can “open” them without redrawing walls. If your platform supports dynamic lighting, add walls and doors after the base image is in place.
Keep colors readable. High contrast between walkable space and walls speeds up decision‑making. Use one accent color to highlight interactable items—like traps, levers, or control panels—and keep everything else neutral. Your players will spot key clues faster.
Plan modular scenes. Build a few reusable rooms, corridors, and outdoor tiles. These snap together like puzzle pieces to create dungeons and villages on the fly. Over time, your kit grows, and prep drops from hours to minutes.
Preload and label. Before your session, upload maps and name them clearly: “01_Roadside_Ambush,” “02_Bridge_Night,” and so on. When a scene shifts, you can find files instantly. Quick loads keep momentum high and chatter focused on the story.
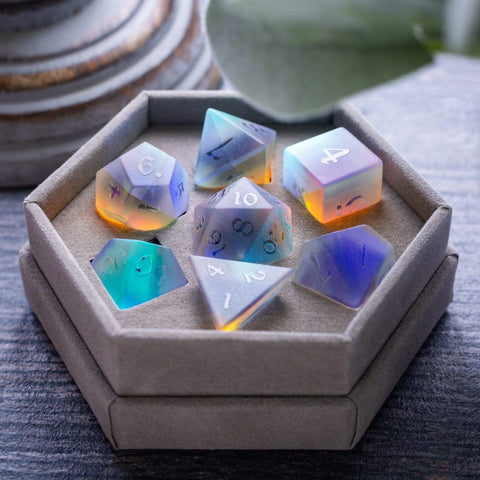
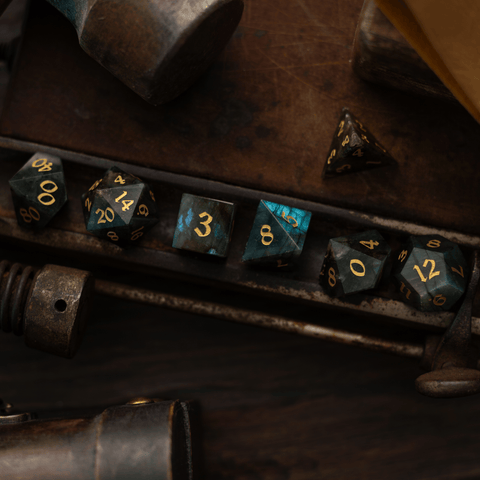
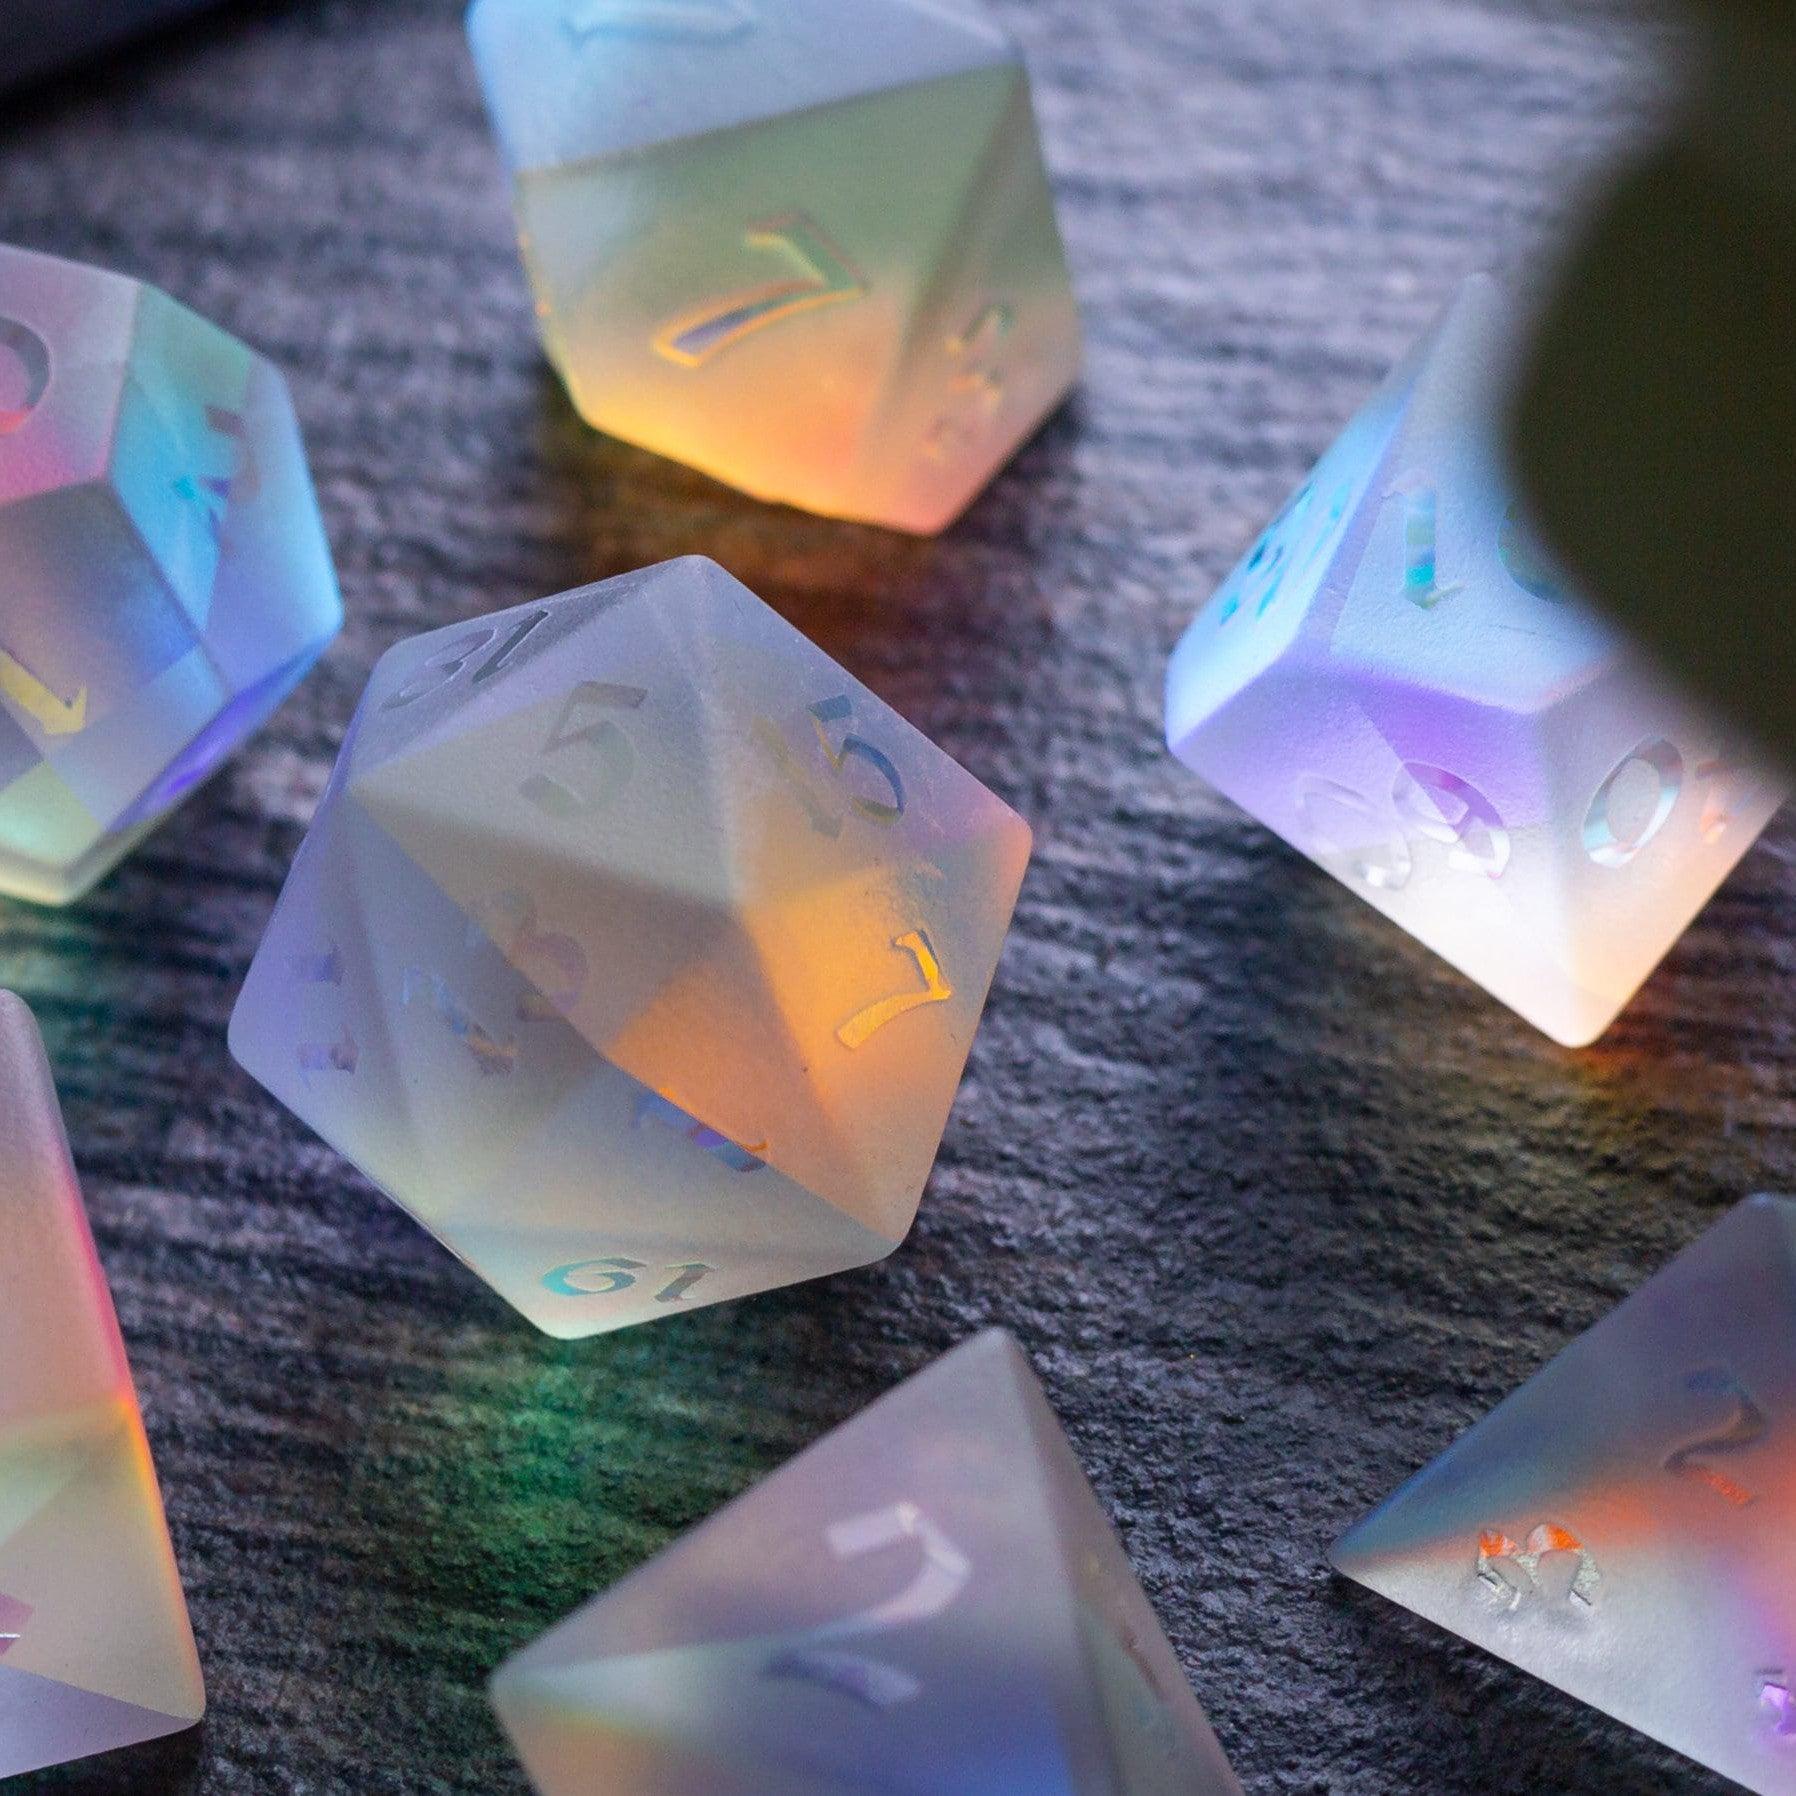
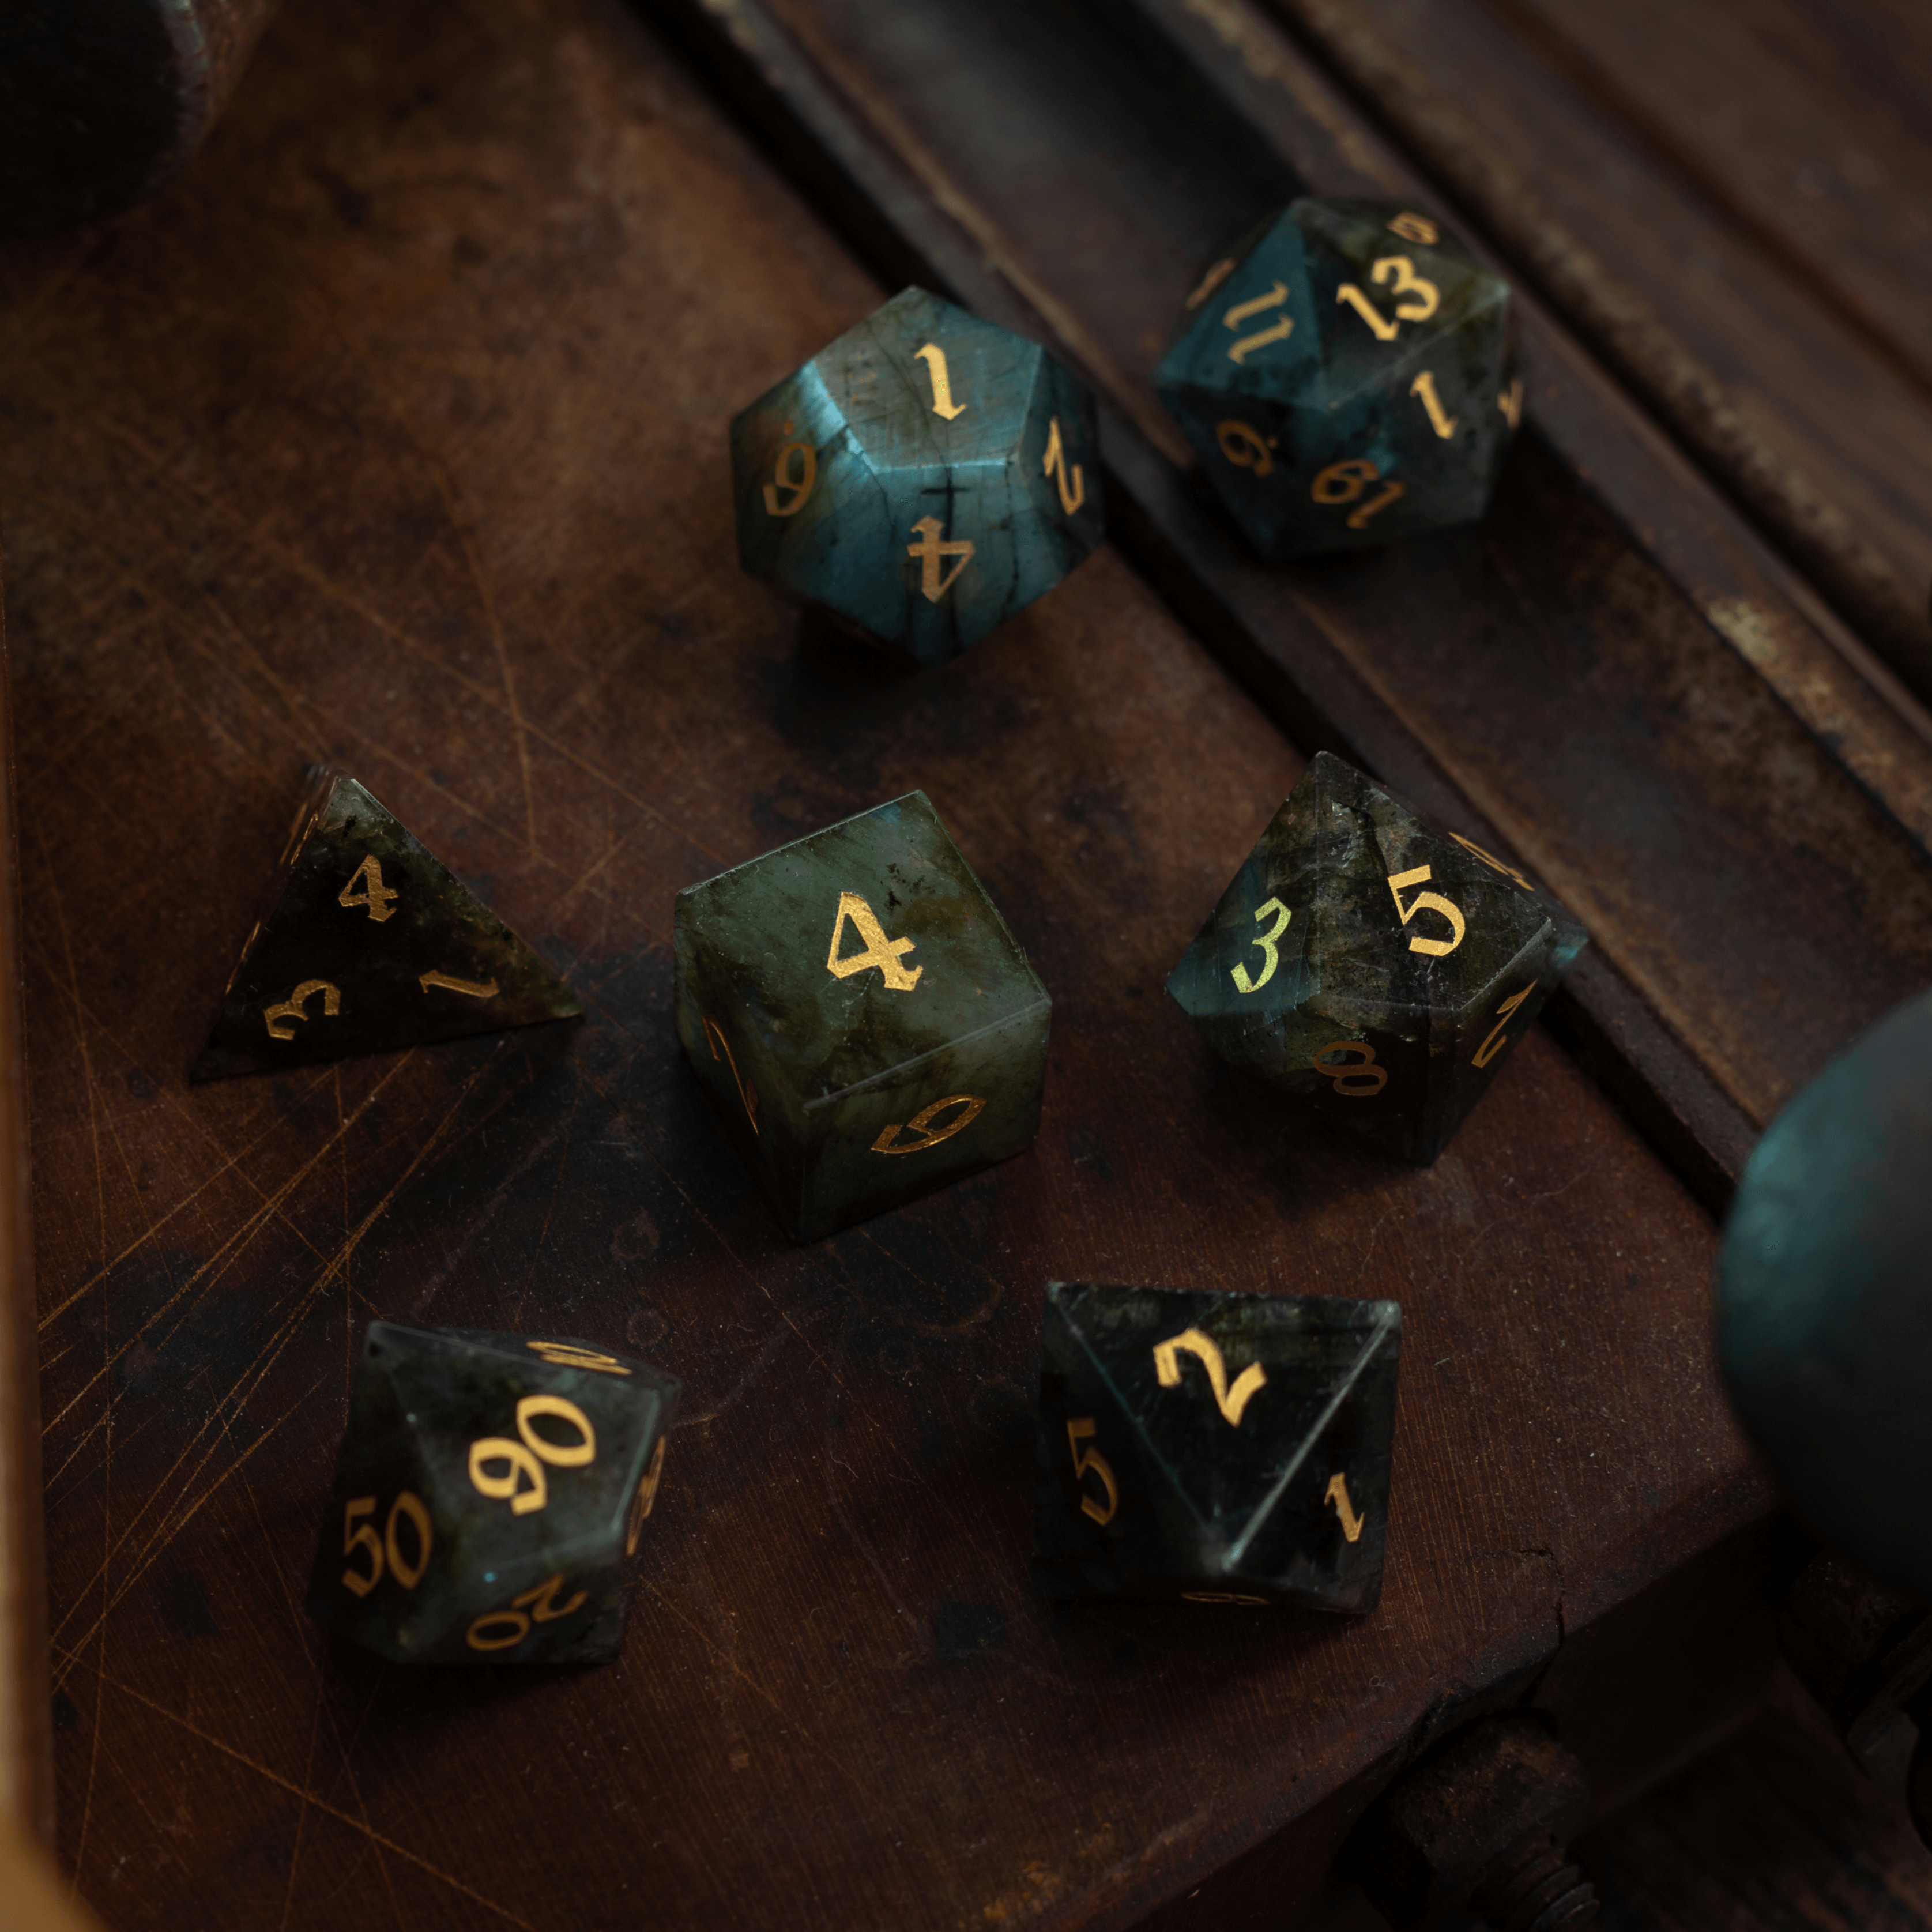
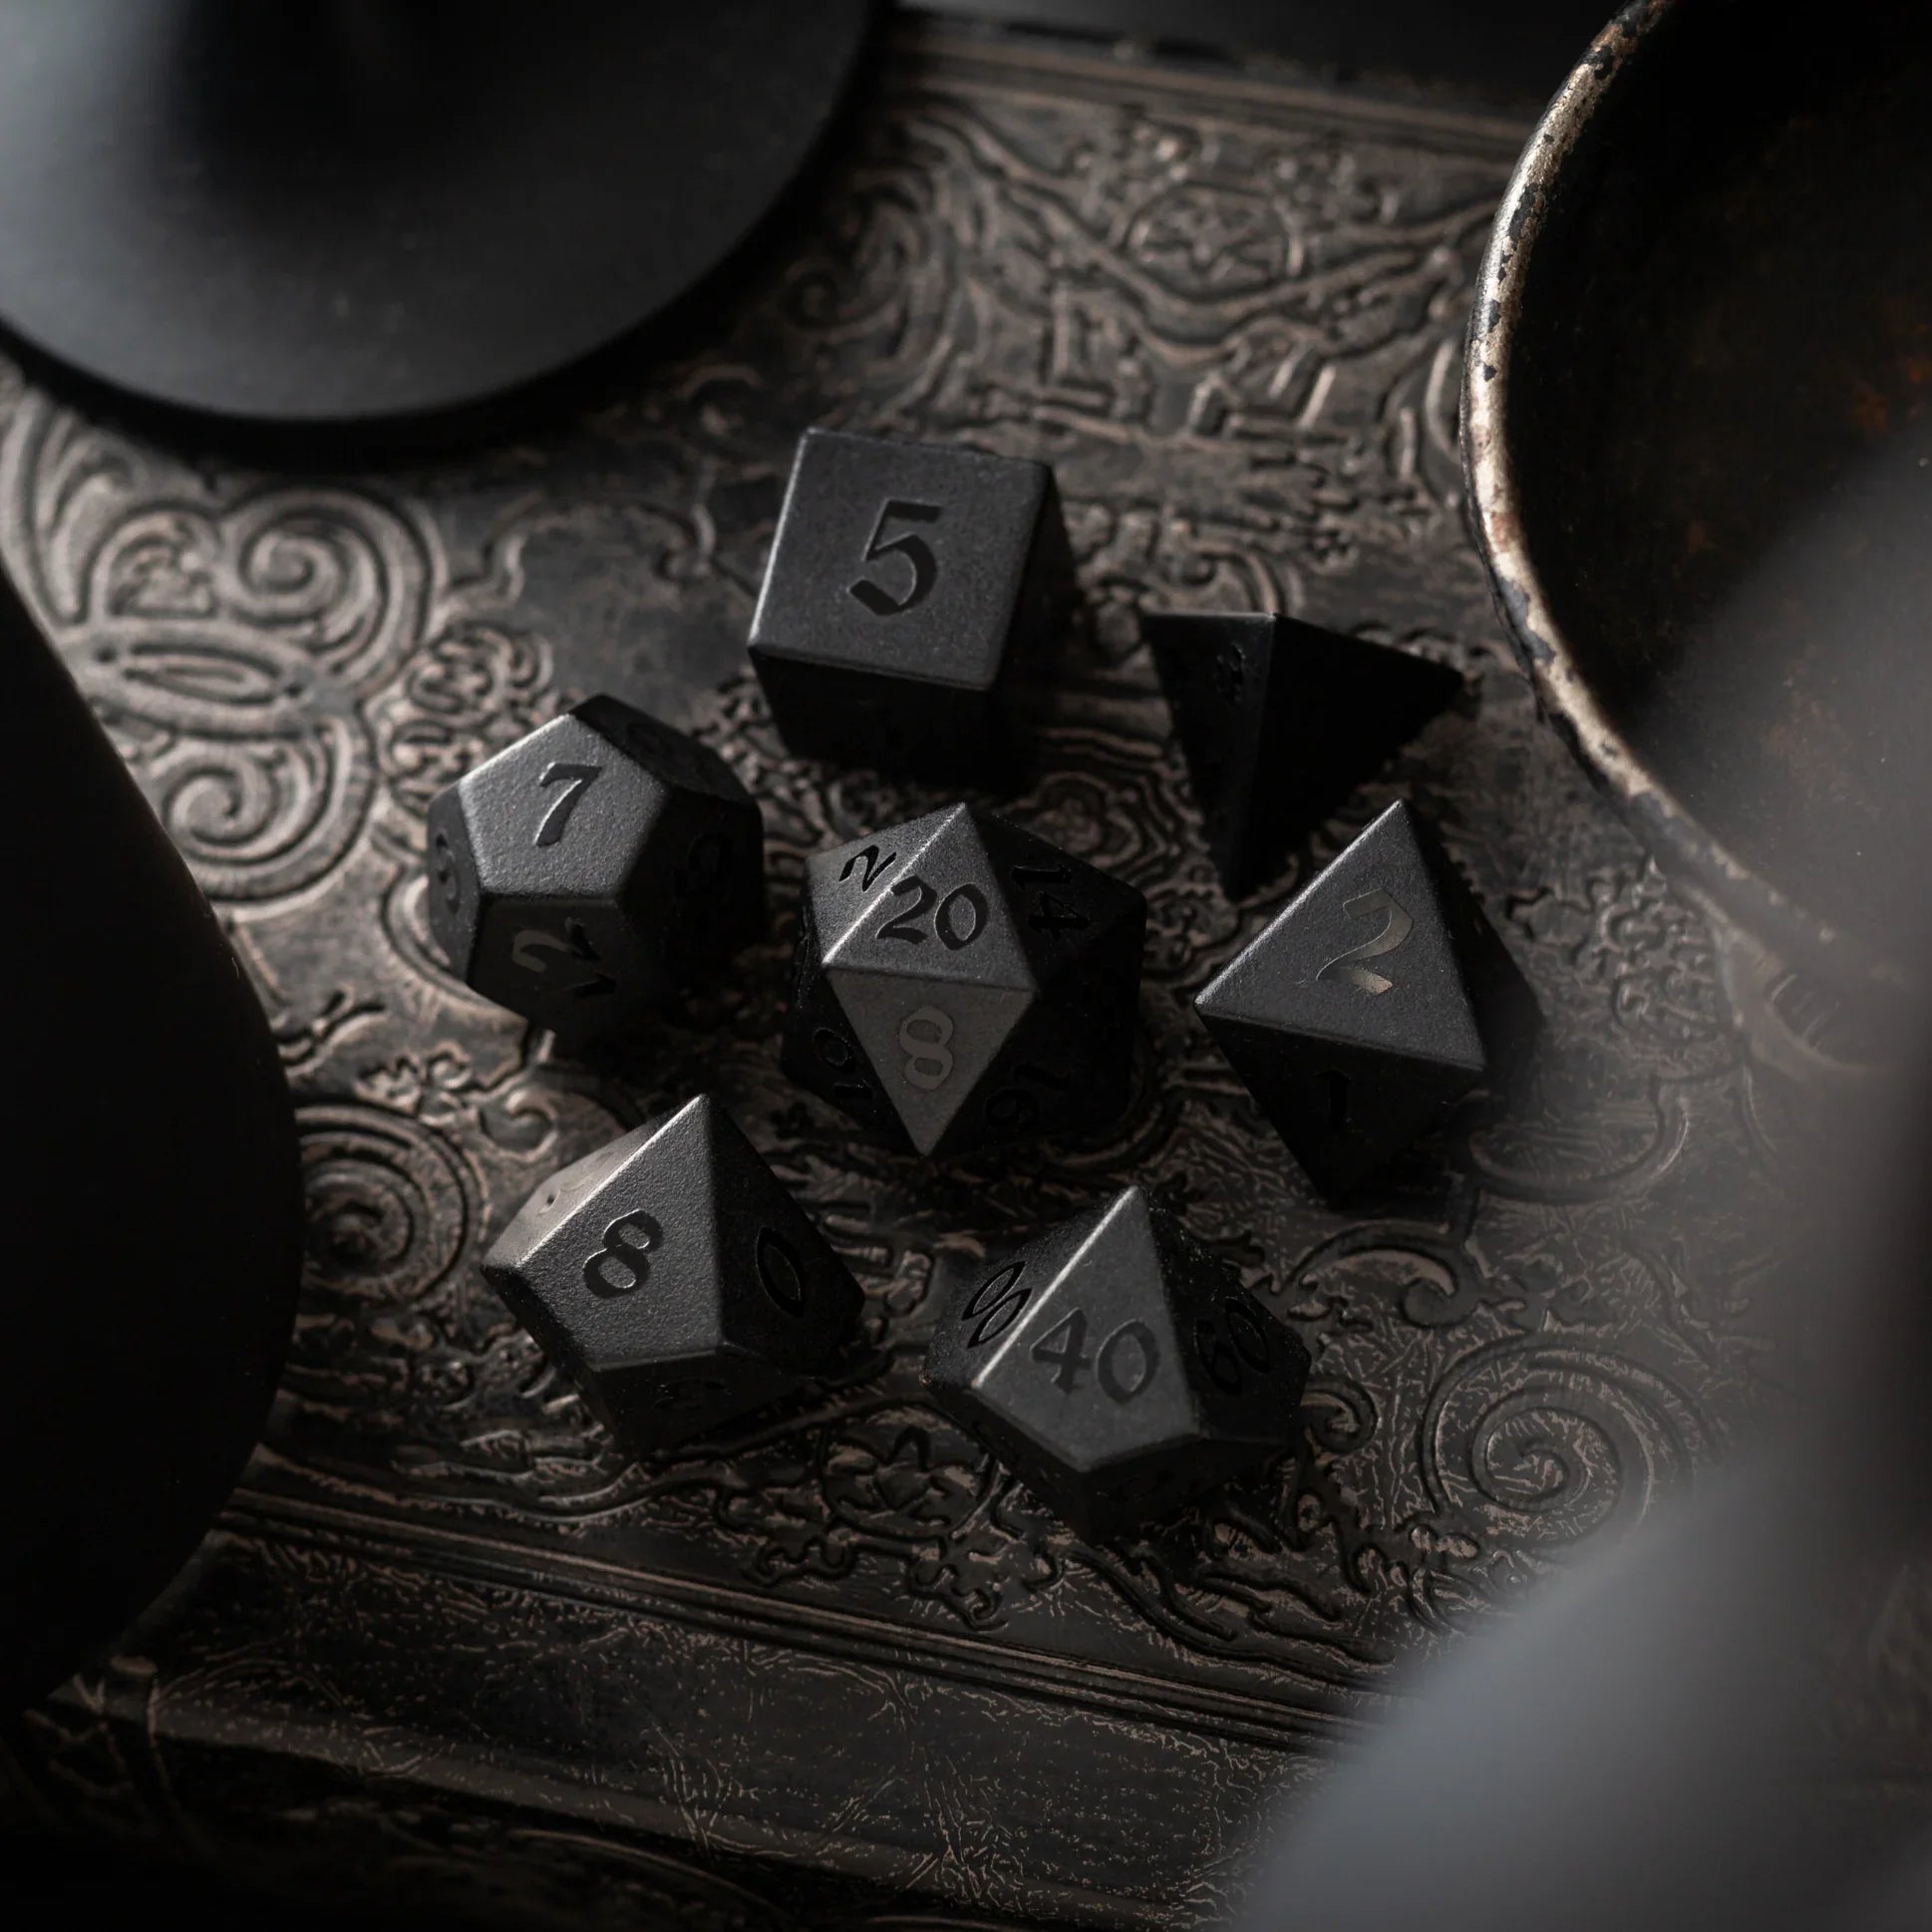
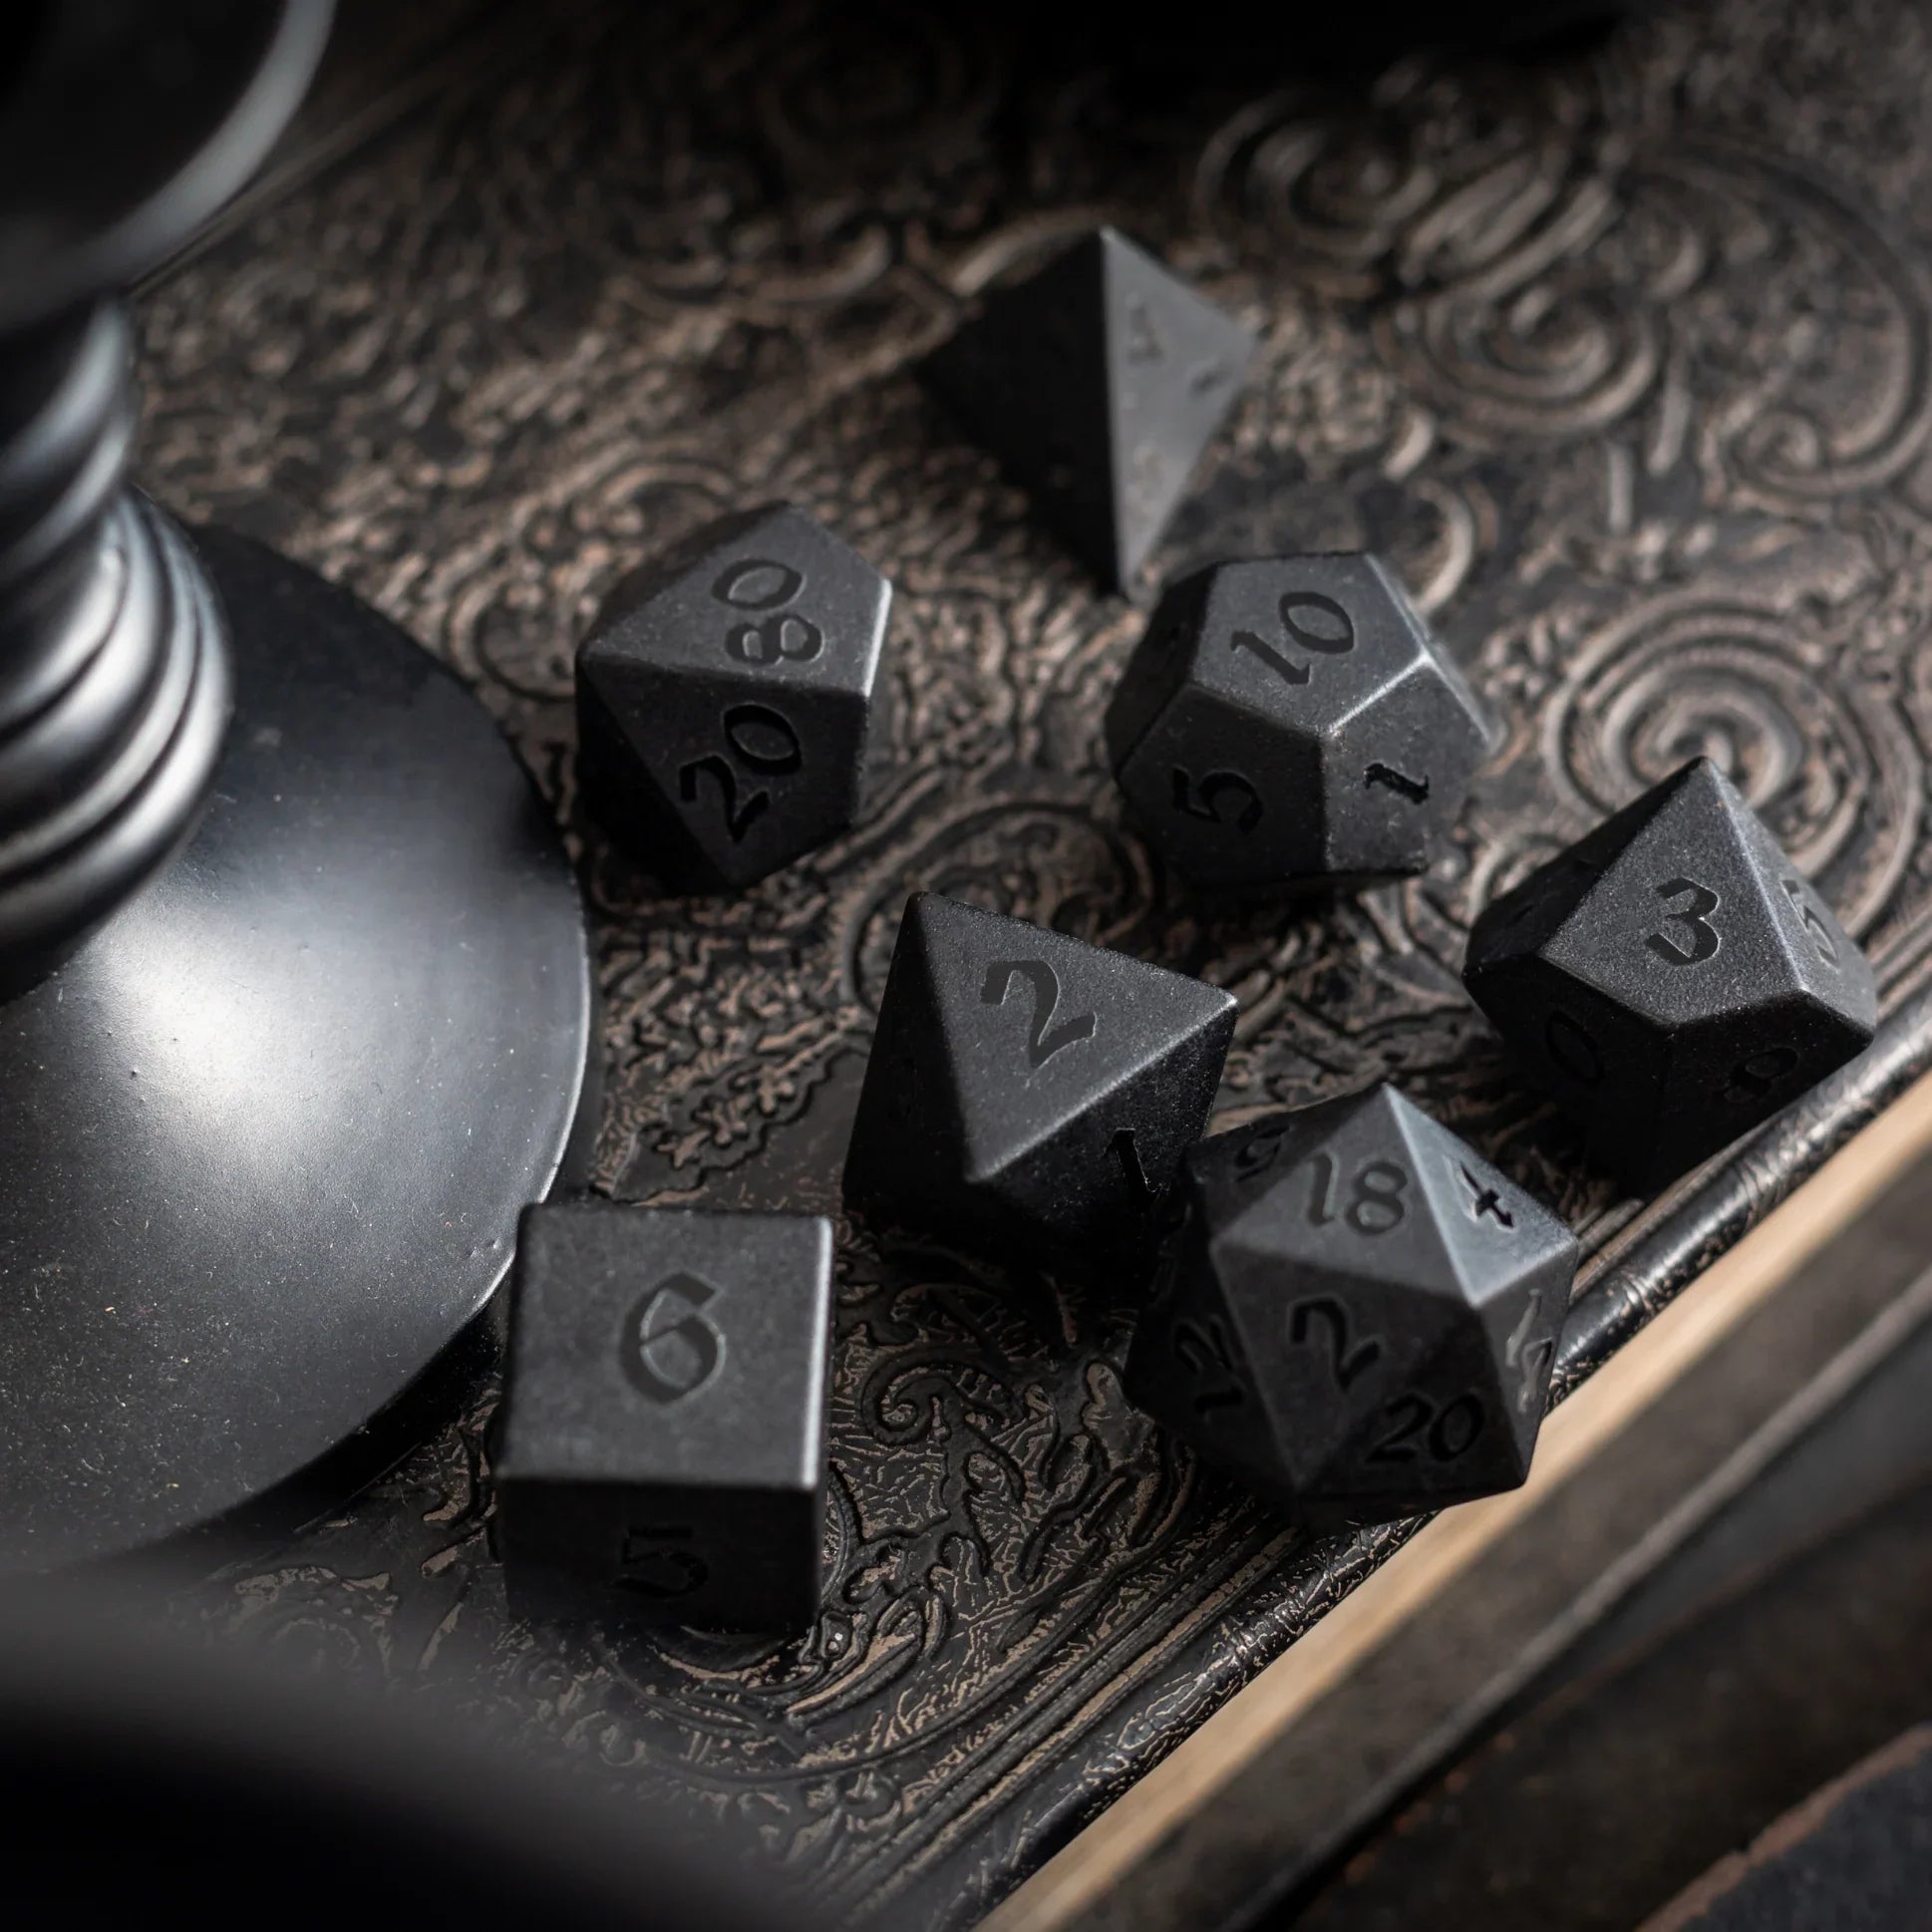
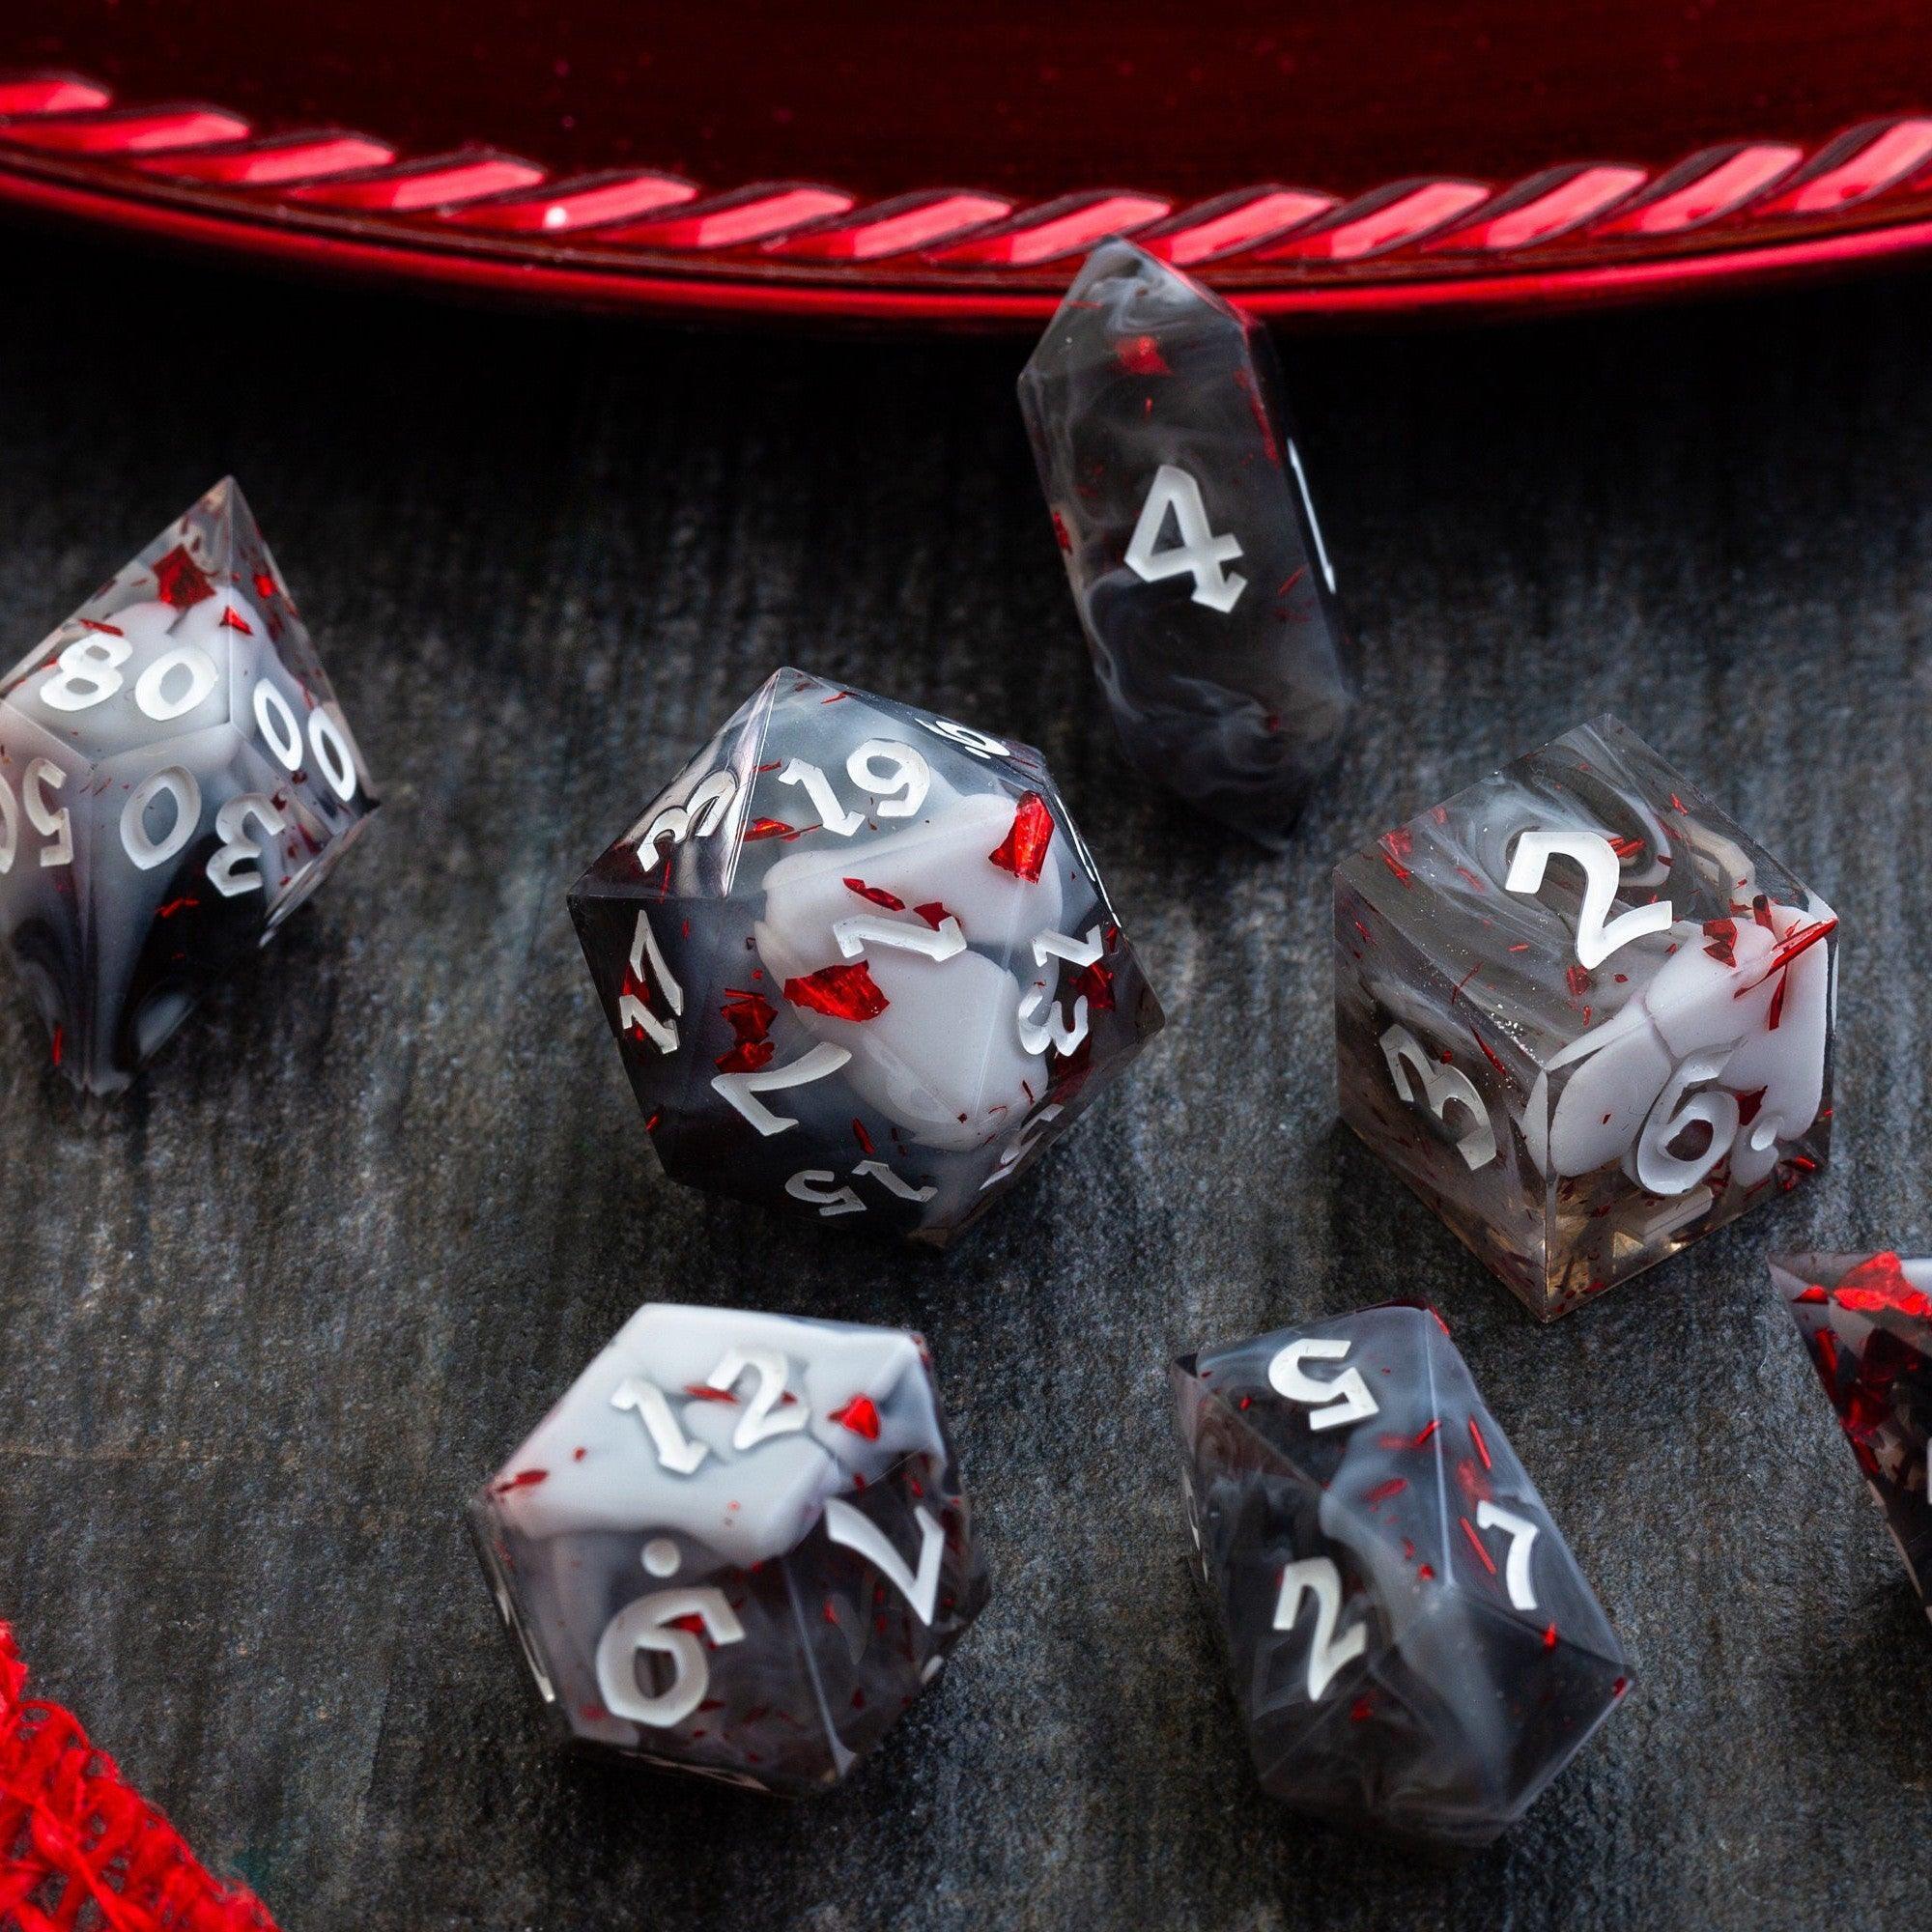
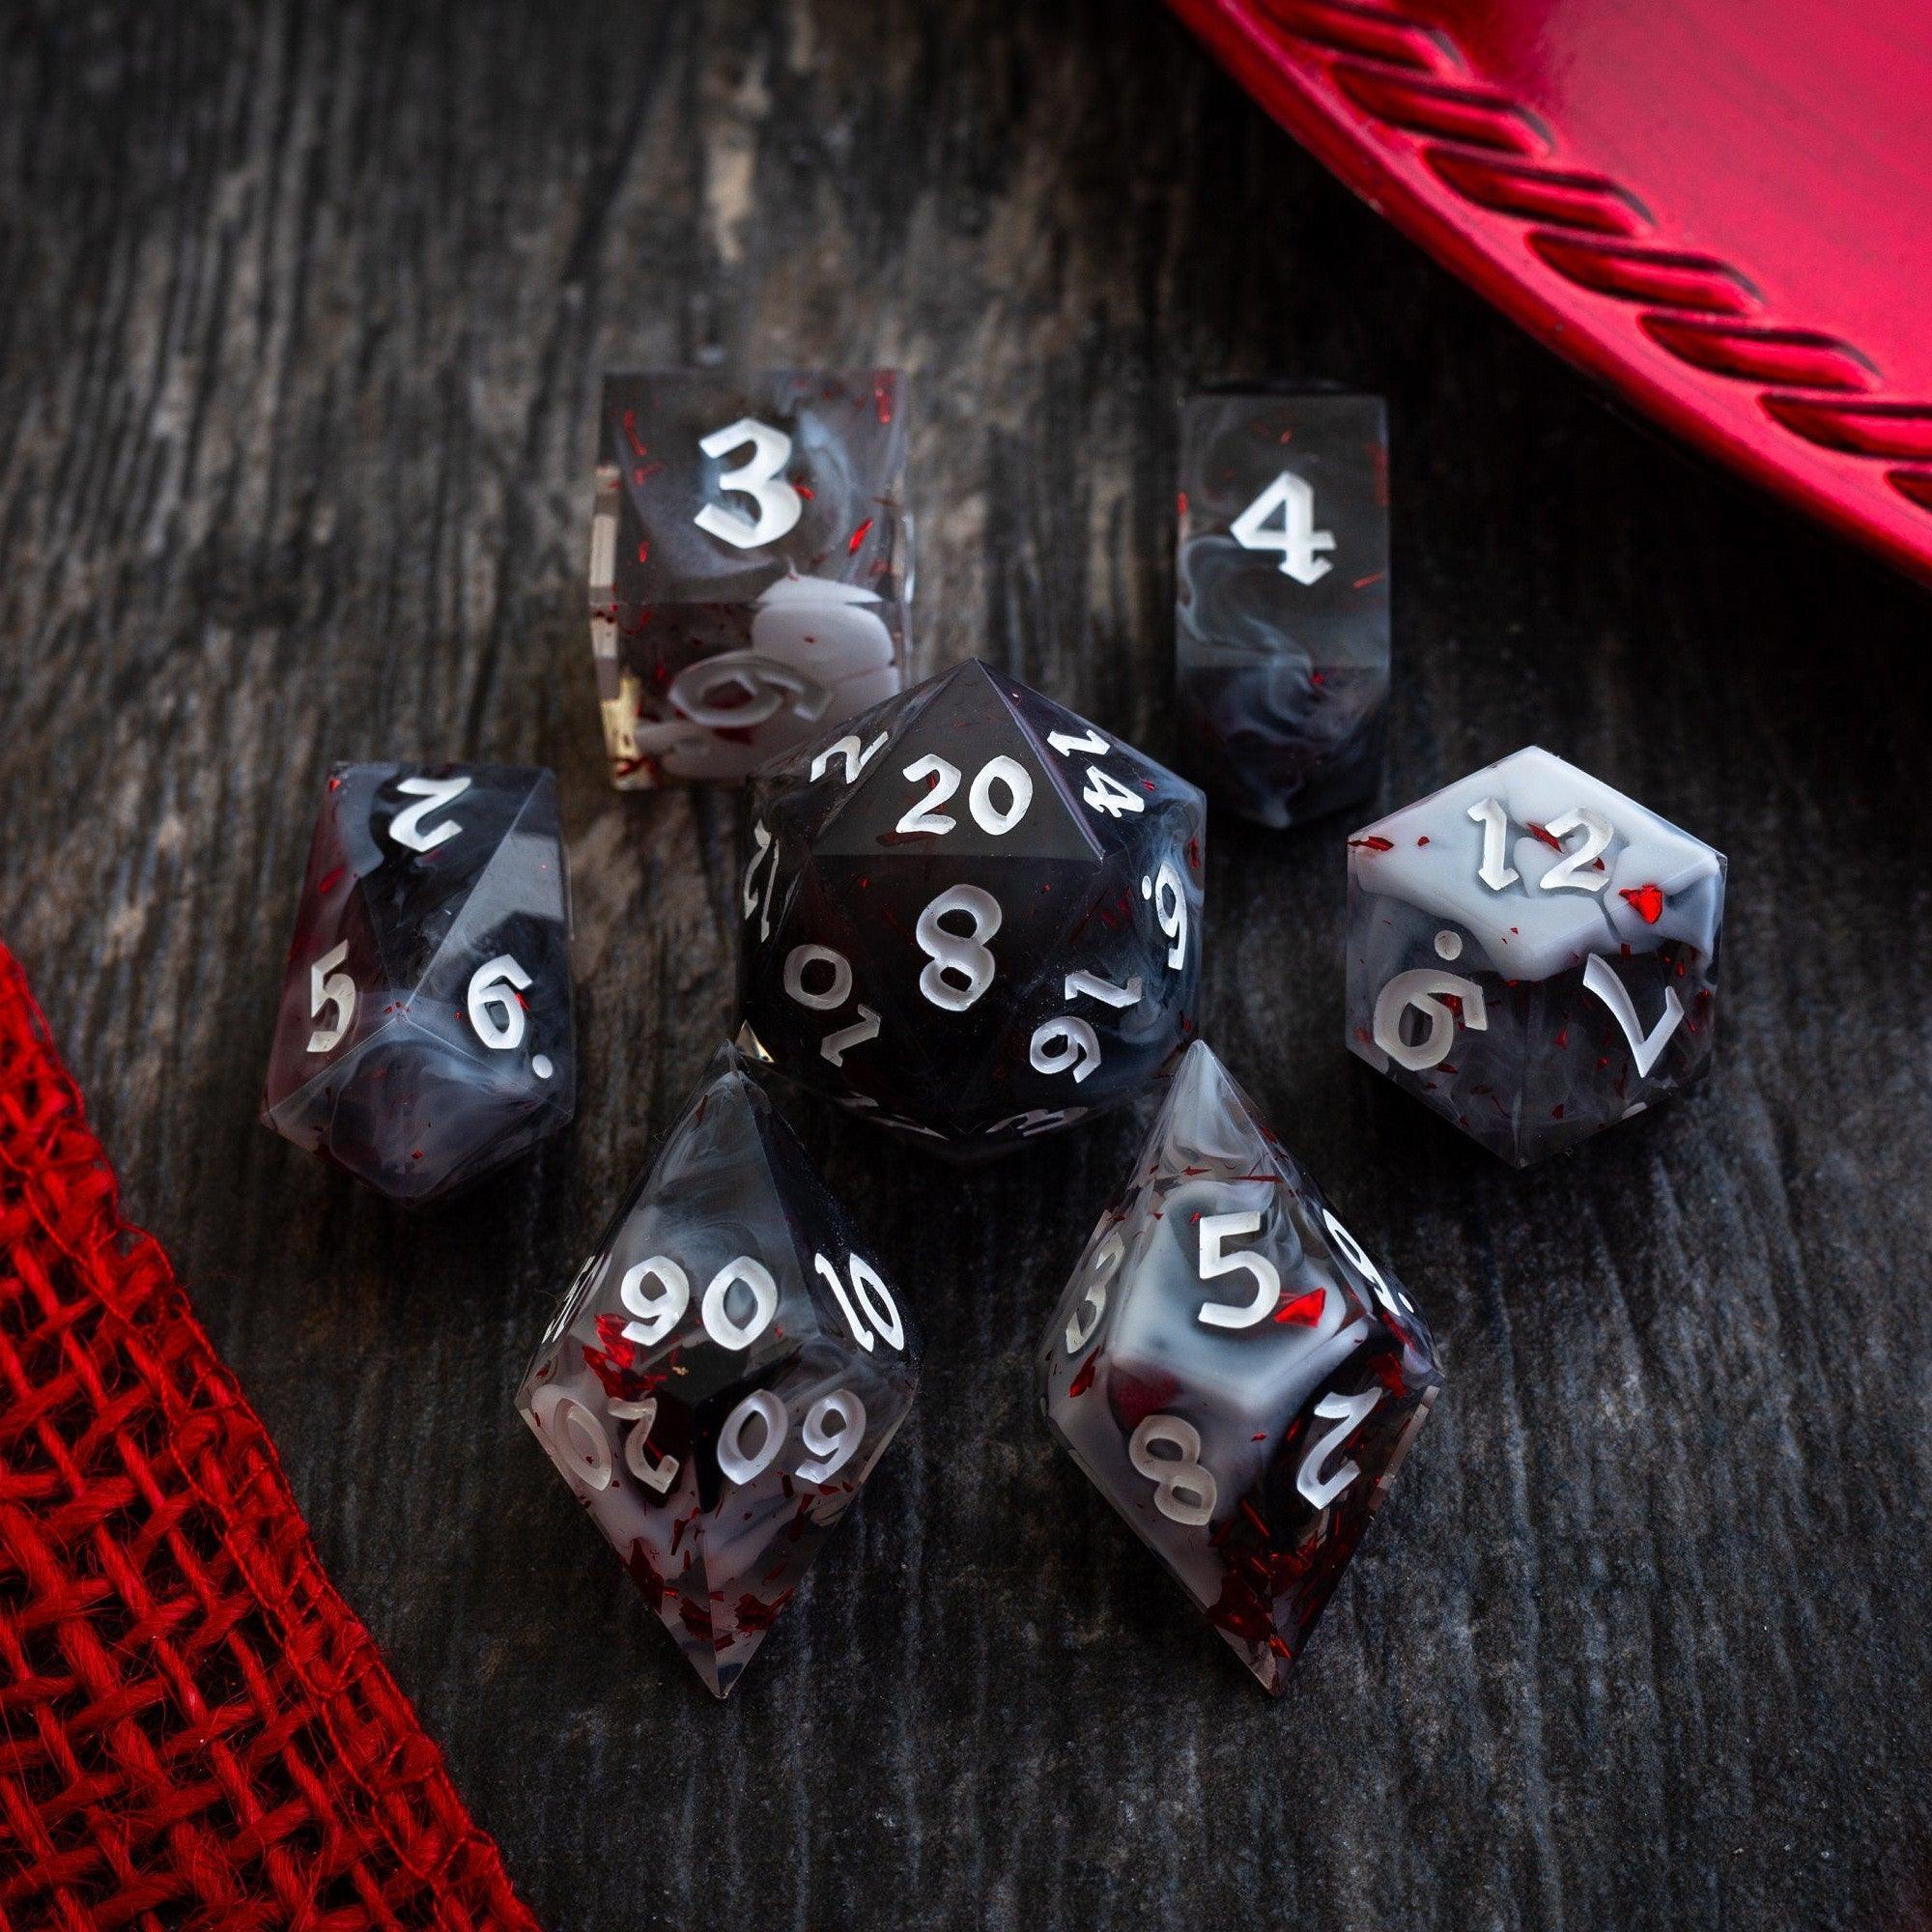
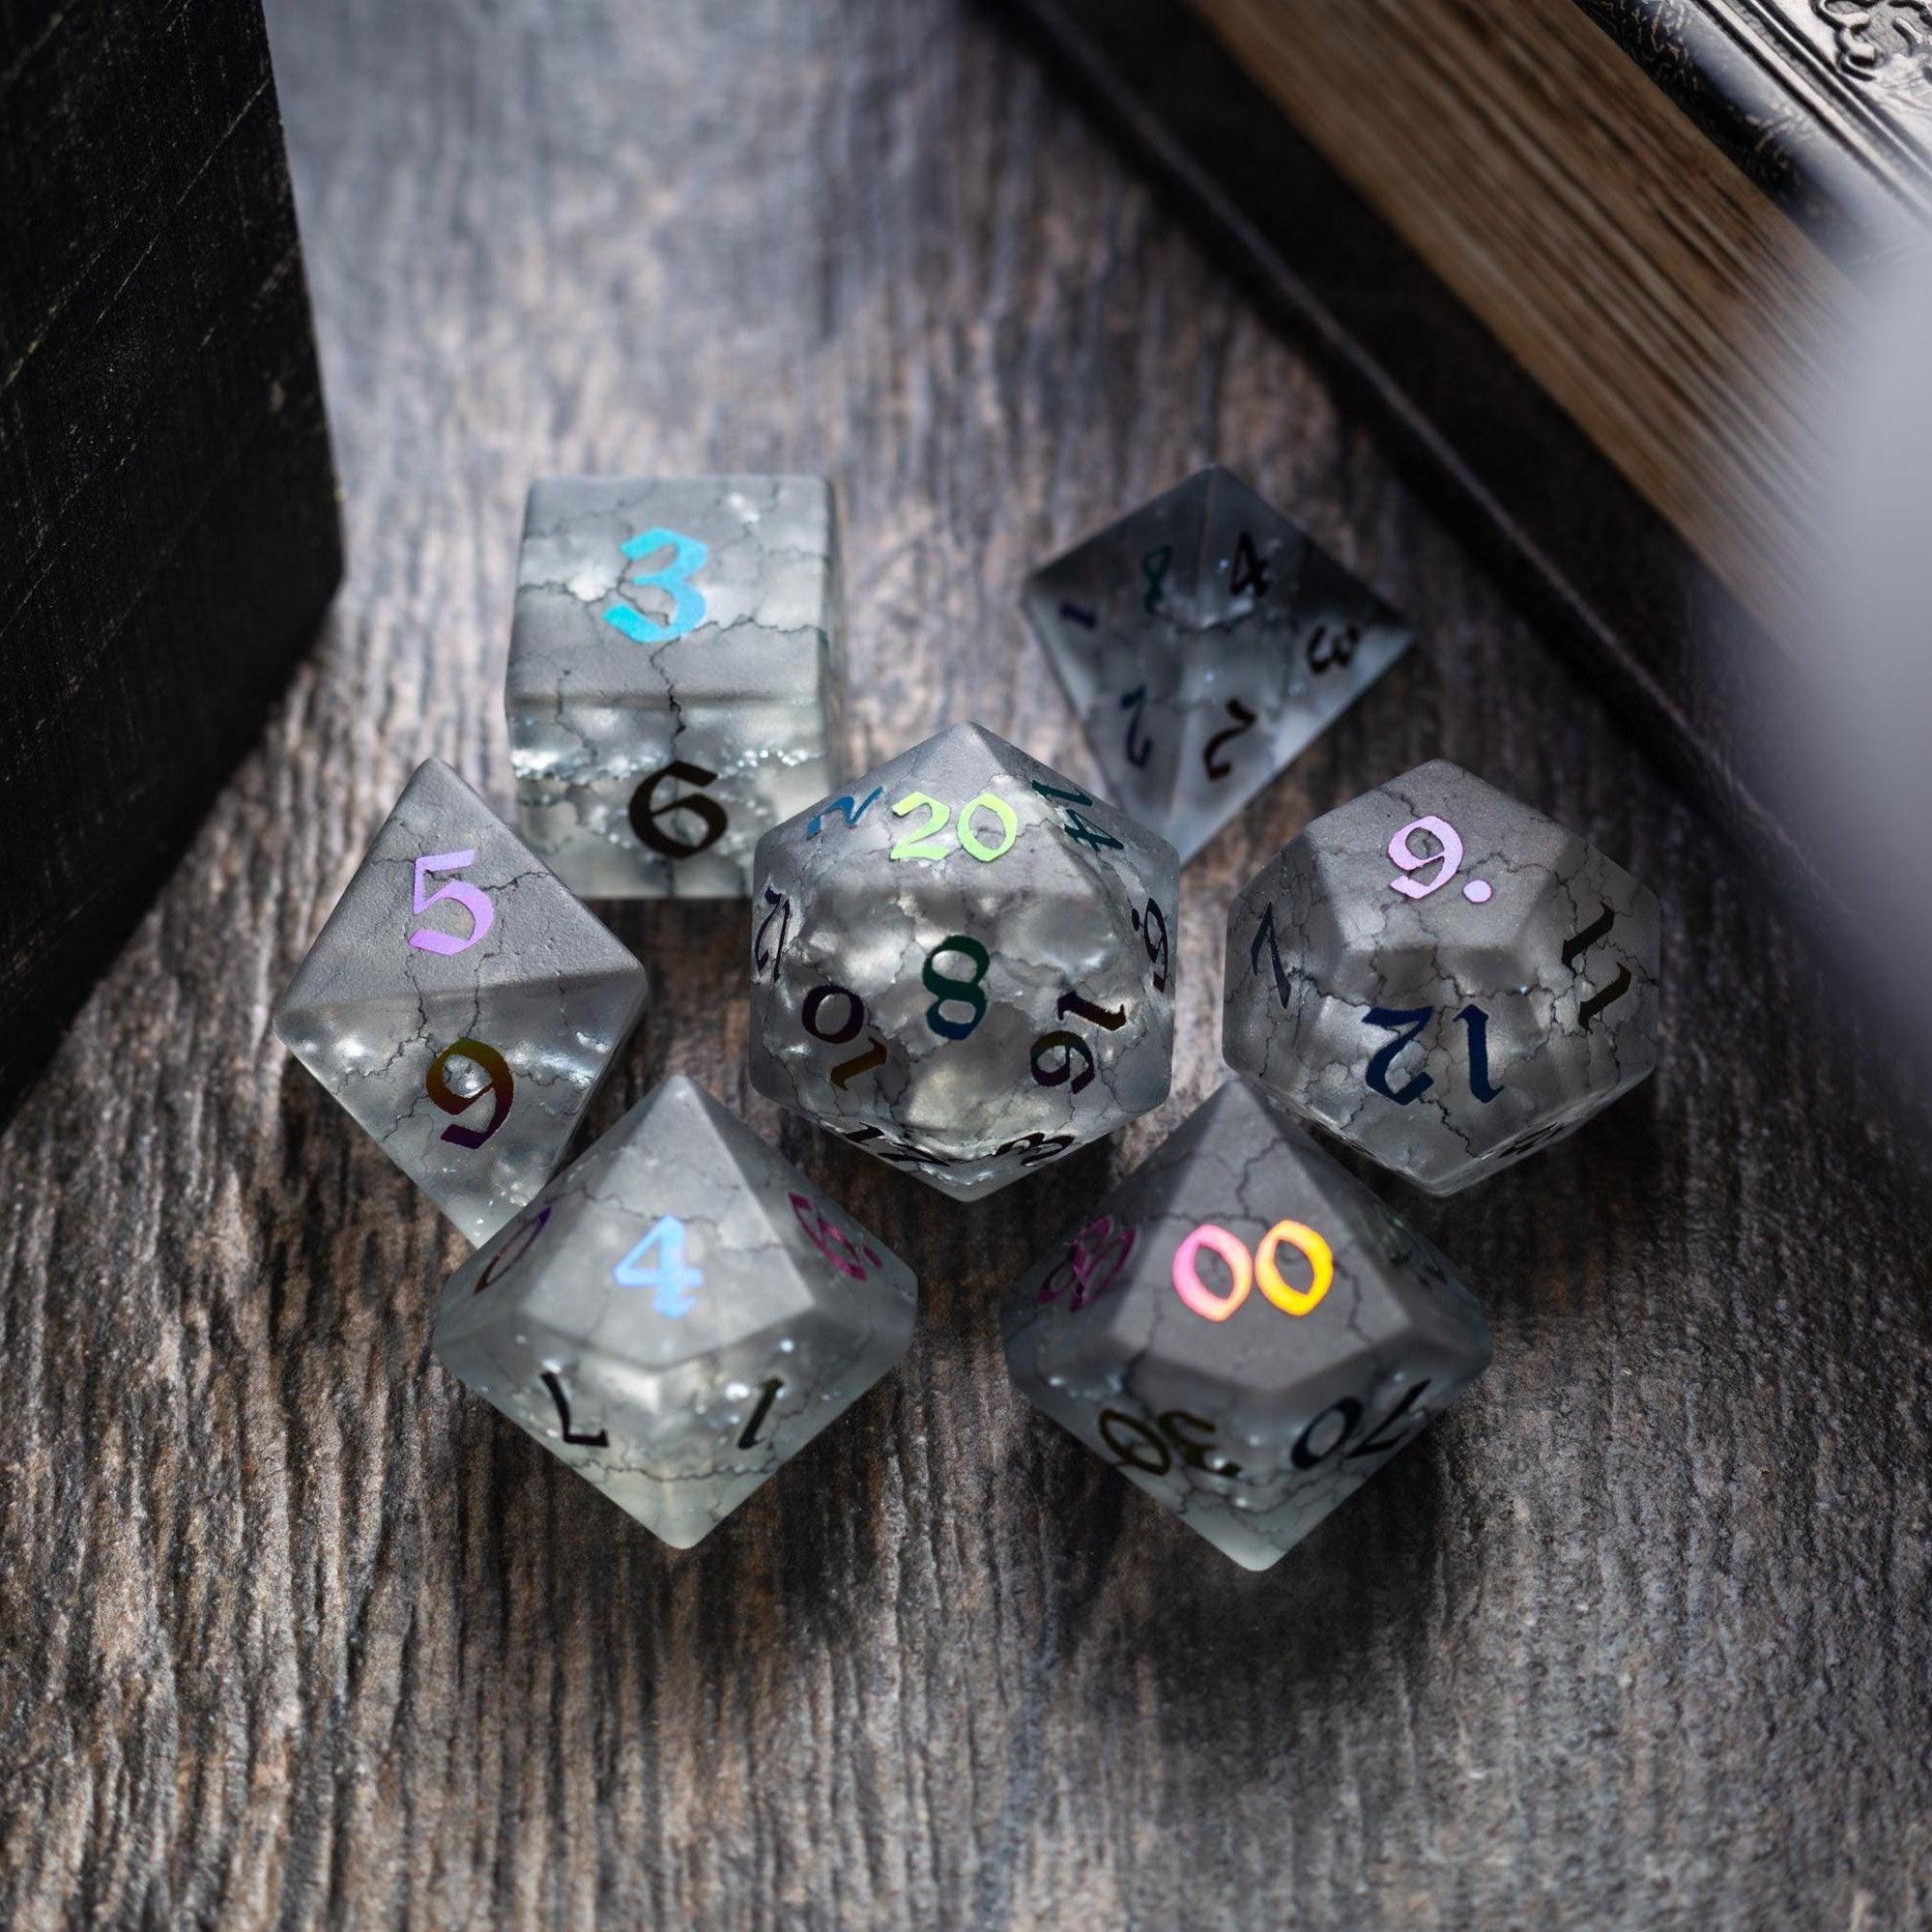
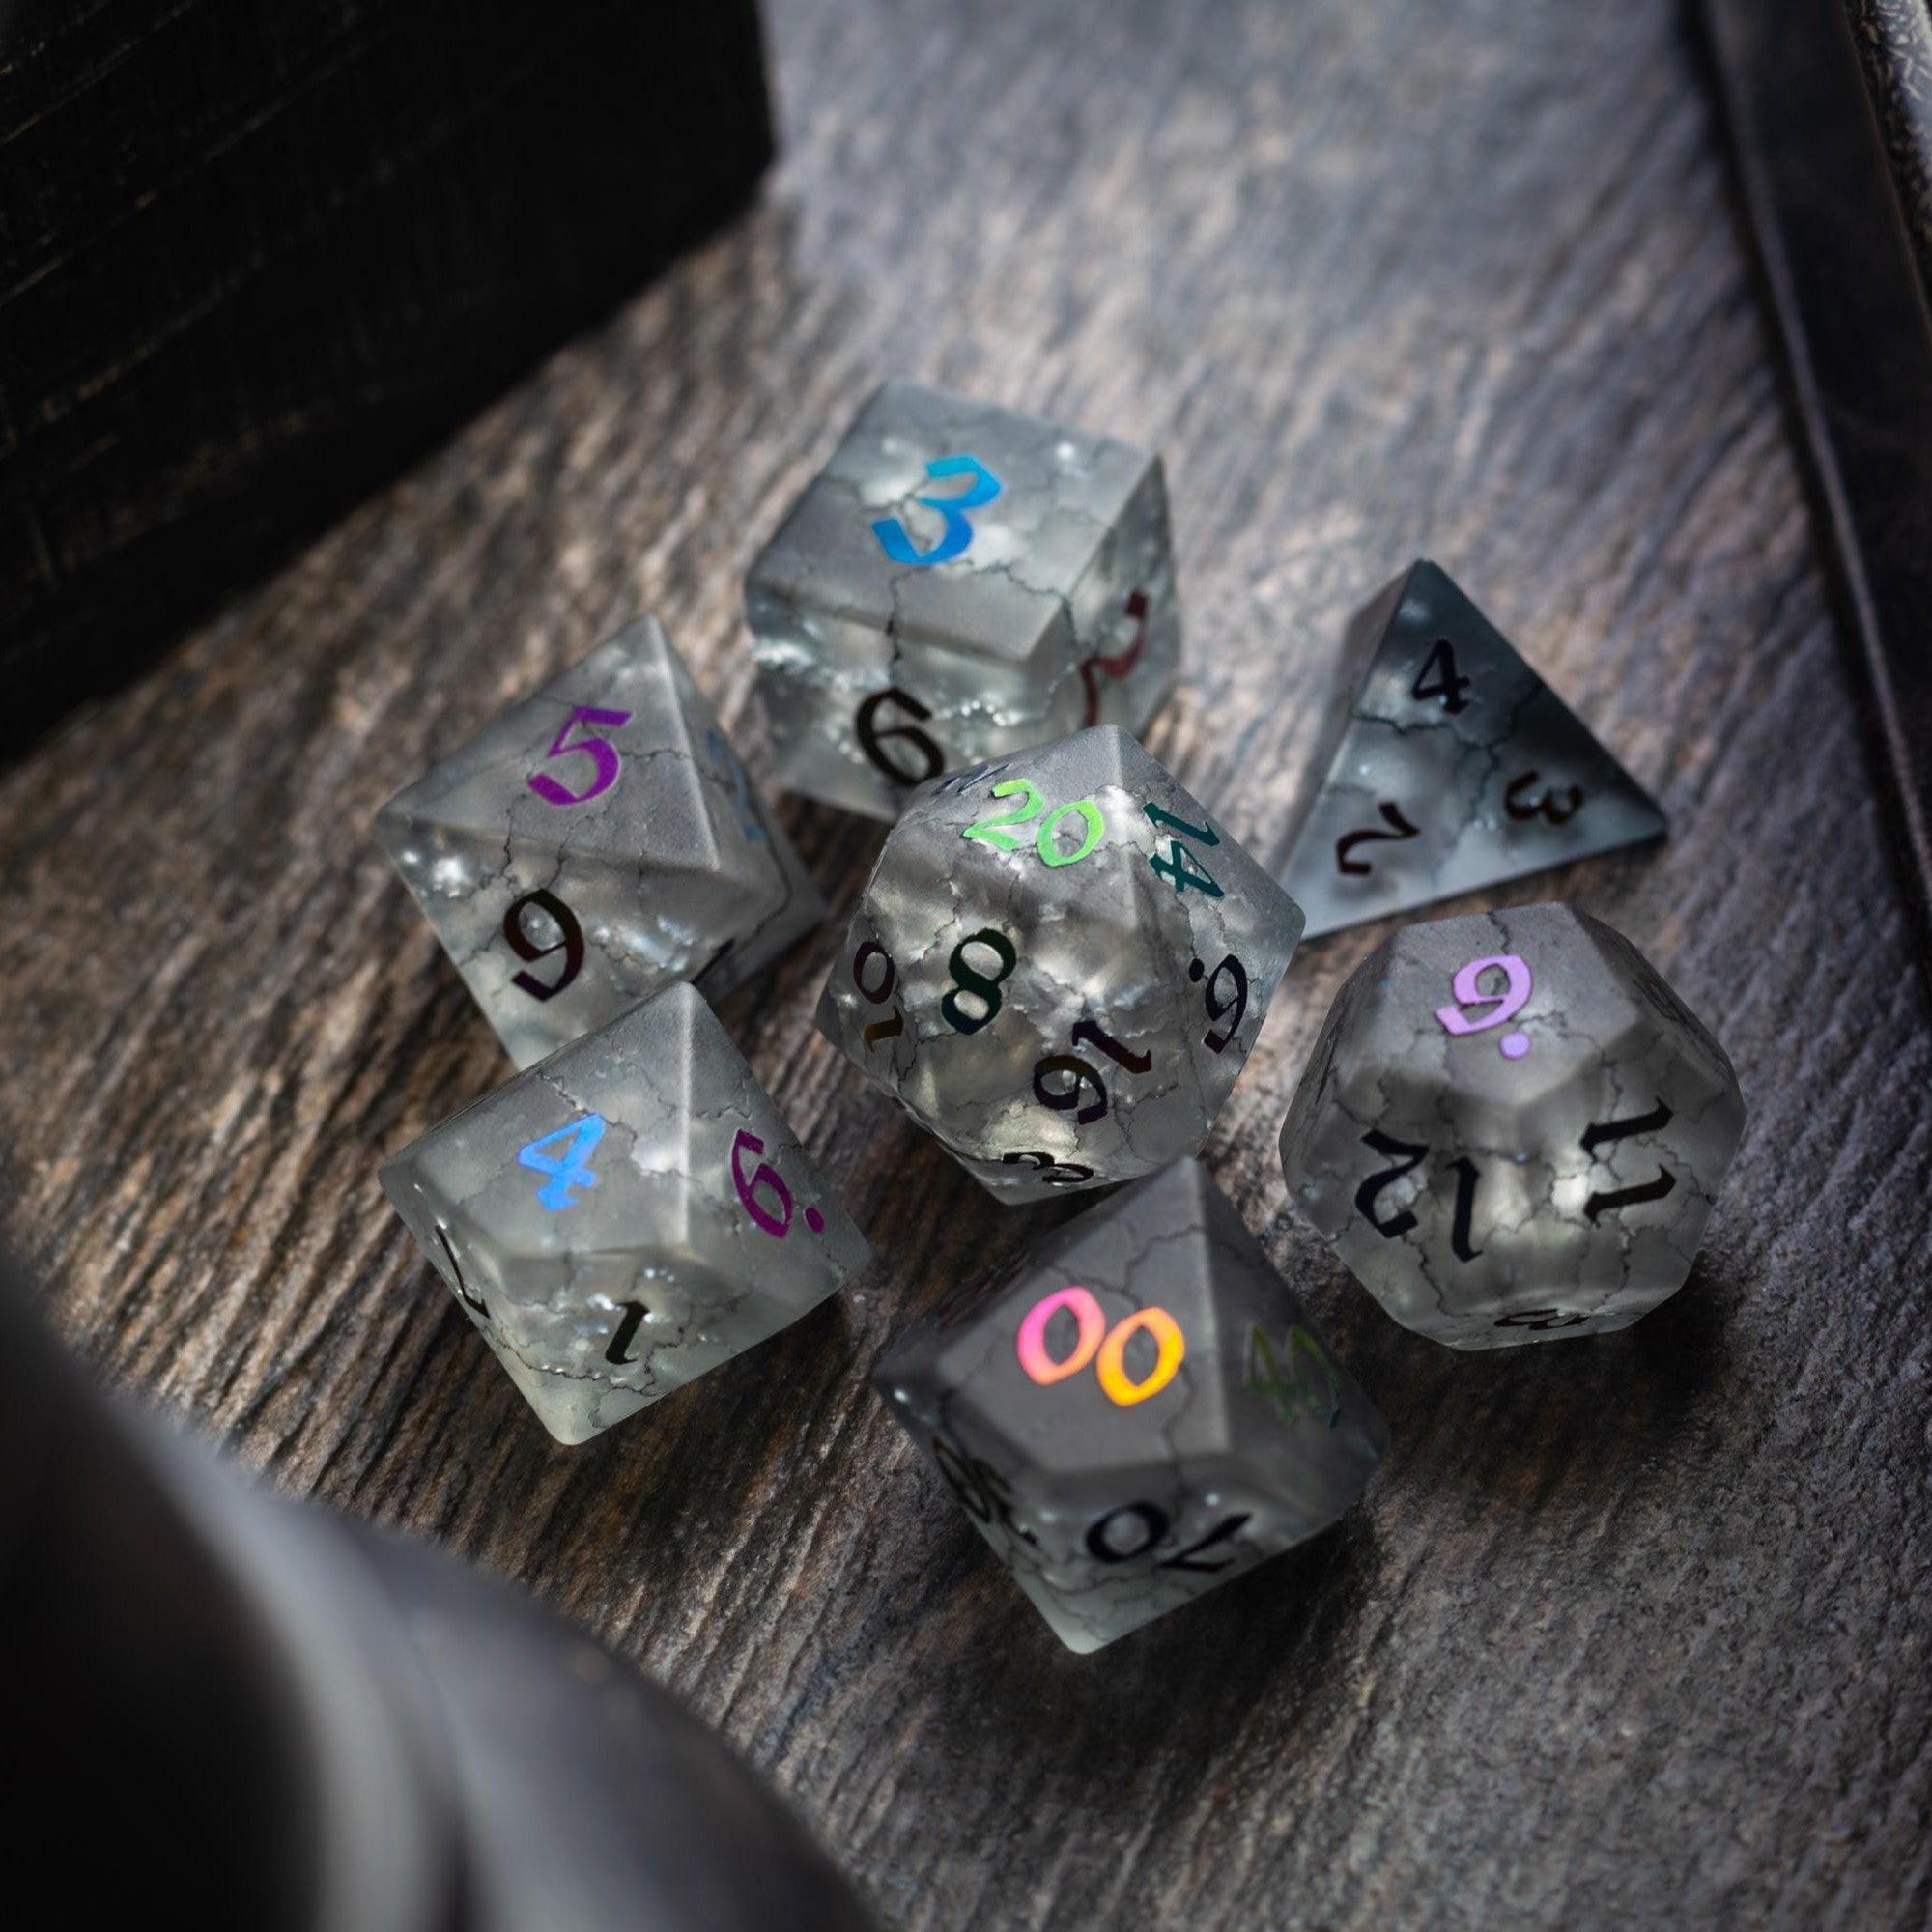
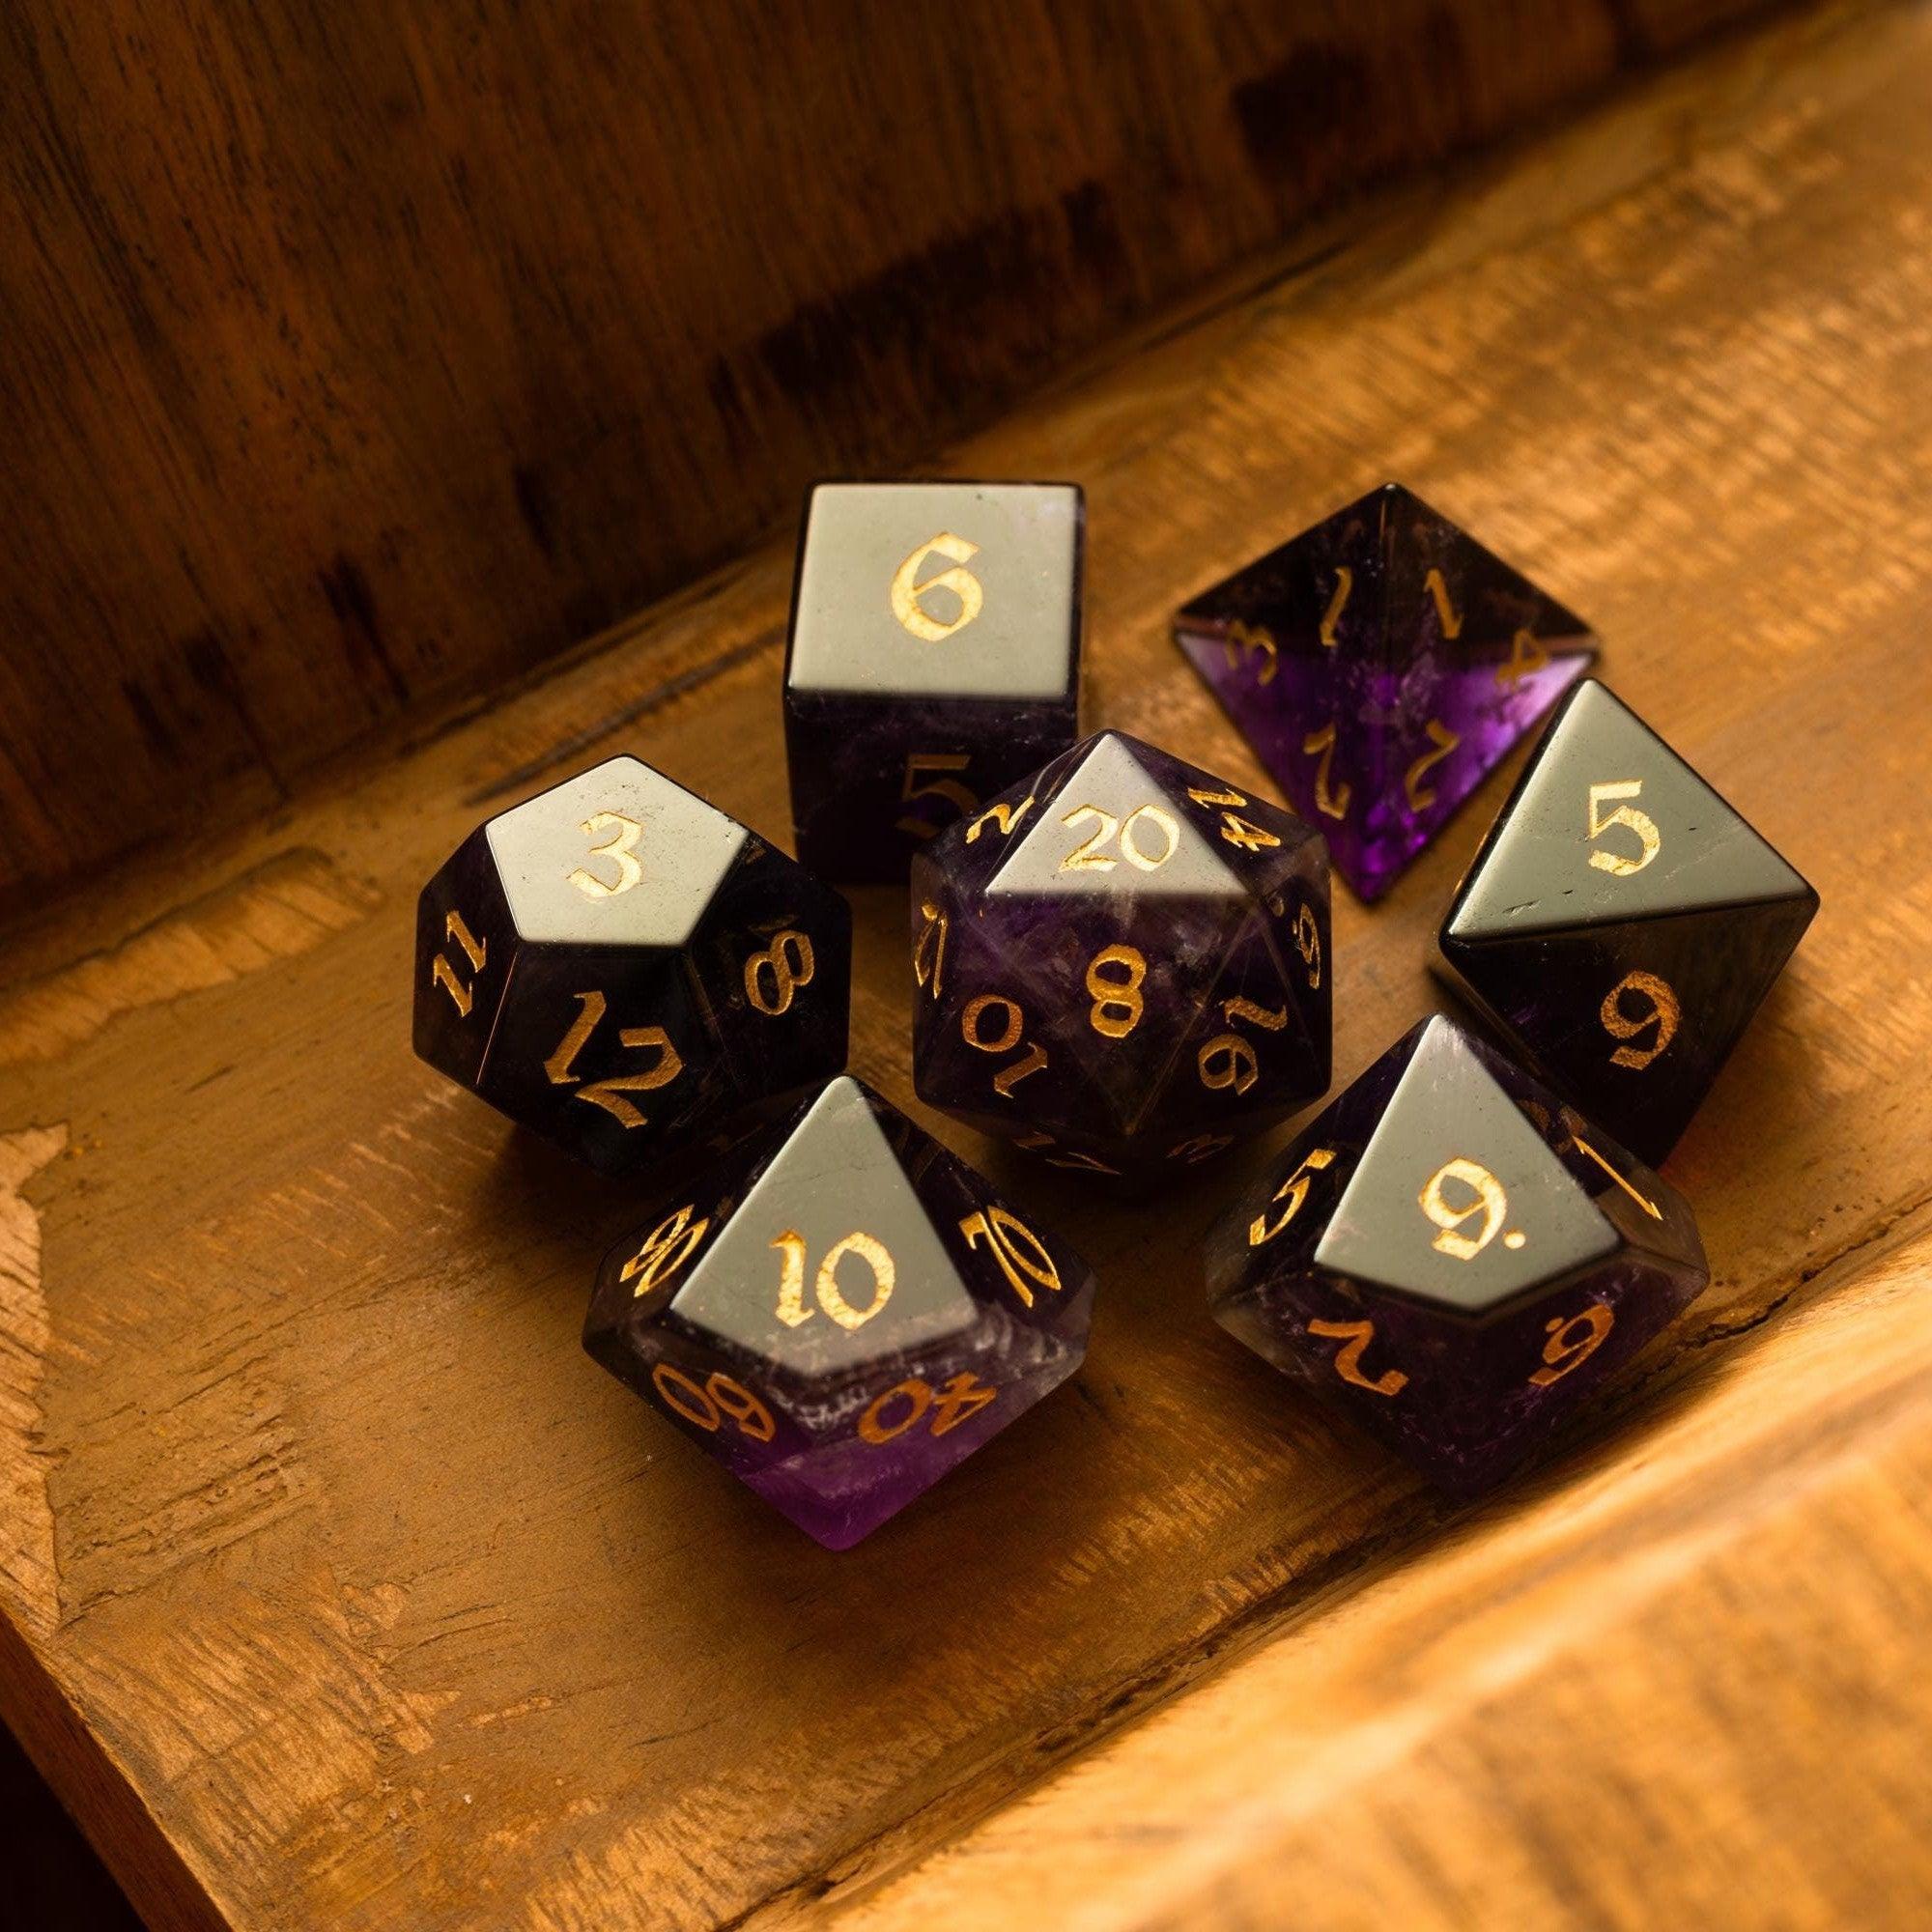
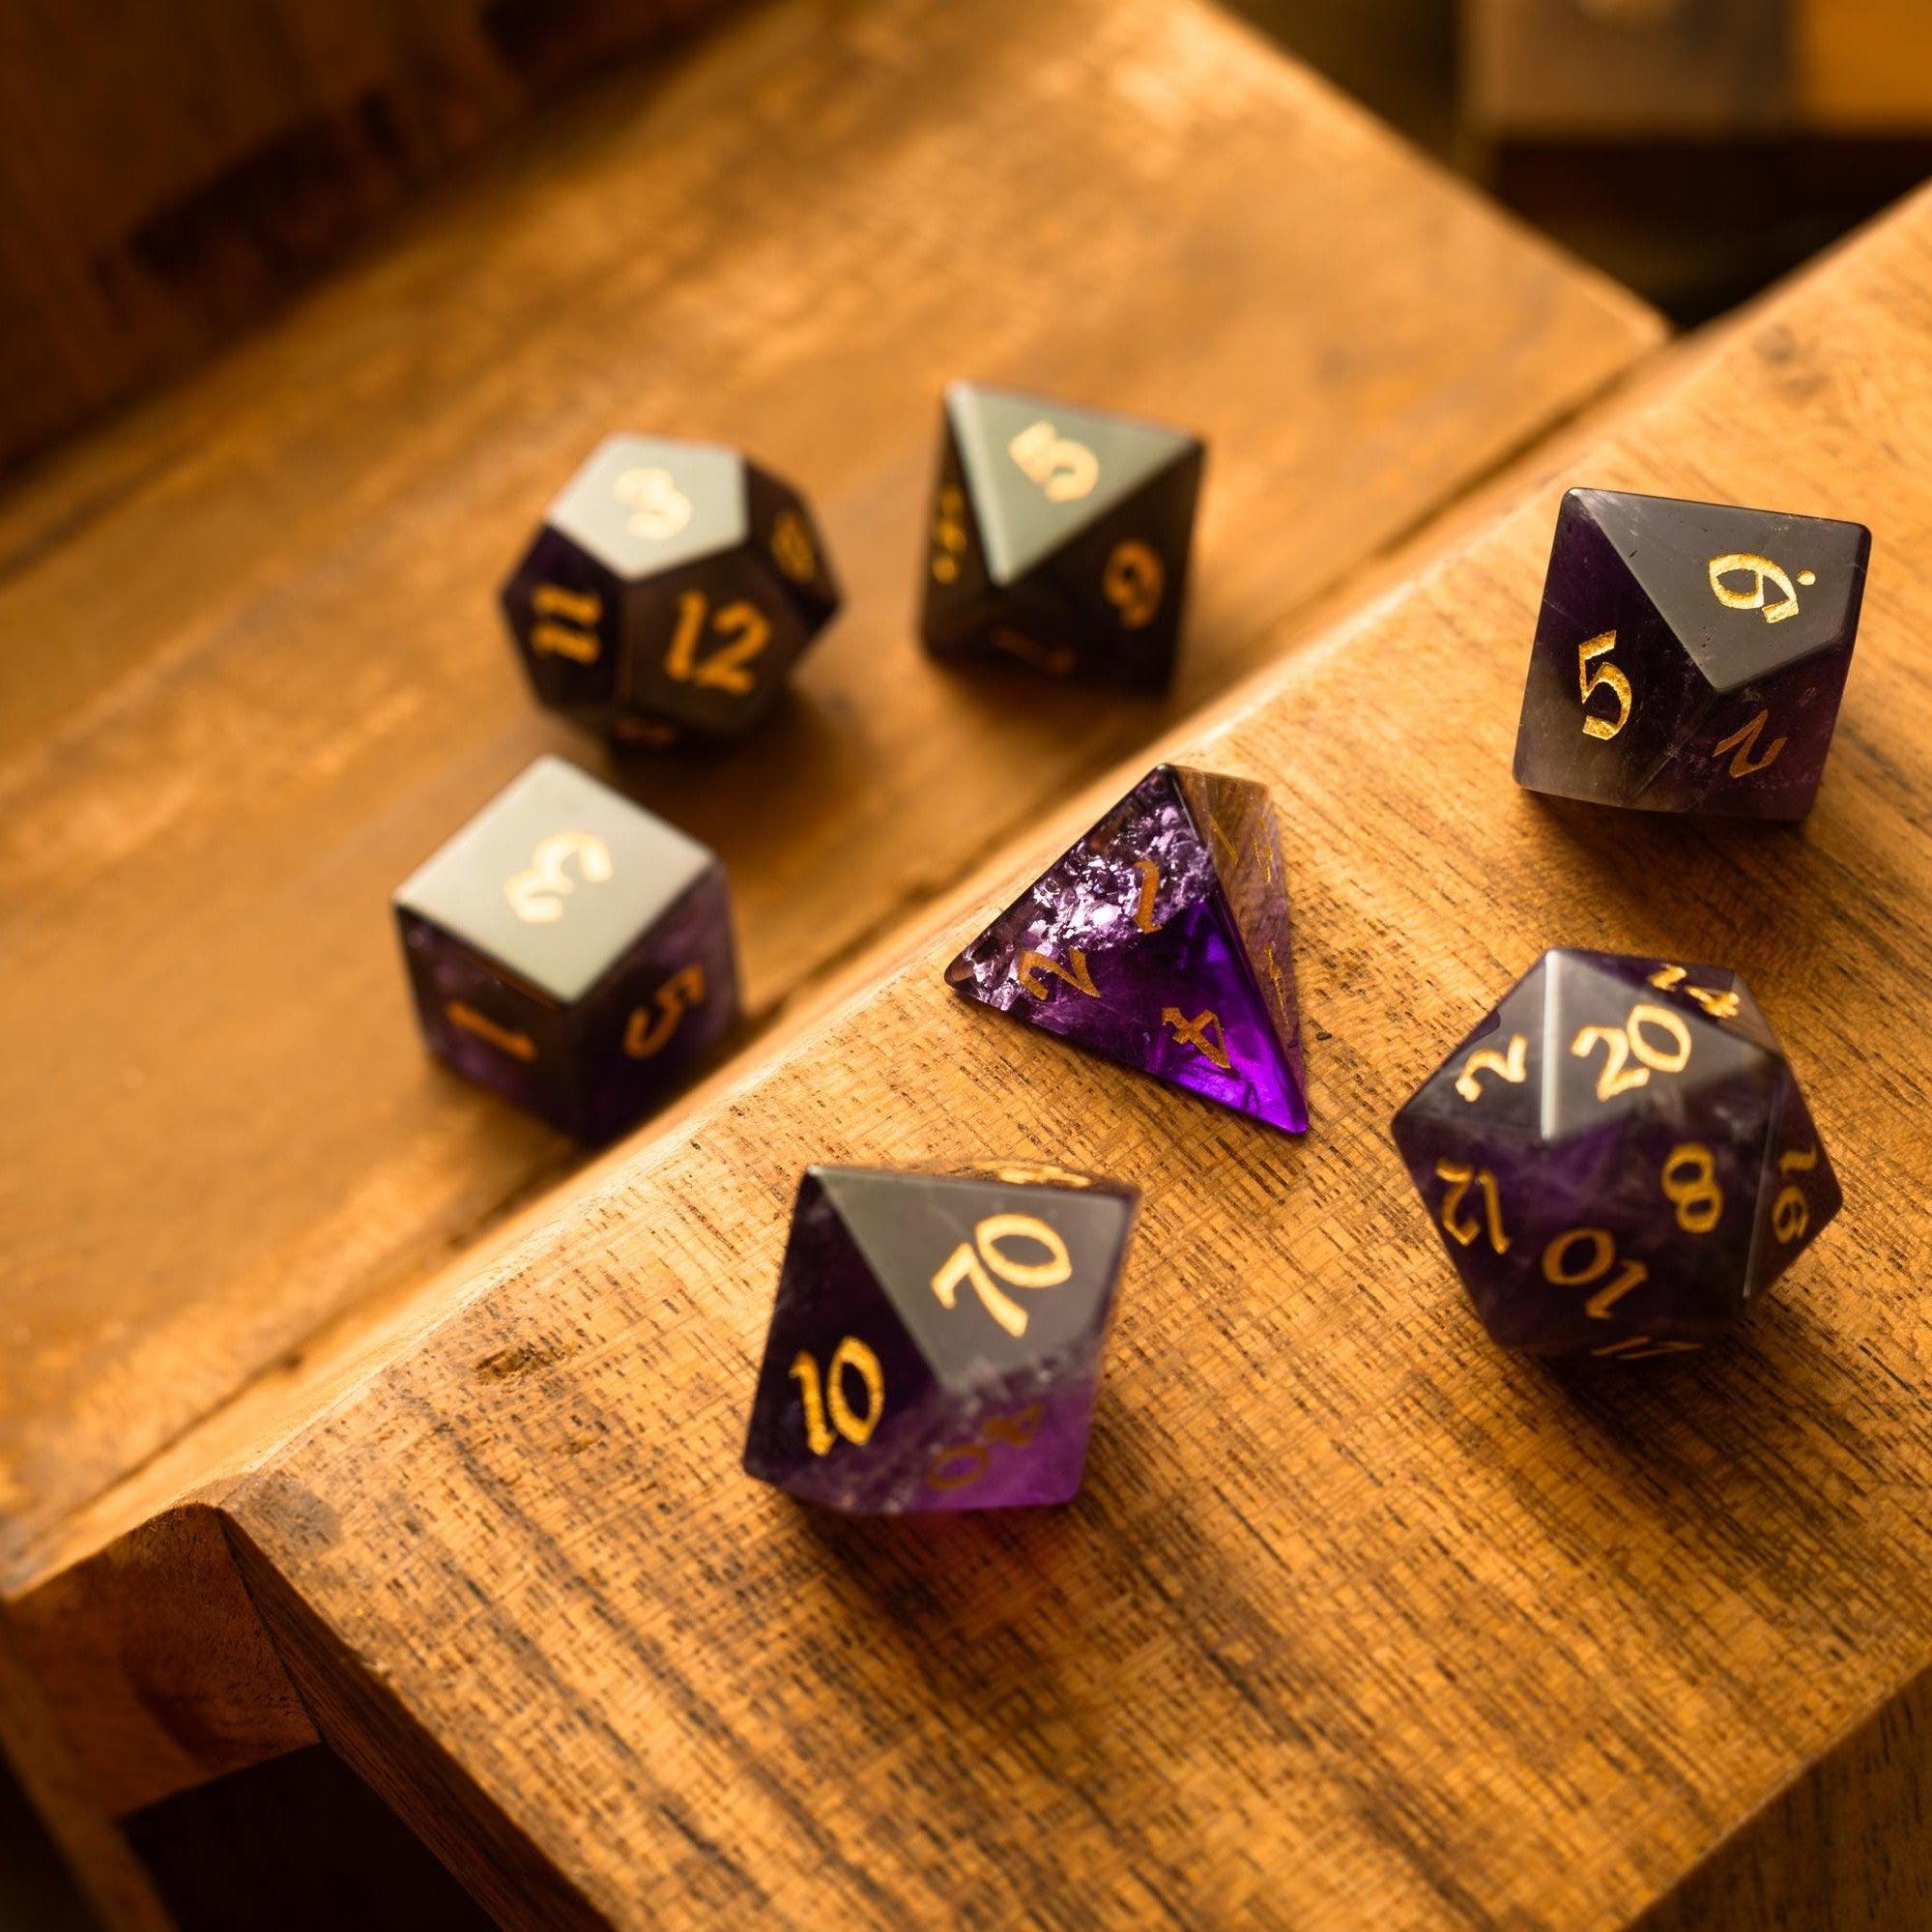
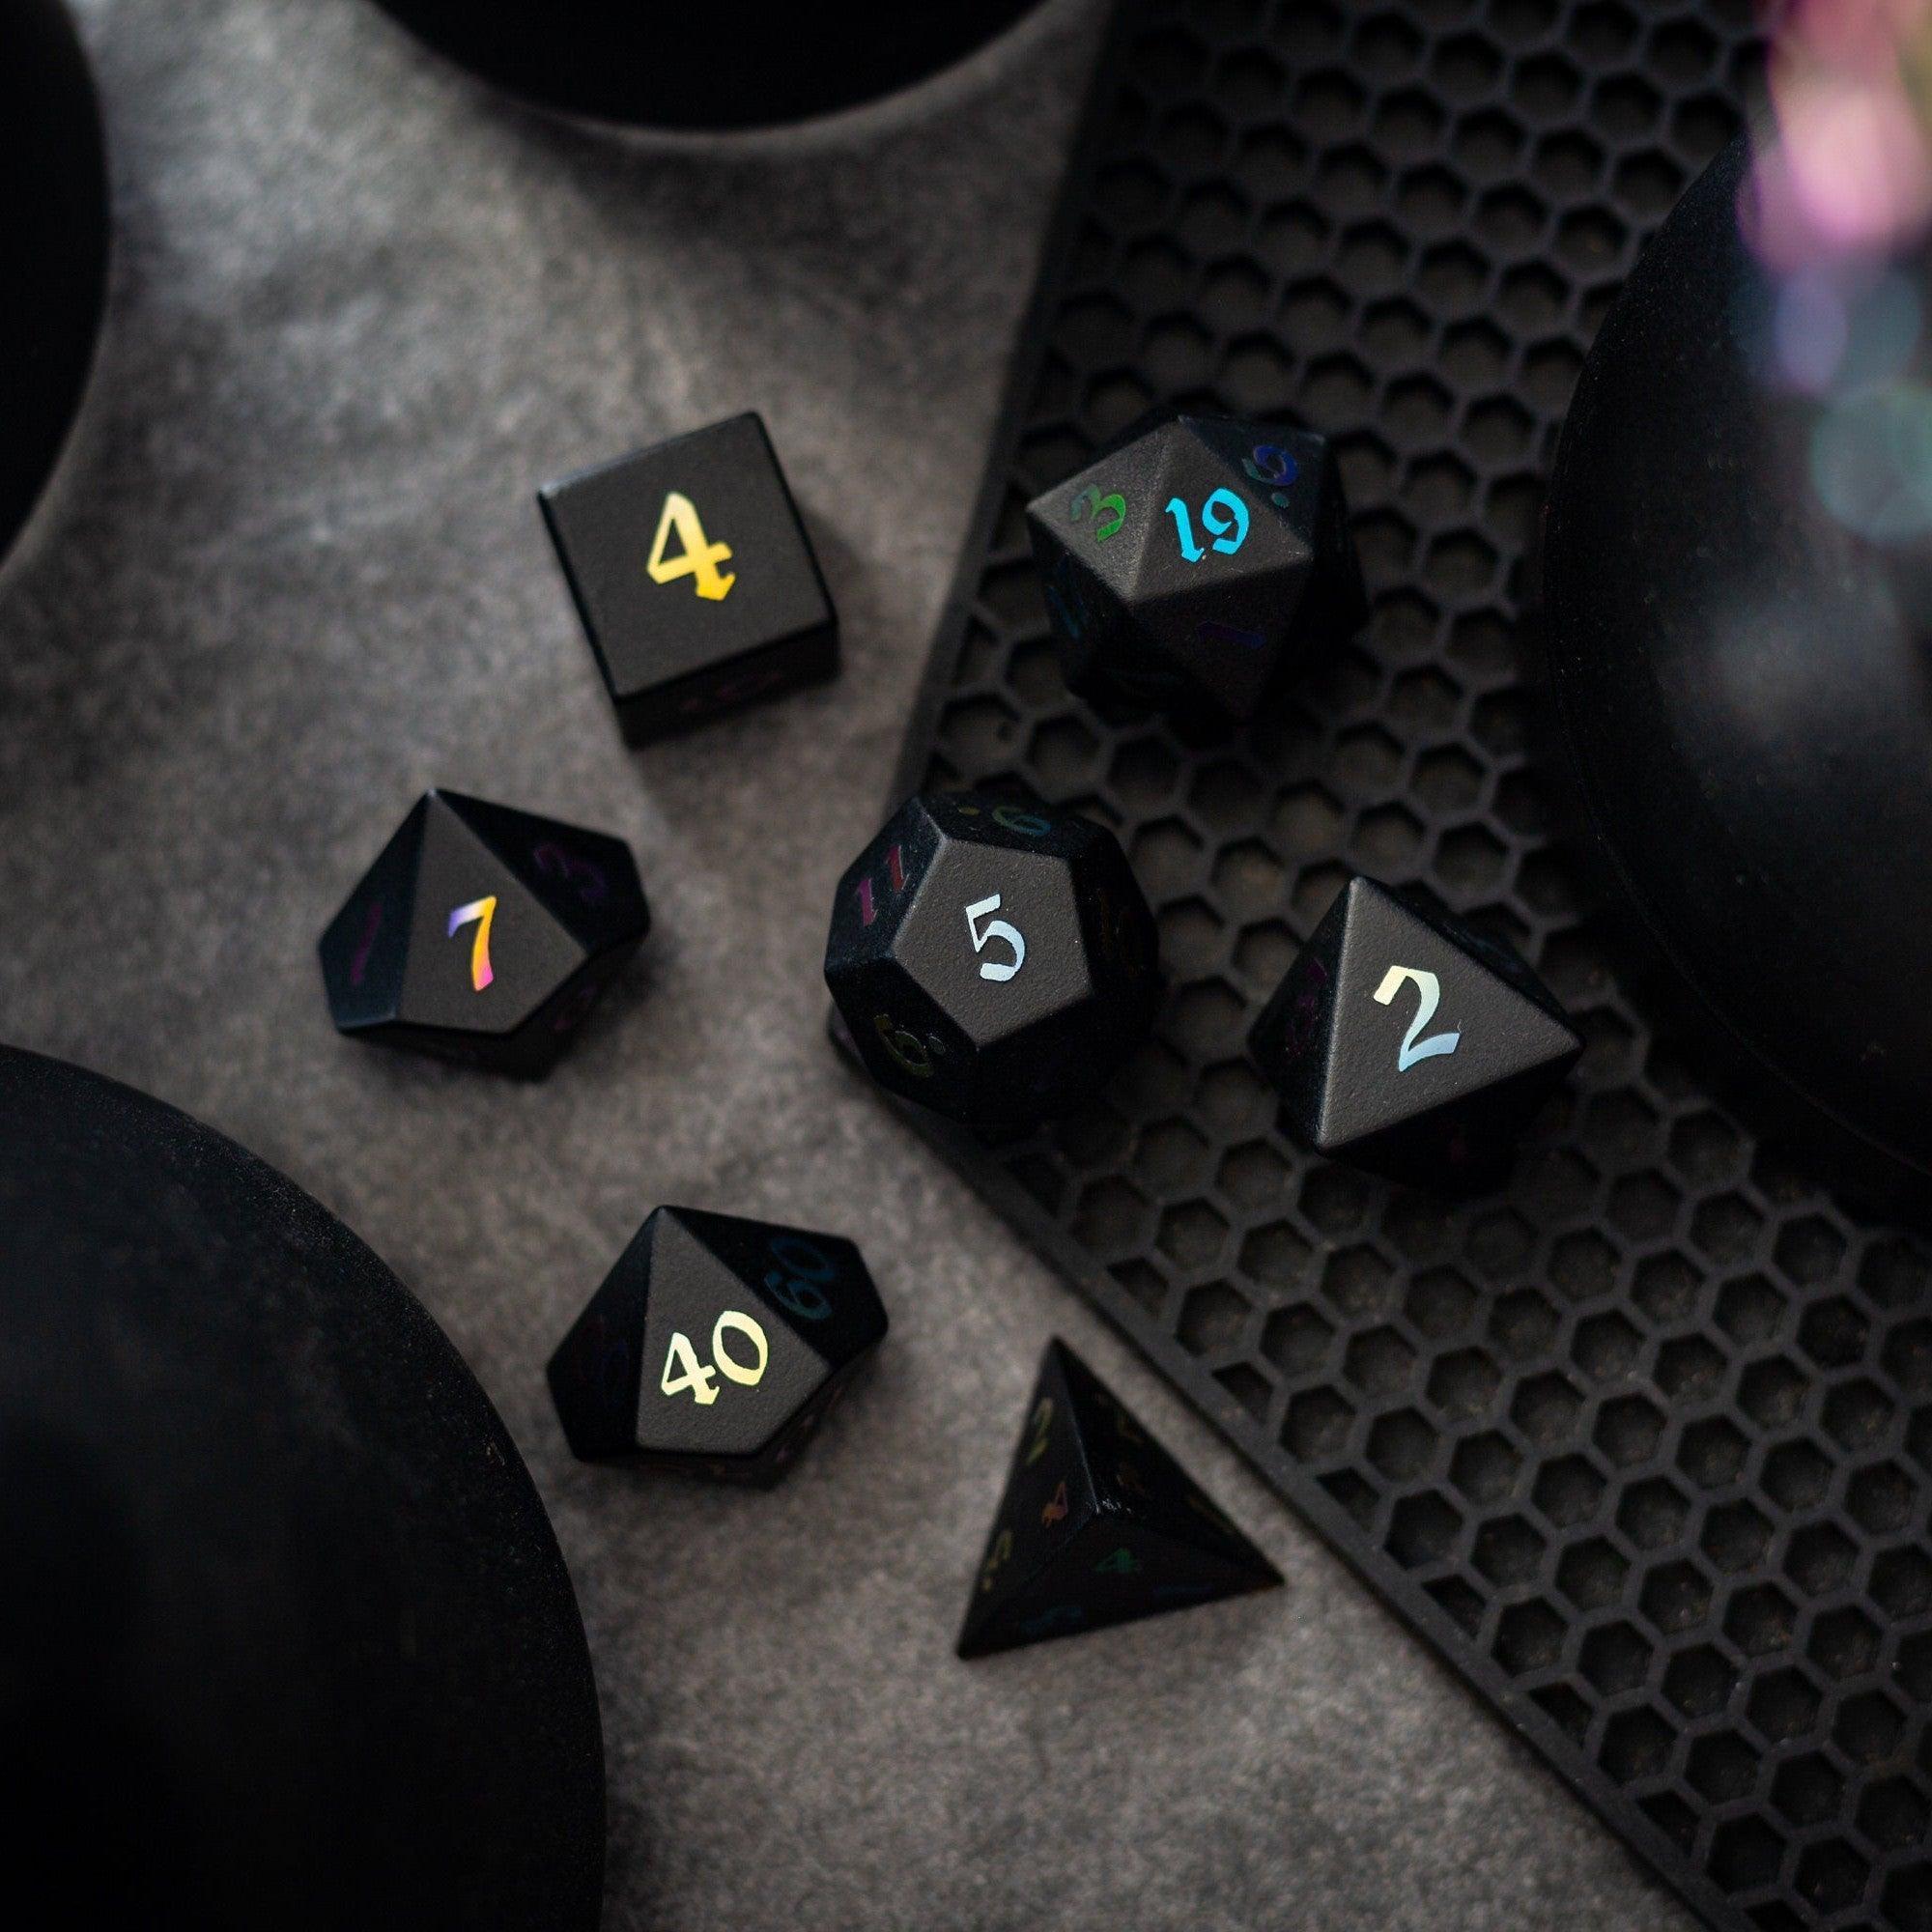
Match table vibes with tactile flair. Running your game partly in person? Add a physical ritual for big moments—like rolling standout dice for boss fights. If you want something with real drama, explore gemstone dice or the shimmer of liquid-core dice. To keep rolls organized and visible, dice towers make every roll feel official. Curious to browse beyond dice? You can also shop collections for more table upgrades.
Myths vs. Facts
-
Myth: You need advanced art skills to make good maps.
Fact: You need clarity, not perfection. Use simple shapes, high‑contrast walls, and labeled layers. Prebuilt asset packs and tiles handle the art for you. -
Myth: Higher resolution is always better.
Fact: Past a certain point, bigger files only slow loading. Pick a resolution that balances speed and clarity for your group’s devices. -
Myth: Dynamic lighting is mandatory for immersion.
Fact: It’s a nice bonus, not a requirement. A well‑designed static scene with clear sight lines, fog of war, and simple annotations can feel just as tense. -
Myth: Every map must be bespoke.
Fact: Modular kits let you build fresh encounters fast. Reuse rooms, streets, and terrain with minor tweaks, and your players will never notice. -
Myth: More assets make a better scene.
Fact: Too many props cause clutter. Place only what supports navigation and story beats. If a prop doesn’t create a choice, leave it out.
Personal Experience
A while back, I tried to impress my group with a huge city map—over 40 MB and packed with detail. It looked gorgeous on my screen and crawled for everyone else. We spent more time refreshing than role‑playing. The fix was simple. I scaled it down, swapped a few PNGs for JPEGs, and split the city into districts I could load one at a time. The session after that felt like magic. Players made faster decisions, fights flowed, and the city still felt big because we only showed the blocks that mattered. That night taught me a lesson: small, clear, and modular wins almost every time.
Final Thoughts & Takeaways
Good map prep is about removing friction so the story can breathe. If you keep files light, visuals clear, and processes repeatable, you’ll free up attention for role‑play, tactics, and creative problem‑solving.
- Pick a standard resolution (70–150 px per square) and stick with it.
- Favor clarity over detail: strong walls, clear doors, fewer props.
- Build a modular library so you can remix scenes quickly.
- Preload maps, label them logically, and test loading before game night.
- Use dynamic lighting when it supports the story, not because you “should.”
- Mix in tactile moments—special dice or towers—to elevate milestones.
With a simple toolkit and a repeatable workflow, virtual tabletop maps become a launchpad for adventure, not a time sink. Keep it focused, keep it light, and let the table do the rest.
Questions & Answers
How do I choose the right map resolution for my VTT?
Start with your group’s lowest‑power device. If someone uses an older laptop or a tablet, test at 70 px per grid square. If everyone runs modern hardware and you zoom in a lot, 100–150 px per square looks great. Export a small scene in two versions and ask players which one feels smoother. If load times spike or scrolling stutters, reduce resolution or switch heavy PNGs to JPEGs. The best resolution is the one your table can open instantly.
What grid size should I use for consistent token scaling?
Choose a standard once and keep it across your library. Most fantasy games use 5‑foot squares. Set that in your editor and your VTT, then lock token base sizes to match. If you build tiles, keep every tile aligned to the same square count so corridors and rooms snap cleanly. Consistency here saves tons of time when you stitch scenes together mid‑session.
How can I speed up map prep without losing quality?
Work in layers. Start with a simple floor and wall layout, then add doors and sight blockers. Keep reusable props—barrels, beds, bridges—in a separate folder you can drag in when needed. Limit your palette and use one accent color for interactables. Finally, batch‑export scenes before game night and preload them to your VTT. You’ll avoid last‑minute waits and keep pacing tight.


Leave a comment
This site is protected by hCaptcha and the hCaptcha Privacy Policy and Terms of Service apply.