How to Build a Homebrew Content Platform for RPGs Worldwide
Updated on: 2025-12-11
Want a simple way to plan, write, and publish without juggling five apps? This guide shows you how to build a flexible, creator-friendly homebrew content platform that keeps your ideas, drafts, and posts in one place. You’ll learn the core building blocks, time-saving workflows, and an easy path to connect it with your Shopify blog. Expect practical steps, no fluff, and tools you probably already use. Finish with a lightweight plan you can launch this week.
- Personal Experience or Anecdote
- Key Advantages of a Homebrew Content Platform
- Quick Tips
- Summary & Next Steps
- Q&A

If you’re tired of lost drafts and scattered notes, you’re not alone. A maker-friendly homebrew content platform gives you a home base for ideas, outlines, images, and finished posts—so you can ship more consistently. Instead of chasing the “perfect app,” you’ll create a simple, dependable workflow that meets you where you are. Whether you publish tabletop tips, product stories, or campaign logs, a central place to plan and polish your writing helps you show up for your readers and customers with less stress and more momentum.
Personal Experience or Anecdote
Not long ago, my process was a mess: ideas in one notes app, photos on my phone, drafts in separate docs, and publishing left to “whenever I remember.” I’d spend more time hunting for assets than actually writing. Sound familiar?
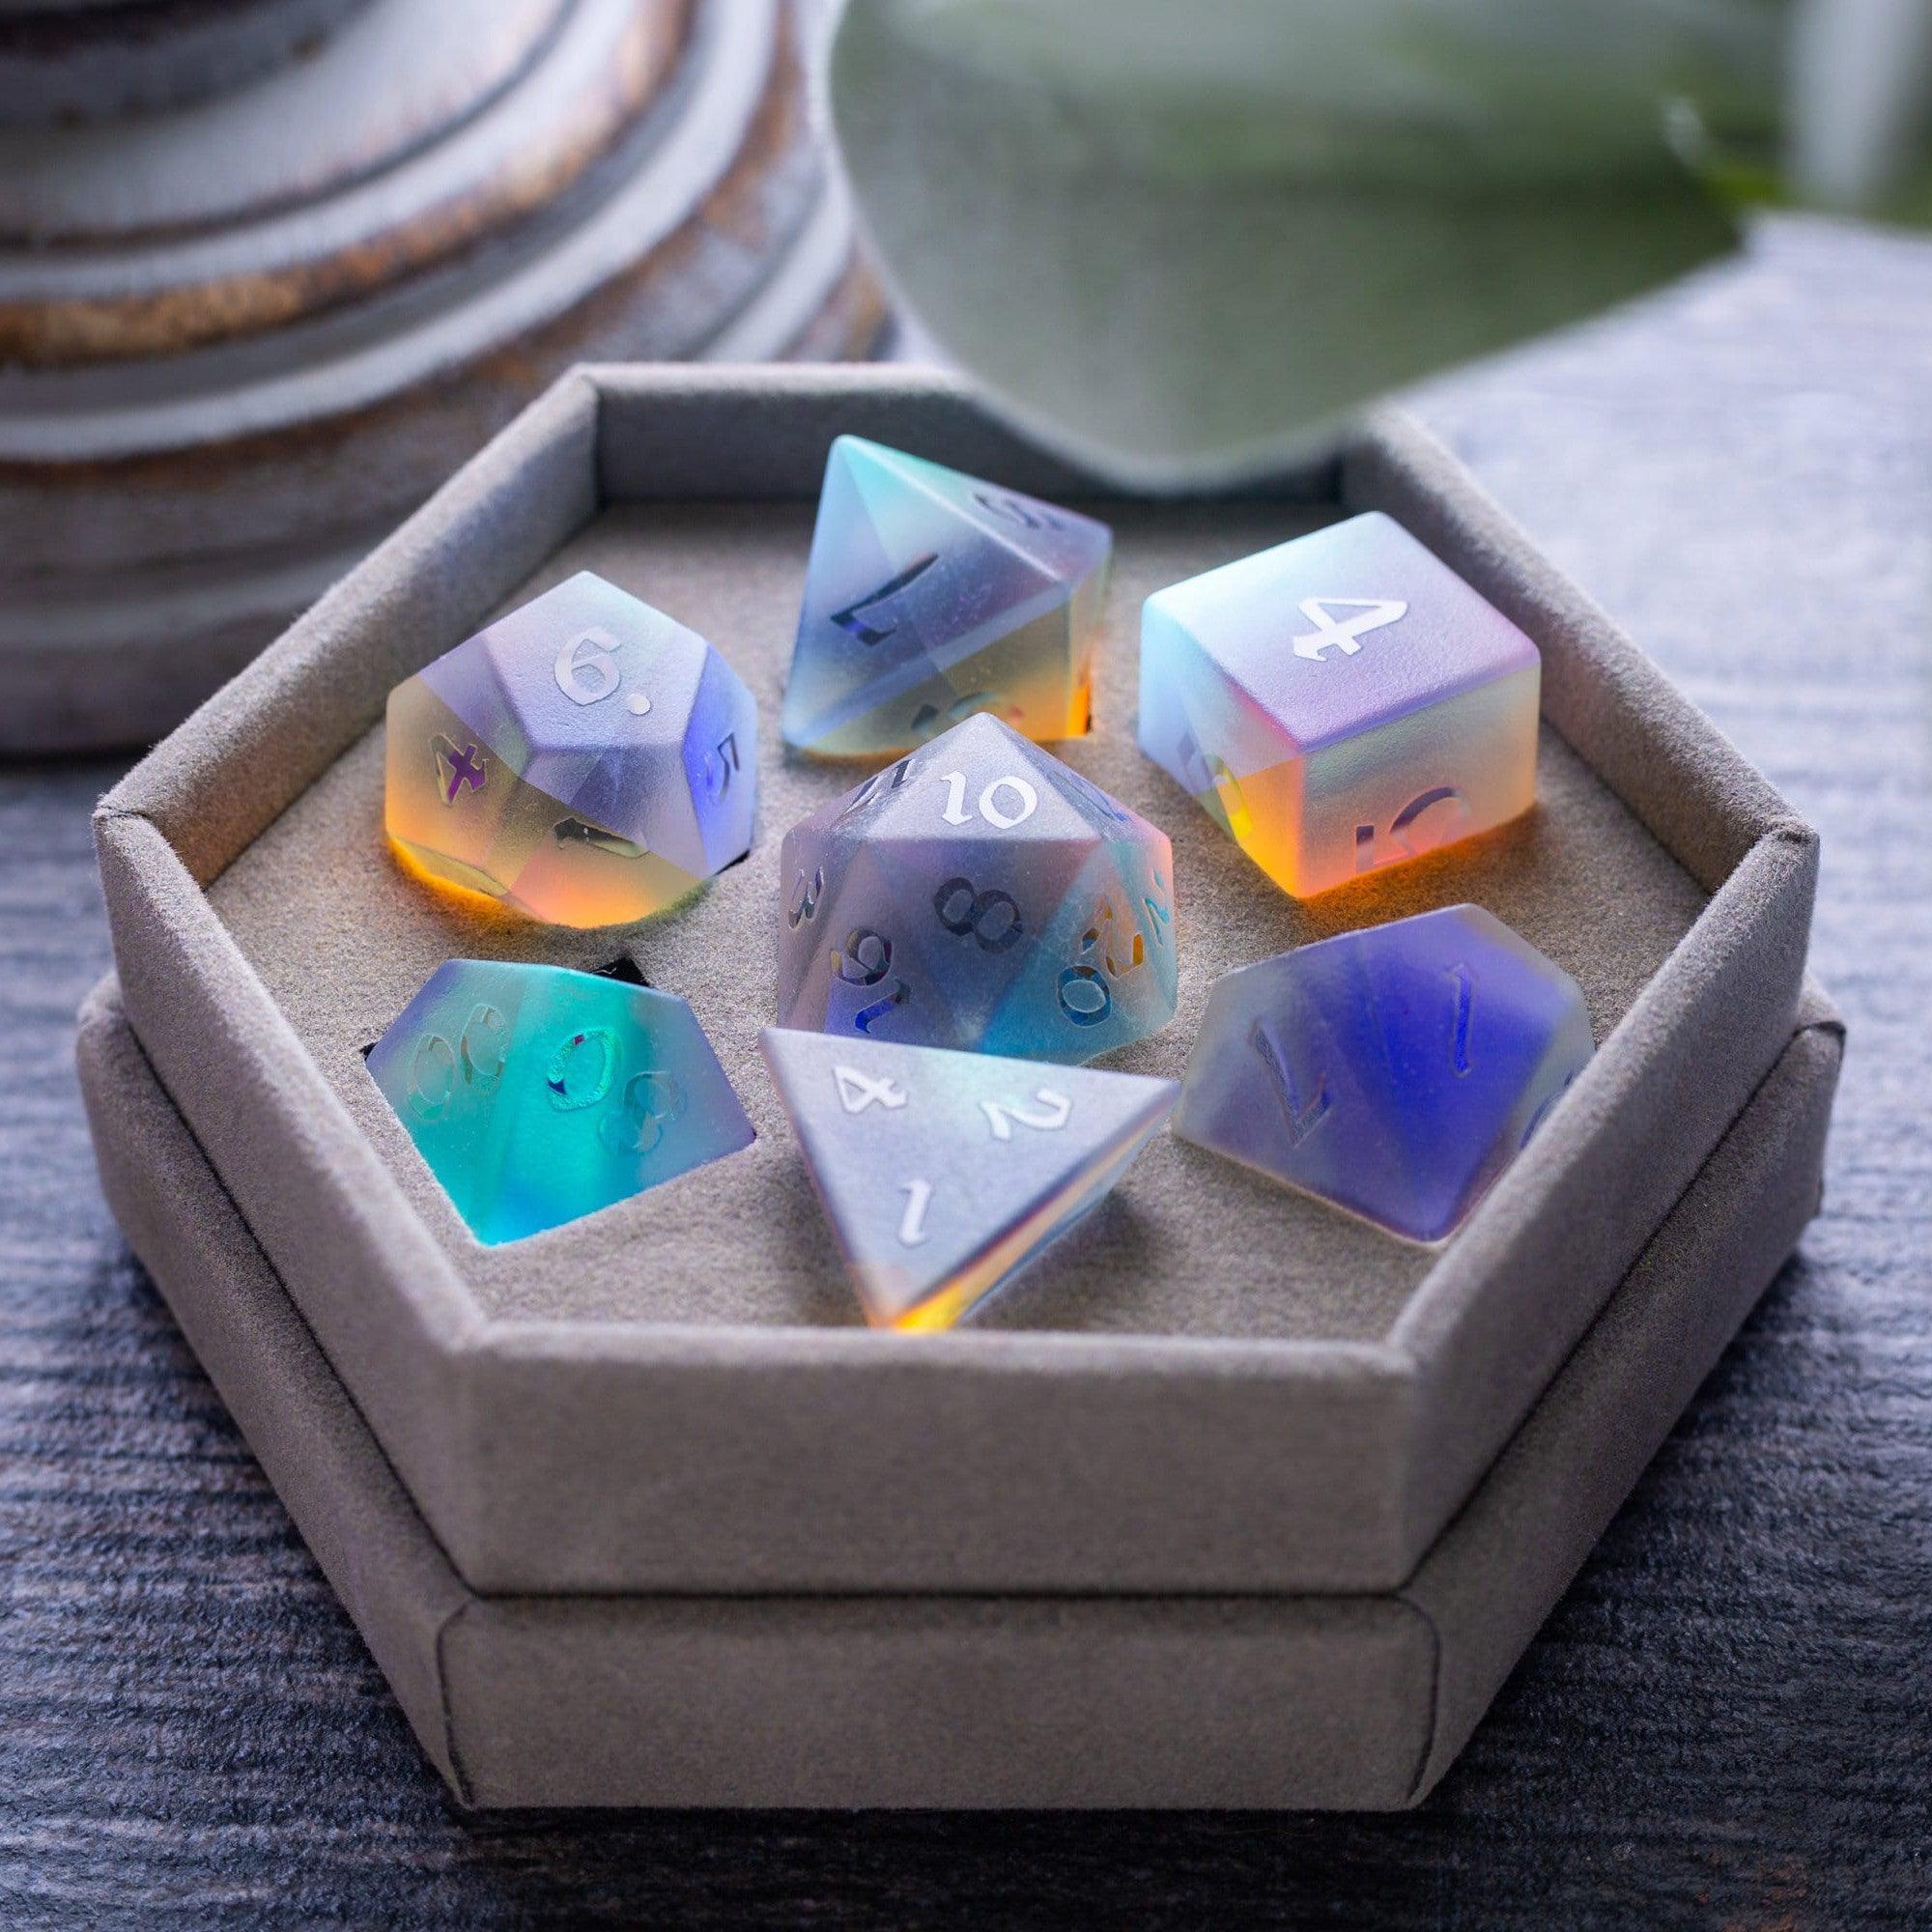
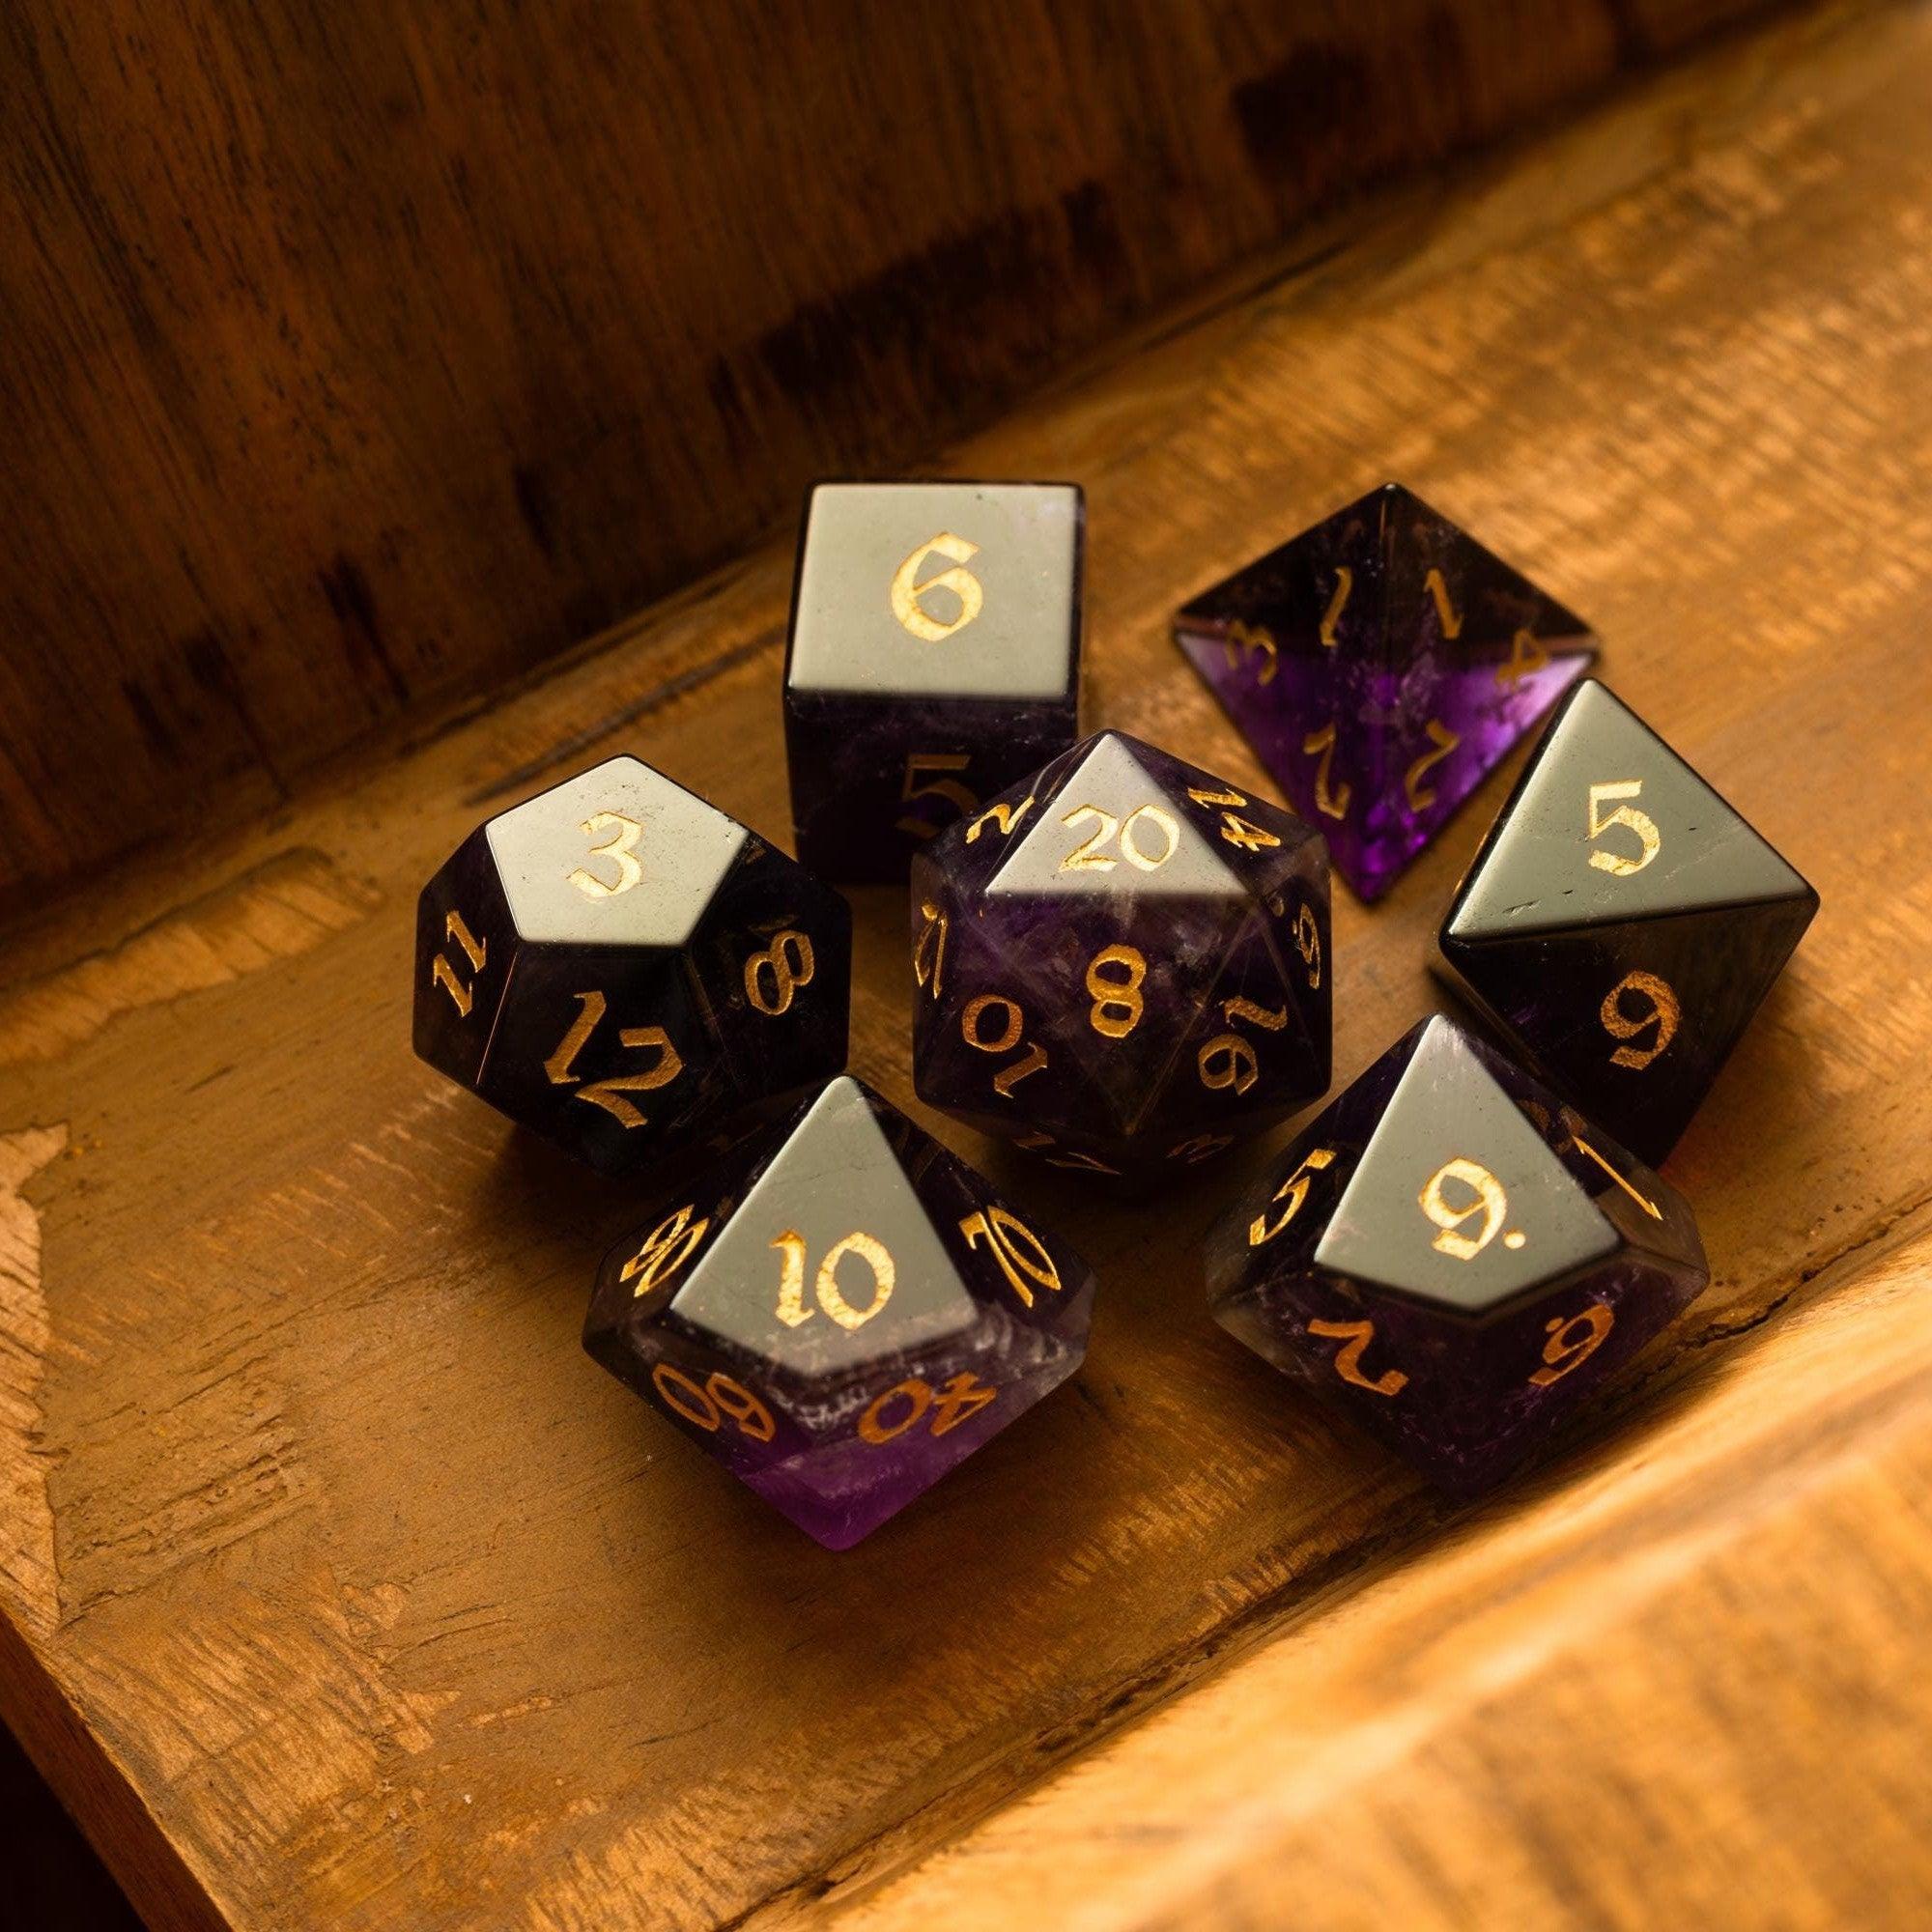
So I made a small change that paid off fast. I mapped my content flow on one page—Ideas → Draft → Edit → Publish → Repurpose—and built a lightweight system to match. I used folders for each stage, added simple templates, and set a weekly publishing rhythm. That’s it. Within two weeks, I was shipping on time, updating product stories, and reusing snippets for social without reinventing the wheel. When I wrote about dice care, for example, I linked it to a product highlight and saw readers move from the post to browse items like the Starlit Rift set. The lesson: consistency isn’t about more tools—it’s about a clear path from spark to publish.
Key Advantages of a Homebrew Content Platform
Here’s why this approach works so well for creators and small shops:
- Clarity and focus: A single home for ideas, drafts, images, and checklists means less context switching and fewer “where did I put that?” moments.
- Faster publishing: Templates and repeatable steps remove friction, so you can publish on a schedule you’ll actually keep.
- Better storytelling: Plan series, product spotlights, and how-tos together, so every post supports your brand and collection pages.
- Search-friendly by default: Bake in an SEO checklist (headers, metadata, internal links, alt text) so you don’t forget the basics.
- Repurpose with intent: Turn one strong post into a product highlight, email snippet, and short social thread without starting from scratch.
- Flexible and tool-agnostic: Use the apps you already know—notes, docs, or a simple spreadsheet—and evolve over time.
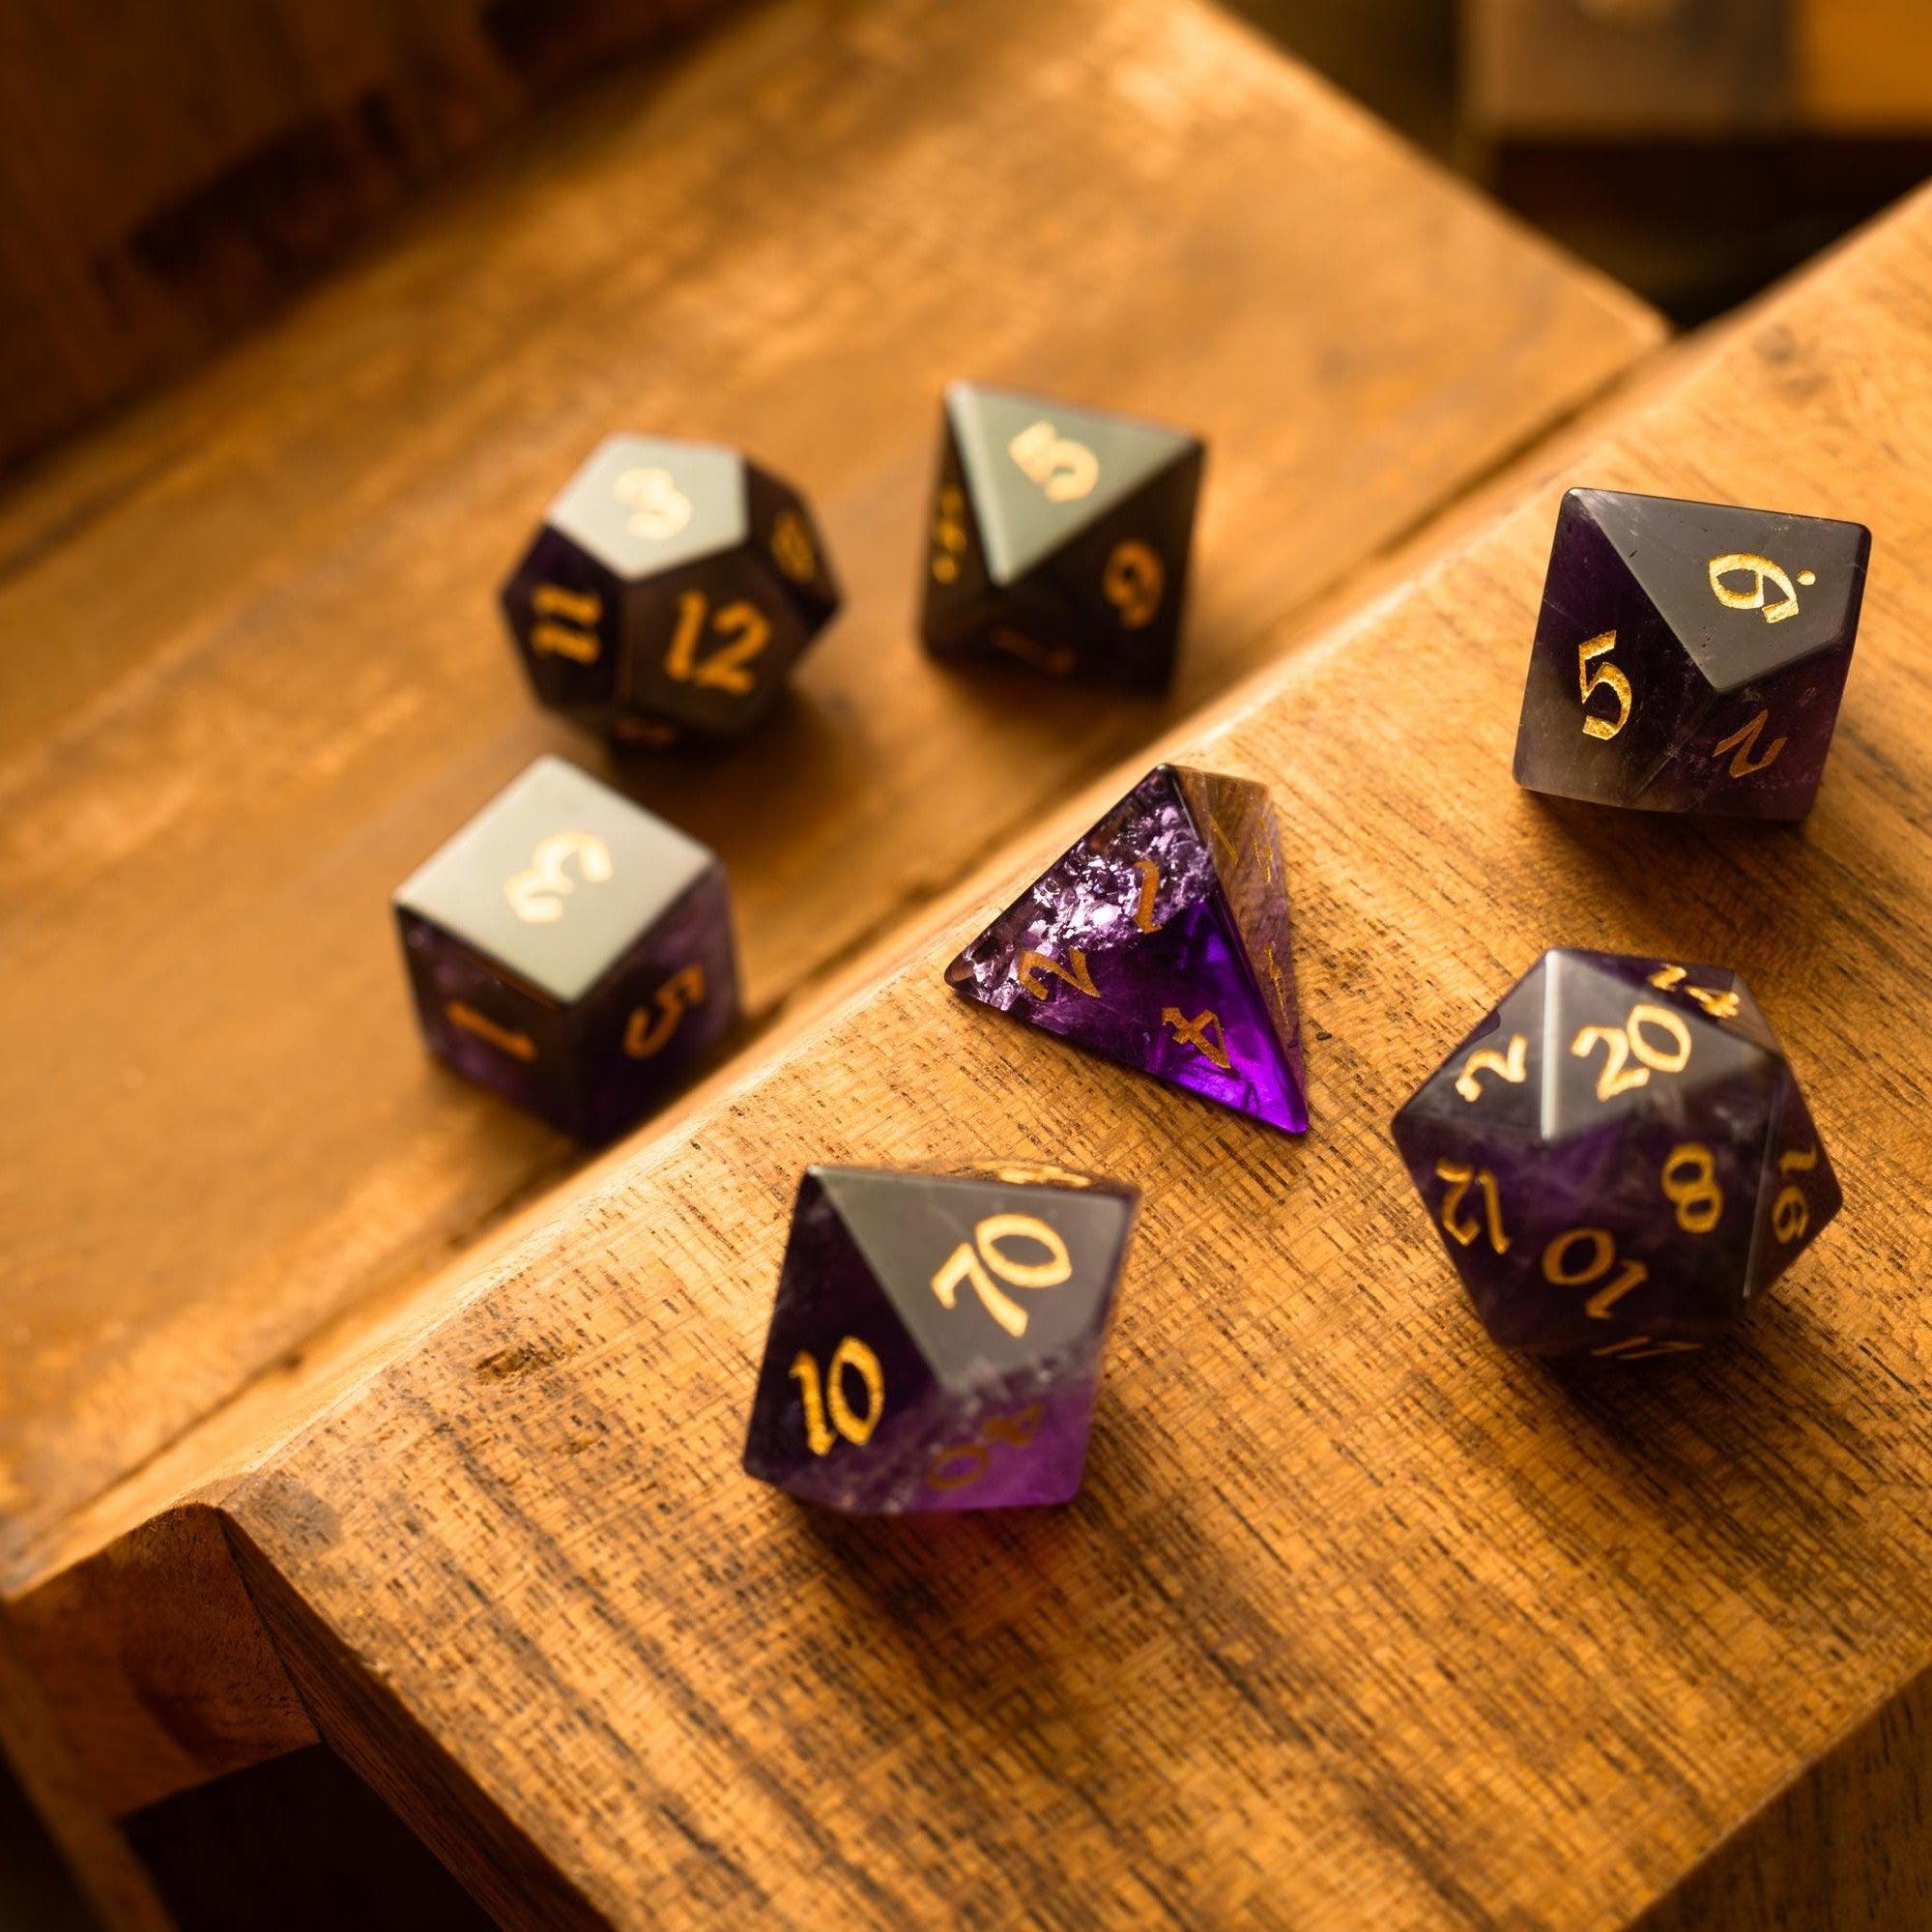
It also helps you connect content with what you’re selling. For example, if you publish a lore piece or campaign recap, link to related sets readers might love, like Gold gemstone set or curated categories such as Liquid core dice. This makes your blog useful and shoppable without being pushy.

Quick Tips
Use these simple, repeatable steps to build and run your content hub.
- Start with one page: Sketch your content map—Ideas → Draft → Edit → Publish → Repurpose—so you always know the next step.
- Create two templates: One for blog posts (outline, SEO checklist, internal links), one for product highlights (benefits, specs, care tips, story).
- Pick a tiny tech stack: Notes or docs for drafting, a shared folder for images, and your Shopify blog for publishing.
- Adopt a weekly cadence: Choose one publishing day. Protect it like an appointment you can’t miss.
- Batch in 60 minutes: Outline three posts at once. Next session, draft them. Then edit and schedule. Context switching kills momentum.
- Use an internal link rule: Add 2–3 relevant links to your post. For example, point readers to Shop collections or a specific feature item.
- Add a 5-minute SEO pass: Check headers, plain-language URLs, compelling meta descriptions, and descriptive alt text for images.
- Make repurposing automatic: Save three pull quotes and a summary from every post. That’s your email and social content.
- Keep assets together: Store images, brand colors, and logos in one folder so you can grab them fast for each new post.
- Measure what matters: Track two numbers—posts published this month and visits to product pages from blog posts.
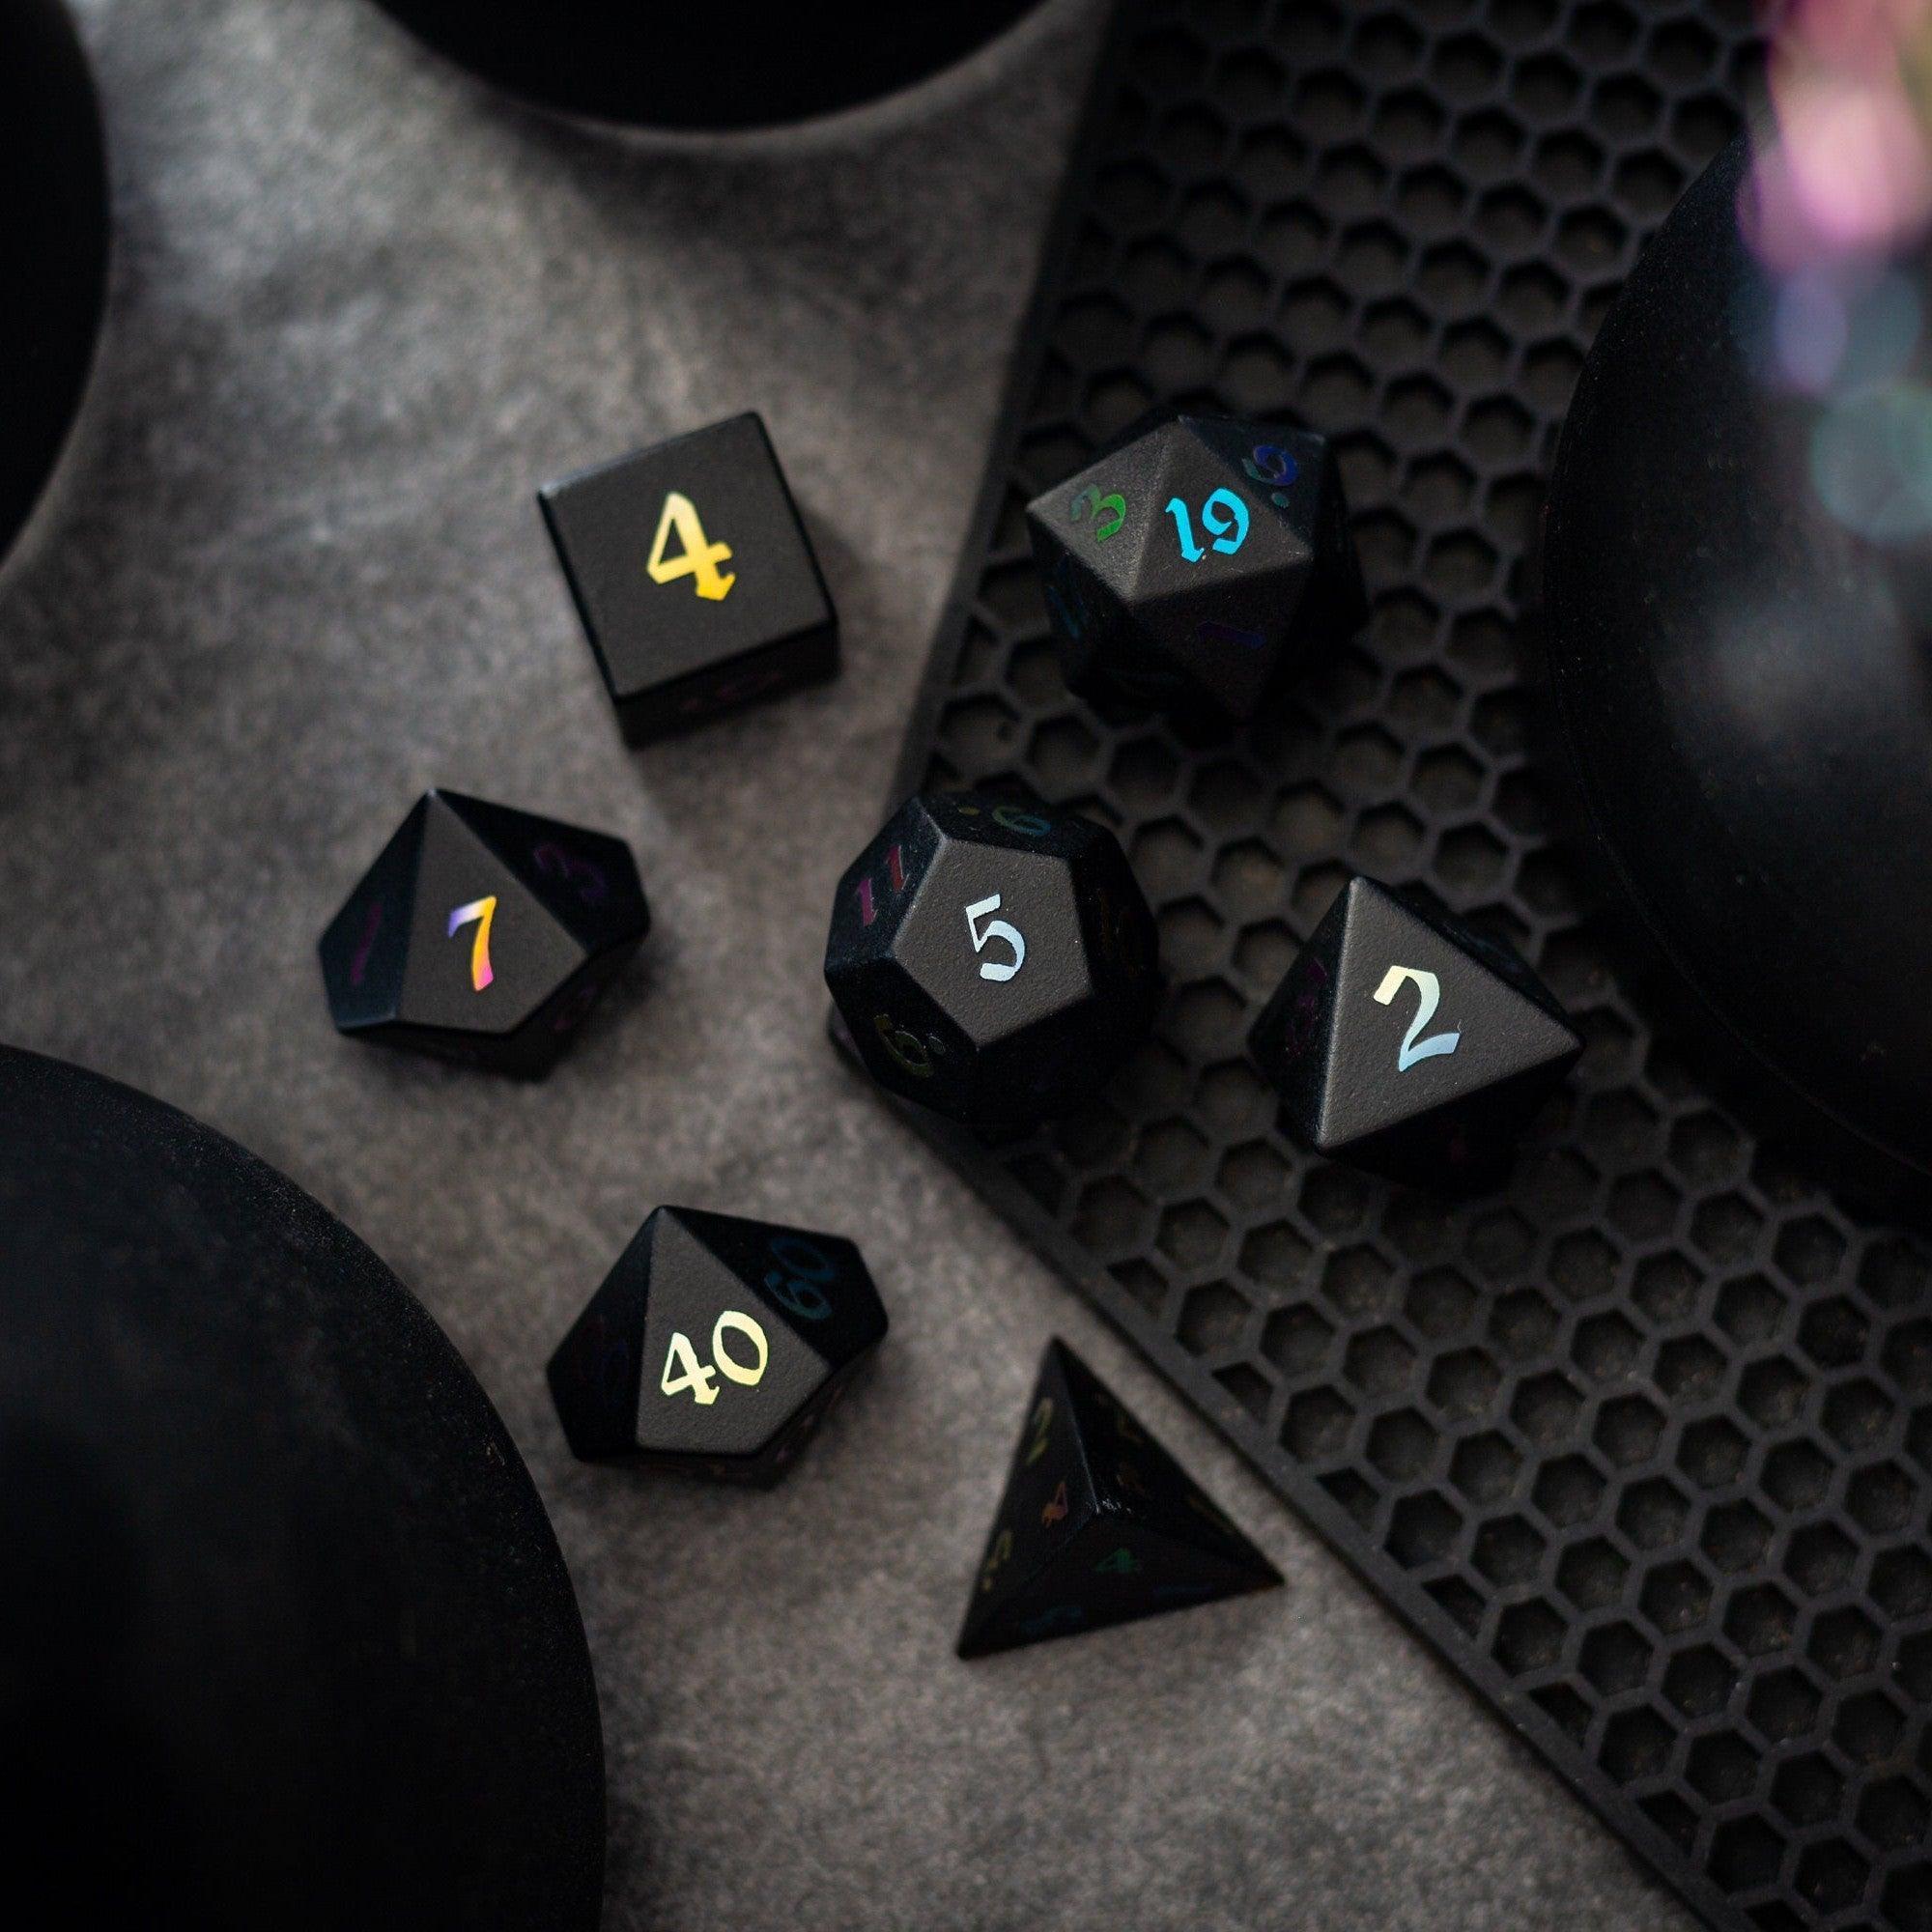
- Highlight your heroes: When a post fits, feature an item like the Starlit Rift set or a premium piece such as the Gold gemstone set.
- Keep it human: Write like you talk to a friend at the table. Clarity beats clever every time.
Summary & Next Steps
Your content process doesn’t need to be complicated to work. A simple system—with clear stages, a couple of templates, and a weekly rhythm—can help you publish with confidence. When you’re ready to connect posts to products, add a few helpful internal links to sets your readers might enjoy, such as curated categories like Liquid core dice or a featured piece they’ve seen in your photos. Over time, your homebrew content platform becomes a library you can expand, remix, and reuse.
Next steps:
- Draw your content map on a single page.
- Make two templates and schedule one publishing day this week.
- Connect your next post to a relevant item or category—start with Shop collections for inspiration.
- Review results in two weeks and adjust your rhythm—not your goals.
Q&A
What tools do I actually need to start?
You can launch with whatever you already have. Use a notes or docs app for writing, a shared folder for images, and your Shopify blog for publishing. If you like structure, add a simple spreadsheet or page to track status: Idea, Draft, Edit, Publish, Repurpose. That’s enough to run a dependable editorial flow. As you grow, layer in optional helpers like a lightweight task app, a brand asset folder, and a checklist template. Keep your stack boring and consistent. The goal is fewer clicks between idea and publish—not a new learning curve.
Will this still work if I’m solo or part of a small team?
Absolutely. If you’re solo, keep the workflow minimal—just the steps you’ll actually use. If you have a small team, assign clear roles at each stage: one person drafts, another reviews, someone else schedules. Use short checklists (headers, links, images, alt text) and keep feedback in one place. For product-forward posts, ask who owns the final polish and who adds internal links to relevant items like the Starlit Rift set or a featured category. Clarity prevents bottlenecks and helps you publish on time.
How long does it really take to set up and see results?
Most creators can set up the basics in a single afternoon. Block 30 minutes to map the stages, 30 minutes to create two templates, and 60 minutes to outline three posts you’ll draft next. Publish your first piece within a week, and use a simple internal link rule to connect it to a relevant product, such as a premium piece from your collection. For example, you might feature the Gold gemstone set alongside your story. Results tend to follow your cadence: show up weekly, iterate lightly, and compound small wins.


Leave a comment
This site is protected by hCaptcha and the hCaptcha Privacy Policy and Terms of Service apply.