
Terrain Tiles for Dungeon Crawls: How They Transform Combat Encounters

Dungeon crawls have been a cornerstone of tabletop RPGs for decades. Hidden traps, winding corridors, dangerous monsters, and forgotten treasures all combine to create memorable adventures. Yet many Dungeon Masters eventually discover that simple sketches on a dry-erase mat only go so far.
When players can actually see the environment around them, combat feels more exciting, exploration becomes more engaging, and encounters become easier to understand. This is where terrain tiles shine.
Whether you're using printed cardboard pieces, modular plastic systems, or handcrafted dungeon layouts, terrain tiles can transform an ordinary battle into a cinematic experience. They add visual depth, encourage tactical thinking, and help players immerse themselves in the world you've created.
What Are Terrain Tiles?
Terrain tiles are modular pieces used to build battlefields and adventure locations for tabletop RPGs. Instead of drawing every room and hallway by hand, Game Masters can assemble environments from reusable pieces.
Common types include:
- Modular terrain systems
- Printed terrain tiles
- 3D dungeon terrain
- DIY terrain projects
- Pre-painted terrain sets
Most terrain tiles connect together like puzzle pieces, allowing Dungeon Masters to create unique dungeon crawl maps for every session.
A simple set might include:
- Hallways
- Rooms
- Doors
- Staircases
- Pillars
- Walls
- Bridges
More advanced systems can represent entire castles, caves, cities, forests, and ancient ruins.
The biggest advantage is flexibility. A single collection of terrain tiles can create dozens of different encounter locations without requiring new maps every time.
Why Terrain Improves Dungeon Crawls
Terrain does much more than make the table look impressive.
Better Immersion
Players immediately understand where they are when they can see a dungeon chamber, ruined temple, or underground cavern represented on the table.
Instead of imagining a room from a quick sketch, they experience it visually.
Clearer Positioning
One of the most common combat frustrations is confusion about location.
Questions like:
-
How far away is the enemy?
-
Can I reach the doorway?
-
Is the wizard behind cover?
are easier to answer with physical dungeon terrain.
Stronger Visual Storytelling
Terrain helps tell the story without words.
A broken bridge suggests danger.
Collapsed walls imply a forgotten battle.
A crypt filled with crumbling tombs hints at ancient secrets.
Players naturally absorb these details when they see them.
Increased Player Engagement
People pay attention to things they can see.
A detailed battlefield often encourages players to interact with the environment instead of treating combat like a simple exchange of attacks.
More Memorable Encounters
Years later, players may forget a goblin ambush.
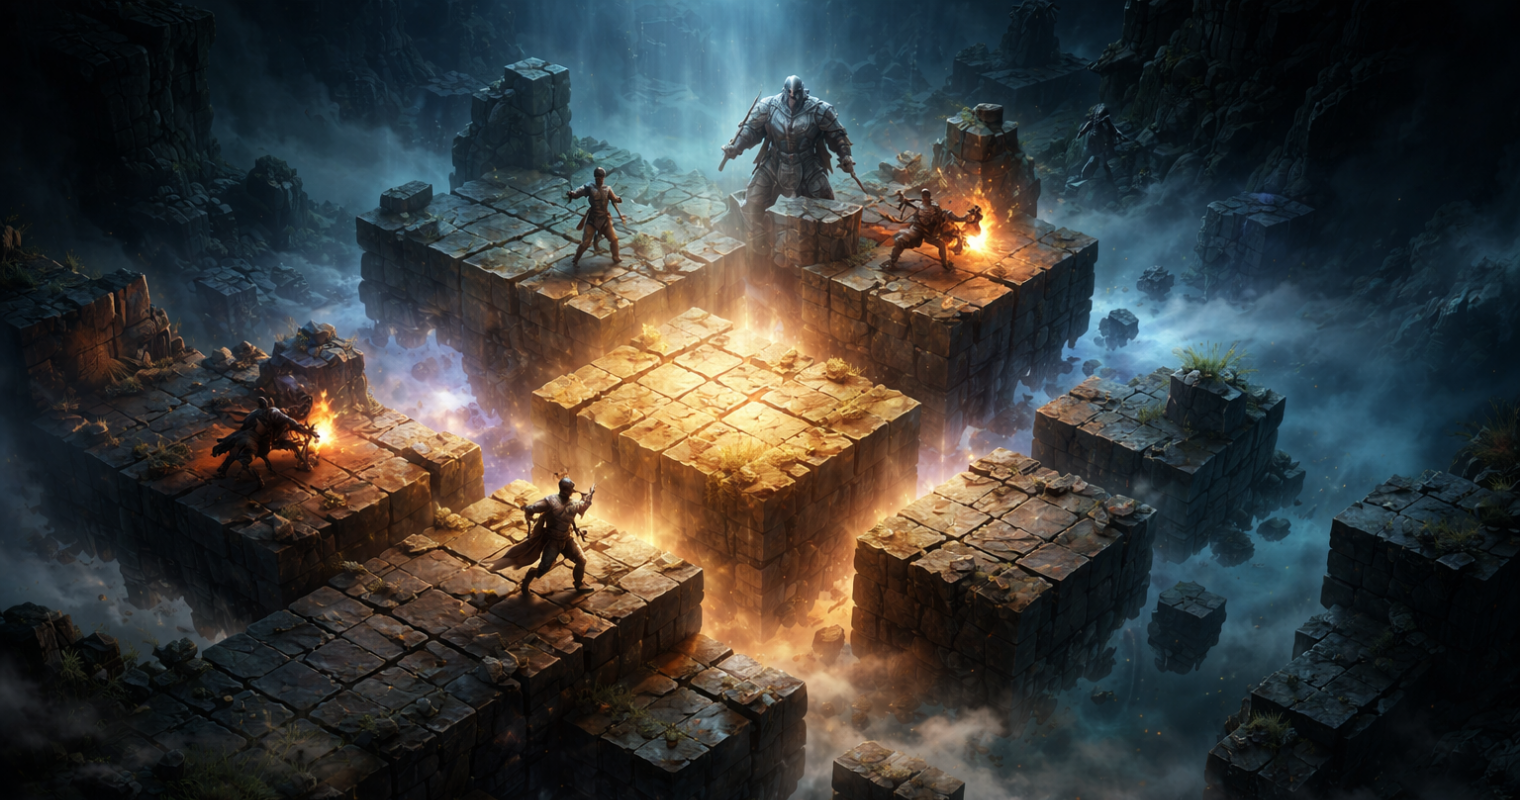
They rarely forget the fight atop a collapsing bridge suspended over a lava-filled cavern.
Terrain helps create those unforgettable moments.
How Terrain Changes Combat
The greatest impact of terrain tiles often appears during combat encounters.
Line of Sight
Walls, pillars, and corners create meaningful decisions.
Archers must find shooting lanes.
Spellcasters need to position themselves carefully.
Stealth-focused characters gain opportunities to hide.
Chokepoints
Narrow corridors and doorways can completely alter encounter strategy.
A fighter holding a doorway against multiple enemies creates tension and tactical depth that rarely exists on an open battlefield.
Cover
Crates, statues, ruins, and barricades provide protection.
Players begin thinking about movement and positioning rather than simply attacking each turn.
Elevation
Stairs, platforms, towers, and cliffs introduce vertical gameplay.
A ranger firing from a balcony feels very different from one standing on flat ground.
Environmental Hazards
Terrain can become part of the encounter itself.
Examples include:
-
Lava pools
-
Collapsing bridges
-
Spike traps
-
Flooded tunnels
-
Magical energy fields
These hazards encourage creative problem-solving and make tactical combat RPG encounters more dynamic.
Practical Example
Imagine a battle against skeletons in an abandoned crypt.
Without terrain, it's a straightforward fight.
With terrain:
-
Stone coffins provide cover.
-
Narrow aisles restrict movement.
-
Broken floors create hazards.
-
Elevated platforms give ranged enemies advantages.
Suddenly, the encounter becomes far more interesting.
Types of Terrain Tiles
Different terrain styles support different adventures.
Dungeon Tiles
Perfect for classic dungeon crawls.
They offer maximum flexibility and work in nearly every fantasy campaign.
Cavern Tiles
Ideal for underground exploration.
Natural rock formations create unpredictable layouts and atmospheric encounters.
Castle Tiles
Excellent for sieges, noble estates, and political adventures.
These environments often include staircases, courtyards, and defensive structures.
Wilderness Tiles
Useful for forests, rivers, roads, and outdoor encounters.
They provide more open and dynamic battlefields.
Urban Tiles
Perfect for city campaigns.
Markets, alleys, taverns, and rooftops create exciting social and combat encounters.
Terrain Tile Comparison Table
| Terrain Type | Best Use | Advantages |
|---|---|---|
| Dungeon Tiles | Traditional crawls | Flexible layouts |
| Cavern Tiles | Exploration | Natural environments |
| Castle Tiles | Sieges & intrigue | Dramatic encounters |
| Wilderness Tiles | Outdoor adventures | Dynamic battlefields |
| Urban Tiles | City campaigns | Social and combat scenes |
Designing Better Encounters with Terrain
Good terrain design goes beyond decoration.
Use Verticality
Adding multiple elevations creates more tactical options.
Players gain reasons to move, climb, and reposition throughout combat.
Create Meaningful Obstacles
Every obstacle should influence decisions.
A fallen pillar should block movement, provide cover, or alter sight lines.
Reward Movement
Avoid battlefields where standing still is optimal.
Encourage players to move toward objectives, treasures, or advantageous positions.
Encourage Tactical Decisions
Interesting terrain creates choices.
Do players advance through the dangerous corridor or take the longer route?
Those decisions make encounters memorable.
Avoid Empty Battlefields
Large empty rooms rarely create exciting combat.
Even a few pillars, walls, or hazards can dramatically improve gameplay.
Budget-Friendly Terrain Options
Building impressive battlefields doesn't have to be expensive.
Printable Terrain
Many creators offer downloadable terrain that can be printed at home.
This is often the most affordable way to start.
Cardboard Terrain
Cardboard terrain remains one of the best beginner options.
It's lightweight, inexpensive, and easy to store.
DIY Crafting
Foam, cardboard, and basic hobby supplies can produce surprisingly effective terrain pieces.
Reusable Modular Systems
Although the upfront cost may be higher, modular systems can be used for years and support countless encounter designs.
Many Dungeon Masters gradually expand their collections over time rather than buying everything at once.
Common Terrain Mistakes
Terrain can improve gameplay, but only when used thoughtfully.
Overcrowding Maps
Too much terrain can clutter the battlefield and overwhelm players.
Creating Confusing Layouts
If players cannot easily understand the map, combat slows down.
Blocking Movement Excessively
Too many obstacles can frustrate players rather than challenge them.
Using Terrain Without Purpose
Every feature should contribute to gameplay, story, or atmosphere.
Slowing Down the Game
Complex setups can sometimes reduce pacing.
Choose terrain that enhances the experience without creating unnecessary delays.
Combining Terrain with Storytelling
The best terrain serves both gameplay and narrative.
An ancient ruin tells a story through broken columns and collapsed walls.
A haunted crypt creates tension through narrow passages and forgotten tombs.
An abandoned fortress hints at past wars through damaged defenses and shattered gates.
Living environments feel real because they contain evidence of history, conflict, and daily life.
When players can see these details on the table, they connect more deeply with the world.
Detailed battlefields also naturally generate more attack rolls, saving throws, skill checks, and strategic decisions. Players often interact with terrain features, investigate environmental clues, and experiment with creative solutions that might never appear on a blank map.
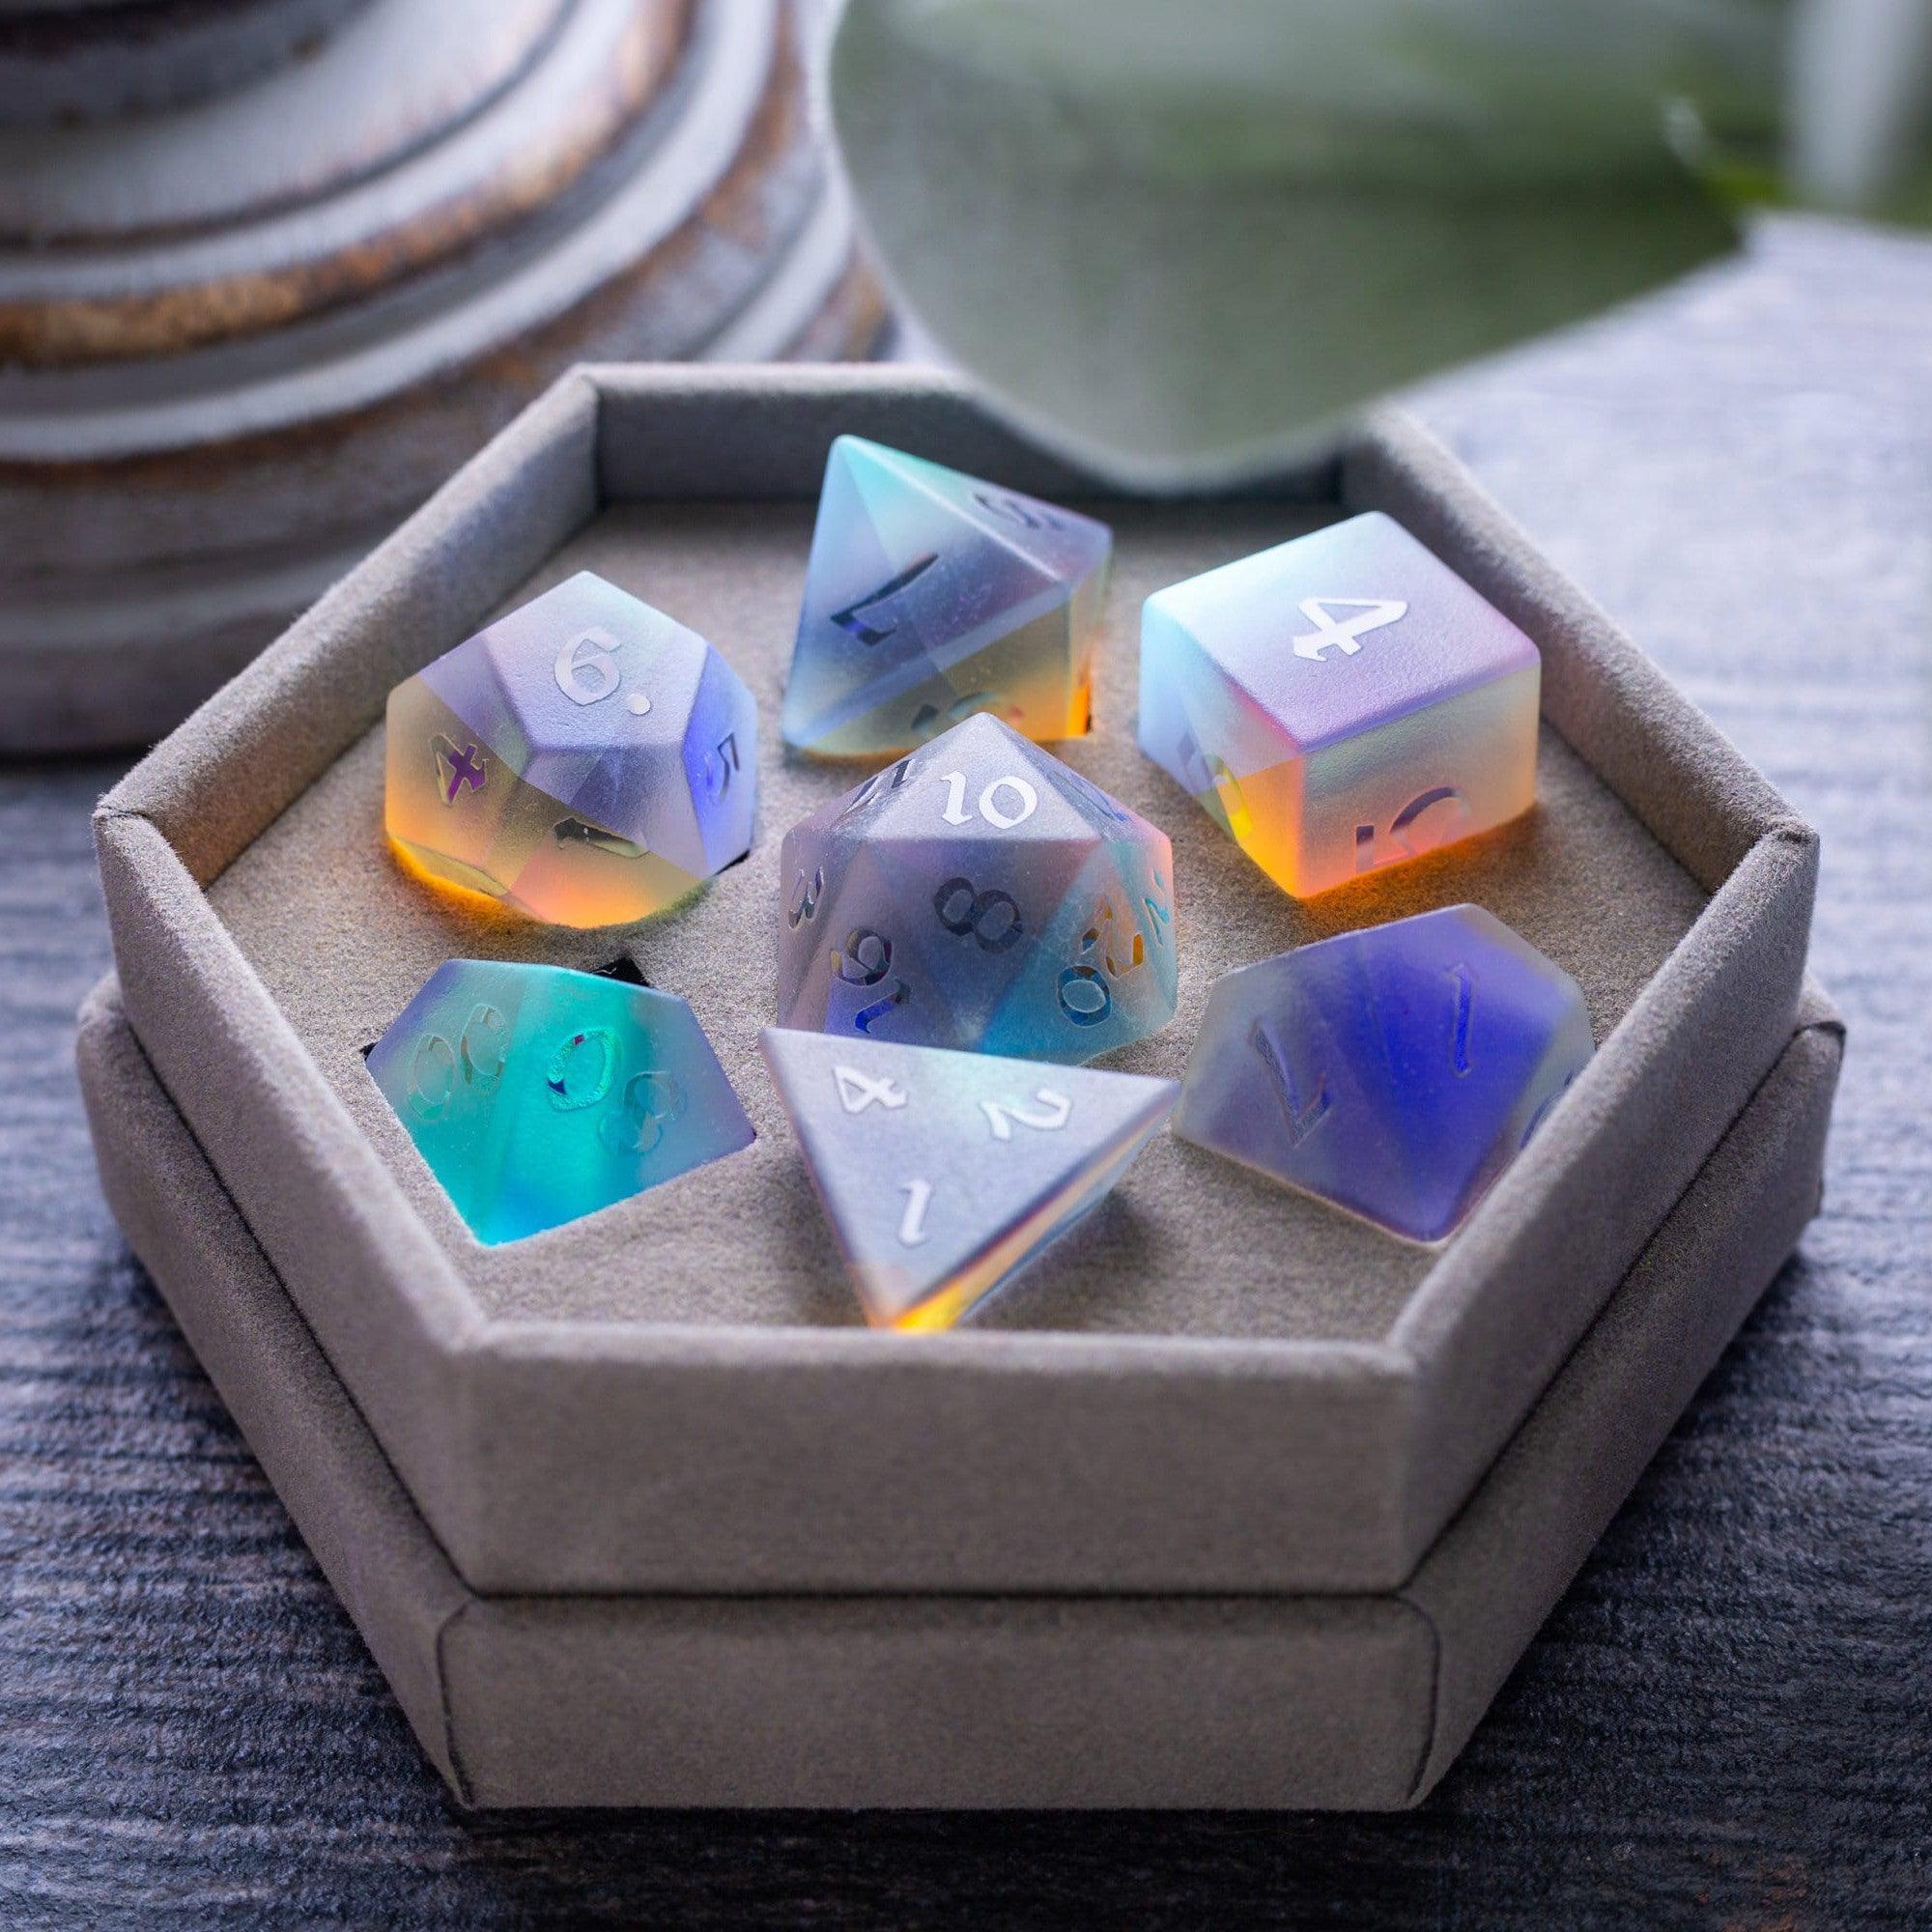
Many groups enjoy pairing immersive terrain, quality dice, and other tabletop RPG accessories to create a richer experience where every encounter feels like an event rather than just another combat encounter.
Conclusion
Terrain tiles are far more than decorative pieces sitting on a gaming table.
They improve positioning, strengthen visual storytelling, increase immersion, and encourage tactical decision-making. Whether you're running a simple dungeon crawl or an epic castle siege, thoughtfully designed terrain can transform the way players experience your world.
You don't need a massive collection to get started. Even a handful of modular terrain tiles can make encounters clearer, more engaging, and more memorable.
For many Dungeon Masters, terrain becomes one of the most valuable dungeon master tools available because it turns ordinary battlefields into adventures players remember long after the campaign ends.


Leave a comment
This site is protected by hCaptcha and the hCaptcha Privacy Policy and Terms of Service apply.