
Creating Immersive Virtual Tabletop Maps for Campaigns
Updated on: 2025-12-03
Want your online RPG sessions to pop with virtual tabletop maps that play fast and look great? This friendly guide shows you how to plan scenes, choose tools, and build maps that stay clear under pressure. You’ll learn a simple workflow, smart layout habits, and lightweight prep that speeds up every encounter. By the end, you’ll have practical steps and checklists you can use tonight.

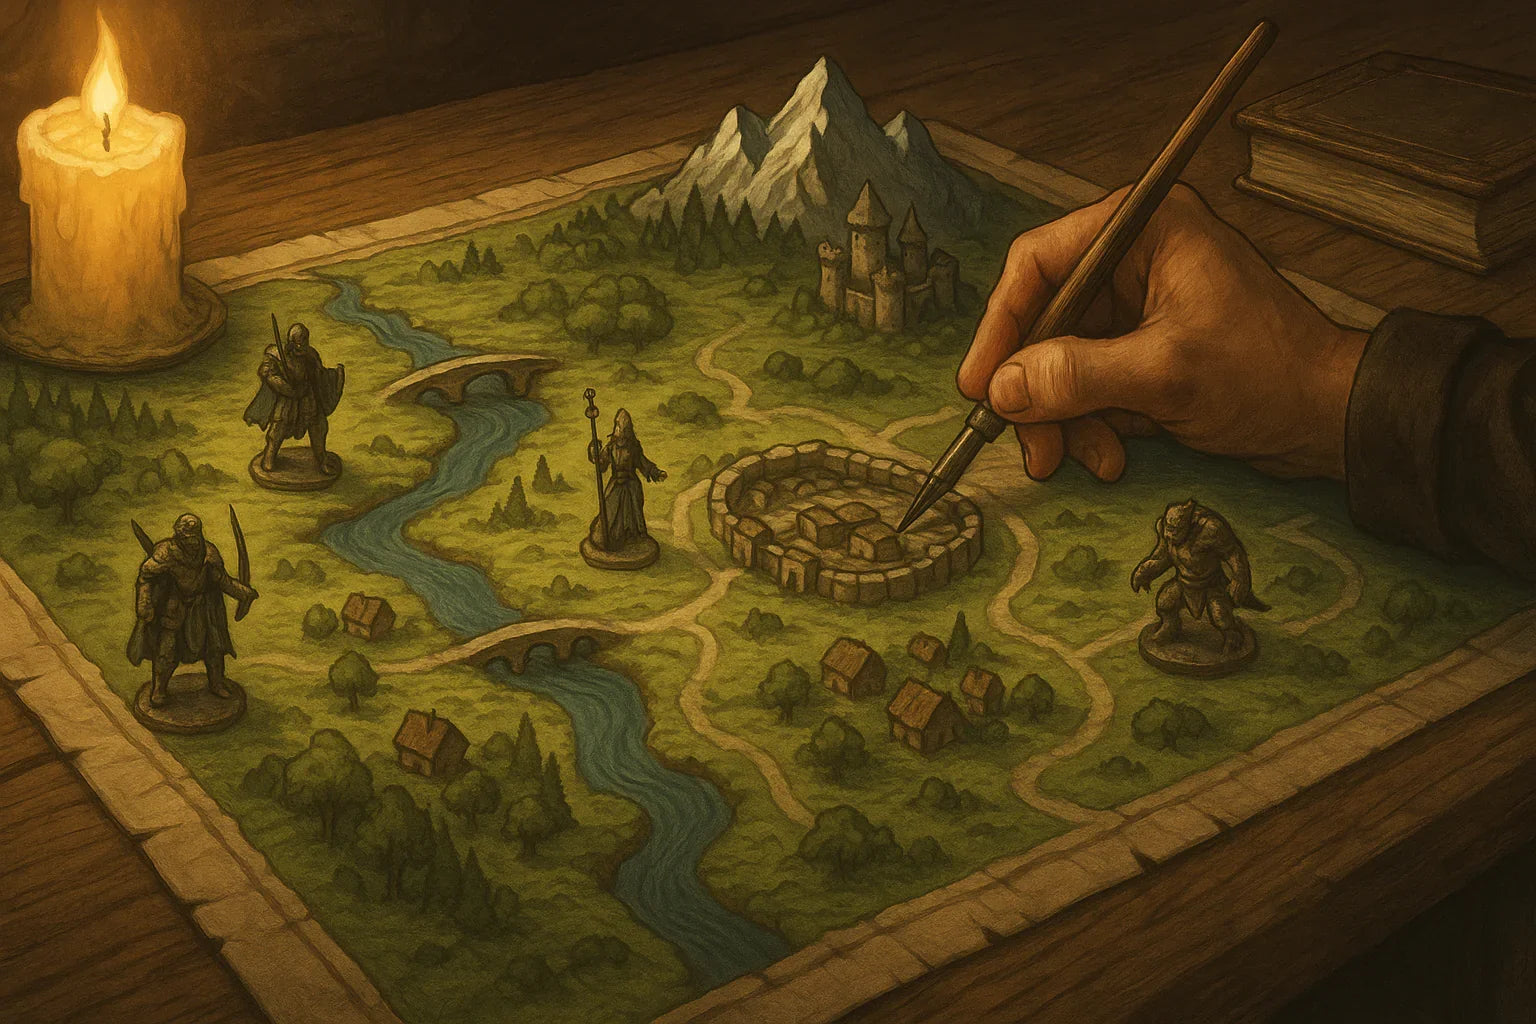
Maps can do a lot of heavy lifting for you. They set tone, guide choices, and keep pacing tight. The trick is designing scenes that are readable at a glance, quick to load, and easy to run when the action hits. Below, you’ll find a practical, GM-tested workflow for creating digital battlemaps that don't get in the way of storytelling. Use these steps for any system, any platform, and any style—from dungeon crawls to cozy mysteries.
Practical Guide: Crafting virtual tabletop maps
Step 1: Define the scene and scope
Before you drag a single tile, write one sentence that answers: What should players do here? Examples: “Hold the bridge for five rounds,” “Sneak past the patrol,” or “Investigate the market at night.” That single goal shapes the size, layout, and hazards you’ll include. Keep scope tight: one clear objective, two to four interesting features, and at least three paths forward.
Now sketch your geometry. Think in simple shapes—L-corridor, T-intersection, arena with pillars, two-story inn with balcony. Use three tiers of space:
- Safe zones: Where players start, regroup, or observe.
- Contest zones: Where the main action happens.
- Risk zones: Traps, narrow ledges, difficult terrain, or line-of-sight blockers.
If your sketch looks like a clean logo at thumbnail size, you’re on the right track. Readability beats detail every time.
Step 2: Choose tools and assets
Pick a tool that matches your time and comfort level. If you love fast builds, use a drag-and-drop map maker with modular tiles. If you enjoy granular control, a layer-based art app works great. For quick sessions, repurpose existing map packs and reskin them with new props, weather, or lighting—your players care more about vibe and clarity than bespoke art.
Gather a lightweight kit:
- Base textures: one ground, one wall, one accent. Limit to three to keep loads snappy.
- Props: three to five signature items per scene (altar, cart, brazier, broken statue).
- Tokens: readable silhouettes with strong contrast against the floor.
- Grid: consistent size across all scenes for painless movement.
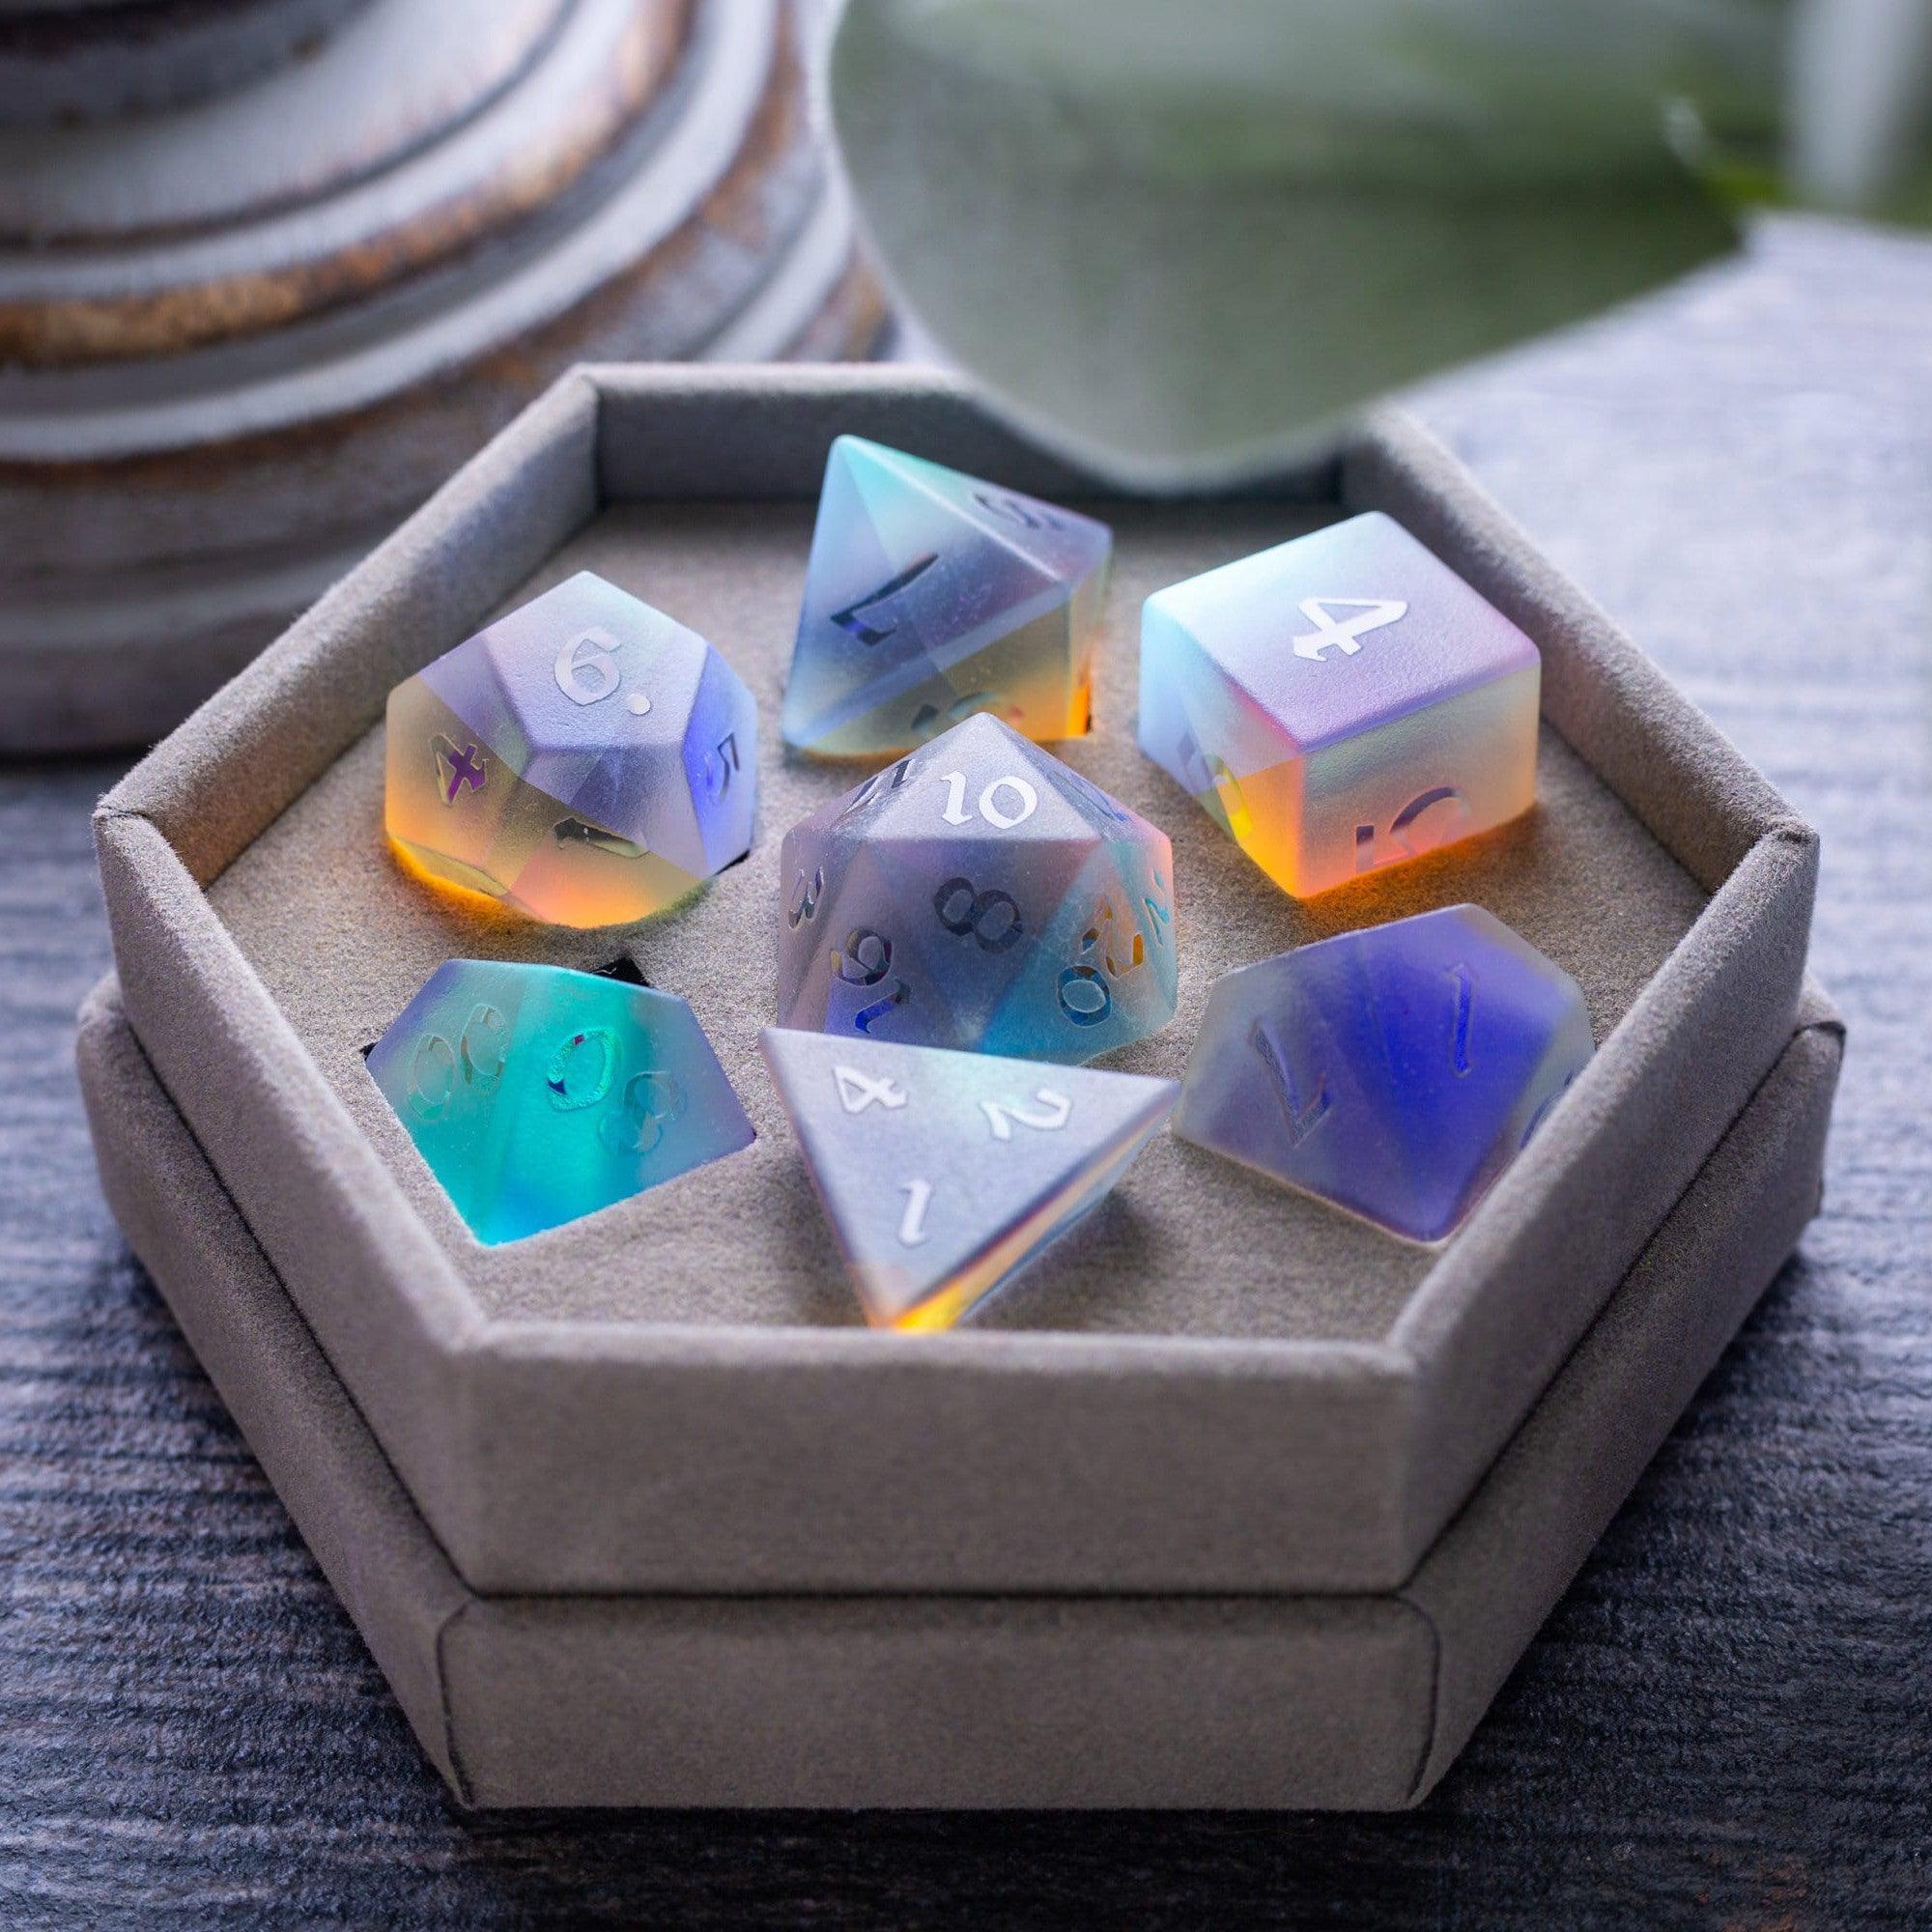
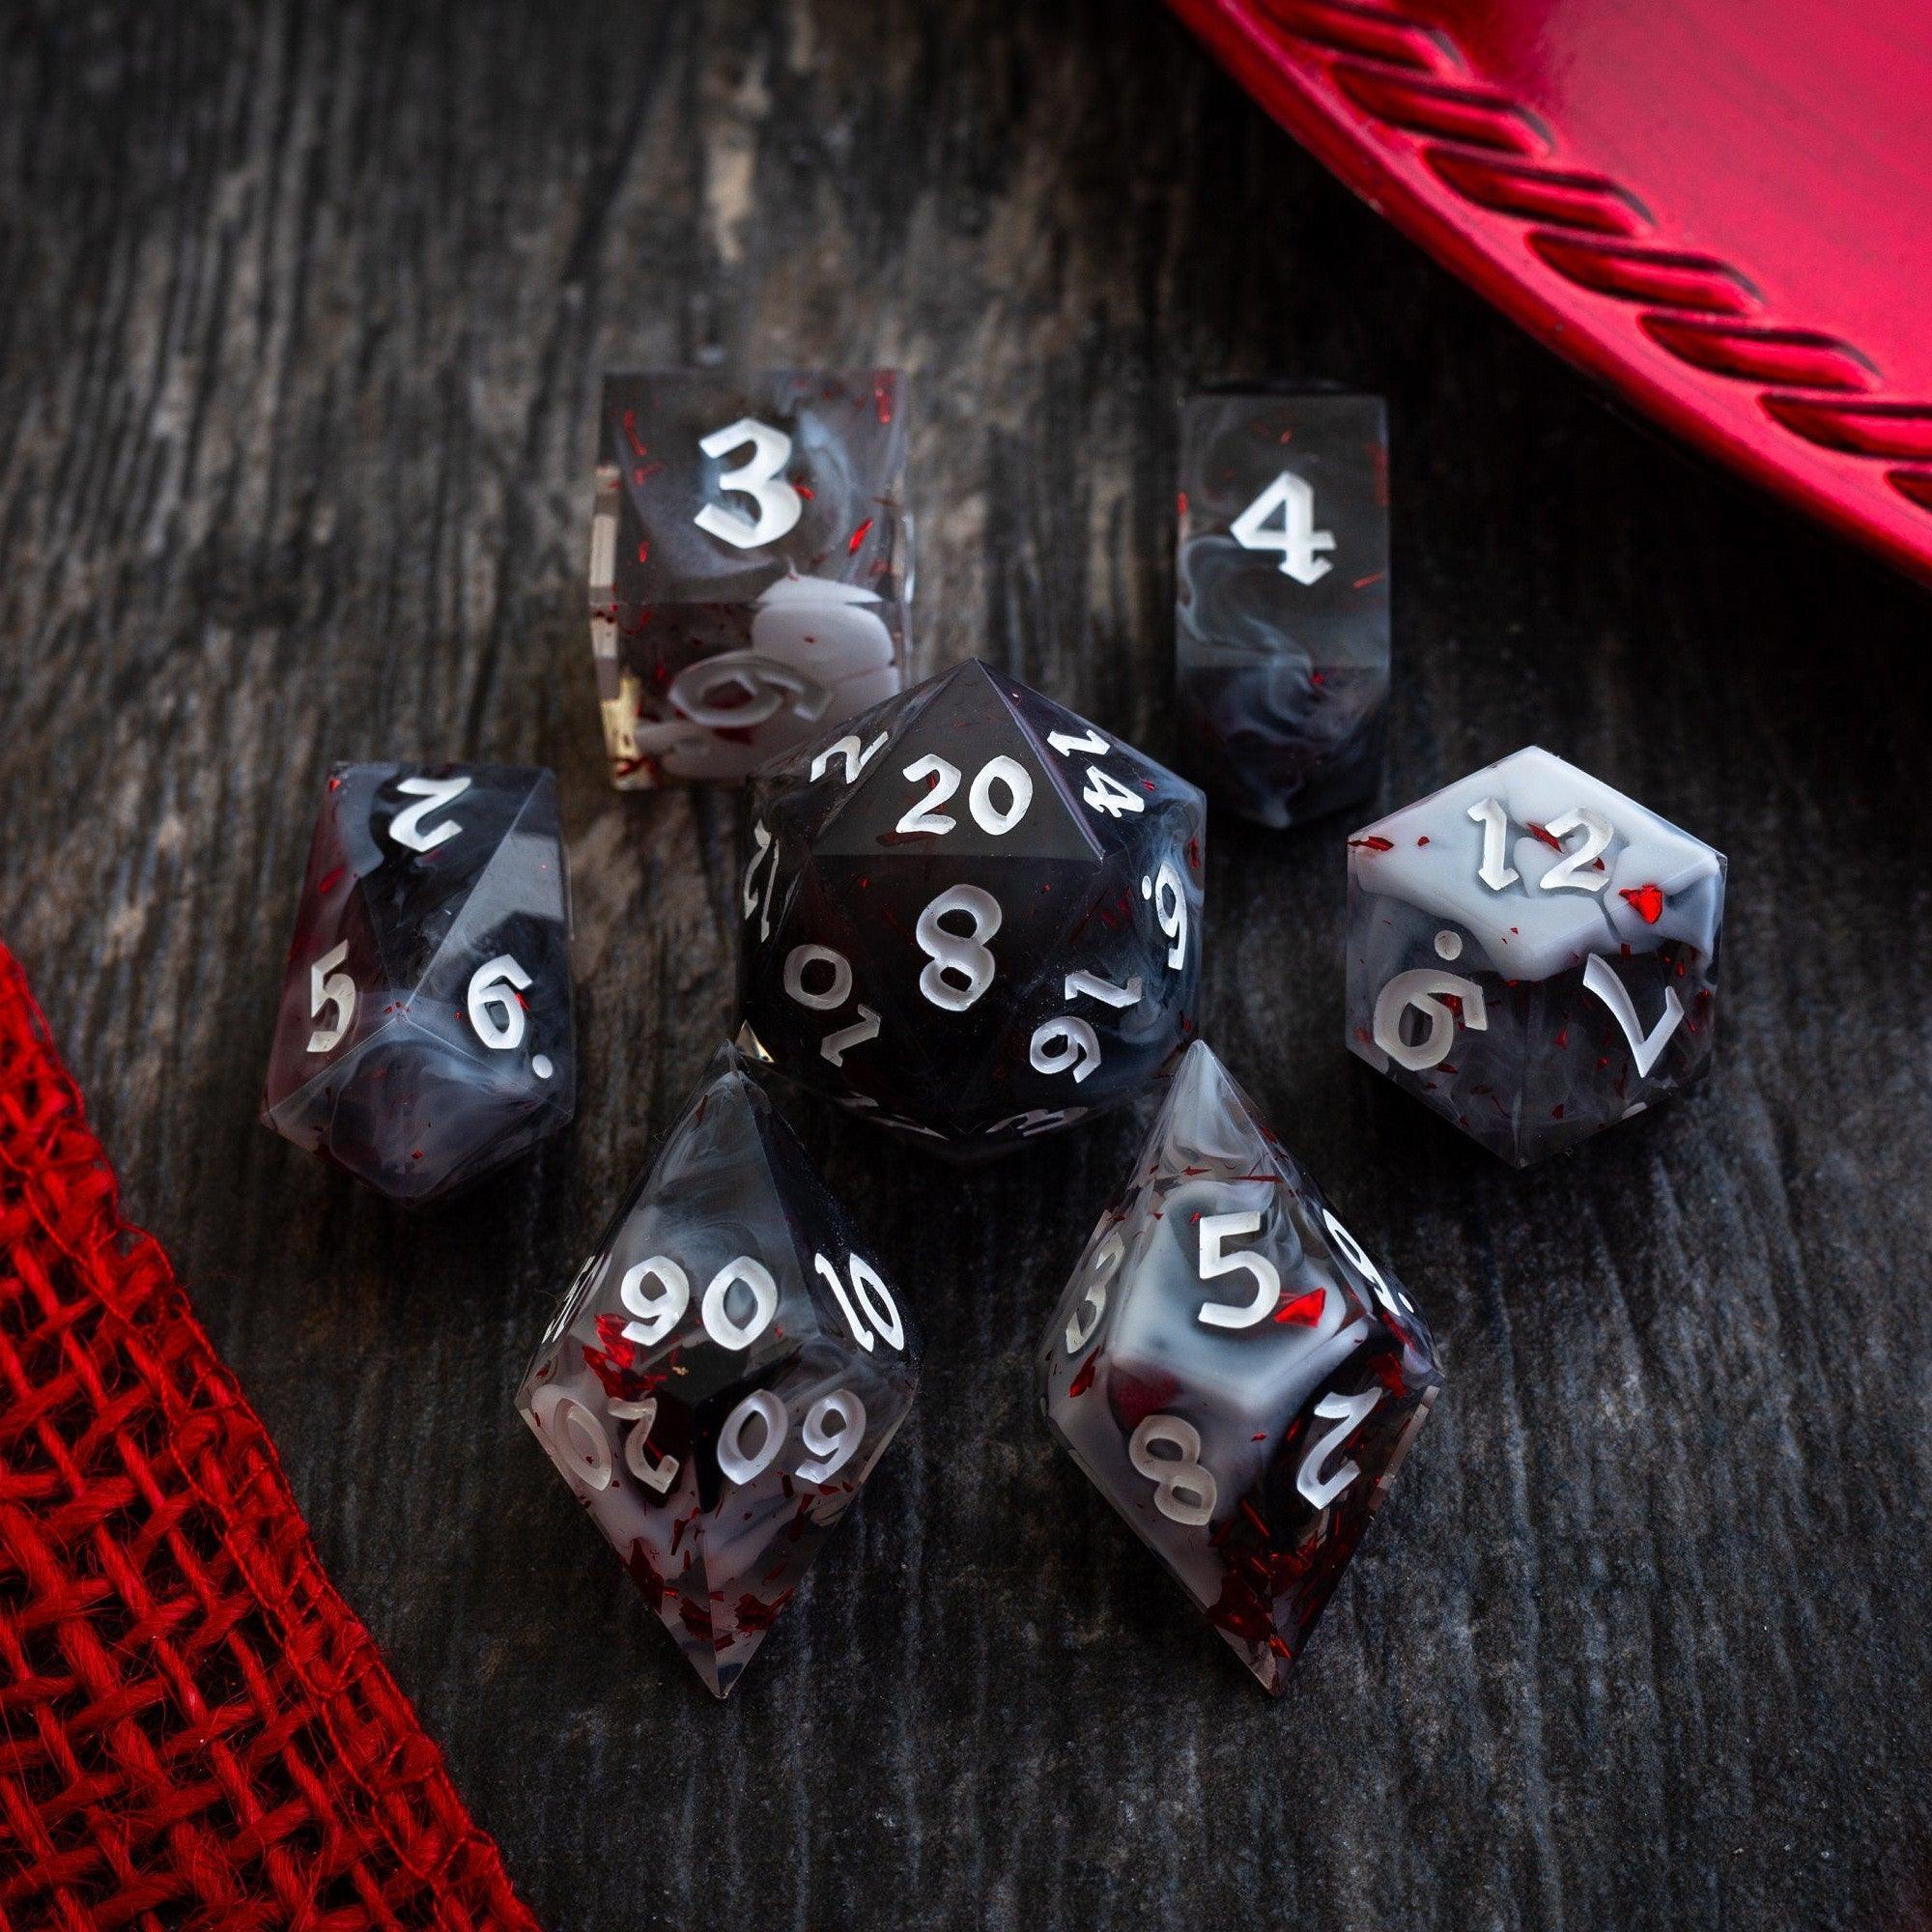
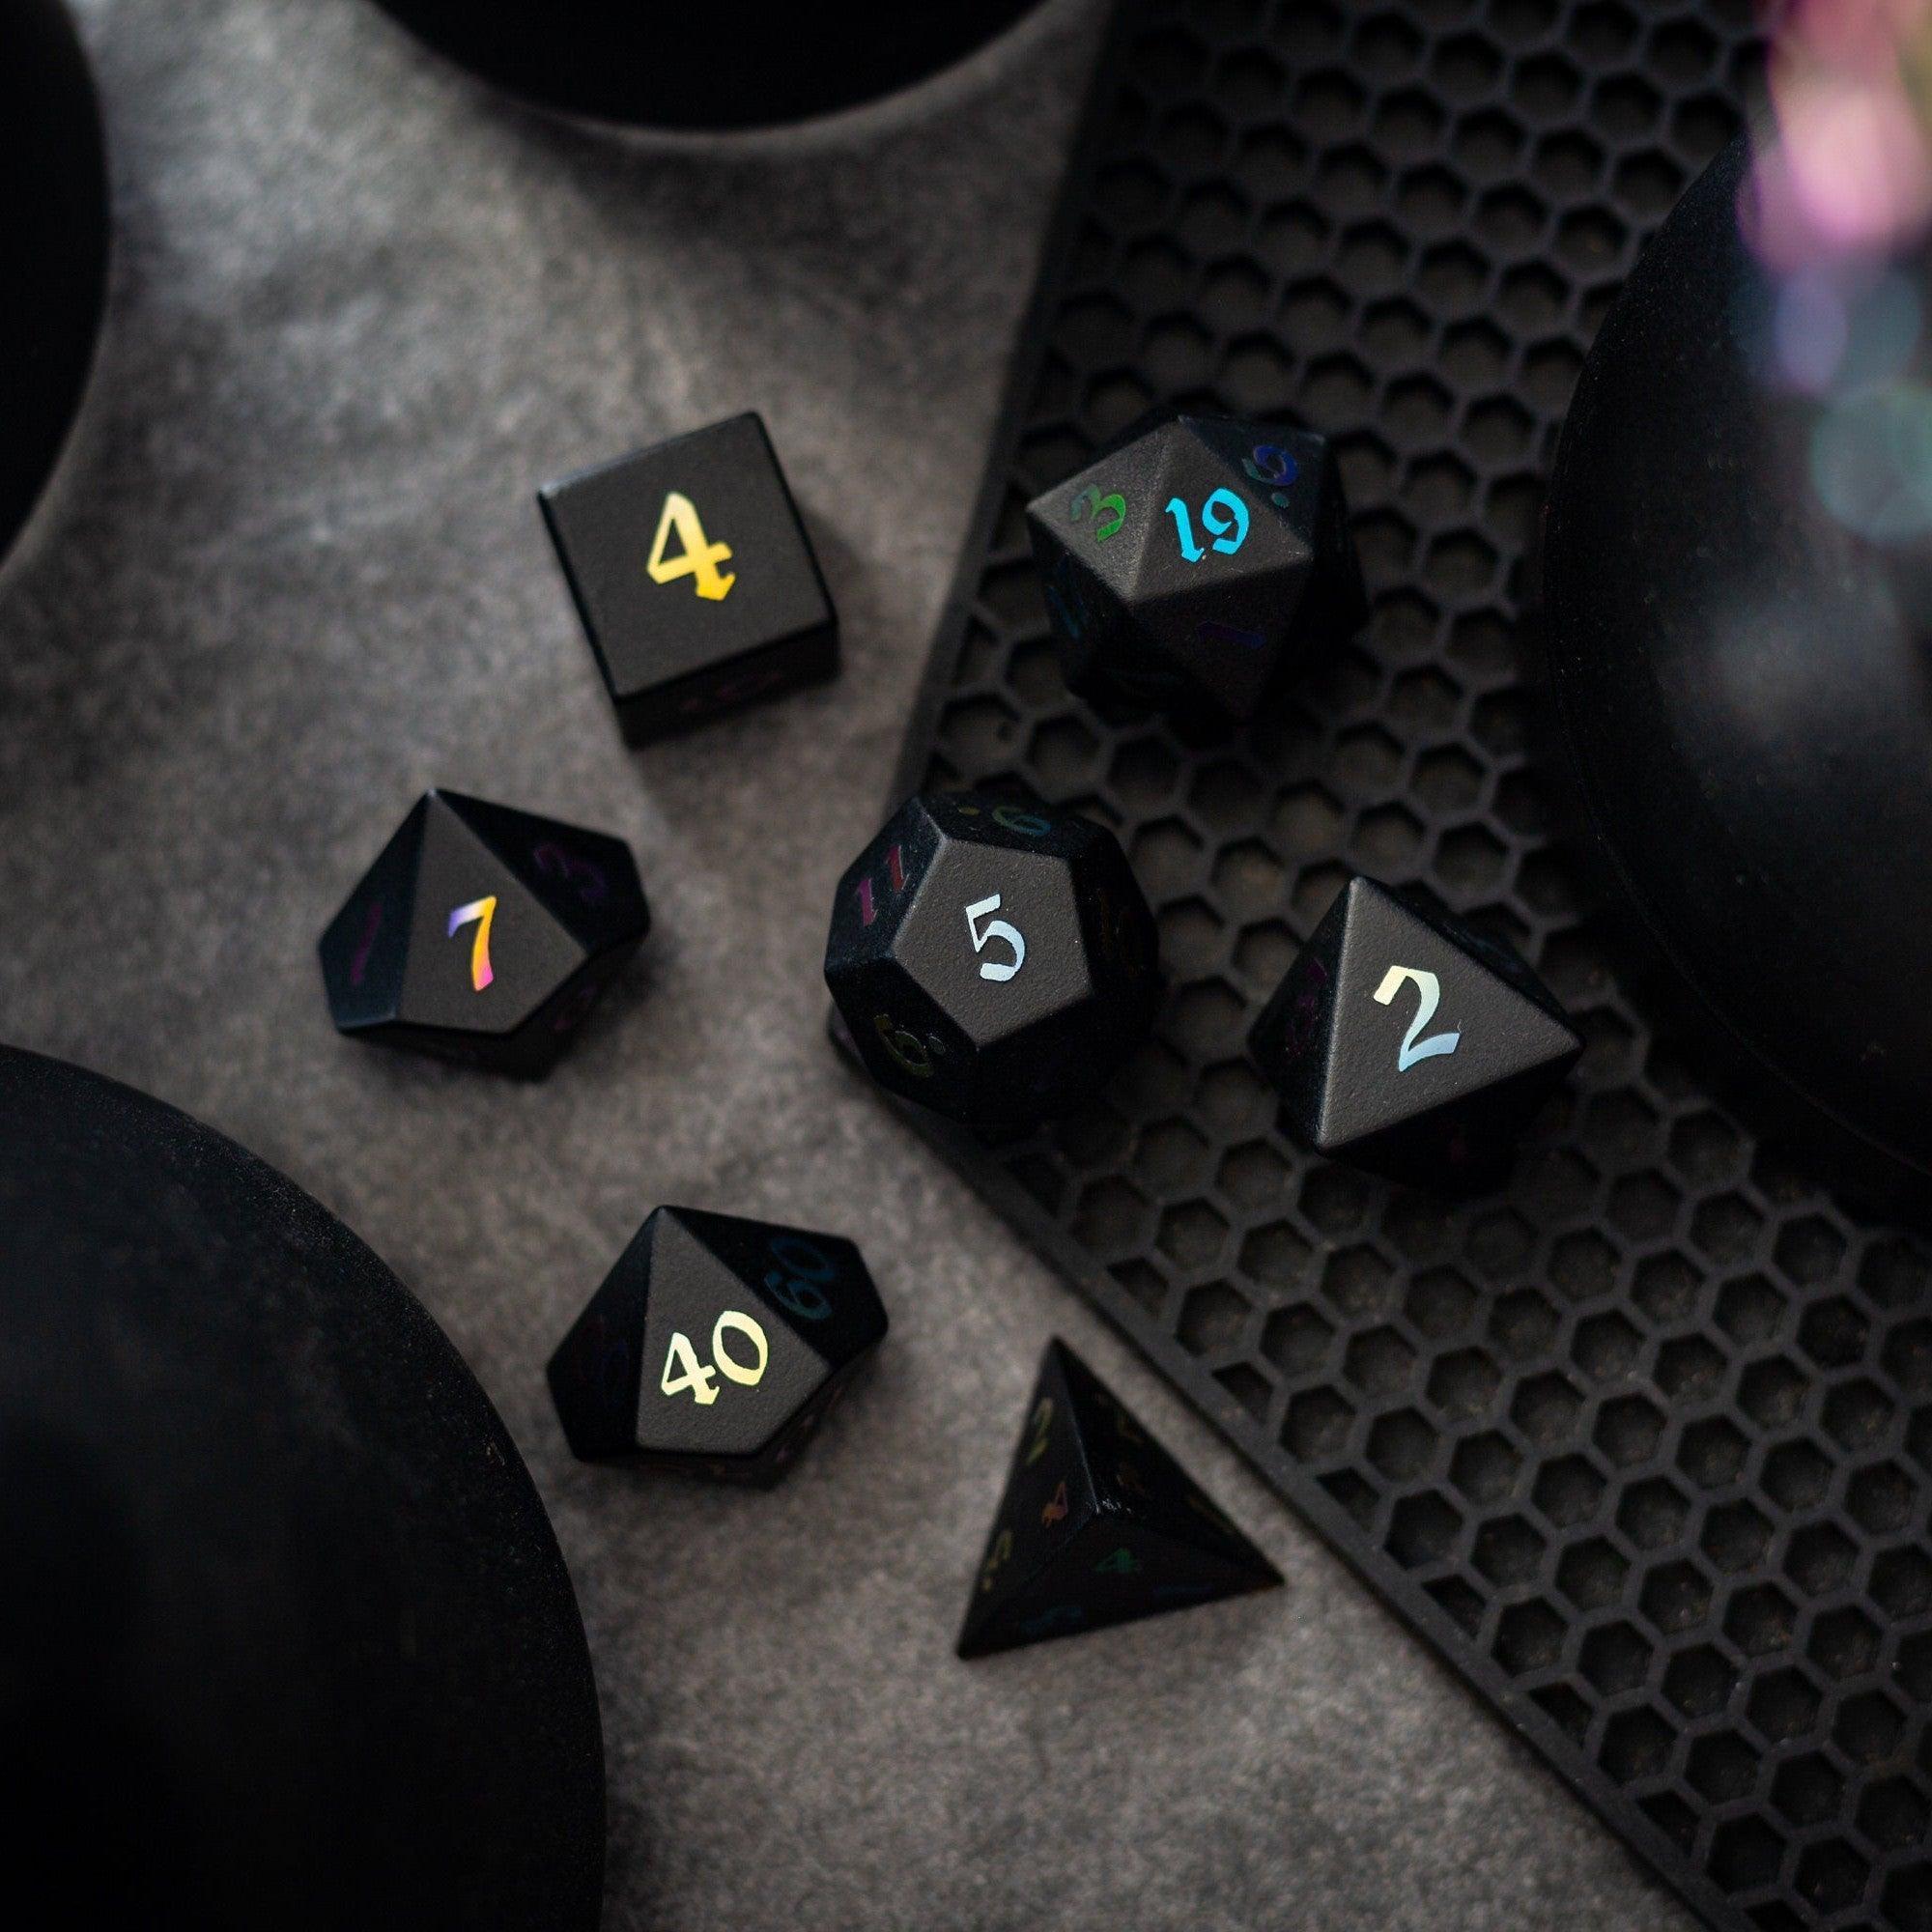
If you like a tactile flourish at the table, pair your digital scenes with physical click-clacks. Sleek, sharp edges sparkle under a desk lamp—browse sharp‑edge resin dice for a clean, modern look that photographs well.
Step 3: Build dynamic layers
Layering creates the “wow” without heavy files. Set your base floor and walls. Then add just three motion layers to suggest life:
- Light and shadow: pools of warm light, cool shadows across thresholds. Keep opacity modest for legibility.
- Weather or ambience: gentle fog, drifting dust, light rain, or candle smoke. Use sparingly to reduce clutter.
- Interactive accents: doors, shutters, ladders, and cover objects that matter tactically.
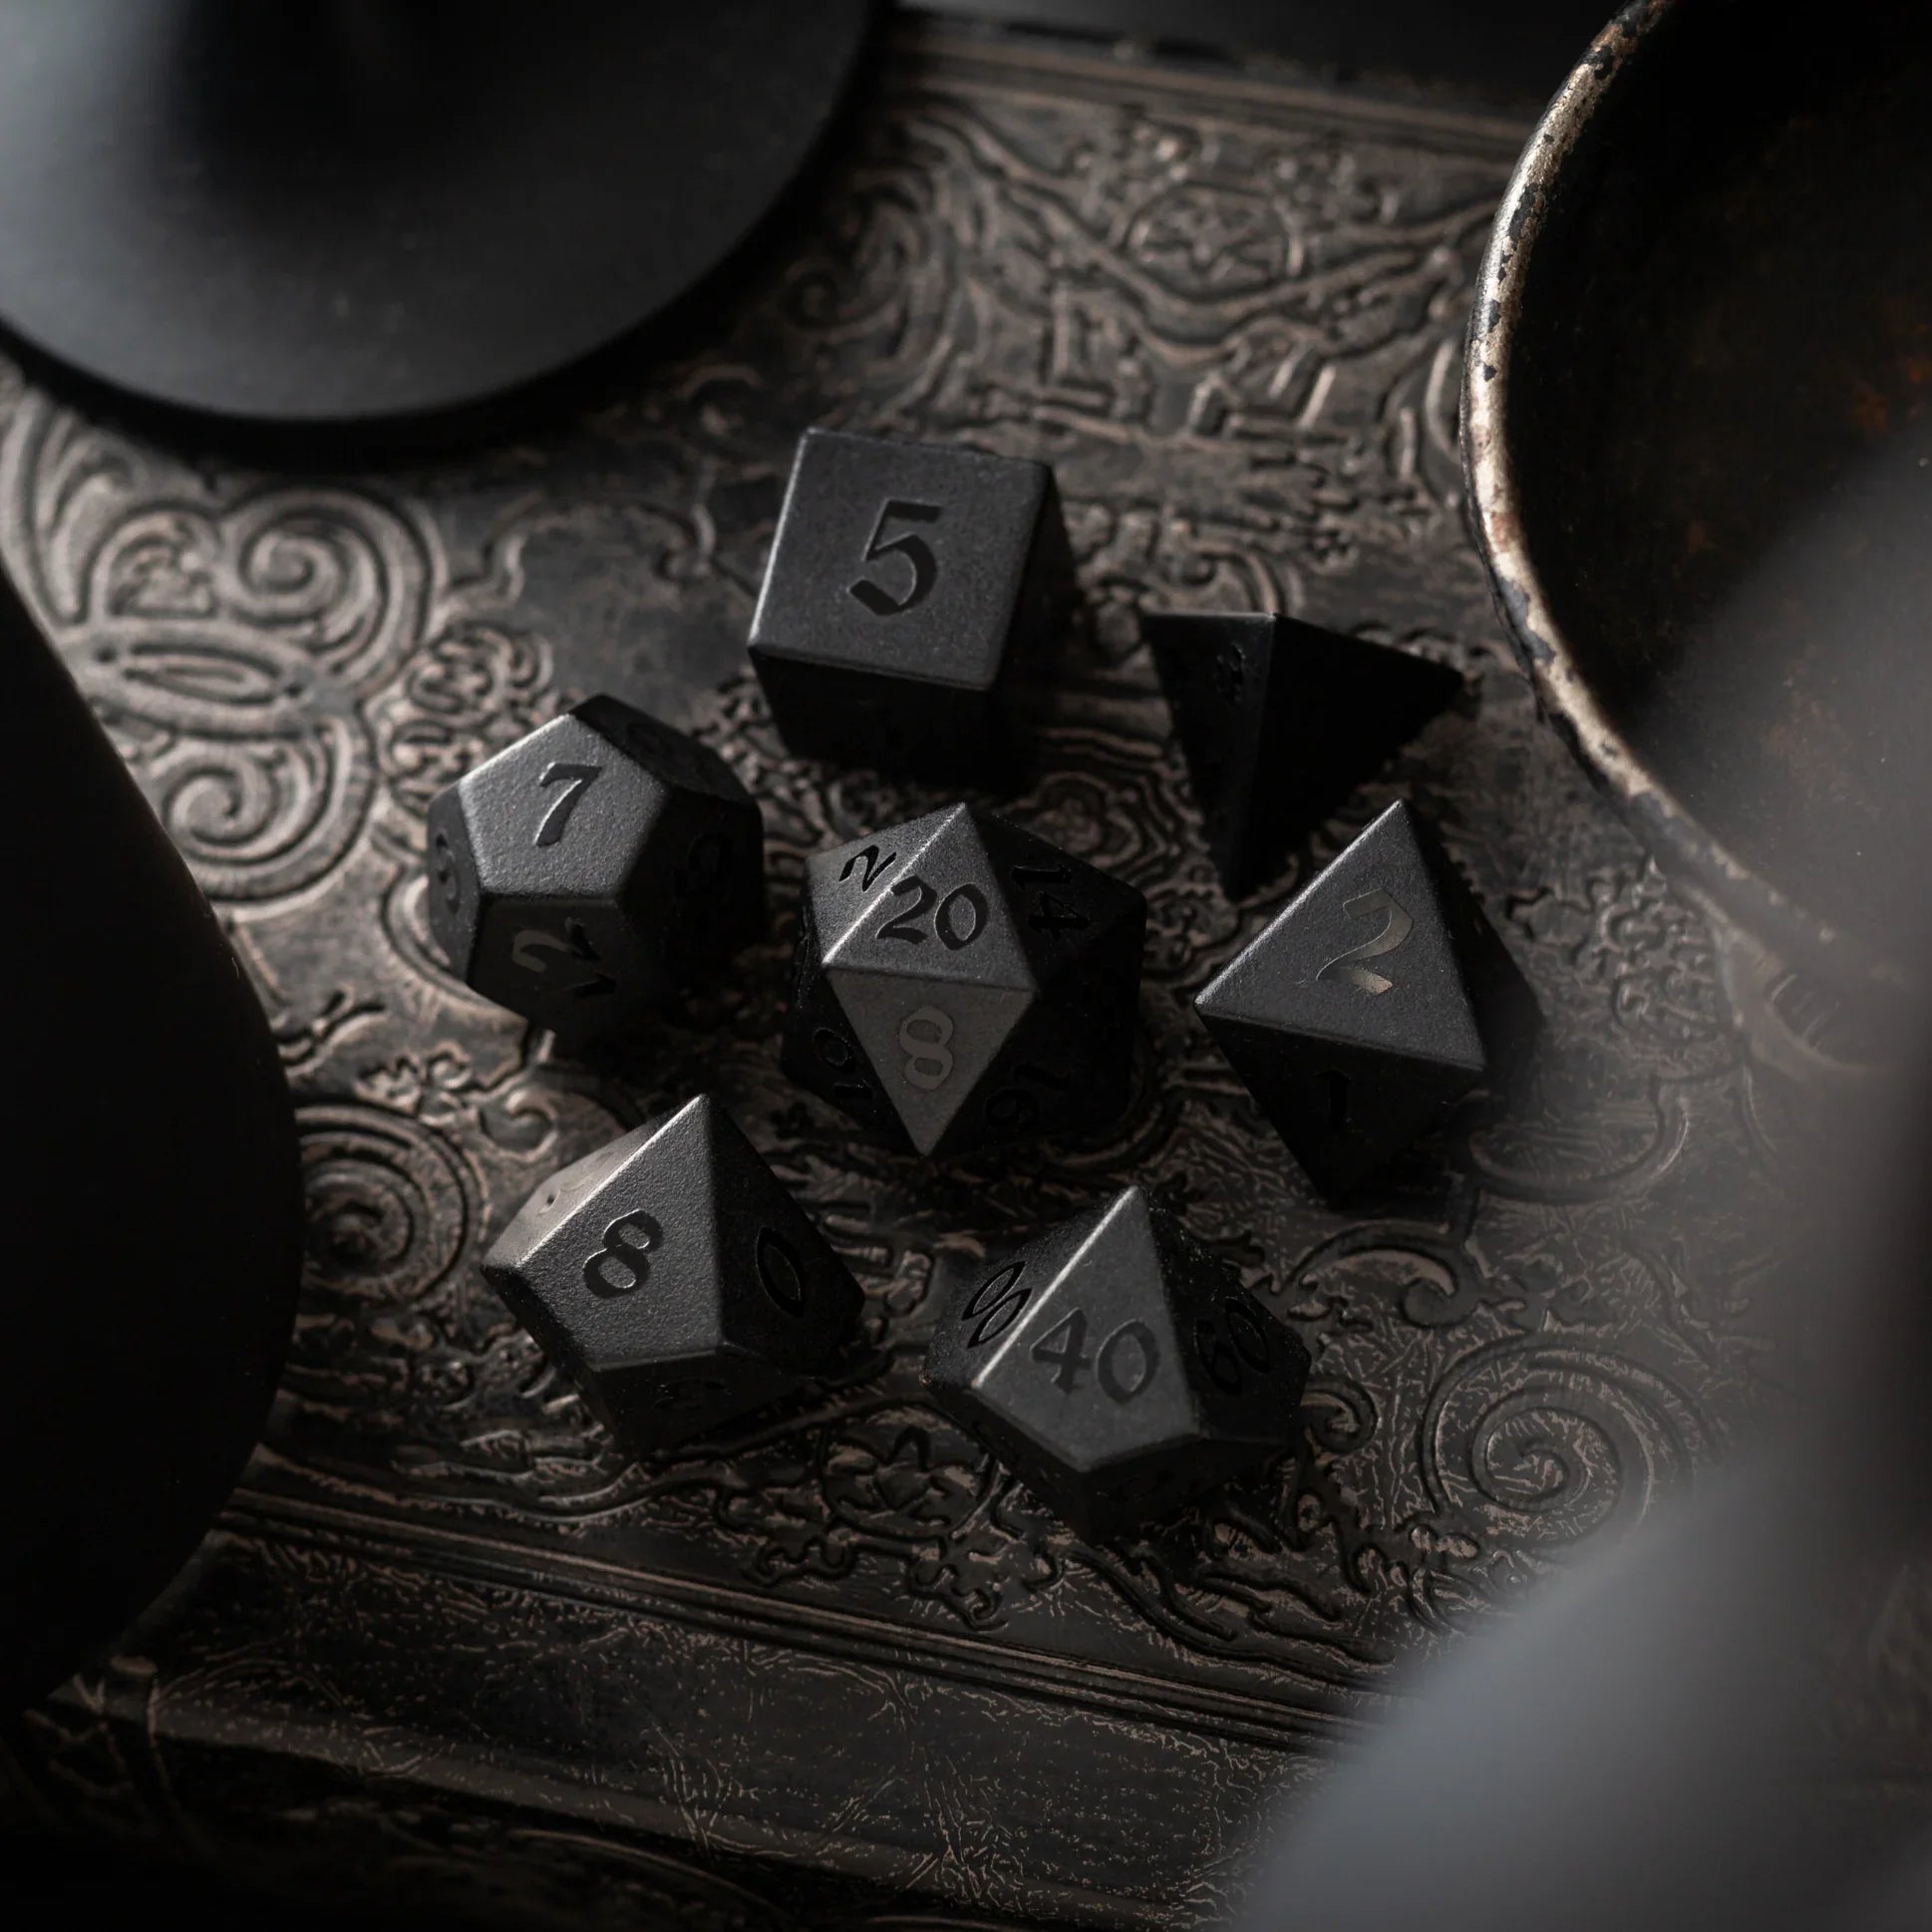
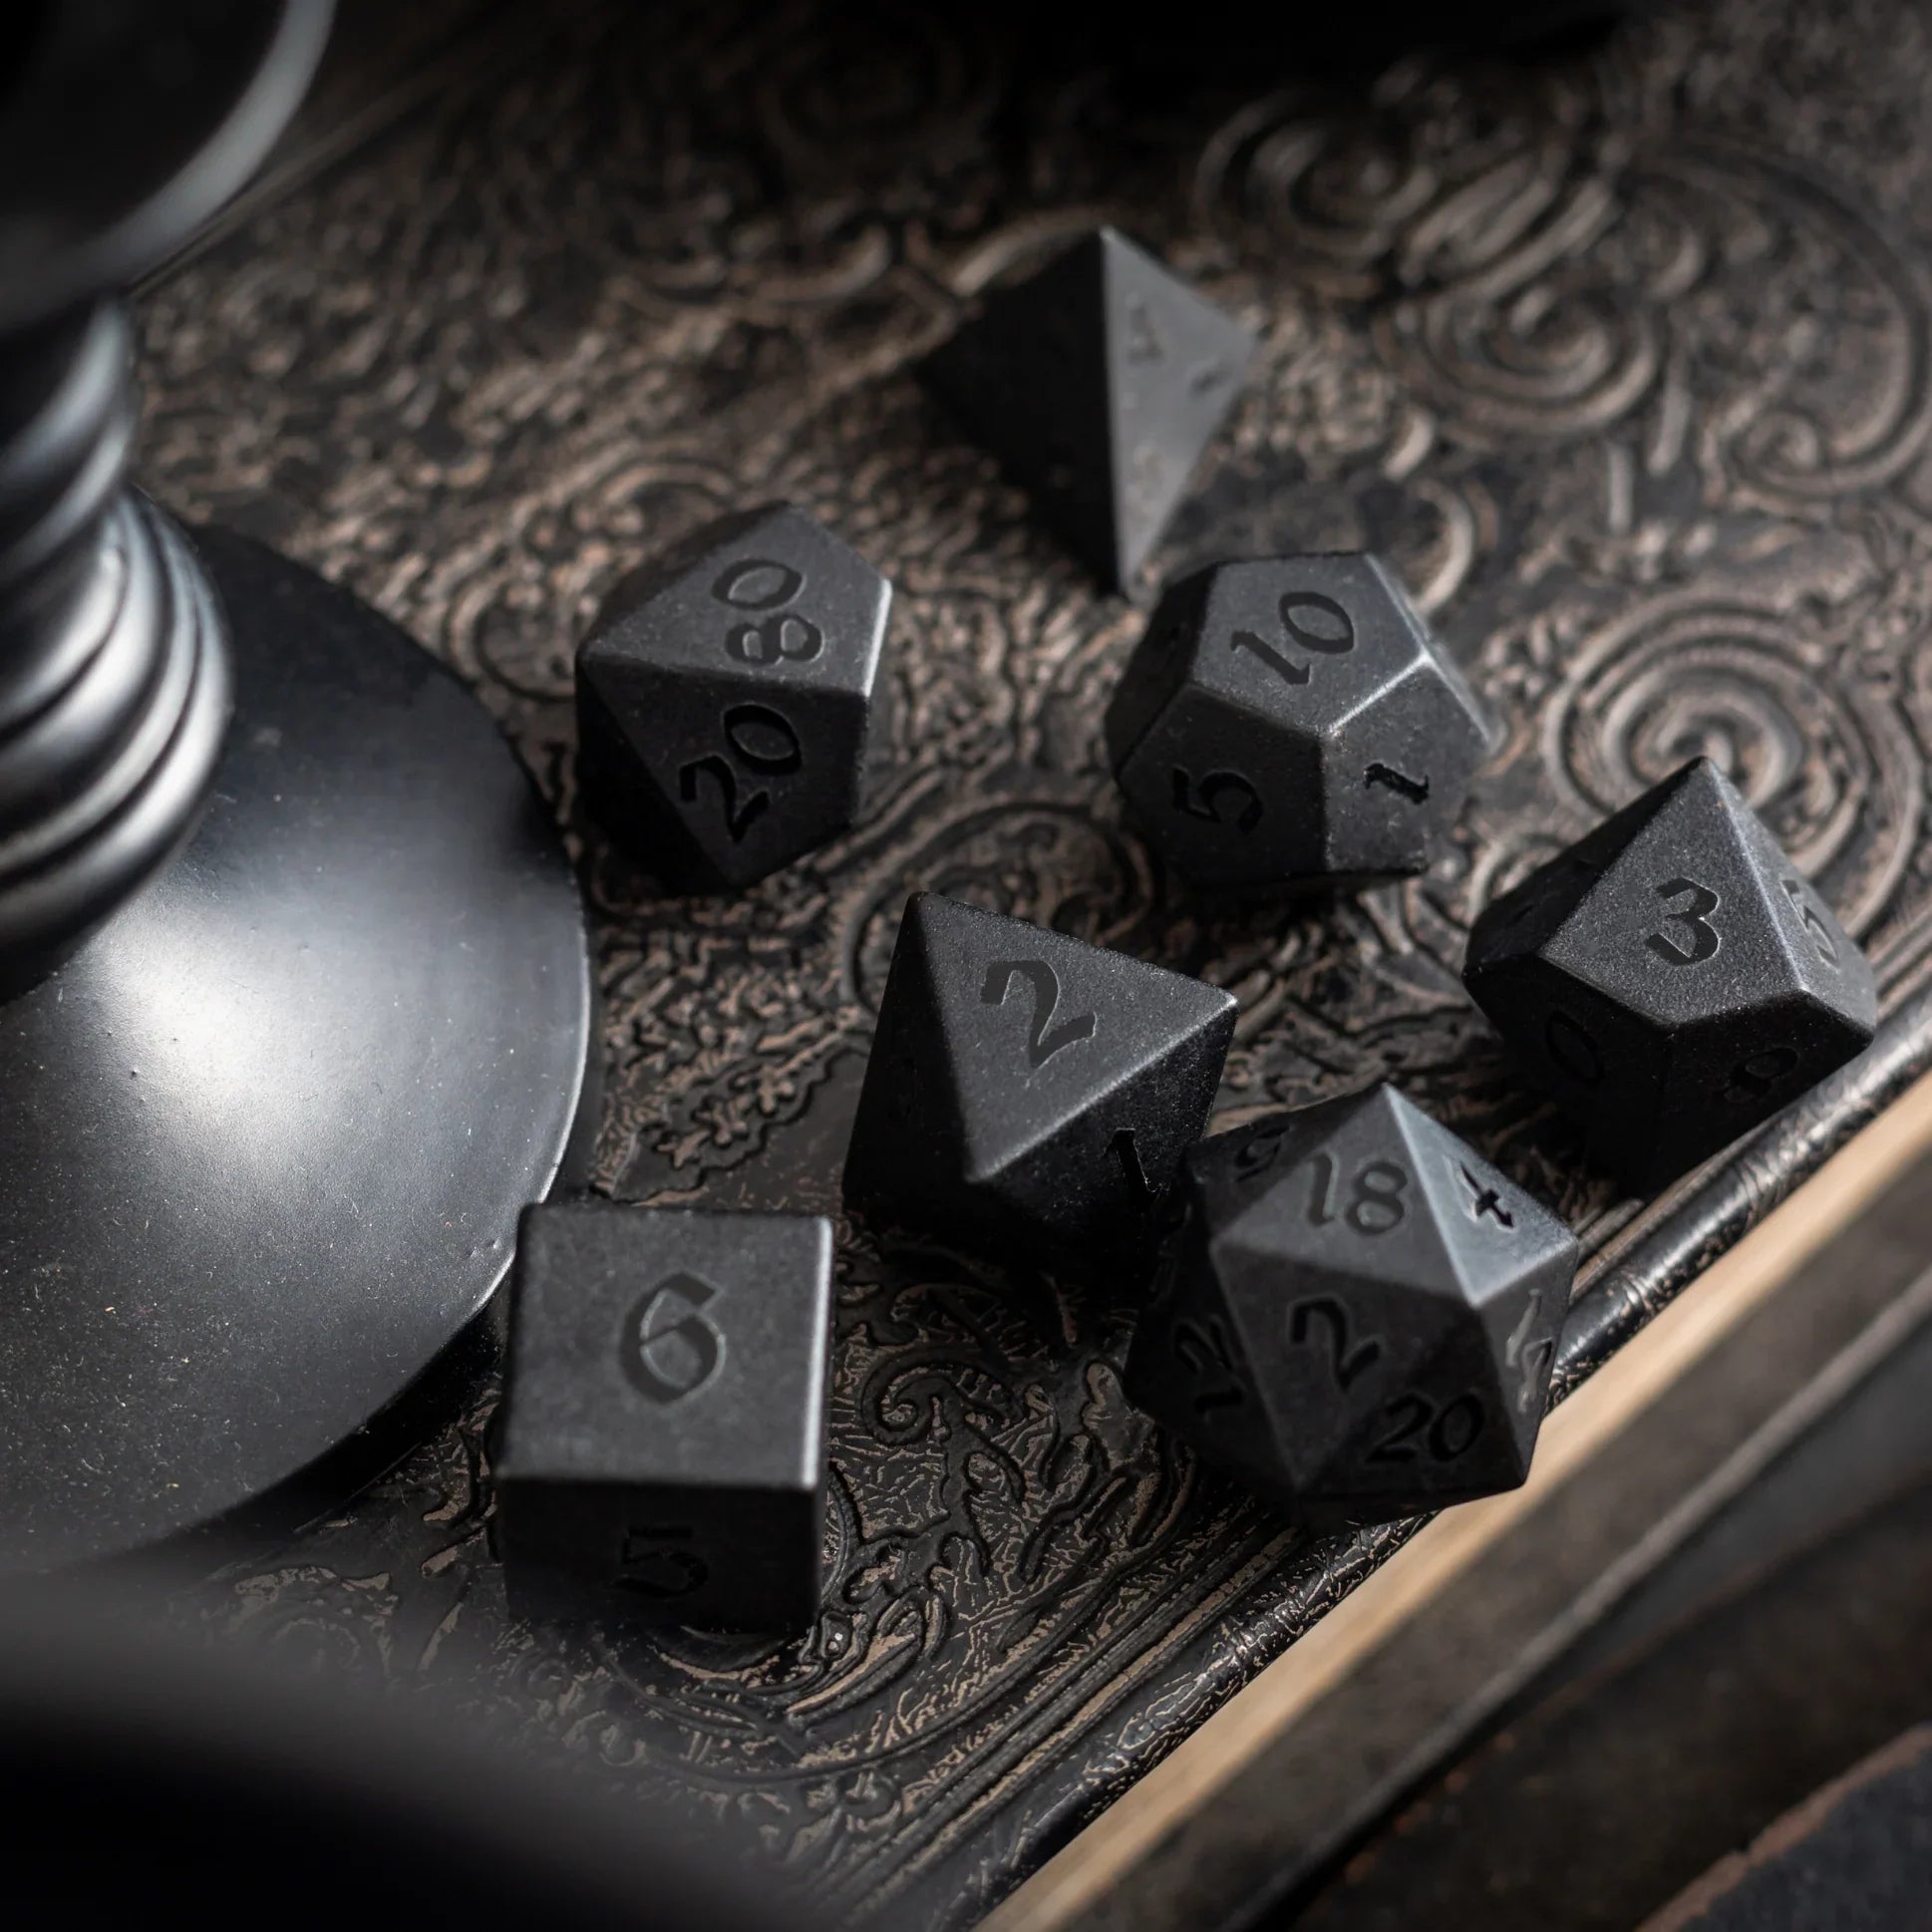
Remember that every prop is a choice point. Too many choices slow play, so favor big shapes over tiny knickknacks. If you track dice rolls on camera, stable rolling helps pace—sturdy towers make a difference, even in hybrid play. Check out minimalist dice towers that keep rolling neat and visible.
Step 4: Balance clarity and flavor
Think of your map like a stage set. The job is to help the action read instantly, not to show every brick. Keep these guardrails:
- Contrast: Light floors, dark tokens (or vice versa). Add a subtle stroke around tokens if needed.
- Color coding: Use consistent color for hazards (e.g., desaturated red for dangerous drops).
- Sightlines: Offer clear lanes for ranged play and pockets for melee and cover.
- Labels: Avoid text on the map. Use unobtrusive icons or your VTT’s note pins instead.
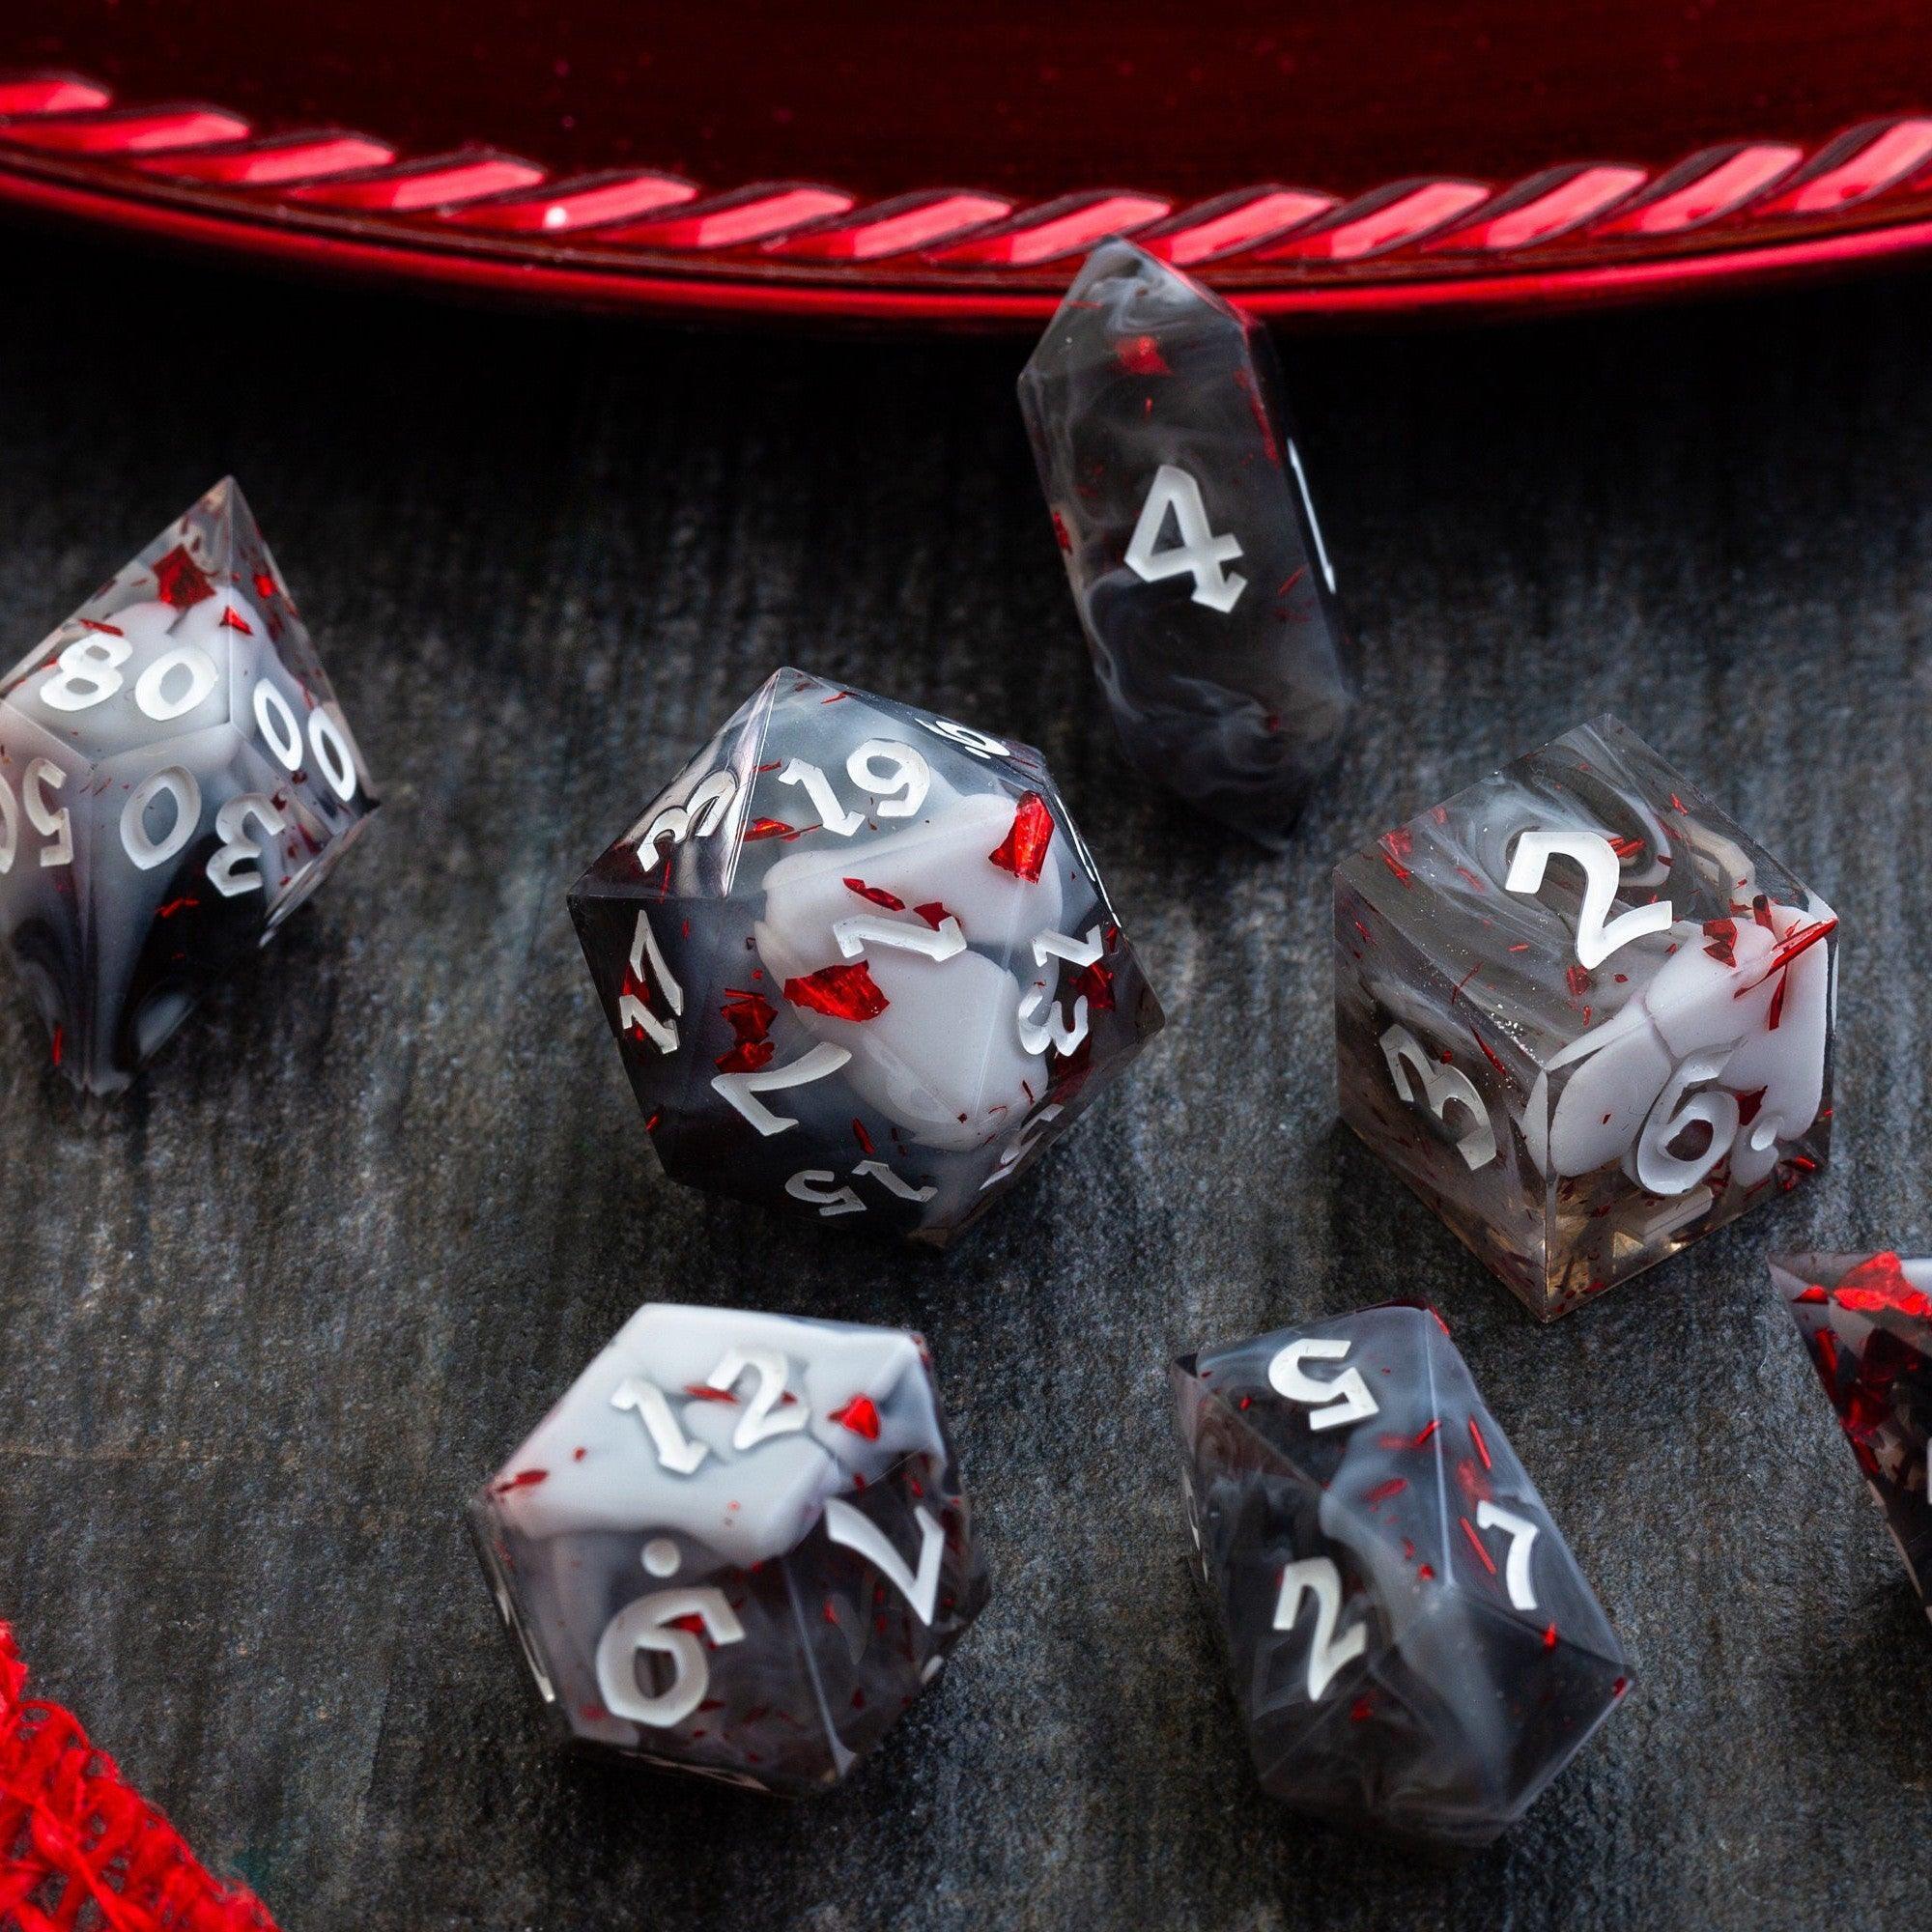
When in doubt, remove detail. Flavor can come from narration, soundscapes, or props. If you like a dash of table bling, luminous sets look great on stream and in photos—see the glow and shimmer of liquid core dice for striking visuals.
Step 5: Prep for play and safety
Great prep saves minutes every hour of play. Do a dry run before game night:
- Snap tokens to grid and test movement across the whole scene.
- Check lighting reveals: ensure key items aren’t hidden by accident.
- Place invisible “GM notes” pins with DCs, creature HP blocks, and read-aloud beats.
- Set macros or quick buttons for common conditions and area effects.
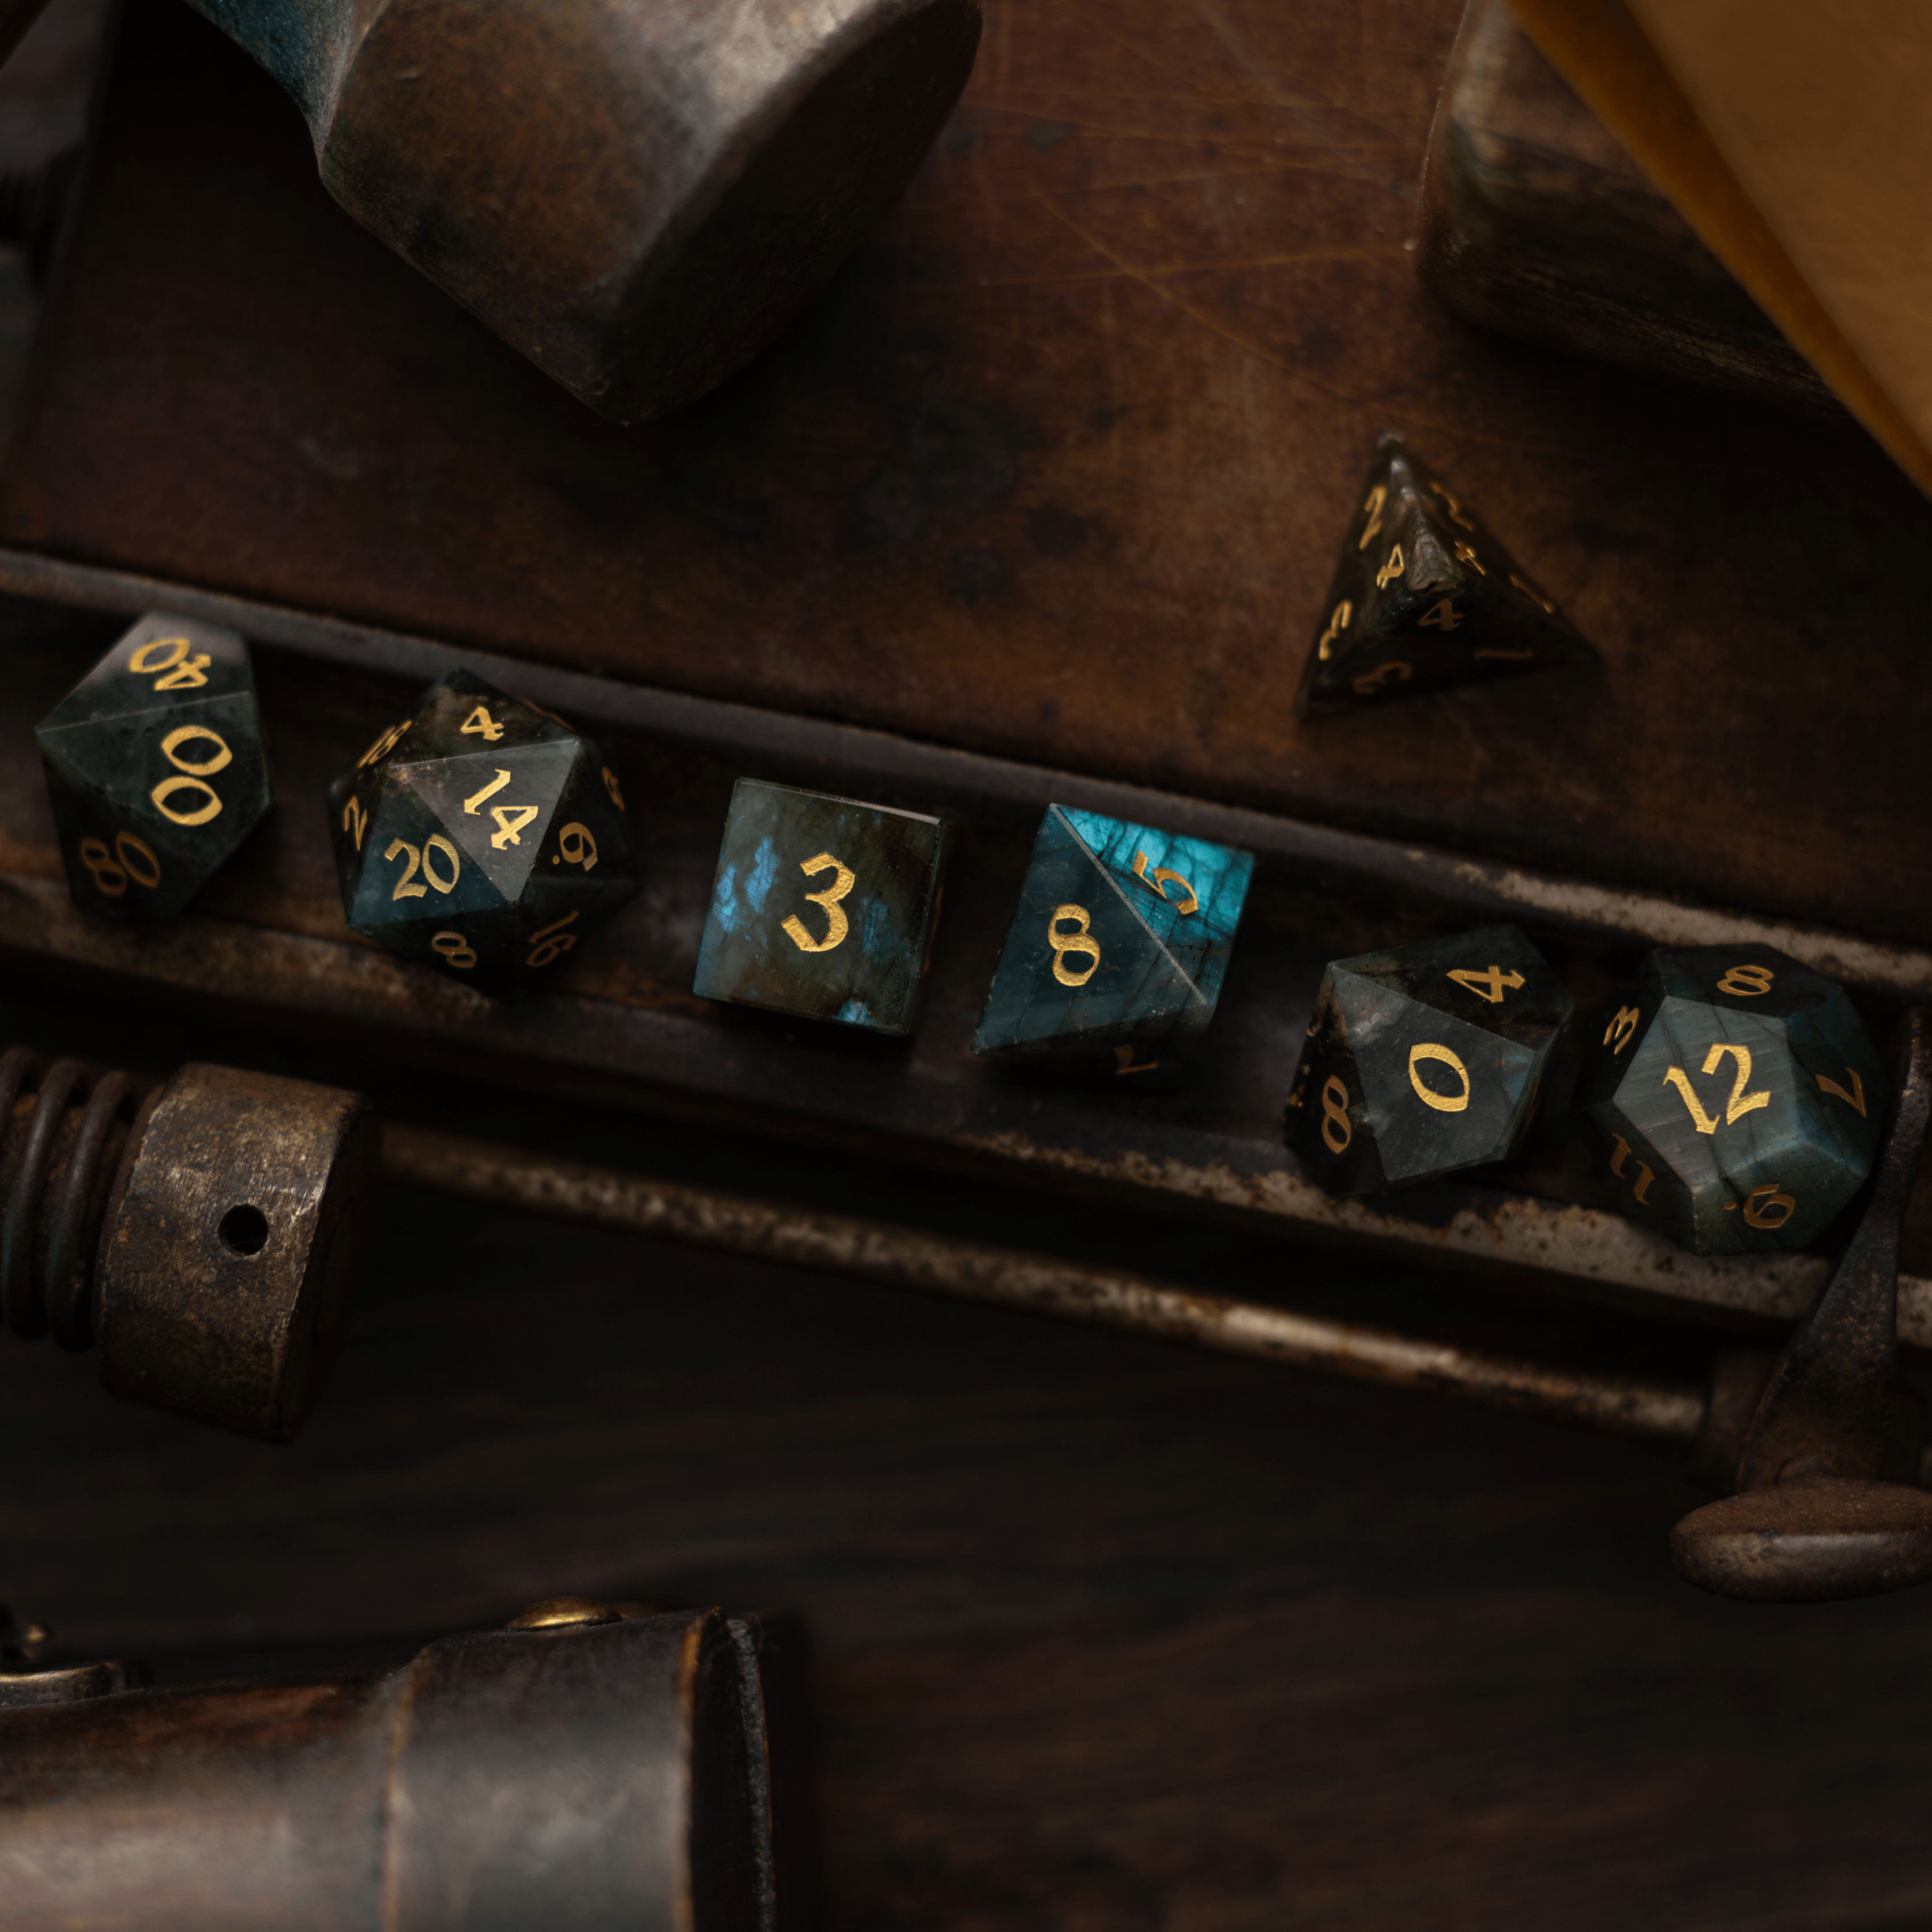
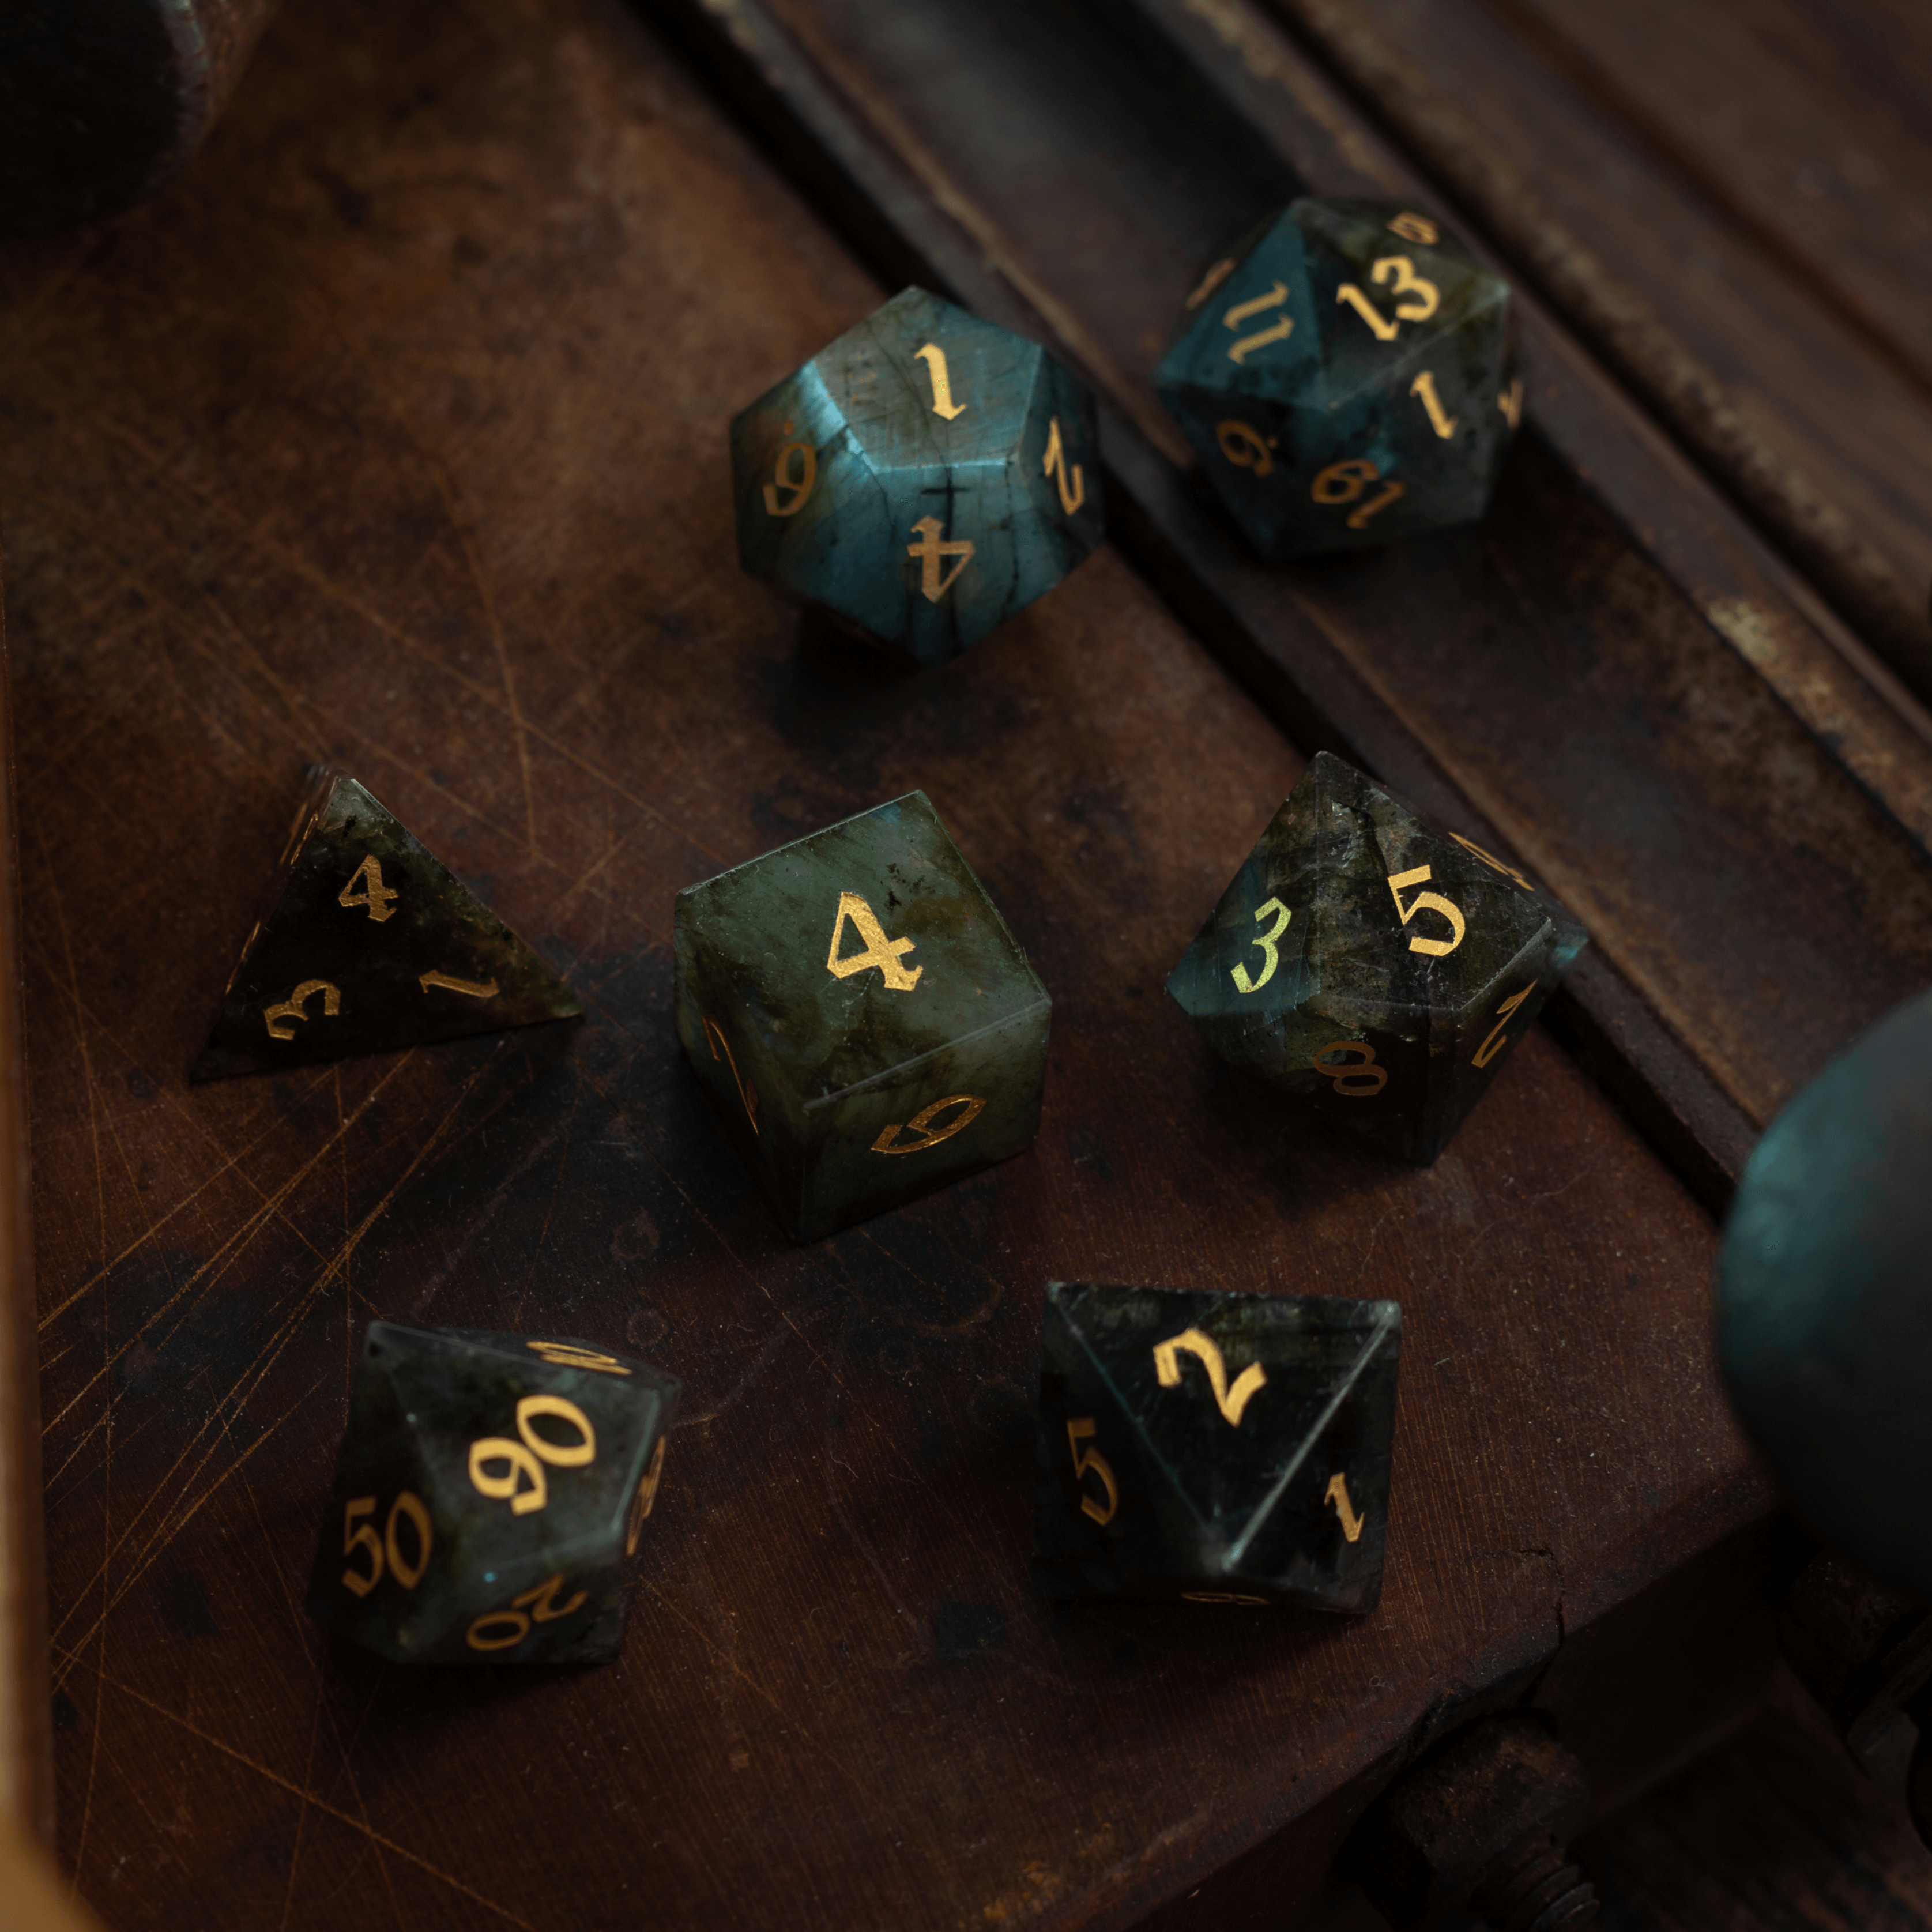
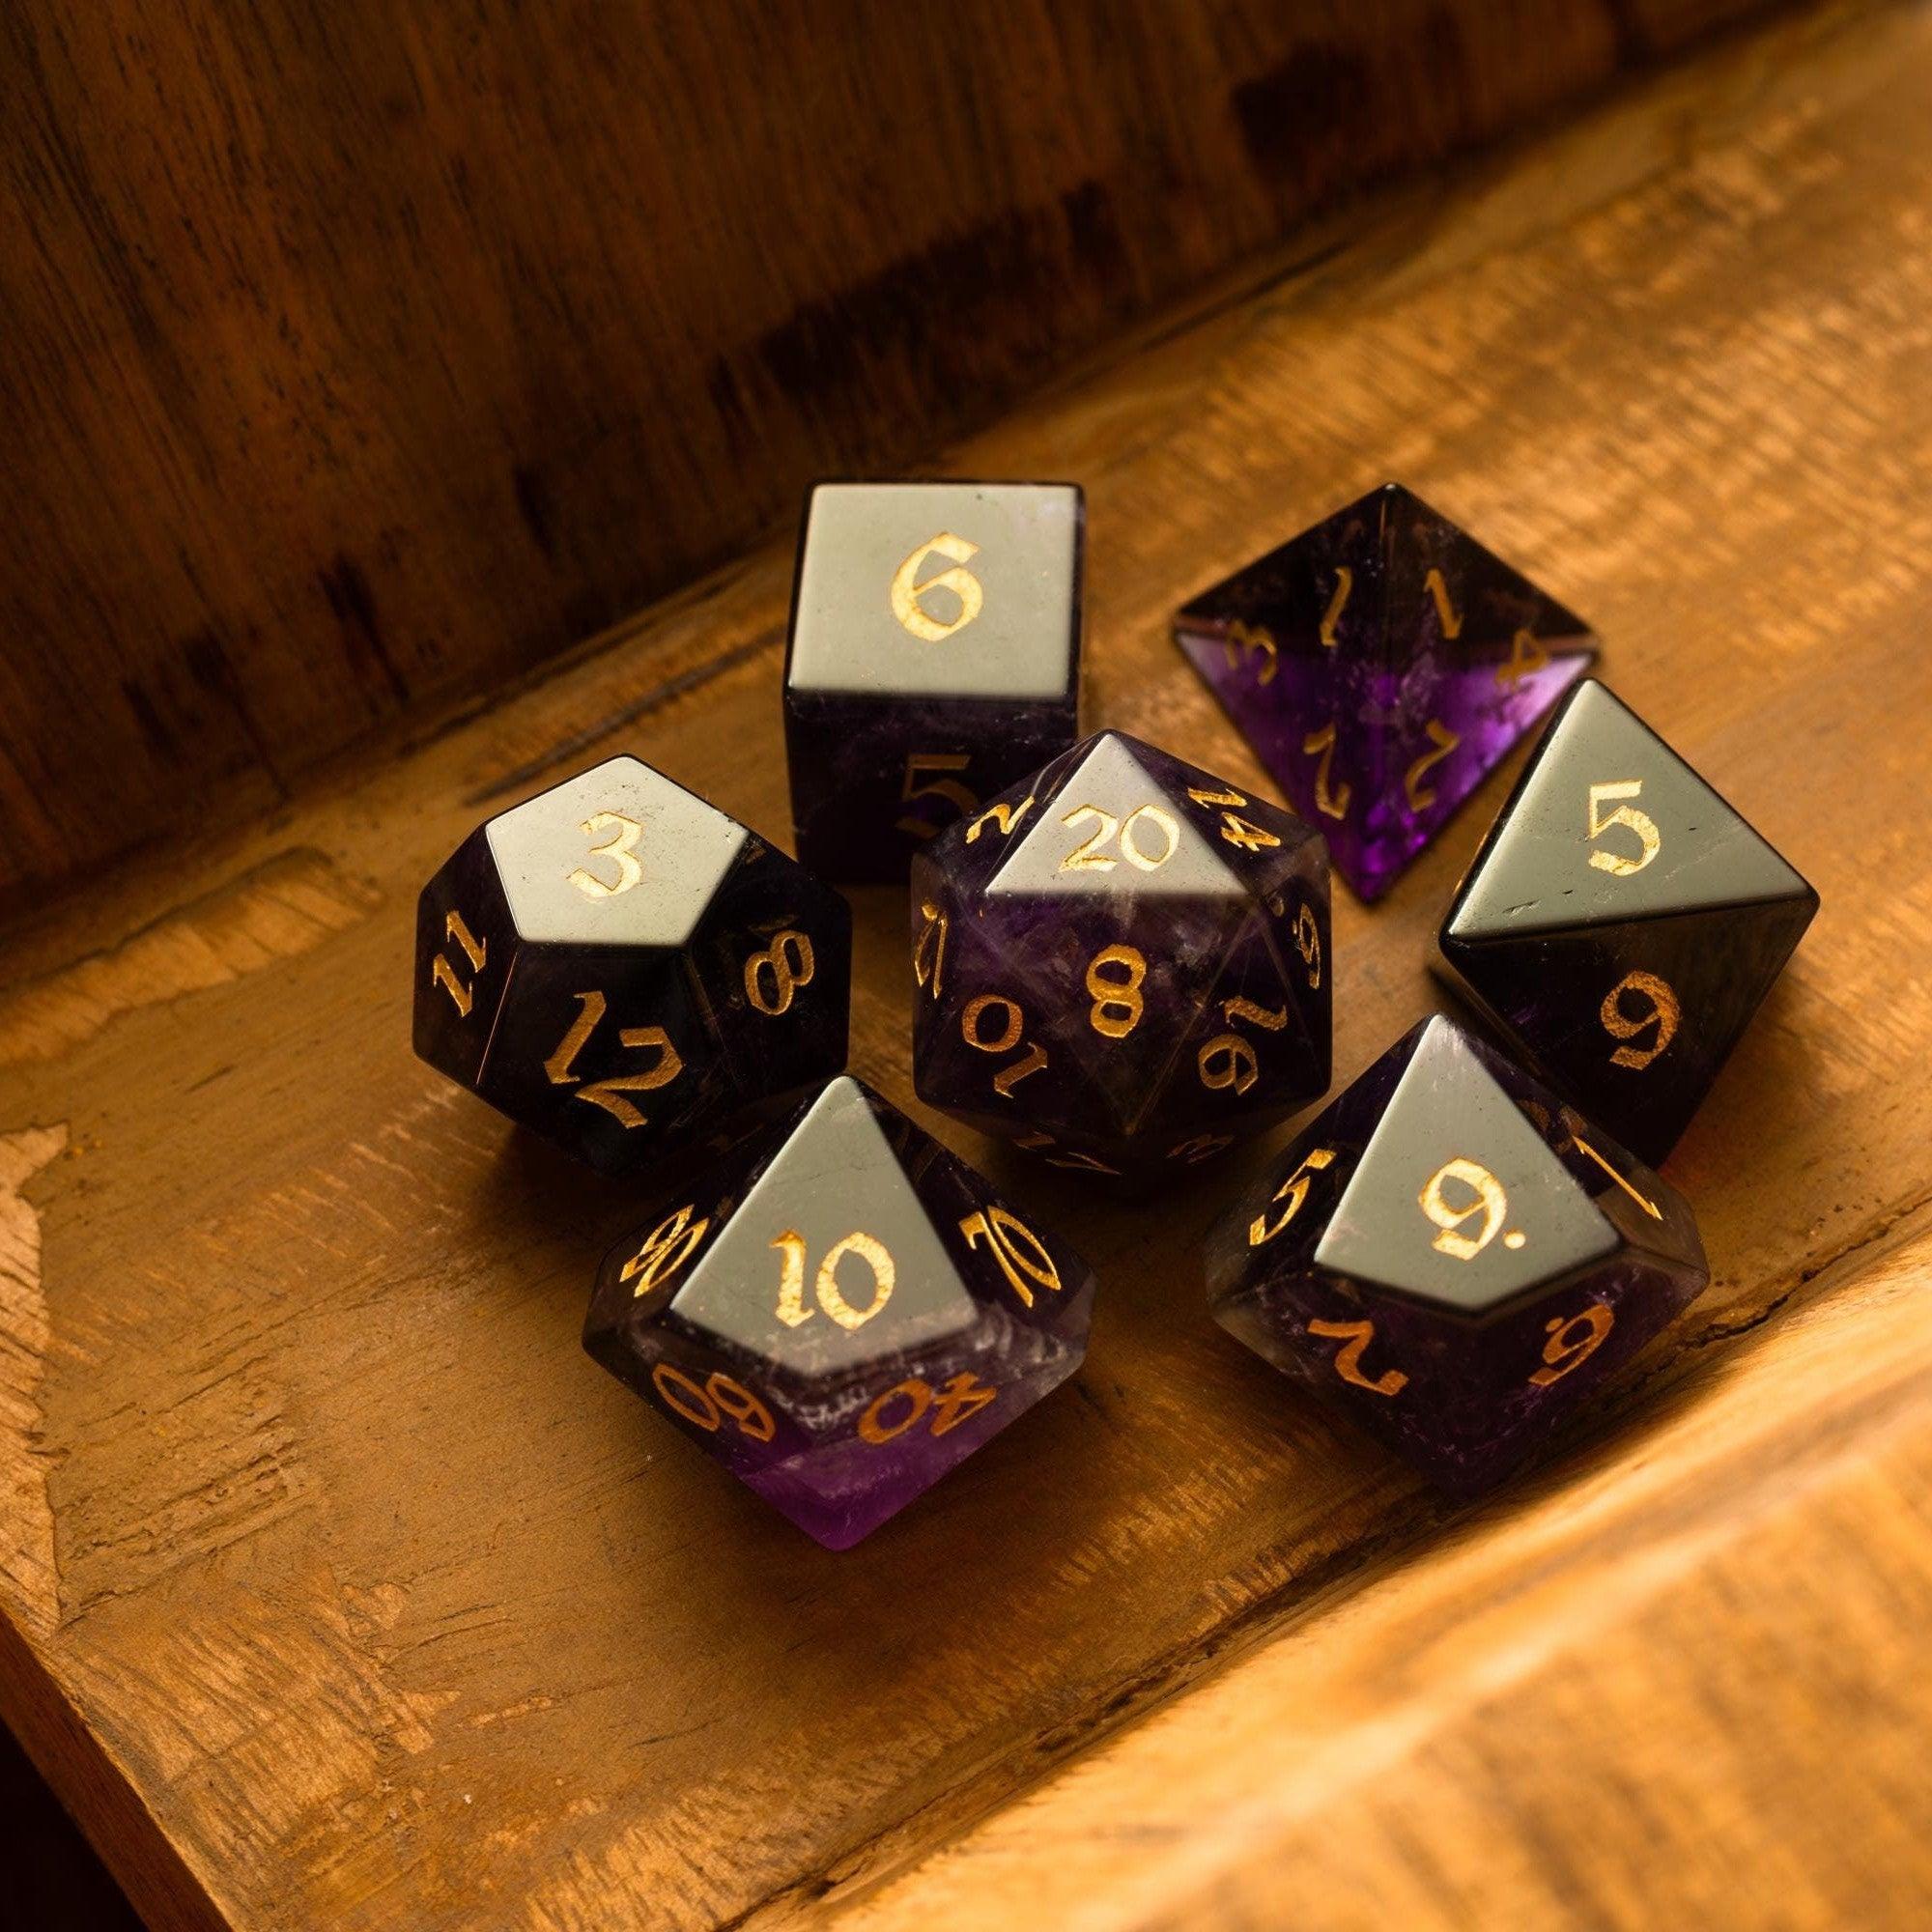
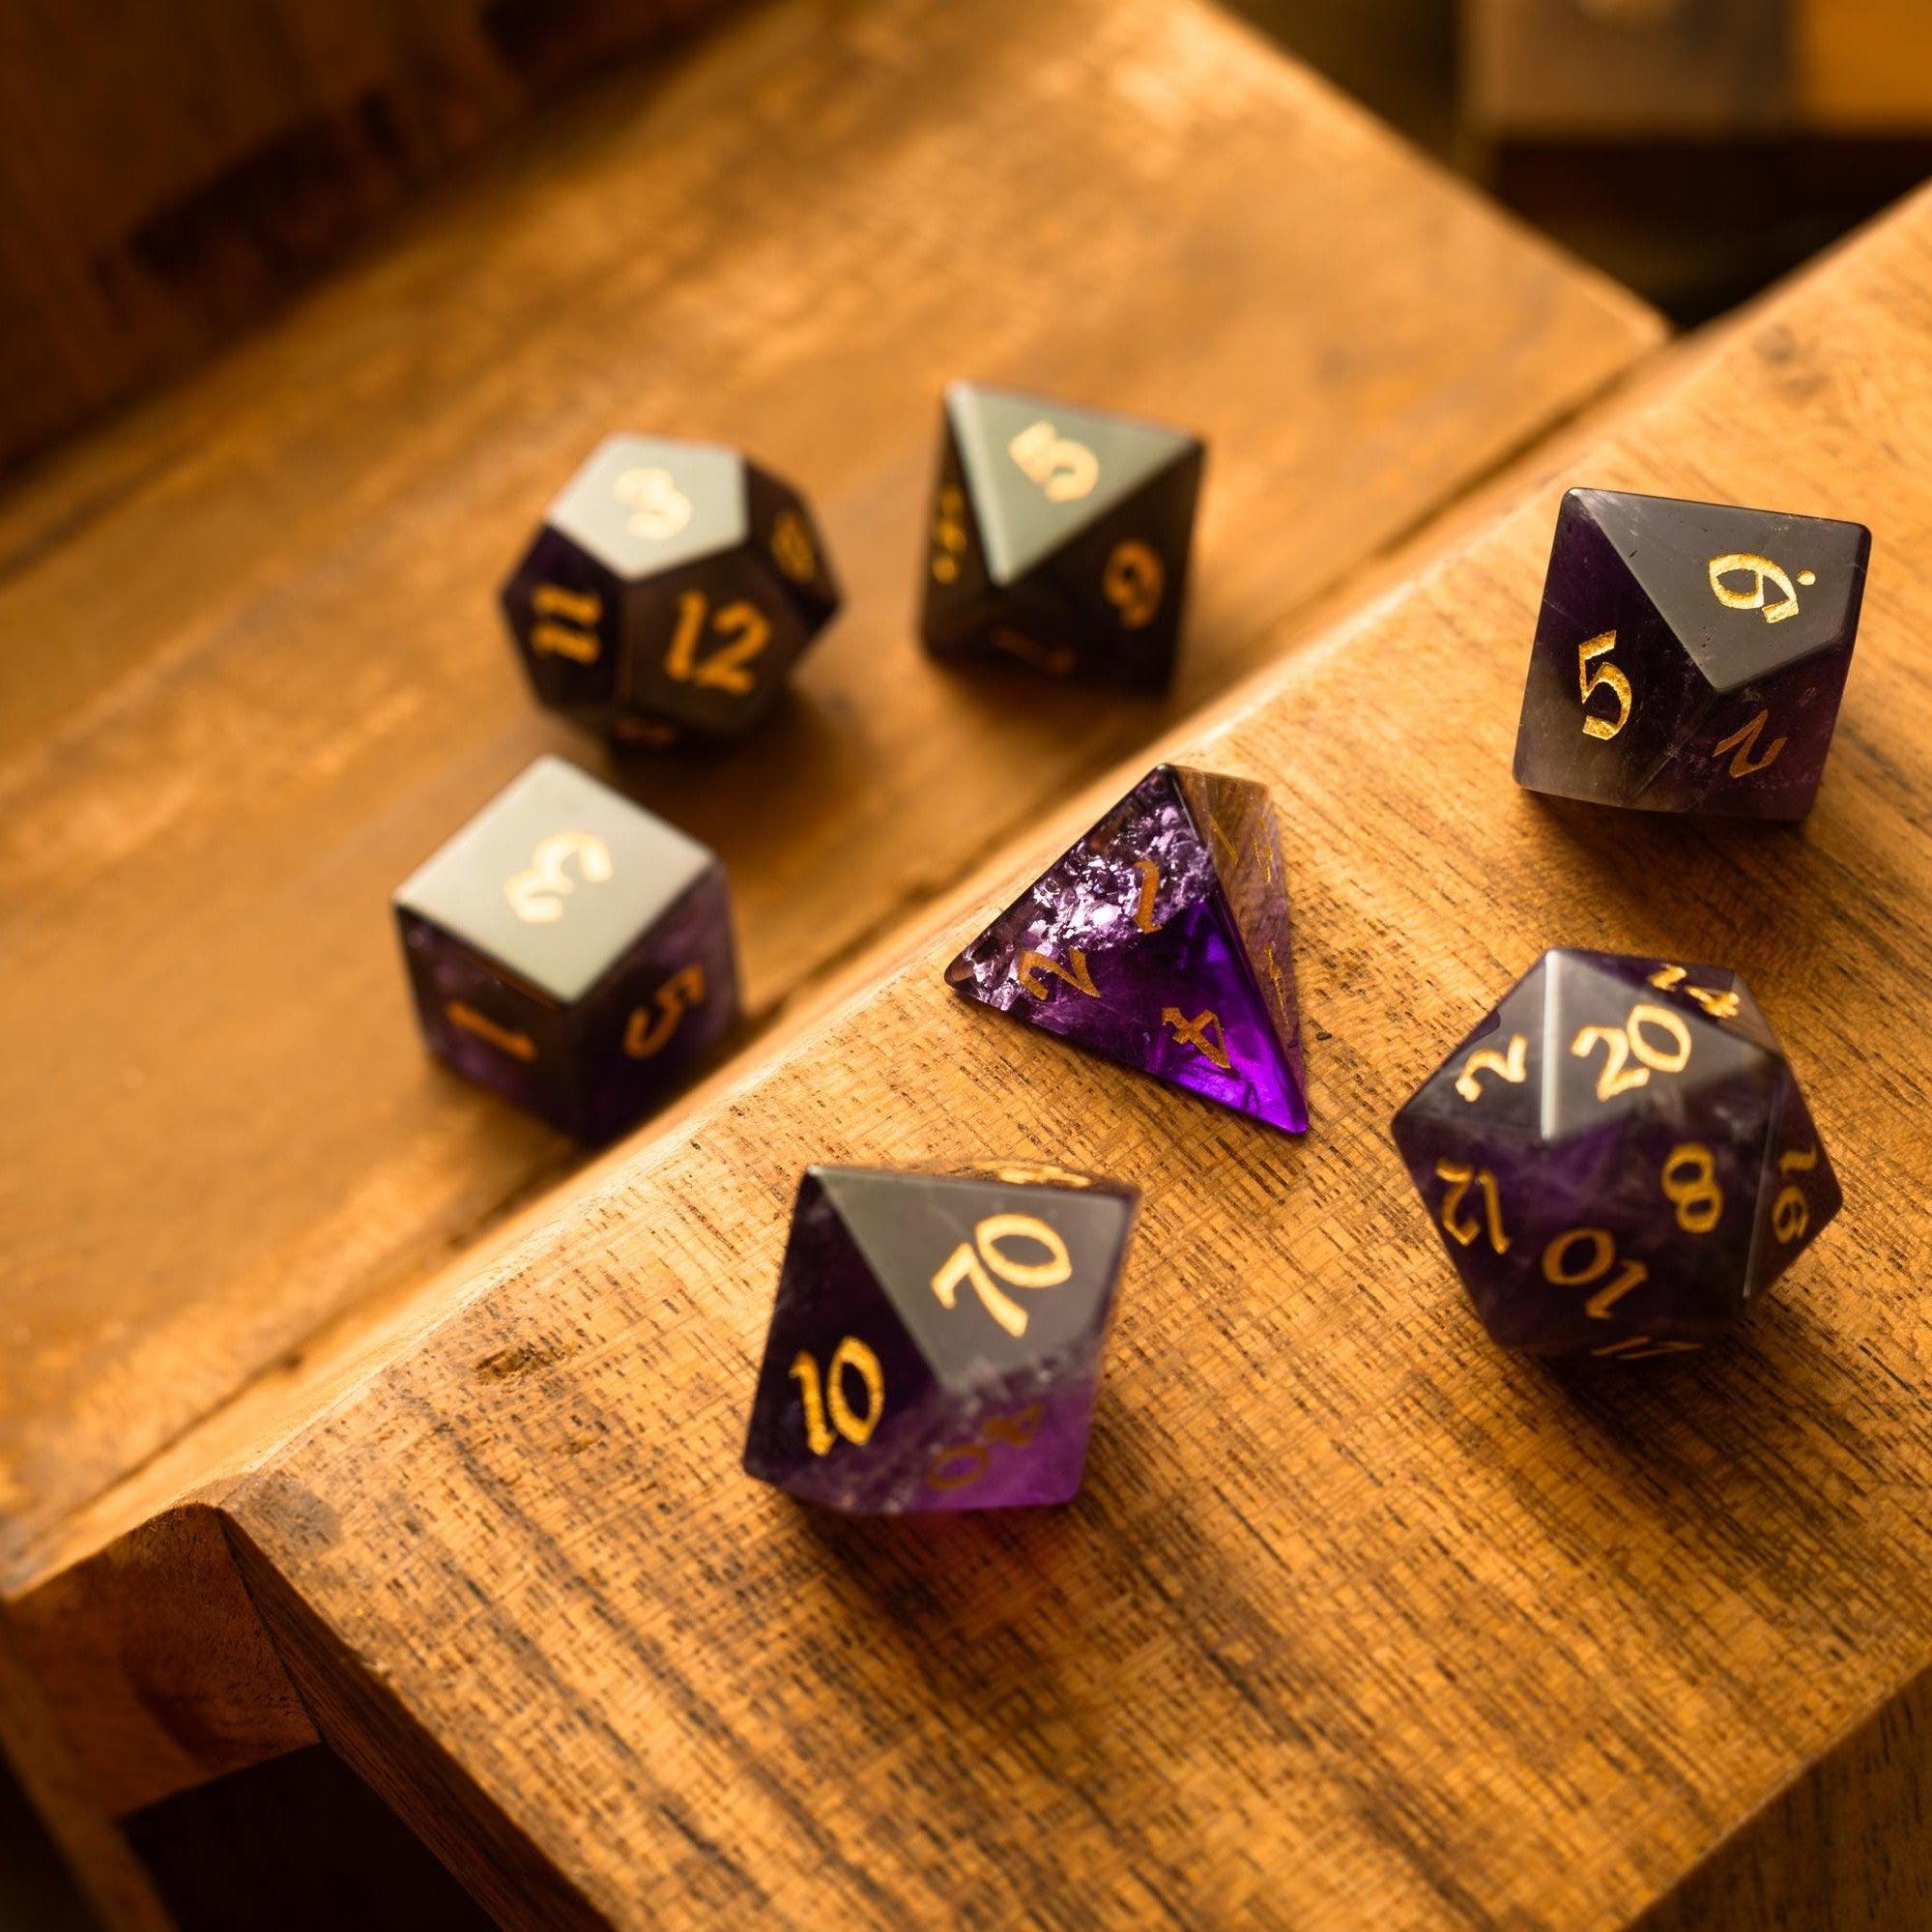
Lastly, add two small kindnesses: a safe fallback spot (for retreats or regrouping) and a simple “session rescue” variant (e.g., fewer enemies, extra cover) in case pacing bogs down. If you enjoy rewarding good plans with tactile treats, a beautiful set like the labradorite gemstone dice makes a memorable milestone gift for your group.

Key Advantages
- Faster pacing: Clear lanes, limited props, and prepped tokens reduce table pauses.
- Better decisions: Clean layouts highlight choices, which means more agency and fewer “where am I?” moments.
- Immersion without overload: Light effects and selective detail keep mood high and files small.
- Reusable framework: The five-step workflow adapts to any genre, from heists to hex crawls.
- Stream-friendly: High contrast designs read well at thumbnail sizes and across shared screens.
Q&A
What makes a combat map run smoothly online?
Start with a bold silhouette, then place only the props that impact tactics. Keep paths obvious and avoid furniture sprawl. Use consistent grids, simple walls, and three or fewer textures. Pre-label doors and ladders with icons, not text. Most lag comes from large image files and animated layers, so export at reasonable resolution and limit VFX to the few that matter.
How big should a scene be?
Smaller than you think. Aim for one focused objective within a space that fits on a single screen at typical zoom. If you need more ground, stitch two compact zones with a transition beat. This keeps tokens readable and reduces camera drift. For exploration, use a hub with spokes rather than a sprawling maze; you’ll get variety without losing clarity.
Do I need premium assets to look good?
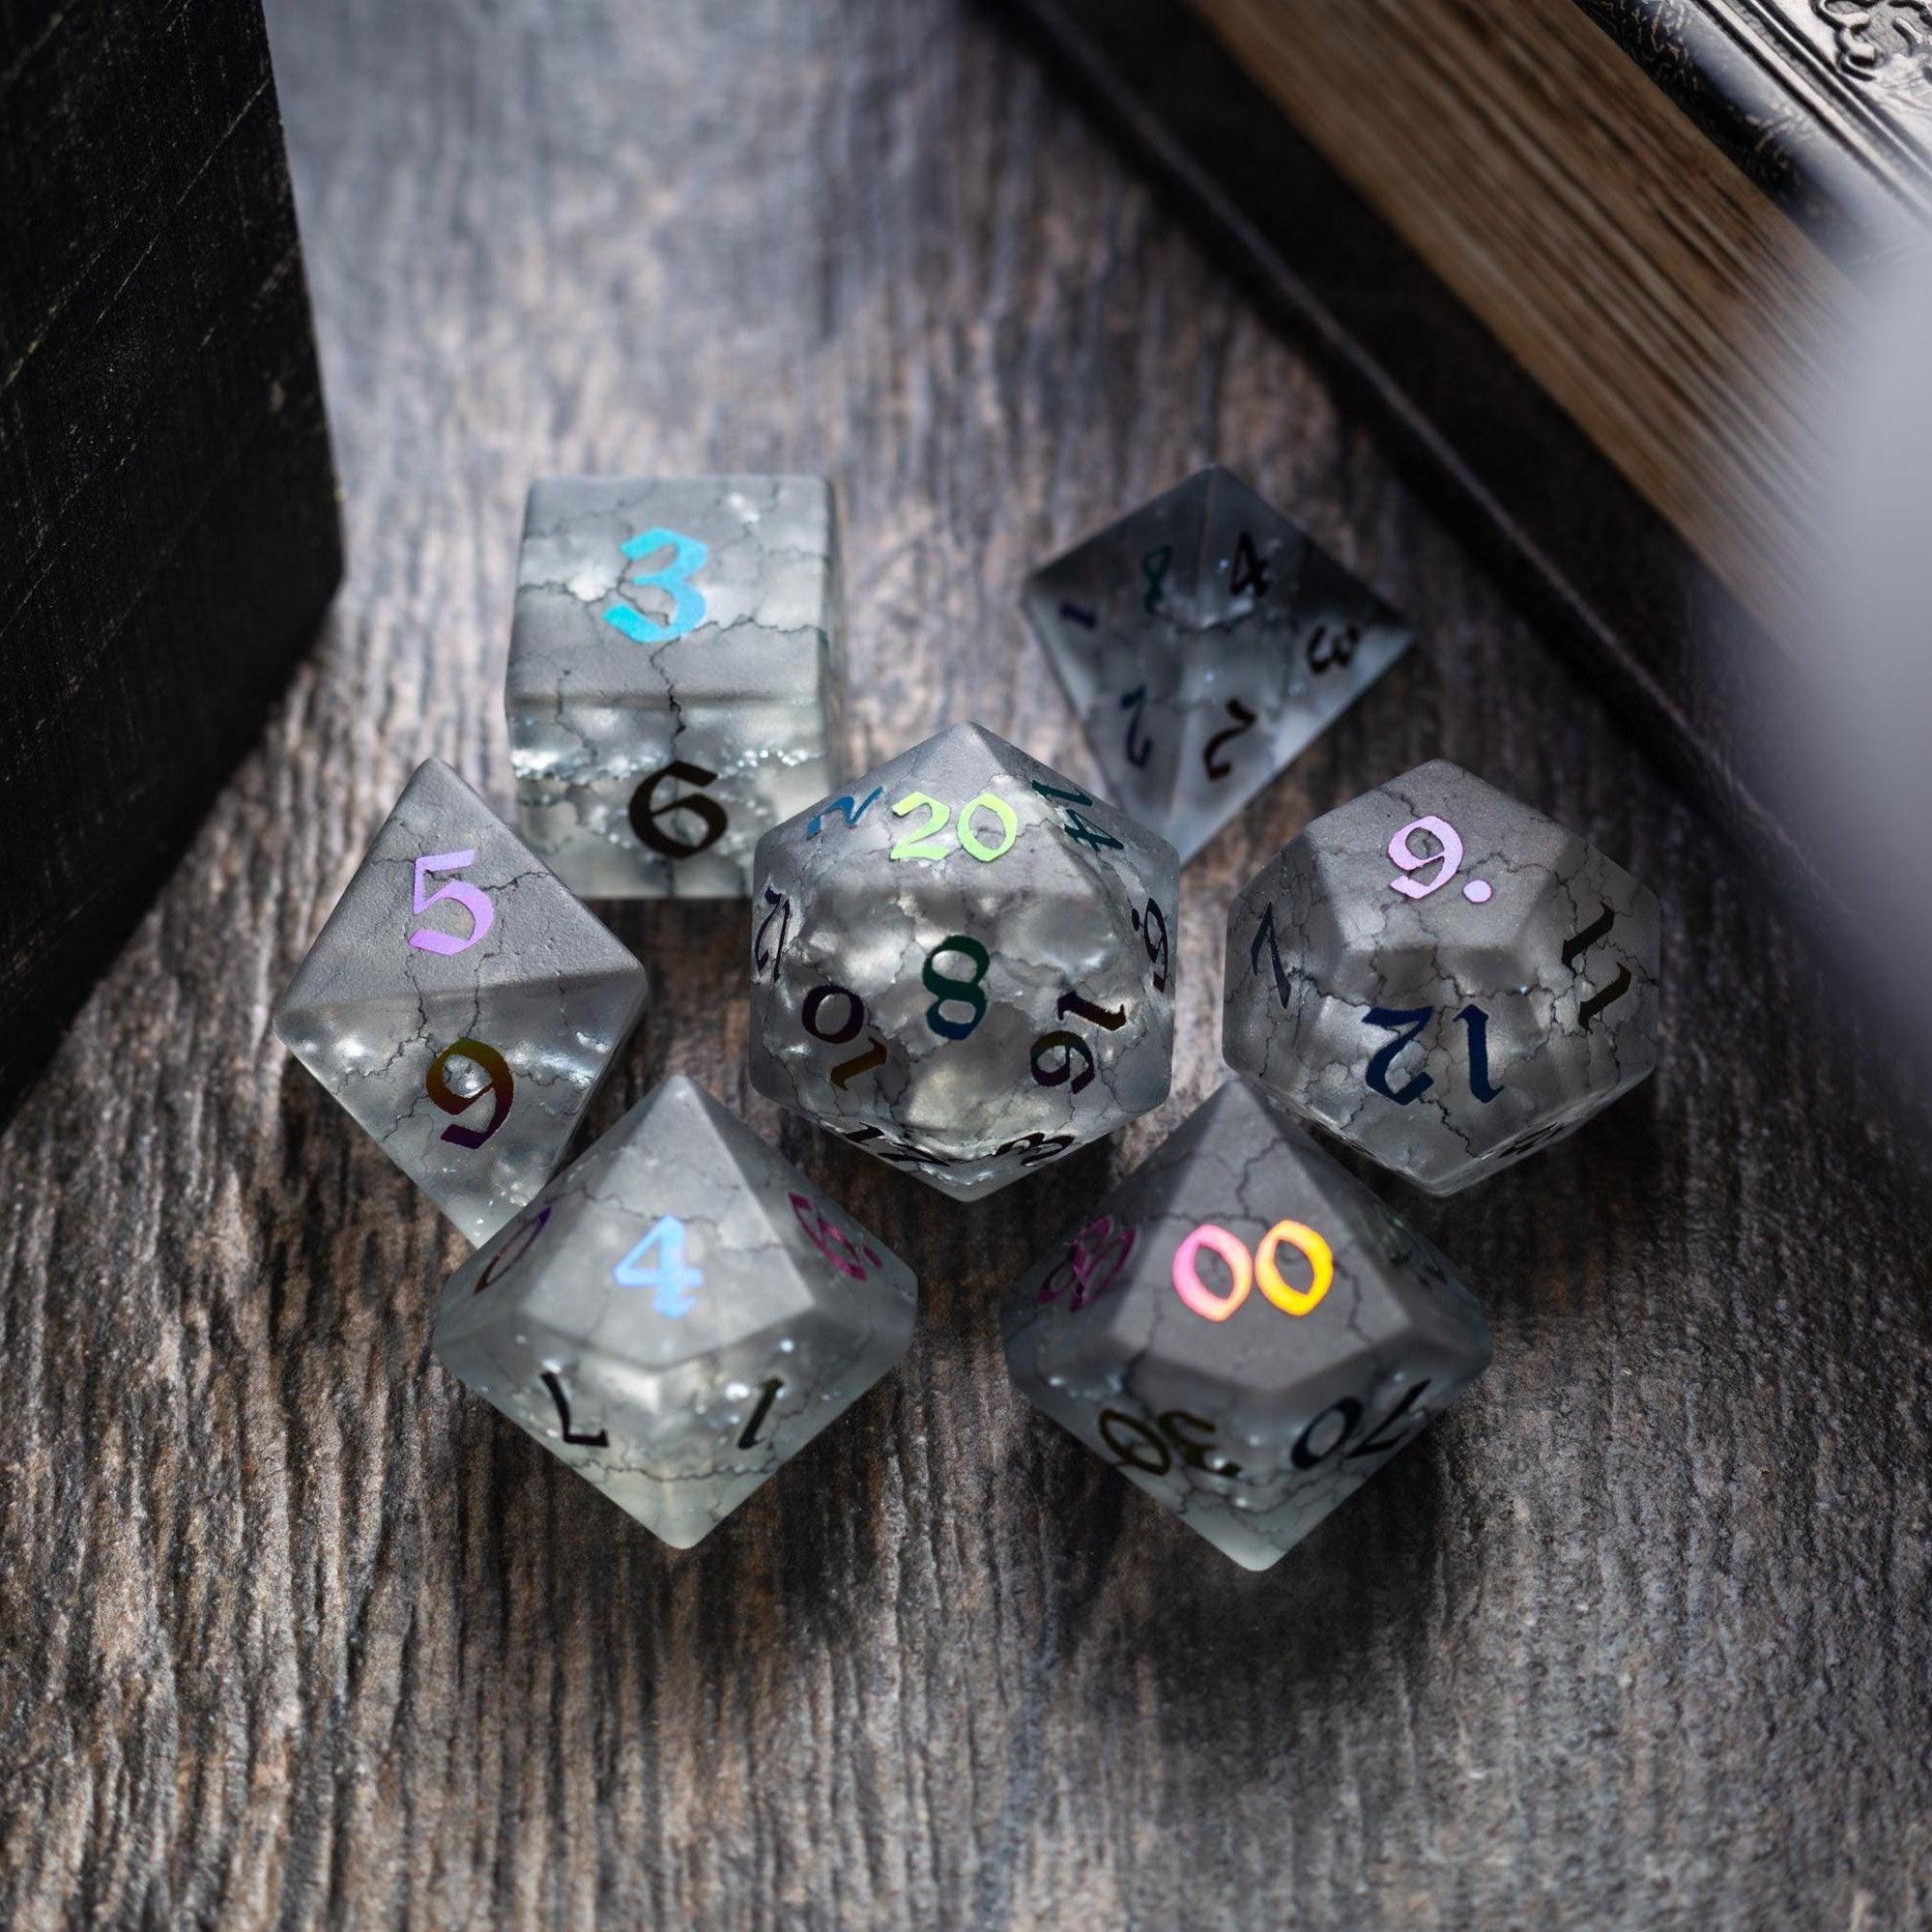
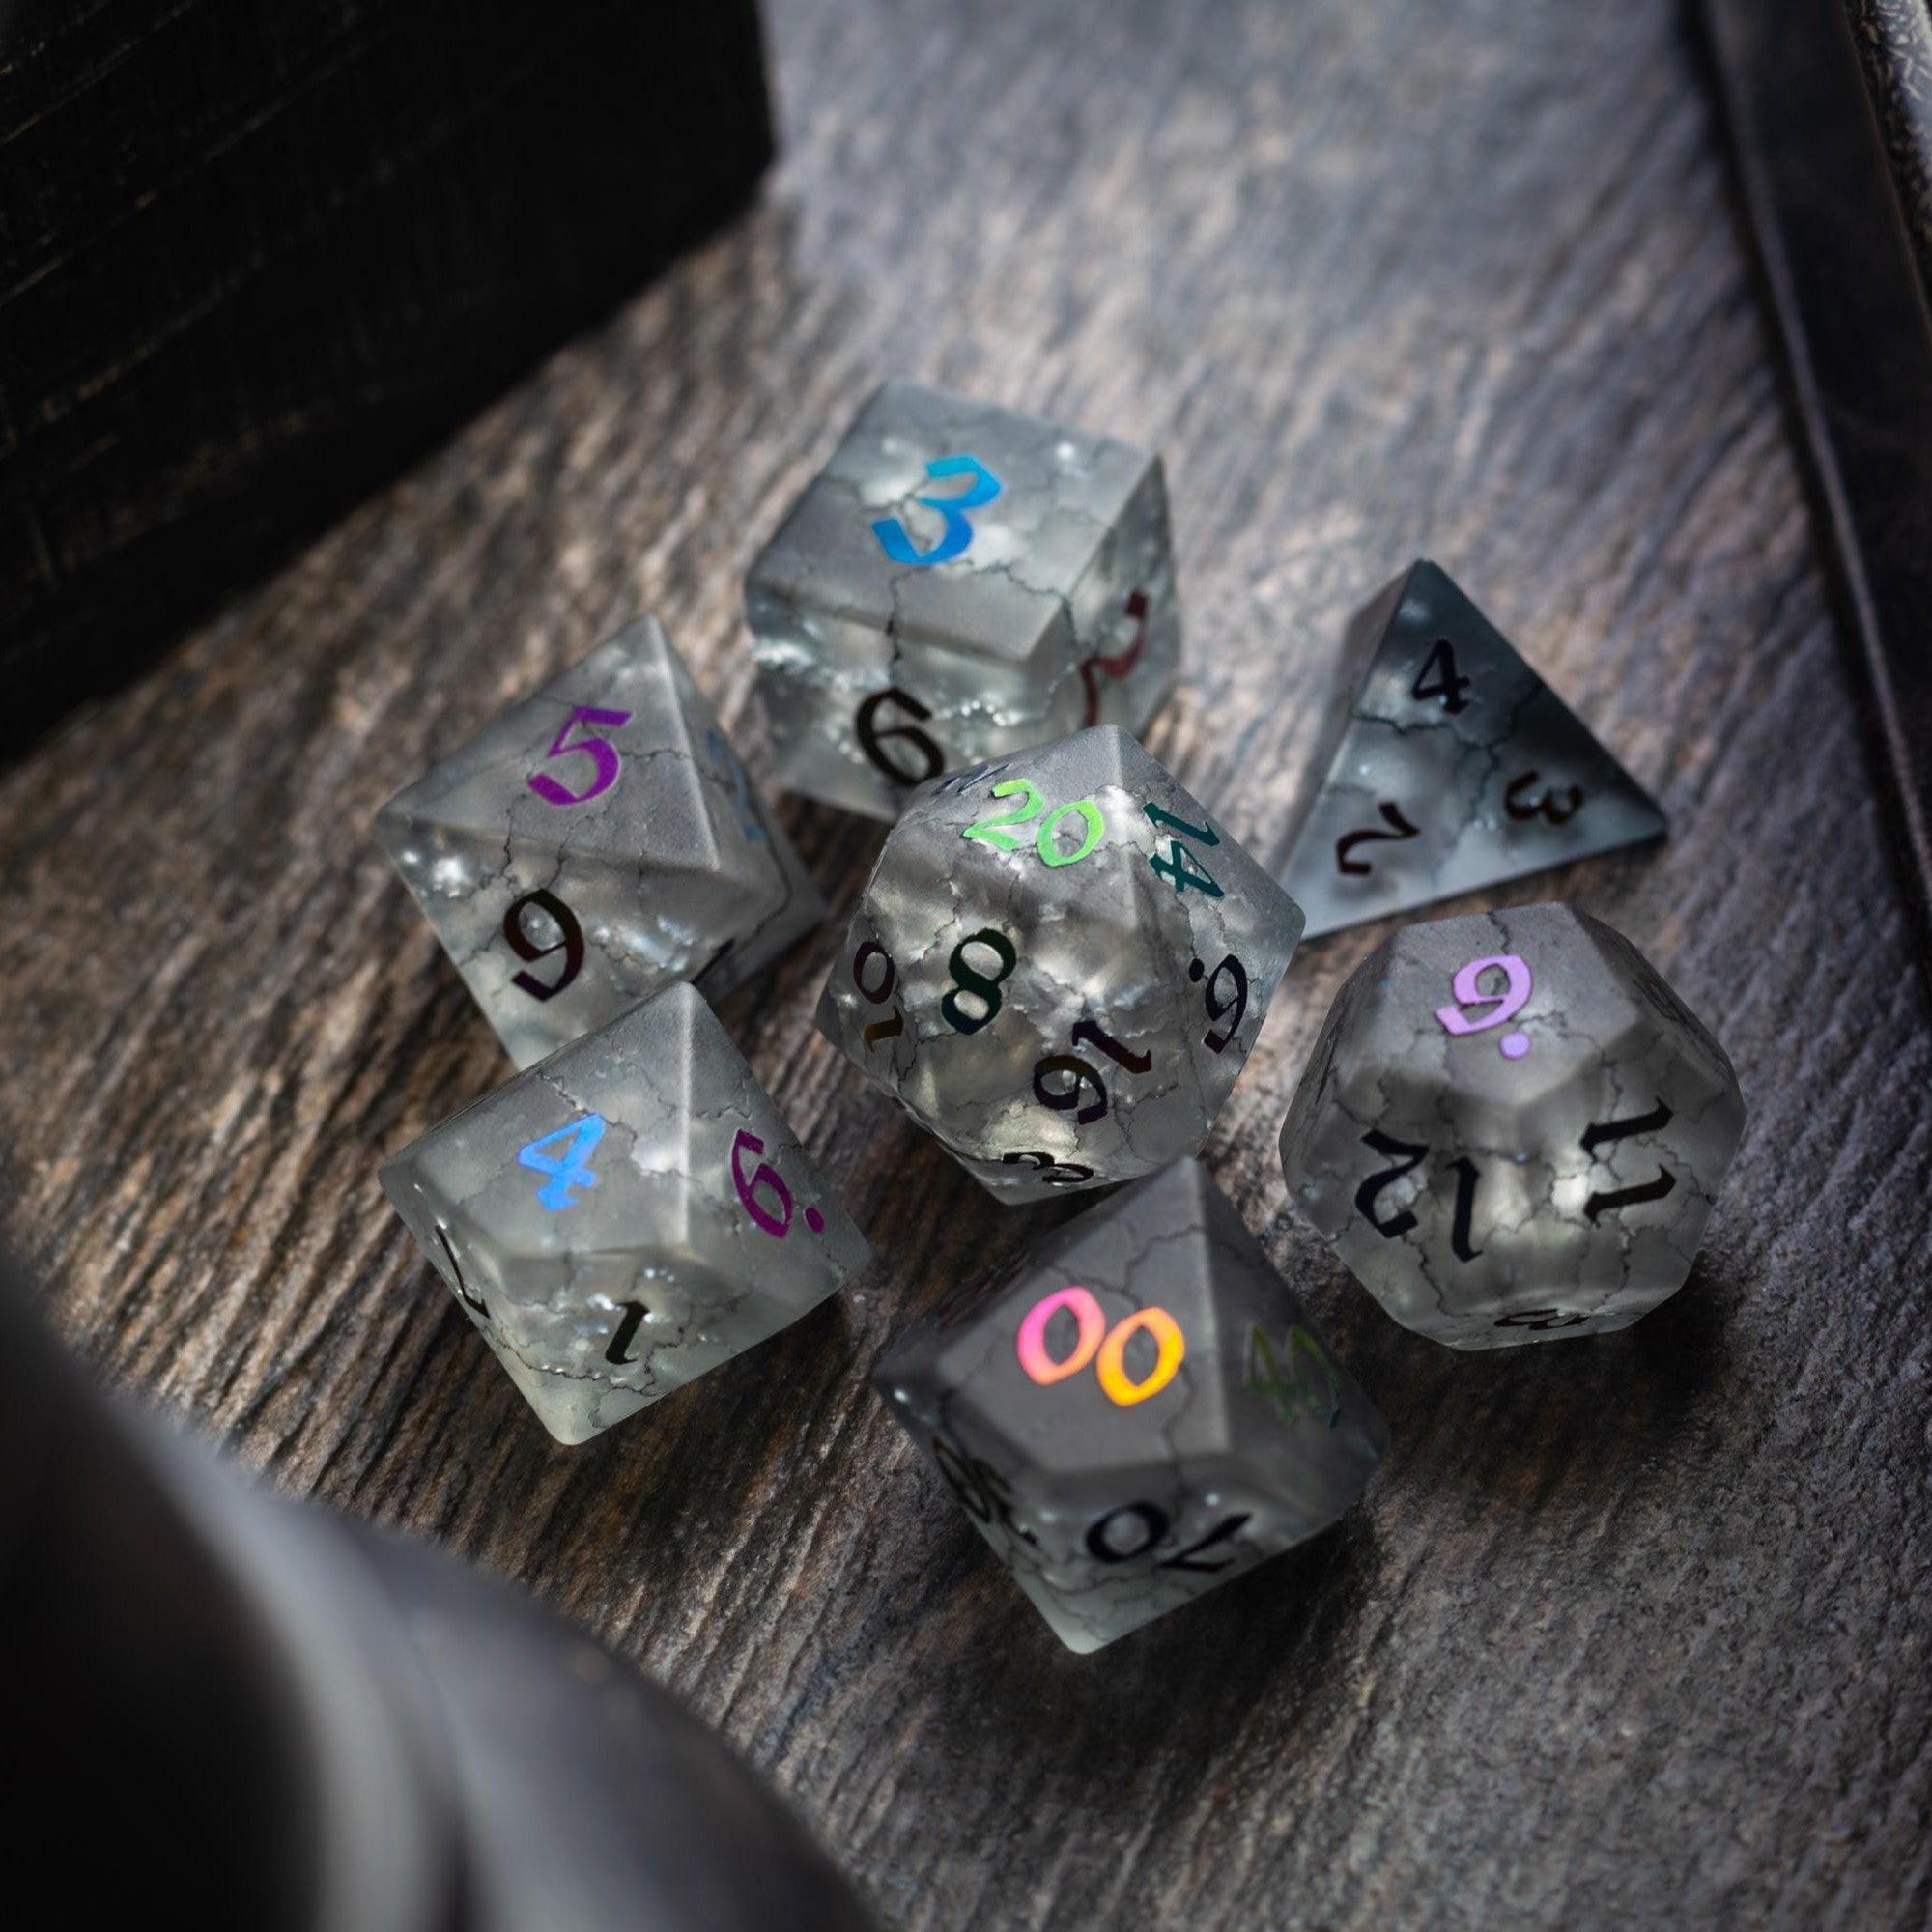
No. Strong composition beats fancy textures. Use a neutral floor, a clear wall line, and a few striking props: a broken statue, a banner, or a glowing rune. Add gentle lighting for depth. If you want a dash of sparkle at the table, distinctive physical sets can complement your vibe—classic styles pair well with moody scenes, while bright finishes suit pulp action.
Summary & Next Steps
You’ve got a repeatable process for building virtual tabletop maps that are crisp, fast, and fun. Define the goal, pick a simple toolkit, layer for life, keep clarity first, and prep smart. Your sessions will move quicker, your players will read the scene instantly, and you’ll spend more time telling stories than fiddling with layers.
Want to add a little ceremony to your next milestone or boss fight? Treat your group to striking table gear—browse elegant dice towers, shimmering liquid core styles, or sleek sharp‑edge sets. A small upgrade can make big moments feel legendary, whether you’re playing online, in person, or both.


Leave a comment
This site is protected by hCaptcha and the hCaptcha Privacy Policy and Terms of Service apply.